Maytag provided me with product and/or monetary compensation as a sponsor of this build. All opinions are my own.
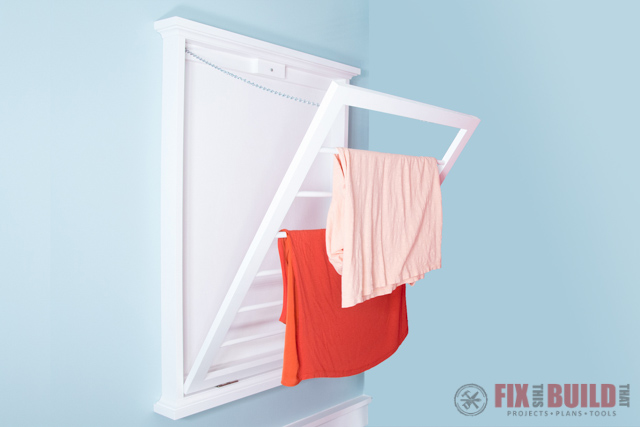
Today I’m going to show you how to make a DIY wall mounted clothes drying rack. It’s an easy project that will save space in your laundry room and let you get rid of any old standing drying racks that might be in your way.
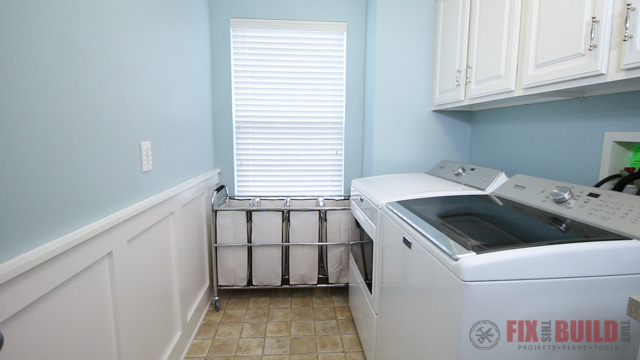
I’ve partnered with Maytag in the renovation of our laundry room. First, I added DIY Board and Batten and painting, but the center of the upgrades has been the new Maytag washer and dryer from Maytag. (note: my dryer is no longer available but check out similar models here). See how I built this DIY clothes drying rack and how you can make one yourself!
Materials/Supplies
- (1) 6′ 1×4 select pine boards
- (2) 6′ 1×3 select pine boards
- (2) 8′ 1×2 select pine boards
- (1) 4′ x 2′ 1/4″ Plywood
- 1-1/4″ Pocket Hole Screws
- Rare earth magnet
- Door Catch (for plate)
- 4′ #16 Jack Chain
- (4) #210 screw eyes
- 2-1/2″ Hinge
Affiliate links are used on this page. See my disclosure page for info on affiliate programs.

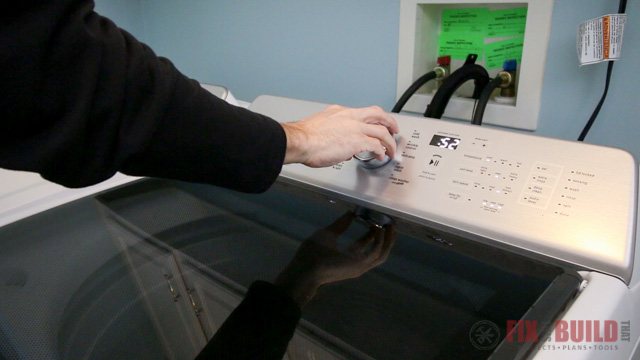
Here is the laundry room I’m working in. These Maytag appliances have really made doing laundry more efficient. The washer has a PowerWash cycle that uses extra cleaning action and an internal heater to tackle the tough stains my kids grind into their clothes. I decided that I wanted a top load instead of a front load because I’m a little nostalgic and just like the feel and extra space of a top loader. While our new set has done wonders, our old drying rack was FAR from efficient. It was super rickety and took up too much space…I needed a better solution stat.
How to Make a DIY Clothes Drying Rack
- Make the drying rack ladder
- Make the wall mount frame
- Add trim to the frame
- Install the hardware
- Wall mount the drying rack
1. Make the DIY Clothes Drying Rack Ladder
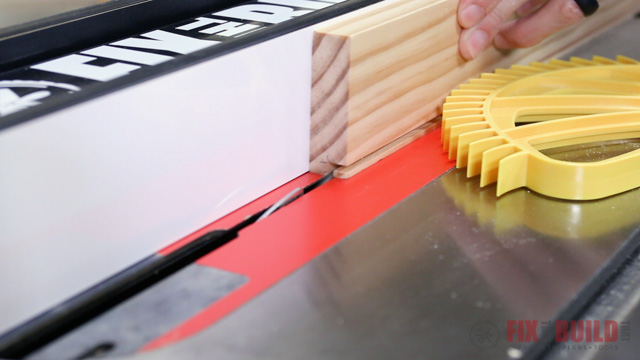
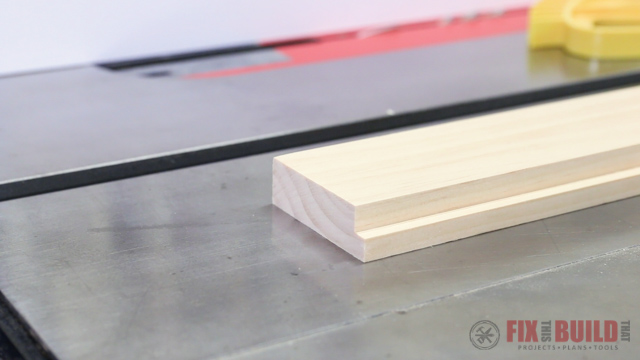
This entire DIY Clothes Drying Rack is made from dimensional lumber and trim from the home center with easy joinery. I started off by cutting the top, bottom and sides for the folding part of the drying rack. These parts are all 1x2s, which I cut down from 1×4’s, but if you don’t have a tablesaw you can buy 1×2’s at the home center.

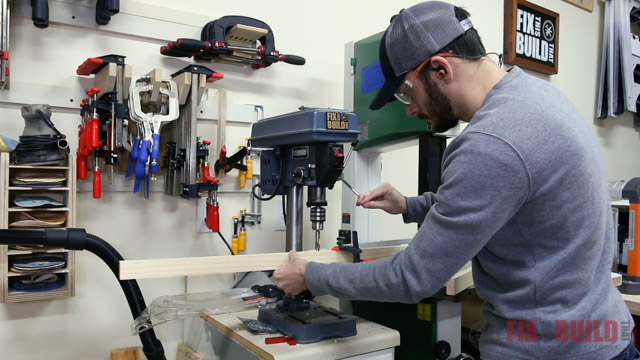
The sides hold six ½” dowels that support the clothes. I clamped the sides together and laid out the positions for the holes so they would line up perfectly. I used my drill press and a brad point bit to drill the holes halfway through the sides. If you don’t have a drill press yet you can just use a hand drill, but I’d suggest a using a guide block to make sure the holes are straight.
Next I drilled pocket holes in the top and bottom parts to join the rack together.
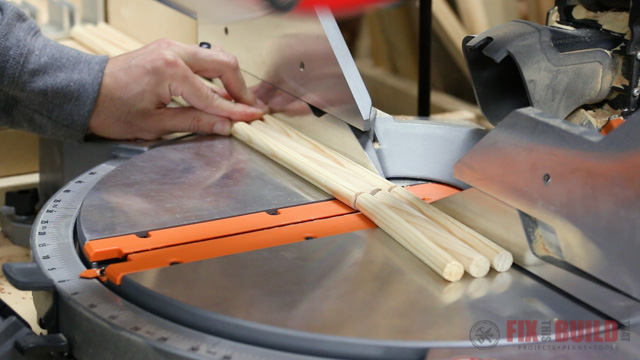
And then I cut the six dowels that will go into the holes I just drilled in the sides. Gang cutting these pieces speeds things up a little.
Assembling the DIY clothes drying rack is pretty straight forward but a bit hectic. I used a glue brush to get some glue in all the holes on one side then inserted all six dowels into the side. Then I laid the side down and glued and put on the opposite side, securing the ends with pocket screws.
I used ⅜” dowels to plug the pocket holes. I did a post on 6 ways to plug or fill pocket holes and you can see 5 other ways to fill pocket holes. Using these straight cut dowels is my favorite way to plug the holes though, I just glue and tap them in with a small finish hammer.
2. Make the Wall Mount DIY Drying Rack Frame
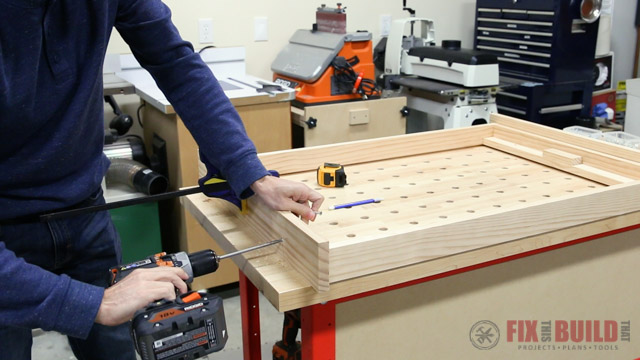
While the glue was drying on the plugs I moved on to making the wall frame for the DIY clothes drying rack. The frame is made from 1×3’s with 1×2 mounting cleats. I cut the parts to size then laid out for a rabbet cut on the sides, top and bottom to hold a ¼” plywood back. The groove is half the thickness of the boards and ¼” deep to match the plywood.
I made the rabbet with two cuts on the table saw. I lined up the first cut to establish the depth of the rabbets and then ran all the boards through at this setting.
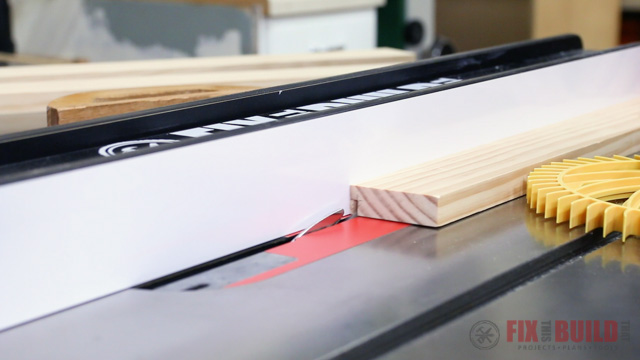
Then I flipped the board on its edge and repositioned the fence to make the second cut. You could also use a router and rabbeting bit to make this detail.
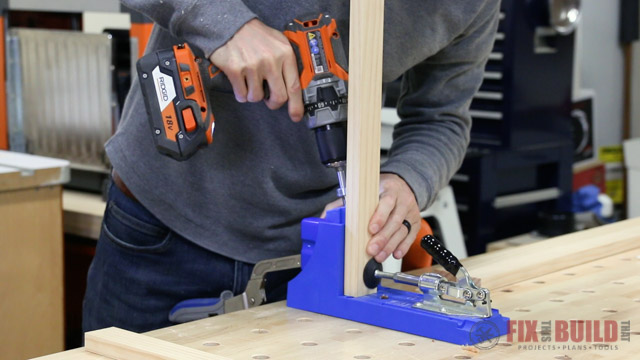
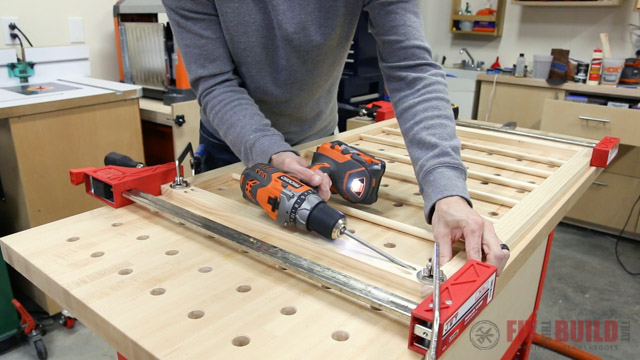
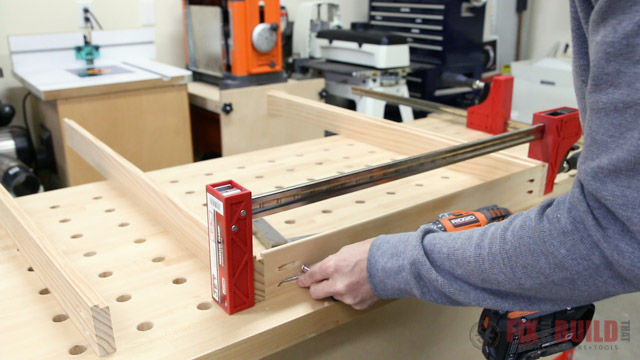
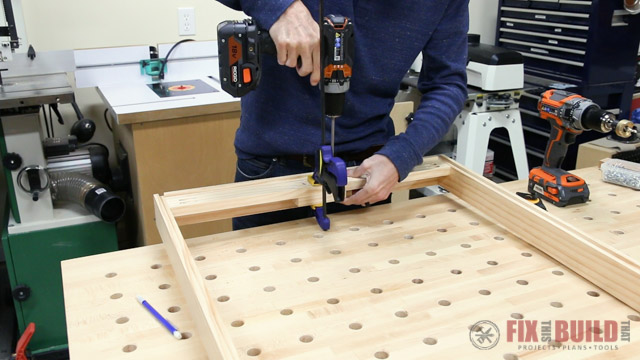
I drilled pocket holes in the top and bottom pieces as well as the mounting cleats then was ready to assemble the clothes drying rack frame. The frame goes together pretty easily, I just clamped the top and sides together and secured them with pocket screws. Then I moved the frame up and did the same for the bottom.
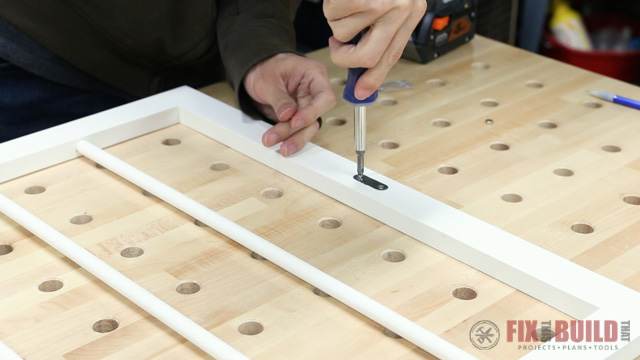
1×2 mounting cleats go at the top and bottom of the frame to secure it to the wall. I lined up the cleat with the bottom of the rabbet then secured it to the sides. For good measure I went ahead and added two screws through the bottom and into the cleat as well.

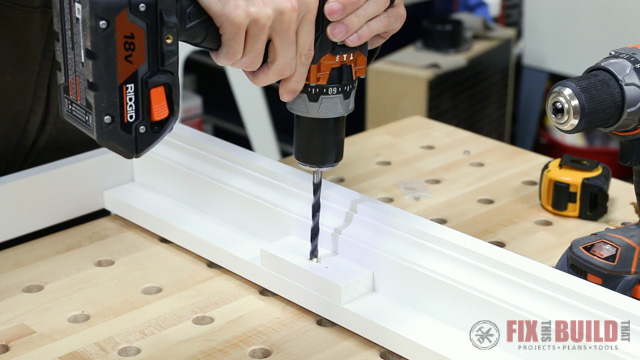
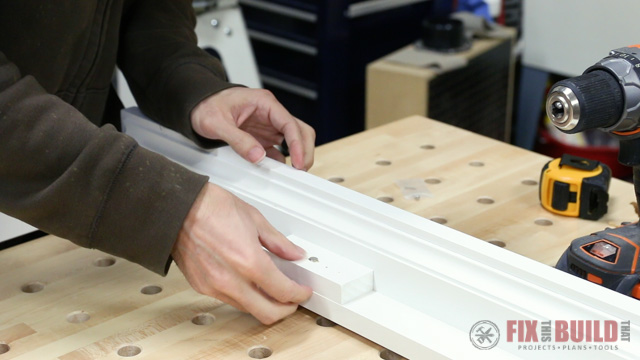
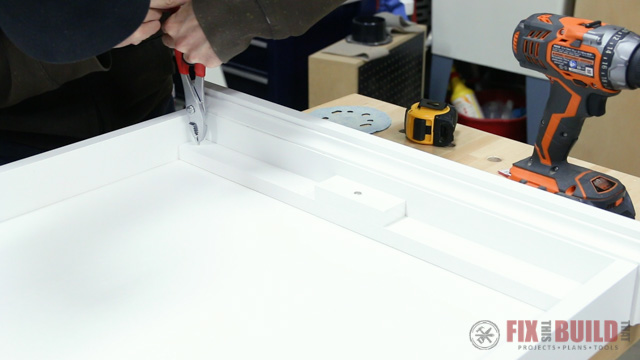
I’m using a rare earth magnet to hold the folding rack in the upright position when closed. I cut a small spacer block and attached it to the top mounting cleat by predrilling and screwing it on from the back. I’ll install the magnet after paint.
3. Add Trim to the DIY Laundry Rack Frame
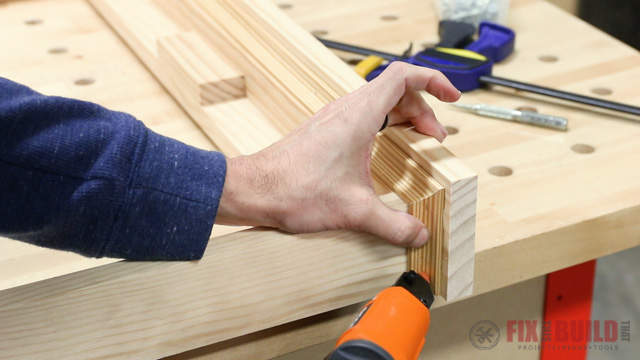
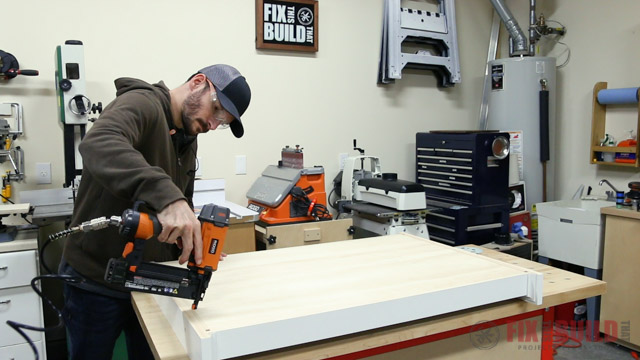
To give the piece a little more character I cut some 1x4s to trim the top and bottom. I centered them on the frame then secured them with two screws countersunk into the trim pieces.
The trim was finished off with some nice cove molding. I installed the cove molding around the top and the bottom trim pieces I just installed. Then I attached the trim pieces with a pin nailer and continued moving around the frame marking and cutting the miters to fit. I finished up by filling the nail holes and any gaps with wood putty and sanding everything so it was smooth.
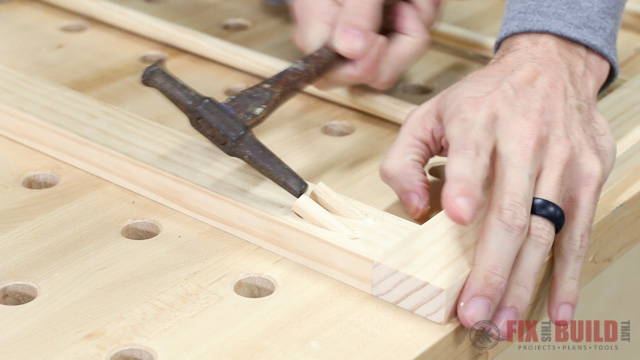
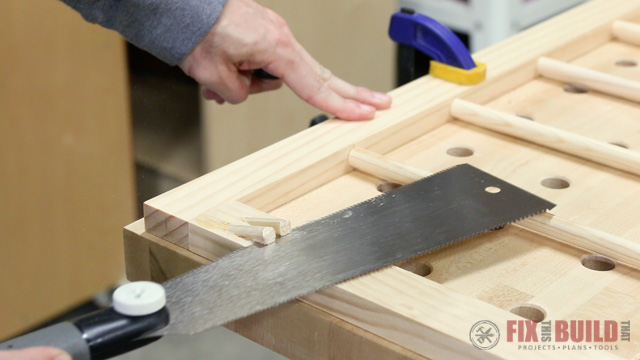
The frame was ready for paint so I moved back to the clothes drying rack. I cut the dowels off using my flush cut saw. Then I sanded them smooth and filled in any leftover gaps with wood putty.
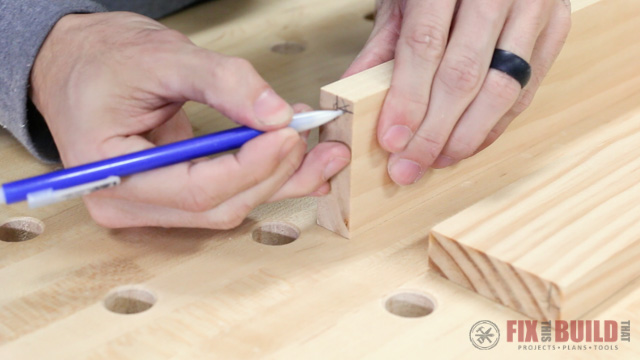
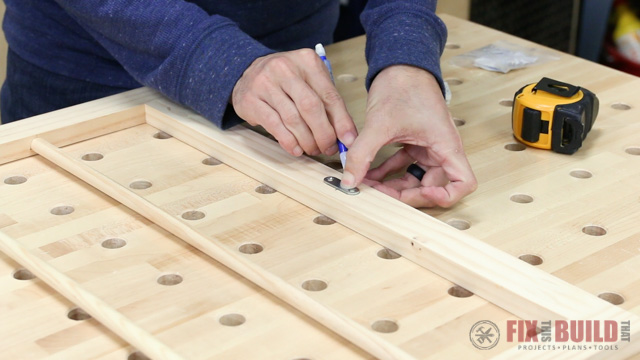
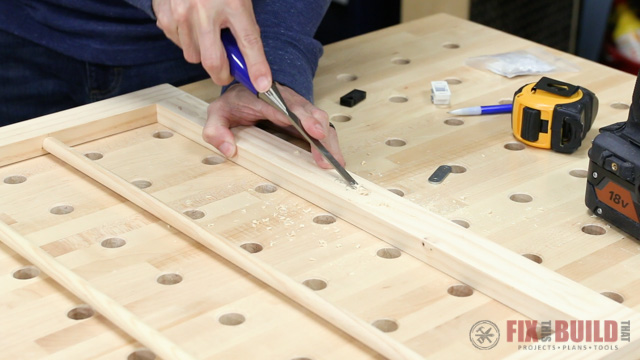
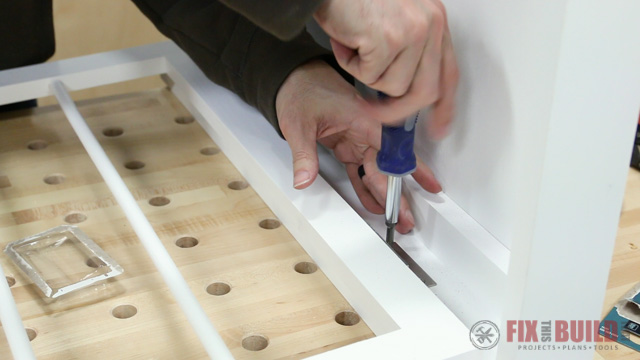
The last thing the DIY clothes drying rack needed before paint was a cutout for the metal plate that will work with the magnet. I used a small plate from a door catch for this and traced its position on the top of the clothes drying rack.
Then I used a forstner bit to remove the bulk of the material for the thickness of the plate. I came back with a chisel and straightened up the sides of the recess and fine tuned the depth until I got a flush fit with the plate.
After that I took everything outside and sprayed on two coats of white paint. When the paint was dry I started mounting all the hardware. I screwed down the metal magnet catch, then mounted the magnet.
Here I used a brad point to drill a hole for the magnet then test fit to make sure it fit flush.
I roughed up the magnet on a piece of sandpaper then glued it in place with some adhesive. Later I actually came back and used epoxy which I think works better.
I flipped the frame over and installed a ¼” plywood back using ¾” 18 gauge brad nails. For this I shot them around the perimeter into the rabbets.
4. Install the Hardware on the DIY Clothes Drying Rack
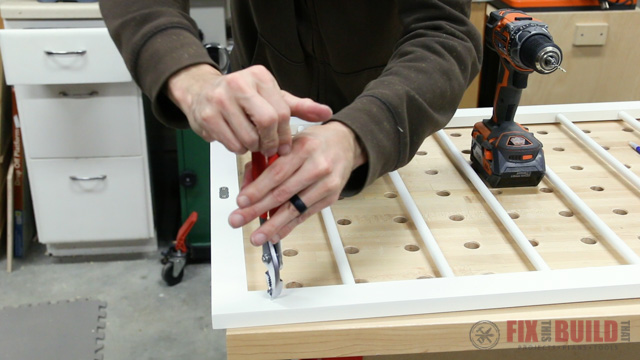
The last thing the frame needed was some small screw eyes to hold the chain for the drying rack. I predrilled and threaded the screw eyes in. A set of pliers makes this a lot easier.
I drilled and installed the matching screw eyes on the drying rack then moved on to the hinges.
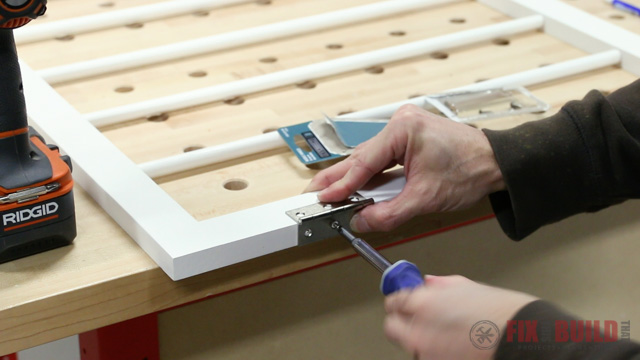
I’m using standard 2-½” hinges to mount the rack to the frame. I laid out the hinges on the drying rack and traced their locations then predrilled them for the screws and hand screwed on the hinges.
Then I centered the drying rack in the frame and lined the hinges up with the edge. I predrilled and screwed on the hinges in the frame and gave it a test run then took off the drying rack for install.
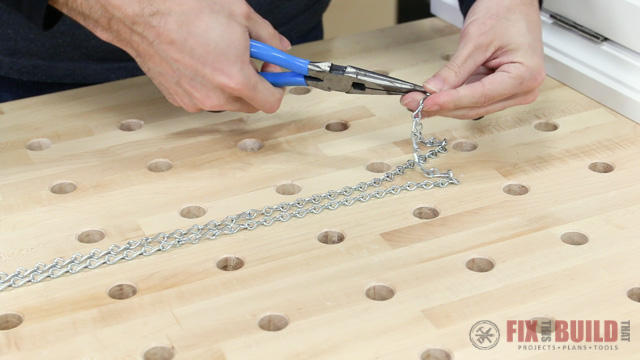
To hold the drying rack in the extended position I used some light chain. I got a 4’ length and doubled it over to get two equal sides. I bent open the link at the middle and made two chains.
Then I looped the open link around the screw eye that I installed on the frame and bent it back closed to hold it in place. I did the same thing on the other side then took the frame to the laundry room.

5. Wall Mount the DIY Clothes Drying Rack
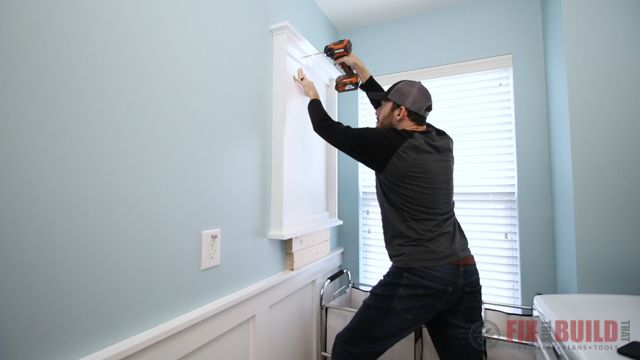
I used some 2×4’s on their edge to hold the frame in place and I drove a screw into the wall stud. My studs on this wall are 24” on center so I could only hit one. Then I leveled the frame then secured it through the bottom cleat as well.
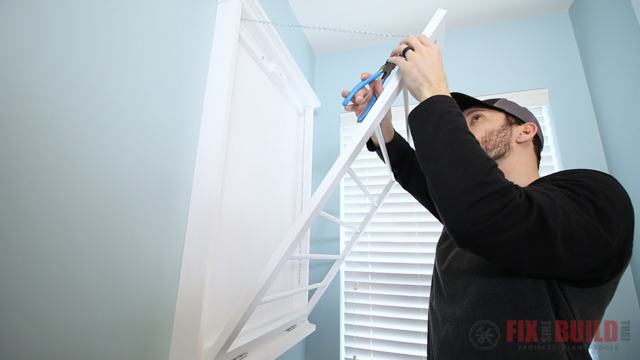
I reinstalled the clothes drying rack by securing the hinges to the frame. Then I needed to size and install the chains.
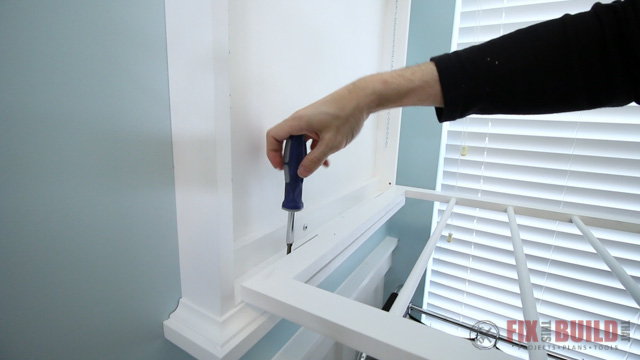
It wasn’t very scientific, I just found an angle that looked like a good combo of space between the rungs for clothes to hang while not sticking out too far. I bent the chain links open where I wanted the chain to end and removed the excess chain. Then I wrapped the open link around the screw eye on the drying rack and bent it back shut. I did the same thing on the other side and the drying rack was all wrapped up.
This DIY clothes drying rack will be a nice addition to our laundry room and help it function a little better without the need to store that huge metal folding rack.
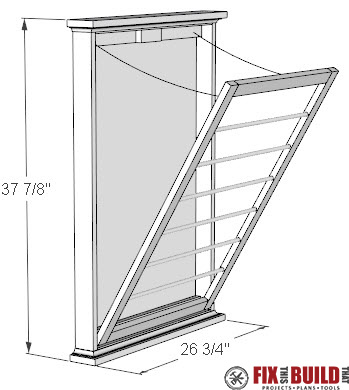
If you want to build your own DIY clothes drying rack I have FREE detailed plans complete with 3D drawing, a cut list and step by step instructions. If you’re interested in other DIY projects check out my Projects Page for more info.


Love this plan. Just FYI, the 1/2″ dowels used in Step 1 are not in the supplies list.