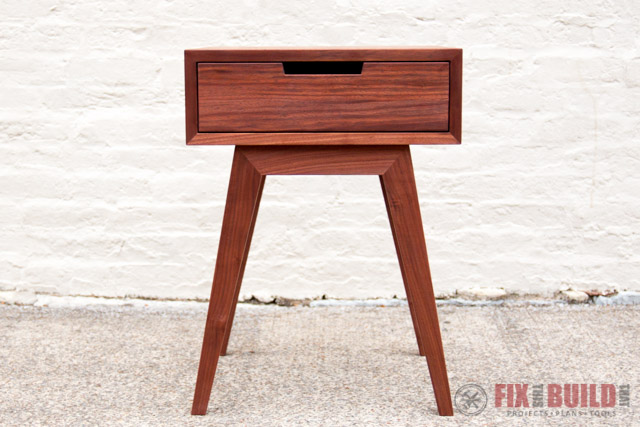
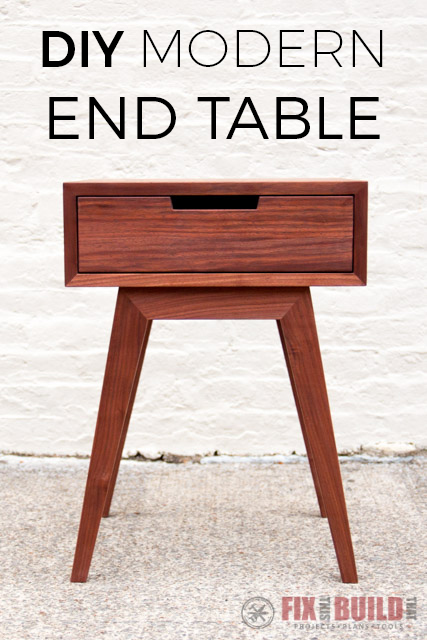
This modern DIY end table will add a pop to any room in your house! This build project included several firsts for me and I think it can help stretch your skills too. I used solid walnut for the entire end table (except for the inside drawer) and the top has a continuous mitered joint on both sides. I also used dowel joinery for the base which is a sturdy joinery method that hides any unsightly holes. Of course you could substitute different materials and even use butt joints and / or pocket holes to recreate this look if you like the design.
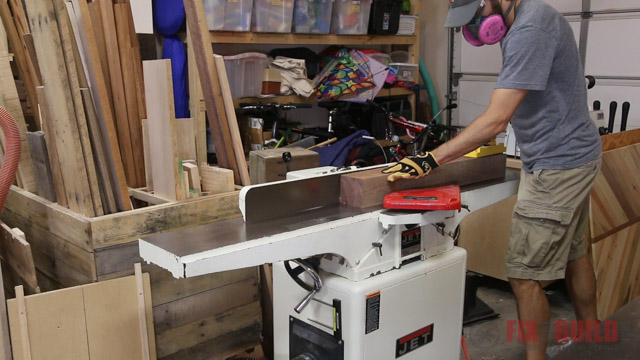
I’m proud to be partnering with JET Woodworking on this project. My JET jointer and 18-36 drum sander really got a workout on this project when I dimensioned some rough lumber I had on hand for the build. I have plans available for the Modern DIY End Table which include detailed cut lists and step-by-step instructions.

Materials/Supplies
- (4) 8′ 1×4 walnut boards
- (1) 8′ 1×4 poplar or plywood
- (1) 24″ x 24″ 1/4″ plywood panel
- 16″ drawer slides
- 3/8″ dowel pins
- Figure eight fasteners
Affiliate links are used on this page. See my disclosure page for info on affiliate programs.
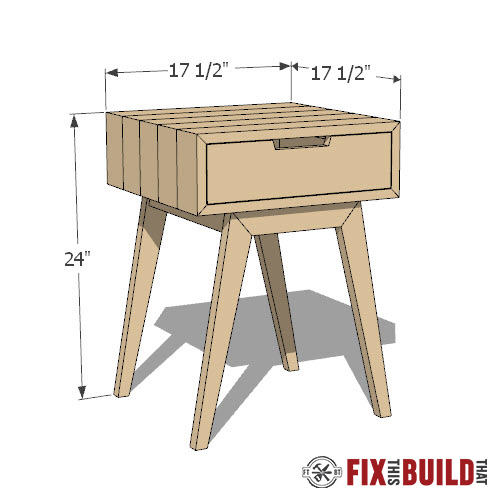

How to Make a Modern DIY End Table
The DIY end table is made out of solid walnut as I had a huge 4×4 walnut beam just waiting to become a piece of furniture. I’ll show you how I used a jointer and bandsaw to turn boards like this into ¾” material. But I have plans available for this build with a cut list using standard ¾” stock material readily available at your home center or lumber store. I’ll show you how I milled the beams down, but if you want to jump straight to where I had the 1×4’s dimensioned you can click here.
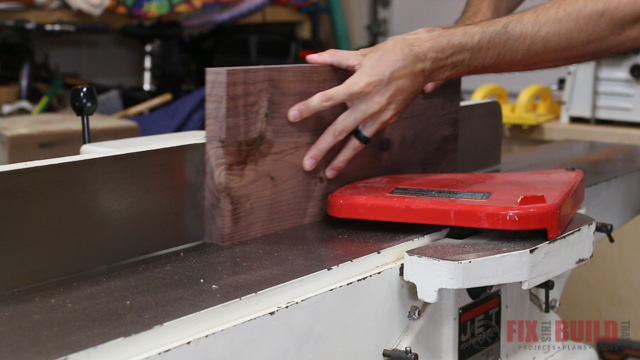
I started making the DIY end table build by cutting the beam into 3 pieces then flattened one side of each piece on the jointer. Then I rotated the beam 90 degrees and flattened the adjoining face to give me two flat reference surfaces.
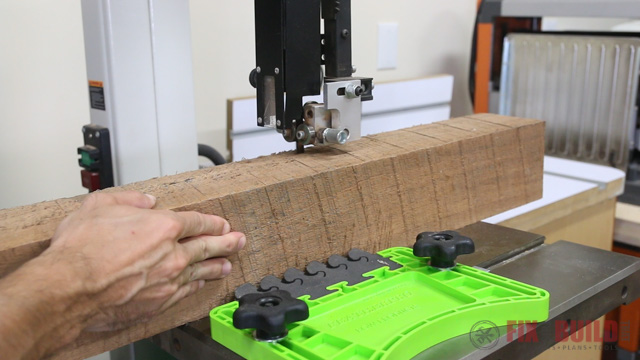
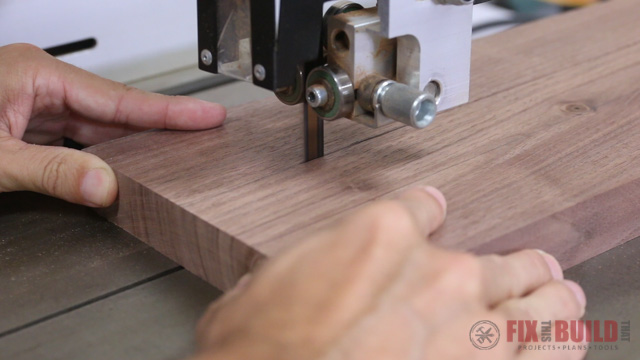
I took the beams to the bandsaw and used the flat surfaces against the fence and the table to resaw the 4×4 into four rough 1×4’s. The best thing about it is these 4 boards will now match perfectly in color and grain too!
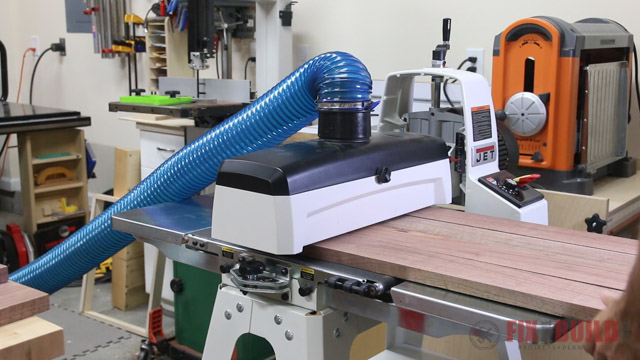
I used my 18-36 drum sander from JET Woodworking to take off the bare minimum I needed to get them flat. You could also do this with a planer but you’d lose more material.
Making the panels for the DIY End Table Mitered Box
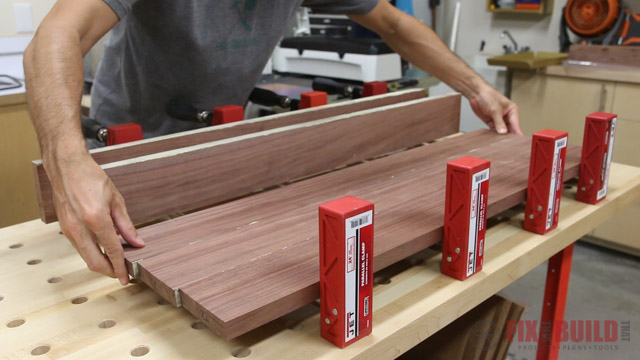
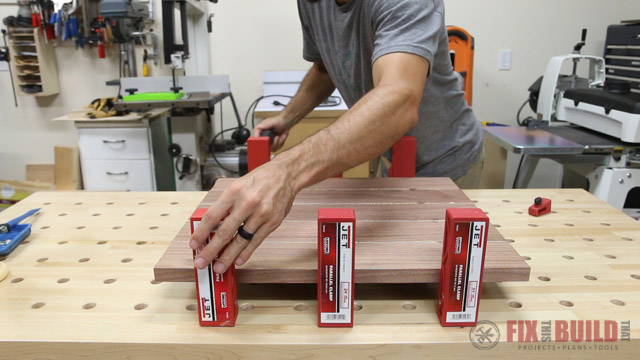
I ripped the boards to width then cut them to length and was ready for the first glue ups. The box of the DIY end table has a continuous miter joint connecting the top and sides. I glued the boards into a panel to make the top and sides using only glue and parallel clamps.
Then I did a smaller glue up that will become the bottom of the drawer cavity for the end table.
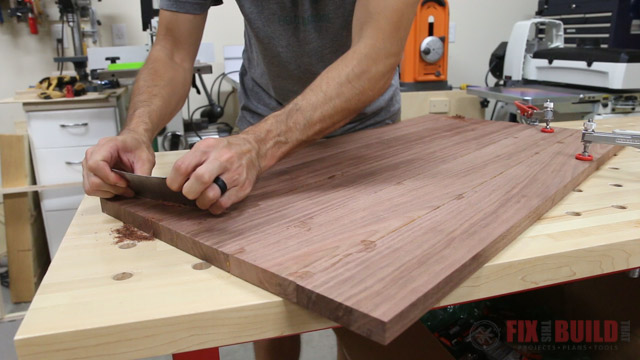
After the glue was dry I used a card scraper to get off dried glue that squeezed out onto the surface of the DIY end table top during clamping. These things are really fun to use.
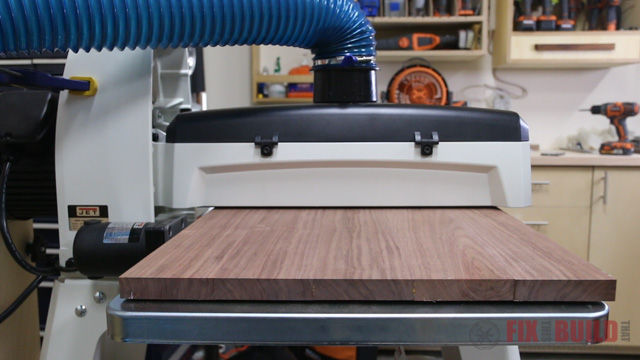
I went back to the JET drum sander to flatten the panels before cutting the miters. The open ended design lets me run wide panels through that I could never fit through my planer and gives me a nice even surface which is key to getting a good miter joint.
I crosscut cut the large panel into three pieces for the top and sides and squared up one side of the bottom panel.
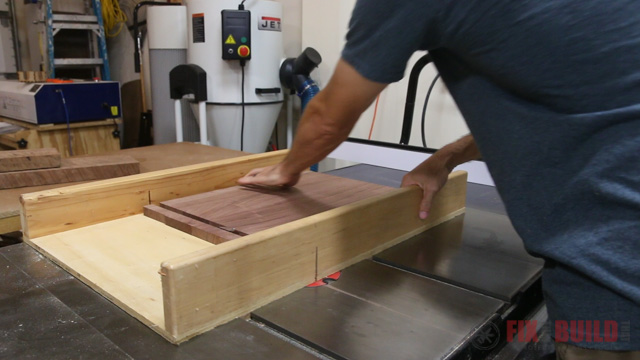
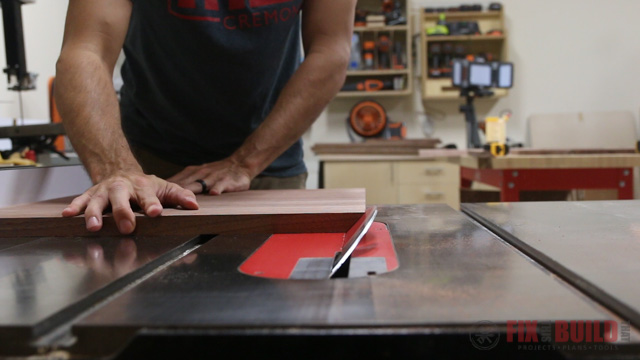
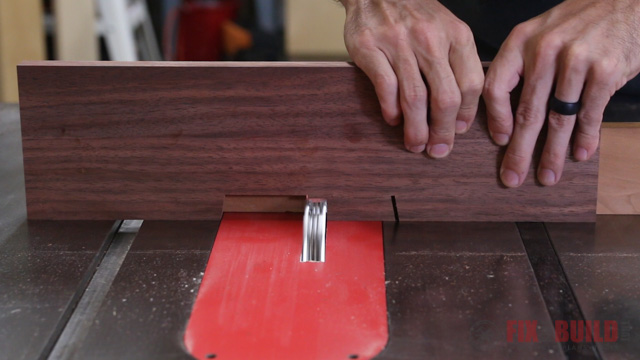
Then I set my blade to 45 degrees and started making the miter cuts on each side of the parts. To cut accurate 45 degree bevels on the tablesaw you need one straight reference side on each board. I used that side to ride against the fence then flipped the piece around and cut the bevel on the other side.
Glueing up the DIY End Table Mitered Box Top
If you’ve cut the miters accurately the glue up of the end table top goes pretty easily with the right help. I lined the boards up and used tape to hold the alignment of the joints.
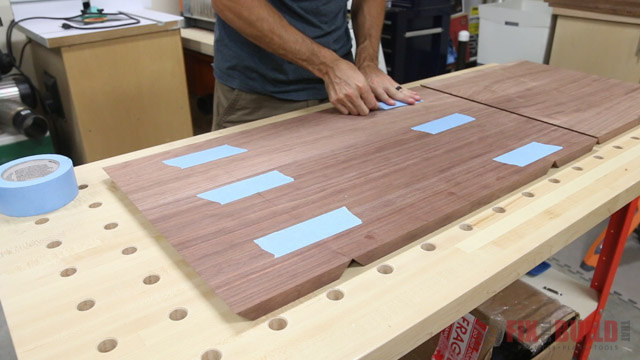
I flipped the parts over then applied a liberal amount of glue to each joint before rolling up the assembly and taping the final joint.
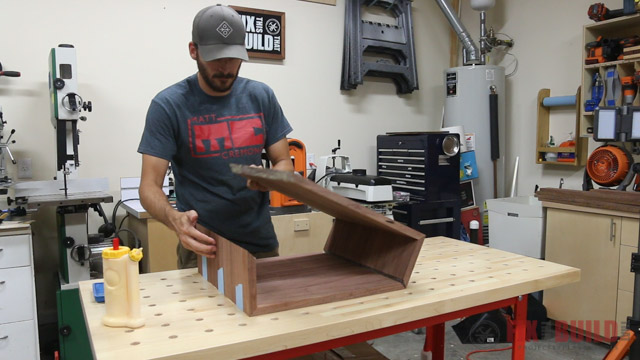
Then I raised the end table box off the bench and applied pressure to the assembly with a strap clamp and some ratchet straps, using scrap boards to keep the metal off the wood.

You’ll notice I didn’t use any splines or biscuits on the joints. This is an end table so it won’t bear much weight and I don’t think I need it. But if you want extra strength you can use dowels, splines or a few other methods to give the miters more support.
Cutting the Legs for the DIY End Table Base
While the box was drying I moved onto the base of the DIY end table. I decided on 1” thick legs for the base and I cut the blanks to size then put a straight edge on both side of the boards with the jointer.
I used a ruler to layout oversized blanks for the tapered legs, avoiding the knots and defects in the boards. I cut the blanks out on the bandsaw then took them to the bench for final layout.
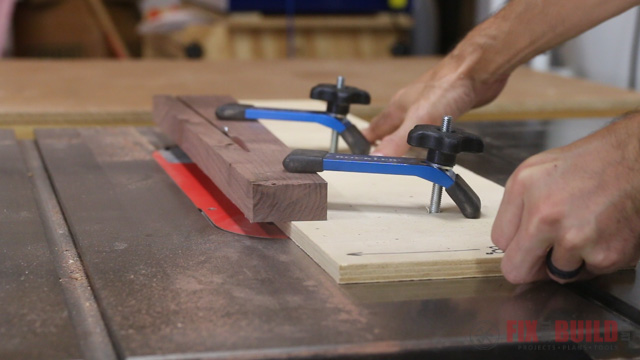
I laid out the taper on the legs with a reference point on each end of the board. I used these reference marks to line up the board on my simple tapering jig I made for my tablesaw. As long as the marks are lined up with the edge of the jig then it will cut the exact taper I need. I need to upgrade this jig though since exact repeatability isn’t easy with this setup.
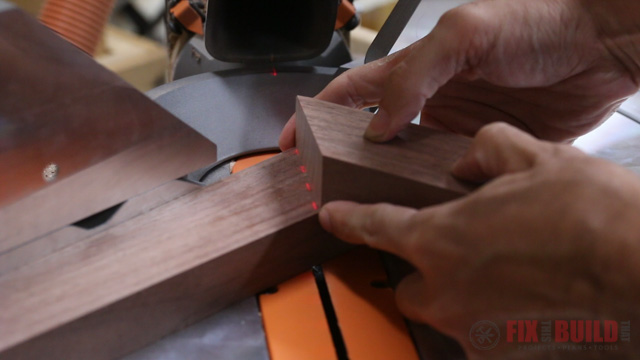
The legs are joined to a top stretcher with miter joints. The splay of the legs is 10 degrees outward and I got this by cutting 40 degree angles first on the top stretcher then on the tops of the legs.
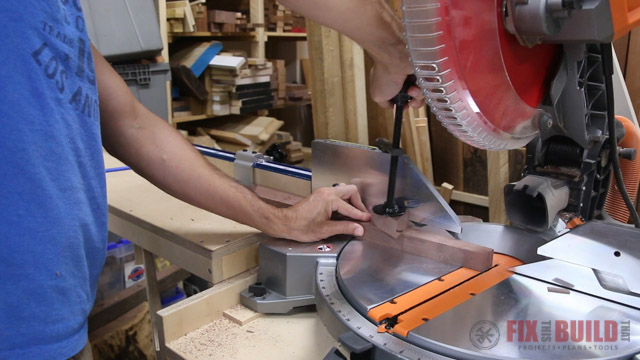
I used the top stretcher and the laser on my miter saw to see where I needed to make the cut on the top of the leg.
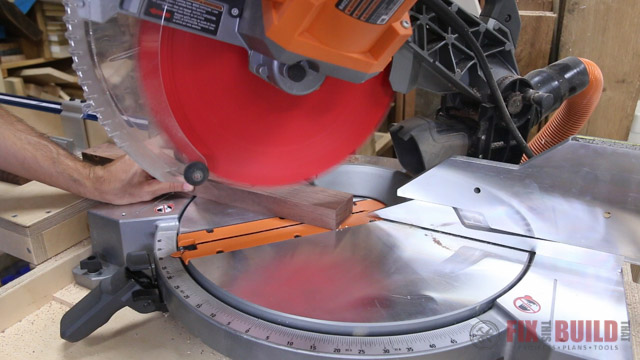
I first cut the leg a little long then snuck up on the exact size with a second cut.
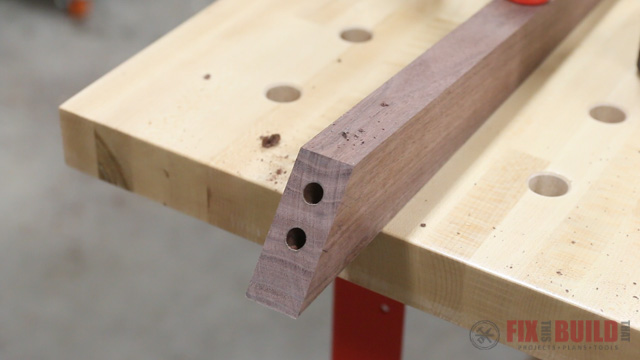
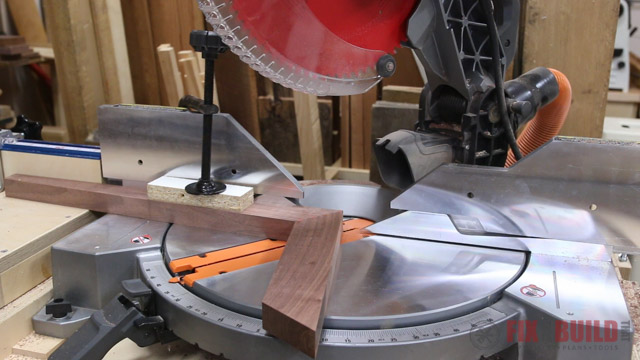 After establishing the top angle on all the legs, I lined up my stop block and made a 10 degree bevel cut on the bottom of each leg.
Making Dowel Joints for the DIY End Table Base
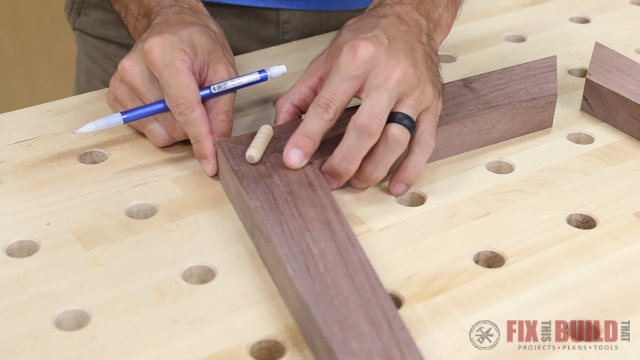
I decided to use dowel joinery for the base of the DIY end table and this was my first time using dowel joinery. I laid out the legs and the top stretcher and marked where each dowel would go. I also labeled each side of the matching joints to keep my parts straight.
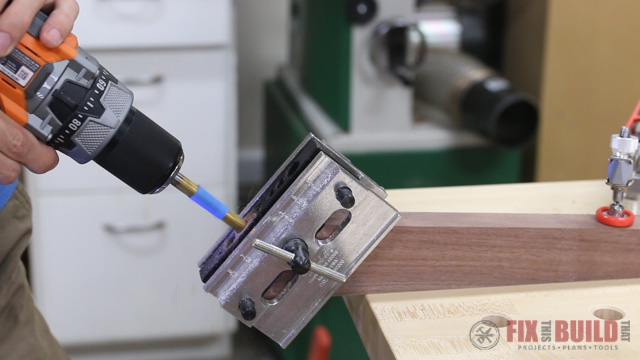
To drill the holes for my dowels, I clamped the leg to my workbench and used a self centering dowel jig aligned with the layout lines I just marked. Then I switched over to the top stretchers and drilled the mating dowel holes on each end using the same technique.
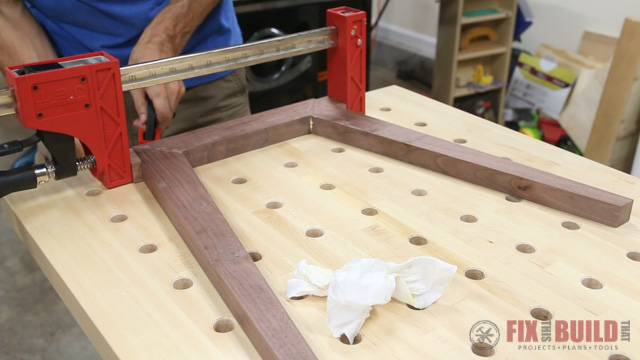
To glue up the leg assembly I put glue in the dowel holes and on the face of each miter then inserted the dowels and pushed the parts together by hand. To effectively clamp the miter joints I cut two little clamping blocks with 10 degree angles on them. I glued sandpaper to the angled face of the blocks and this allowed me to use just one parallel clamp to pull everything tightly together.
The front and back legs of the modern end table are joined by two angled aprons. I cut the aprons to size and added a 10 degree bevel on each side then took them to the legs to layout the dowel joinery.

I drilled dowel holes in the end of each apron first. I could then use those holes to reference the mating holes on the leg assemblies. To do this, I use these little inserts called dowel points and put them in the holes of the aprons.
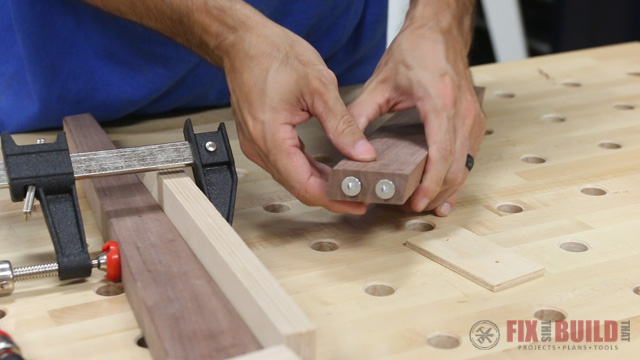
Then I clamped on some plywood guides to position the aprons and used a ¼” piece of plywood between the guide to offset the apron back from the legs. Pressing the points down firmly makes two marks in the wood.
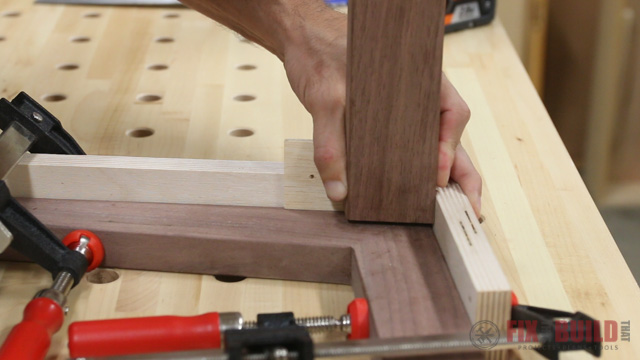
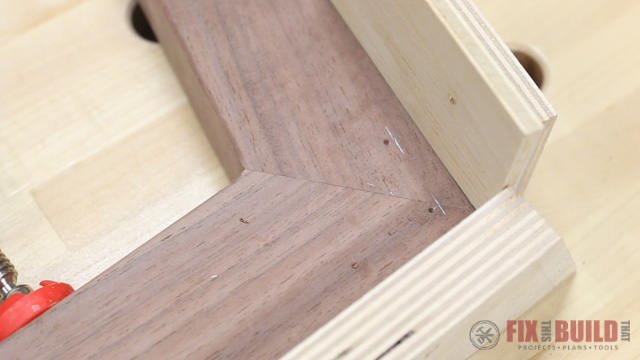
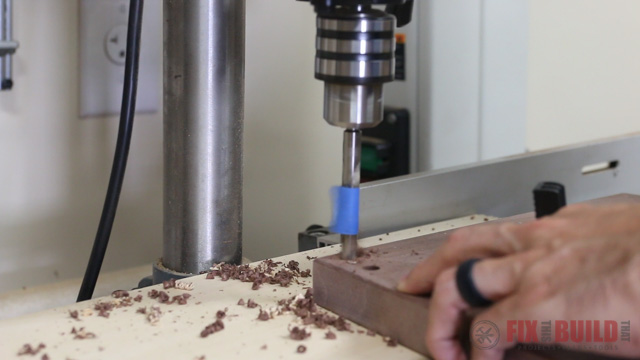
I used these marks to position and drill the dowel holes on the leg assemblies with my drill press.
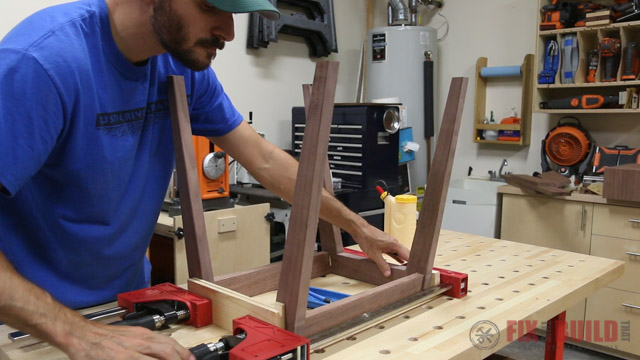
Assembling the Modern DIY End Table Base
Assembly of the DIY end table base is pretty straight forward as the dowels line everything up together.
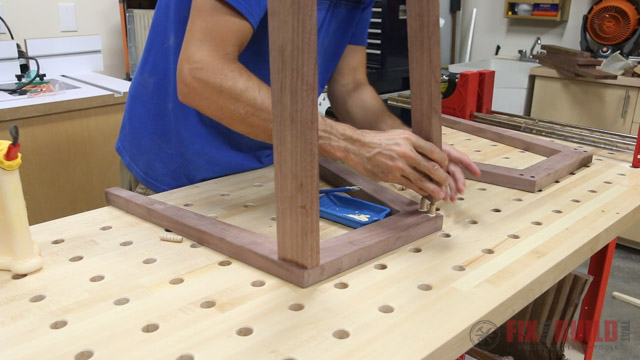
I glued all the dowels and joints, pressed the parts together, then put a couple parallel clamps on the assembly and turned it over to dry.
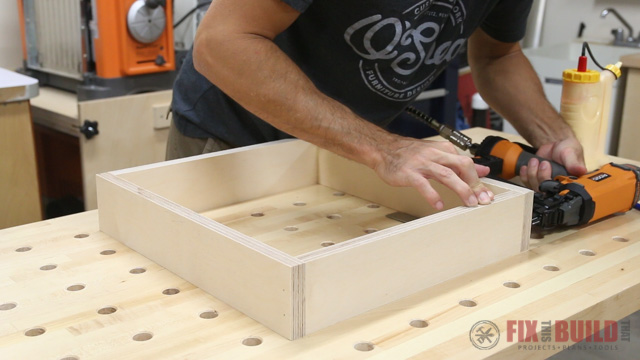
Making the Drawer for the DIY End Table
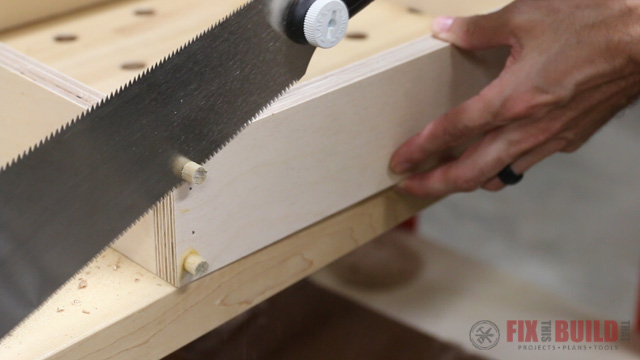
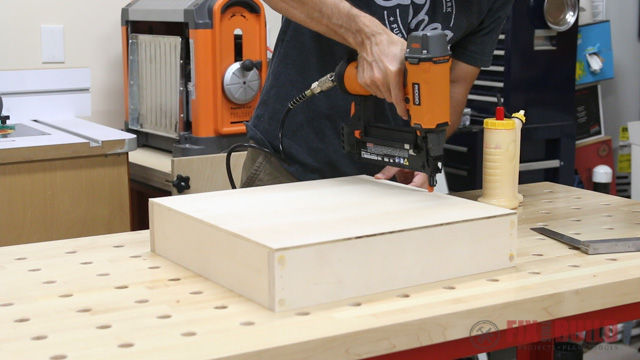
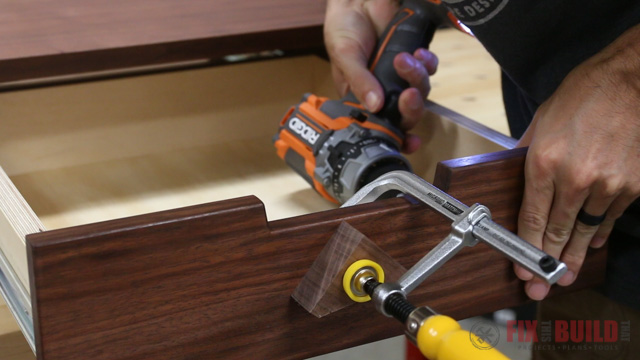
Next I moved to the drawer for the side table. I made the drawer from some leftover ¾” baltic birch I had from previous projects. I went with a very easy assembly method for this one using glue and brad nails to tack the drawer together, then I came back and reinforced each joint with two dowels.
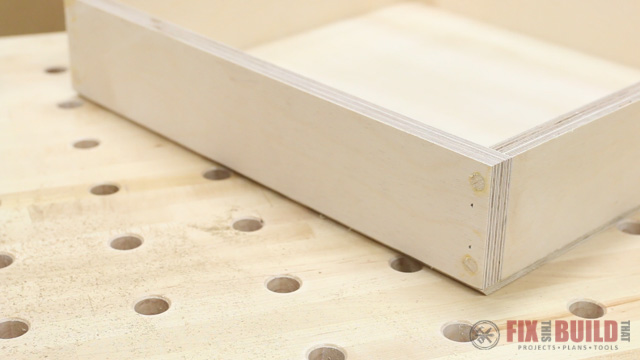
After the glue had dried I cut the extra dowel length off with a flush trim saw.
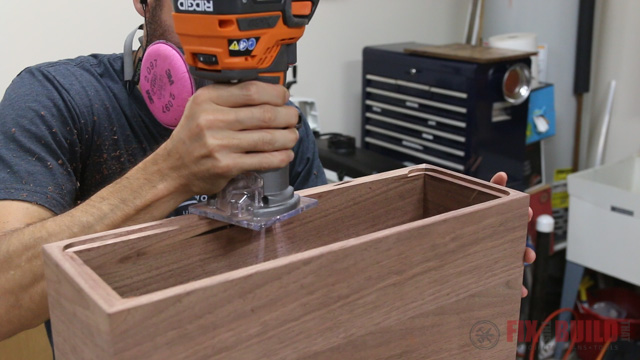
I cut a piece of ¼” plywood to exact size for the bottom and attached it with glue and brad nails. I used a chamfer bit in my router to bevel the bottom along the sides of the drawer. This makes the plywood bottom disappear from sight when seen from the top or side.
Making the False Drawer Front for the DIY End Table
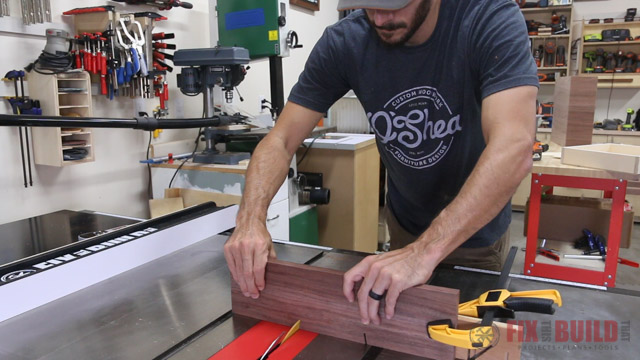
For the end table drawer front I glued up two small walnut boards and marked and cut them ⅛” shorter than the height and width of the drawer opening for a 1/16” reveal on all sides.
I wanted the modern end table to have a clean look with no hardware on the front of the drawer. So I made a handle cut out by establishing 10 degree bevels the width of the handle.
Then I came back with a dado stack and cleared out all the material between the bevel cuts. I finished up by sanding the handle cut out and rounding over all the edges of the drawer front.
Installing the DIY End Table Drawer
Before finishing the top and installing the drawer I routed a rabbet in the back of the top to accept a flush back piece. I squared the rounded corners with a chisel to fit some ¼” plywood.
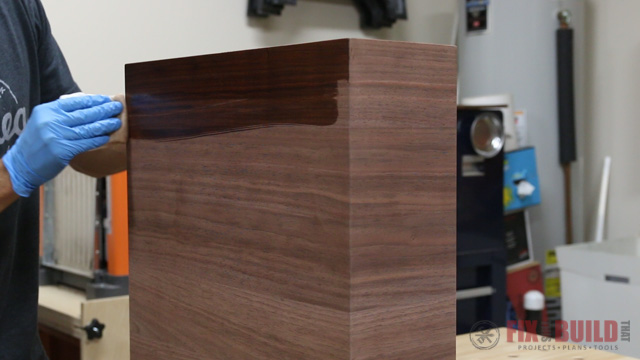
I finished the inside of the box first then flipped the top on it’s back and applied a few coats of oil based polyurethane. I did the same to the base and drawer front and watched the walnut grain pop.
When the finish was dry I installed the drawer slide hardware and fit the false drawer front. I used the old card trick to space the drawer front. 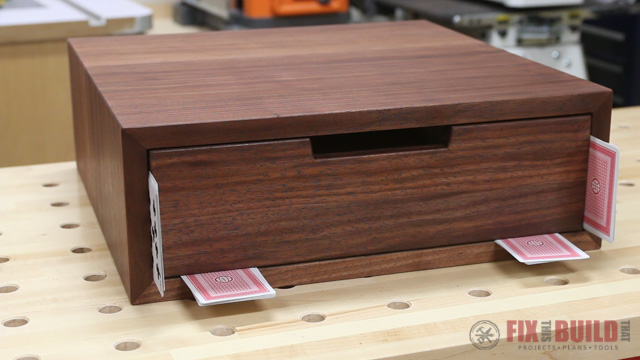
I stacked as many cards as I could on the left and top of the front, then split the stack in half and put the smaller stacks on each side and two on the bottom. I clamped the end table drawer front in place in this position then attached it with screws from inside the drawer.
Final Assembly of the DIY End Table
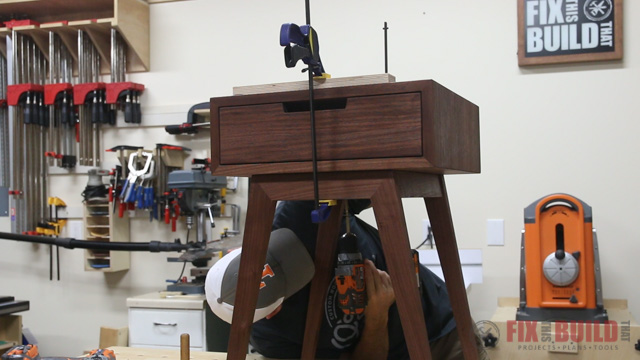
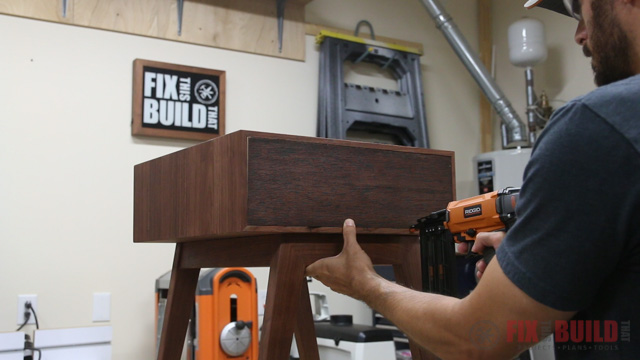
I mounted the top of the modern end table to the base using figure 8 fasteners from below and then installed the back into the rabbeted recess on the box with brad nails.
 This project really exceeded my expectations. It was my first shot at a real modern furniture design with nice hardwoods and I love how it turned out. I’m looking forward to making more pieces in this style.
If you want plans for this Modern DIY End Table you can follow the links below and build your own! You can also check out my other furniture projects on my Furniture Projects page.
JET Woodworking provided me with product and/or monetary compensation as a sponsor of this build. All opinions are my own and are not filtered by the sponsor.


