If you’ve ever used a thickness planer in your woodworking then you’ve likely dealt with snipe. Well today i’m going to show you 6 ways to reduce planer snipe and help you win the battle over this nasty phenomenon. If you don’t own a thickness planer but are thinking of getting one then this will be a helpful post to get your familiar with the planer as well.
Affiliate links are used on this page. See my disclosure page for info on affiliate programs.
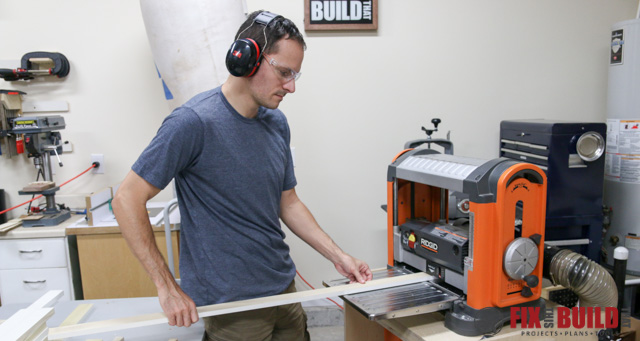
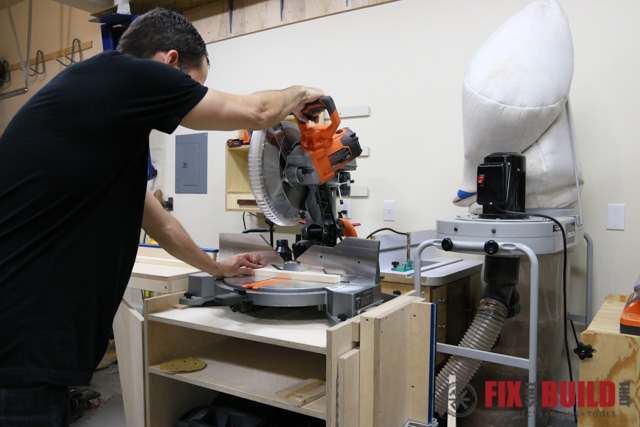
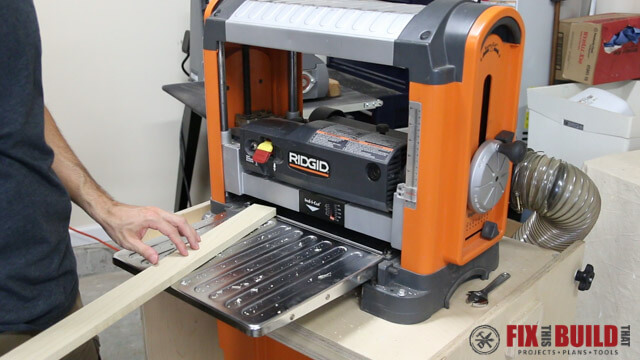
Let’s jump right in! The planer that I use is referred to as a “lunchbox” planer. It’s an older RIDGID model (here is the new model) and it is technically portable though I wouldn’t want to be slinging it around it often. My friends over at RIDGID Power Tools asked me to put together some tips for folks using planers, but these techniques will work with any portable/lunchbox style planer.
So what is snipe anyway?
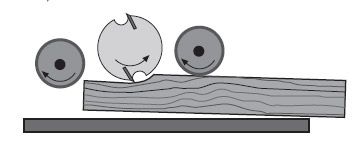
Snipe is simply when a board is cut deeper on the beginning or end when going through a planer. This is typically caused by the board lifting up into the cutter head while it’s only being held down by one of the pressure rollers. Here is a nice graphic from a Highland Woodworking article on planer snipe that shows it well. The pressure rollers are on the outside and the cutterhead is in the middle.
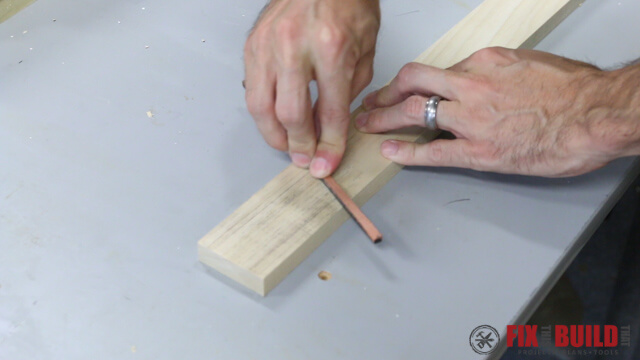
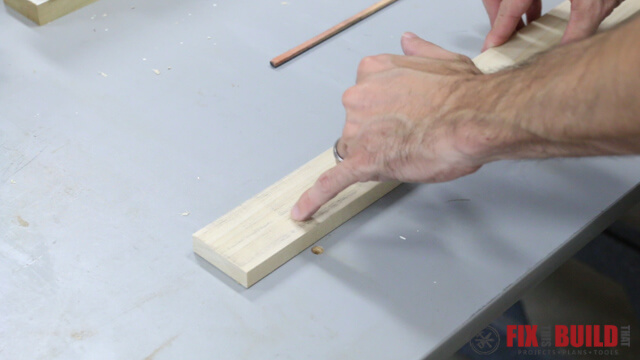
I ran a board through my planer and rubbed a lead pencil over the end of it to show you what this looks like. The high spots get darkened by the lead and the low spots remain white. I’ll be using this method to show you how well each method to reduce snipe works.
6 Ways to Reduce Snipe
- Cut the Snipe Off the Ends
- Adjust the Infeed/Outfeed Tables Up
- Use a Sacrificial Board Before and After
- Use Sacrificial Side Runners for Glue Ups
- Run the Boards Through on an Angle
- Lift the Board In and Out of the Planer
#1 – Cut the Snipe Off the Ends
This first way to get rid of snipe is the easiest but most wasteful. You can just cut off the ends of the boards where the snipe is. The problem with this method is that not only is it wasteful since you have to buy longer boards, but it also takes a lot more time. You’ll have to make 2 more cuts on every single board you run through the planer.
#2 – Adjust the Infeed/Outfeed Tables Up
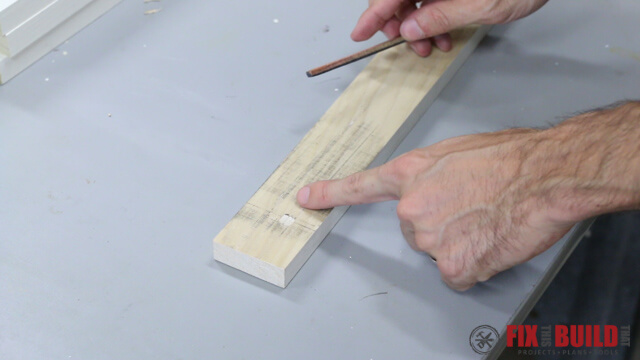
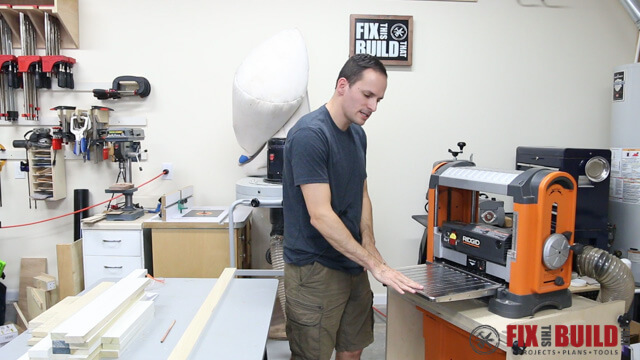
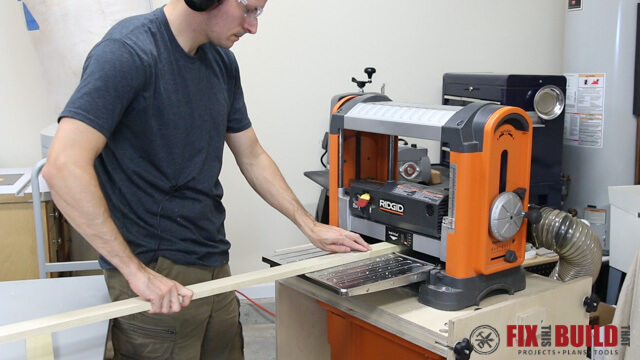
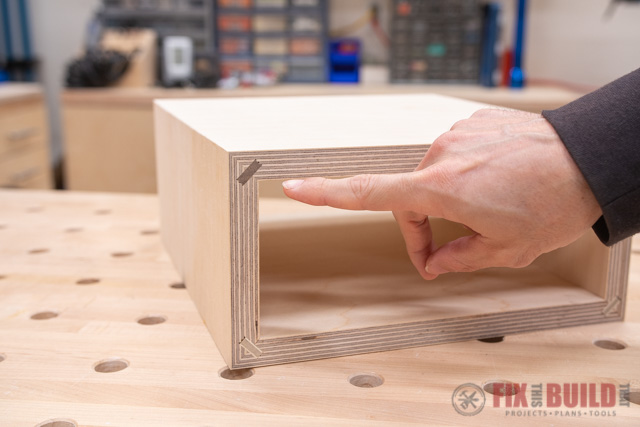
Most lunchbox style planers have adjustable tables on the infeed and outfeed sides that fold up onto the unit for storage. The second way to reduce planer snipe is to adjust the tables so that the front of the infeed table and the back of the outfeed table are slightly higher than the planer bed. The part I’m touching in the photo below is the front of the infeed table.
To adjust the tables you can raise them into the storage position an then access the adjustment mechanism underneath. On this RIDGID planer it is a set screw with a locking nut. It may vary depending upon your model.
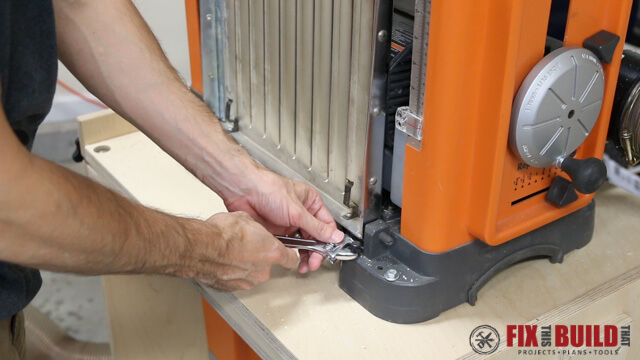
Adjust the table so if you laid a straight edge across the infeed and outfeed tables it would be 1/16″ higher than the planer bed.
#3 – Use a Sacrificial Board Before and After
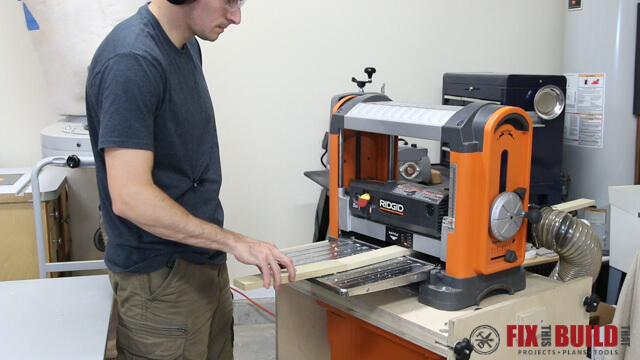
The third method to reduce planer snipe is to use a sacrificial before and after the piece you are sending through. The idea here is that the snipe will happen to the lead and trail boards and everything in between will be clean. To do this just have 2 boards that are long enough to be safely planed (~12″ for most planers, check your manual for your model). Send one short board through first.
Then butt your good piece directly behind so it is touching the lead board and push it in until the feed rollers grab it.
Follow the board up with another sacrificial piece using the same method. If you have multiple boards to plane then you can feed them through choo-choo train style and then end with the sacrificial board. Toot toot!
Here is the result using this method. You’ll notice the pencil lines go all the way to the end showing that the surface is all the same height. This is a great method to reduce snipe.
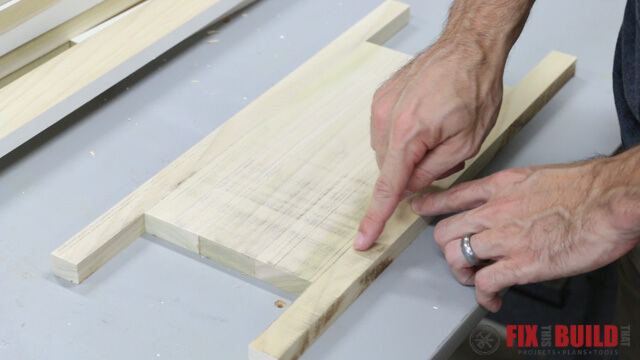
#4 – Use Sacrificial Side Runners for Glue Ups
The fourth method to reduce planer snipe is best suited for glue ups vs. individual boards. I’ve seen this done with cutting boards or other such glue ups. The technique is to glue on side runners to the smaller glue up. The side runners should extend further than the typical snipe length of your boards (2-3″). After planing to size you would cut the runners off at the table saw.
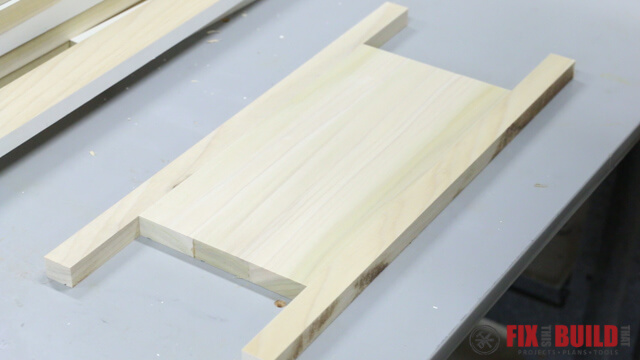
I was a little surprised with the results of this one. It did not completely elminate the snipe like I thought it would. You can see here the divot that was left in the lead edge of the board. I think it’s because the rollers are rubber and even though they have engaged with the runners they still impact the front edge and cause a little bounce into the cutterhead.
I also think that ripping the sides off on the tablesaw afterwards would be a pain. I won’t use this method as there are much better ones.
#5 – Run the Boards Through on an Angle
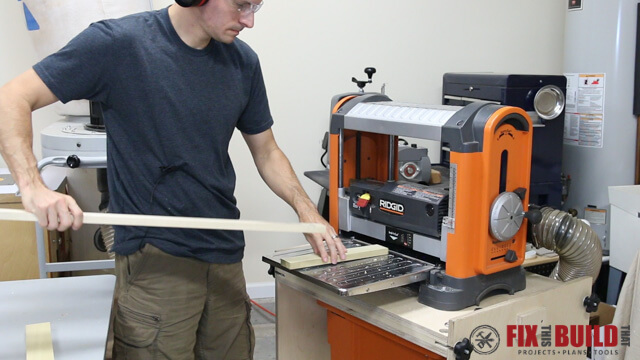
The fifth method for reducing planer snipe is to run the boards through on an angle. The idea here is instead of the feedrollers hitting the front edge all at once it hits just the front corner of the board and “eases” onto the rest of the board. Angle the board 15 to 30 degrees coming into the planer.
I didn’t think this one would work as well as it did, but as you can see by the lead markings, it really only had a little snipe on the corner where you would expect it. This works great for the minimal effort needed to do it.
 #6 – Lift the Board In and Out of the Planer

The final way I tested to reduce planer snipe is to lift the board as it goes in and out of the planer. The method here is to lift the back end of the board as it’s going into the planer and lift the front end as the board exits the planer. By lifting one end you are keeping the other end of the board from teetering up into the cutterhead. The lift is only about 1/16″ to 1/8″, so it’s not much.


This method worked pretty well, but did leave a small divot on the board. No major snipe, but just the divot. I was a little surprised by this, but I think it’s still a good method as that divot was extremely shallow.
Well, there you go! Now you have 6 ways to reduce planer snipe while you are thicknessing boards for your woodworking projects. Let me know below in the comments what your favorite method is or if you use a way I didn’t show.
If you want to see some other great projects like the Flip Top Tool Stand that my planer is sitting on you can go to my Shop Projects page.
RIDGID provided me with product and/or monetary compensation as a sponsor of this build. All opinions are my own and are not filtered by the sponsor.


You have the exact Ridgid Model Planer that I have, though mine is currently in storage. I am trying to determine what model number this is so that I can see if there is a shelix cutterheard kit for it. What model number is this in the video? Thanks for all your help.
If you replaced blades and it just started sniping, your blades are cutting too much, retract them a tenth or two mills.
Great job demonstrating your methods on how to eliminate snipe. Especially liked your use of lead from a carpenter’s pencil to highlight the low spots.FYI. The root causes of Snipe has more to do with the physics of speed/momentum of your cutter head than the configuration of the infeed and outfeed rollers. That’s the reason why large, expensive commercial planers with long, heavy, cast iron and calibrated infeed and outfeed tables with multiple rollers also snipe. The cutter has a high rate of speed that is slowed upon contacting wood. This is the cause of the snipe on the front of the board. The snipe on the end occurs due to the tear out of material at the end of your piece, less material reinforcing the cut. It’s easy to assume the rollers are the culprit on a “lunchbox” configuration, although I can see how the feeds will compound the problem. All equipment (routers, shapers, jointers, planers, drum sanders) with cutting heads snipe. It’s a matter of physics.With method #3, avoid butting the front and back sacrificial pieces together with your main piece, rather stagger them/offset them. You can feed multiple pieces through your planer at the same time. Sometimes there’s even a hairline gap pushing your pieces one after the other, this allows the cutter head to snipe again. This basically creates the low areas on the back of your leading sacrificial piece, the front of your main piece and so forth each time there’s a gap in your feed.Hope this helps. Keep making woodchips and sawdust.
Thanks for the response, great points there on the physics of it all.
I use several… Angle feed, lift in/out, cut off snipe. Gotta be careful raising fed trays, you can create a dish effect on long boards (thinner in middle instead of flat). I’ve found snipe on leading end is worse than snipe on trailing end. Often when getting near final thickness, I begin making thickness adjustments in very small 1/64th increments and I can reduce the snipe depth to where it’s easily sandable. If I’m working with extremely hard wood, especially on highly visible pieces (tops, face frames, etc) I just make my original cut a few inches long, then cut off the snipe end. Always feeding same direction will keep the worst of the snipe on the same end.
You never showed how method #2 worked for reducing snipe. What were the results for that? Also, which is your favorite?