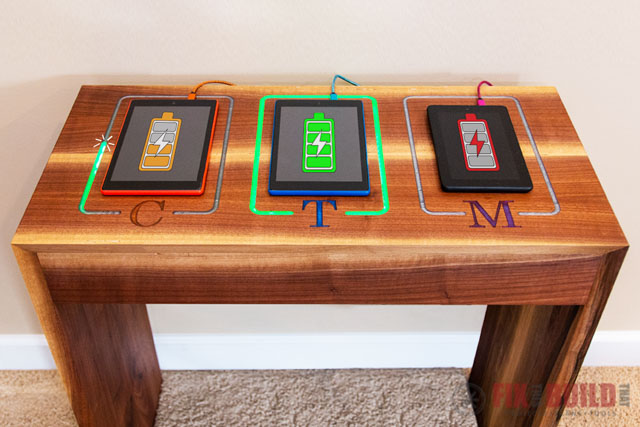
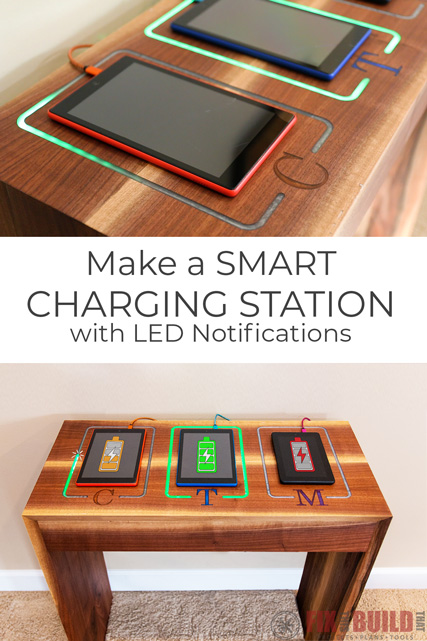
Today I’m making a DIY Charging Station with LED notifications to hold my kid’s tablets. They need a good place to store and charge their devices, which we figured out the hard way. Tablets that get left on the floor, get cracked screens…
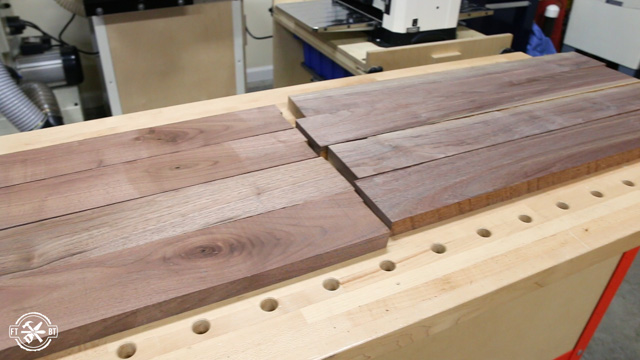
I have a small stack of leftover walnut boards that I’m using for the charging table. These boards were too nasty or just not the right fit for previous projects. I’m also going to really challenge myself by using new materials and skills on this build.
Spoiler, when I say challenge… I mean I failed.
Materials/Supplies
Affiliate links are used on this page. See my disclosure page for info on affiliate programs.
How To Make a DIY Charging Station:
- Prep Wood
- Cut Graphics with CNC Machine
- Pour Epoxy in Graphics
- Finish Building the Charging Station
- Attach Sides
- Assemble and Finish the Charging Station
- Add LED Lights and Animation
1. Prep Wood for DIY Charging Station
I pulled the walnut boards off the rack and sorted through the pile looking for pieces that could work.

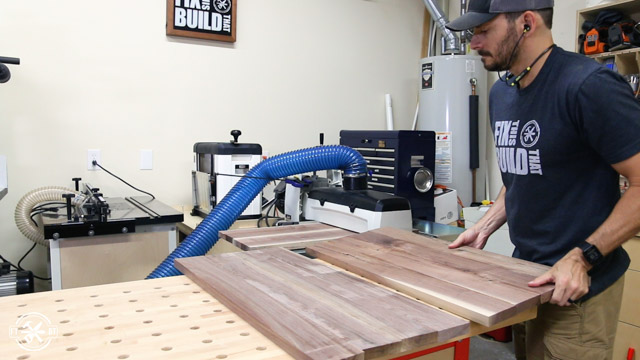
All the walnut I had was rough and needed a lot of milling to get it into a usable shape. I used my planer to get the boards flat on both sides and start revealing the grain underneath.
I was able to put together three different panels of boards that fit pretty well together. With a little work I could make them look decent enough. And I’d get a really unique looking piece with some light sapwood accents.
The three panels will be connected together with a miter joint. That meant I needed to make them the same width. Getting a square edge on the jointer and then ripping each board to size left me ready for glue ups.
It’s very important to make sure you have the boards in the right orientation before you glue them up. Earlier I marked the ends of the boards with the light sapwood streaks in them for this exact reason. It’s never fun to realize after the glue up that you didn’t match up the boards the way you really wanted to.

The glued up panels were just wider than my planer so I went to the drum sander to flatten them out before moving on to the next step.
2. Cut Graphics with CNC Machine
I designed a graphics layout for the top of the charging station. Then I imported it into the Easel software that runs my Inventables X-Carve.
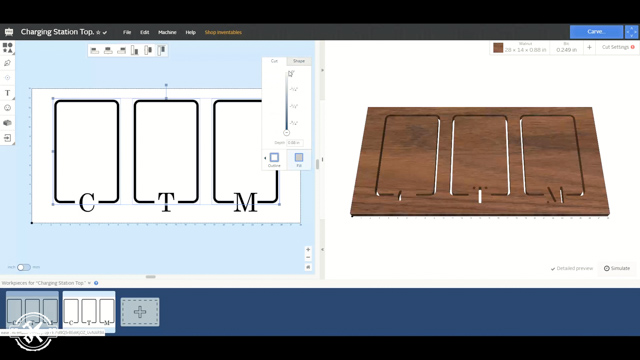
I’ll be using the CNC to route the charging locations and initials so each of my kids will have their own designated USB cord and place on the charging station.
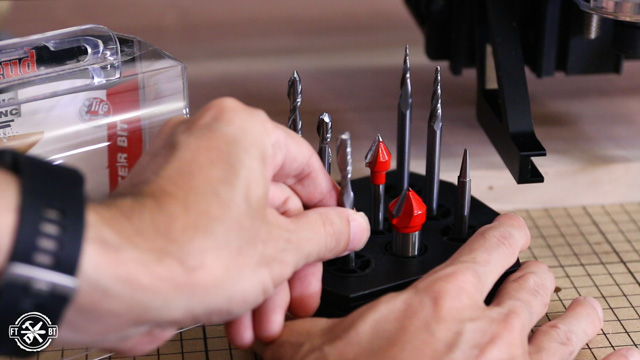
I’m using the signmaking router bit set from Freud for the carving.
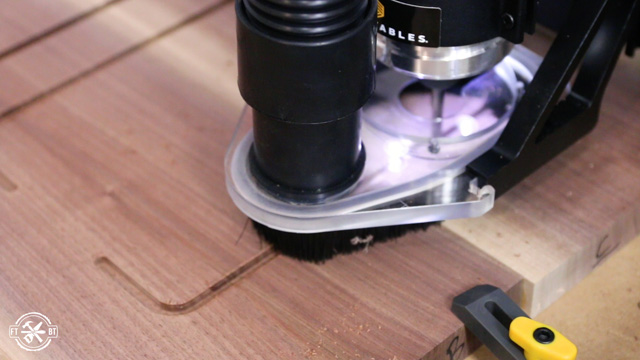
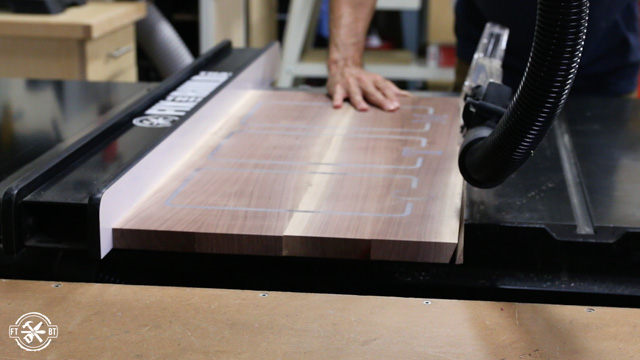
I started off with the ¼” carbide spiral bit to cut the landing spot grooves. The grooves will be cut all the way through the walnut. Then they will be filled with epoxy and backlit with LEDs. The spiral bit makes nice clean cuts that remove a lot of material at a time.
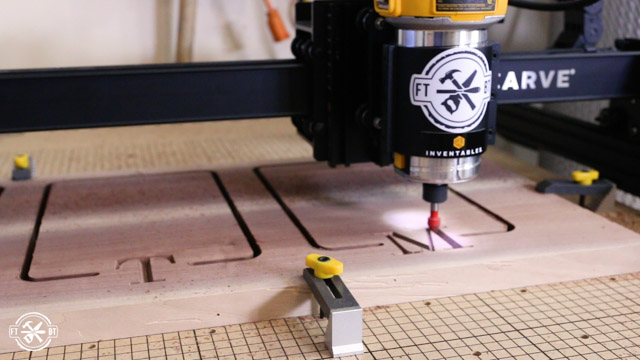
After the spiral bit passes were finished I changed the bit over to the 60 degree v-bit and rezeroed the X-carve. This is a perfect application for using a CNC as doing this cleanly by hand would be nearly impossible for me.
3. Pour Epoxy in Graphics
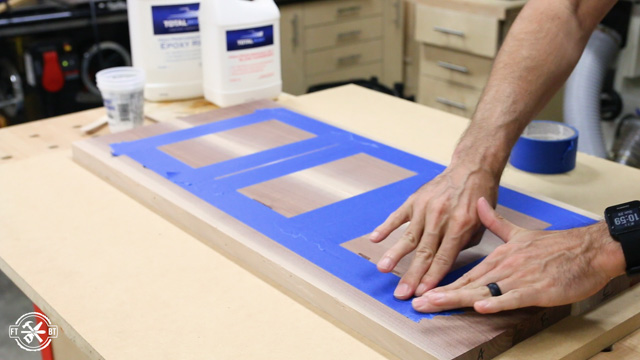
I’ll have LEDs running under the grooves in the charging table top and I wanted to fill them with epoxy to diffuse the light. But instead of embedding the LEDs in the epoxy, I wanted to keep the electronics accessible. I decided to only half fill the groove with epoxy to leave room for the lights.
To do this, I taped off the front of the grooves, then flipped the top over and leveled it for an even pour.
Then I mixed up three cups of high performance epoxy with a slow hardener. White pigment added to the mix gives the epoxy a nice look when it isn’t backlit. It will also diffuse the light nicely when lit.
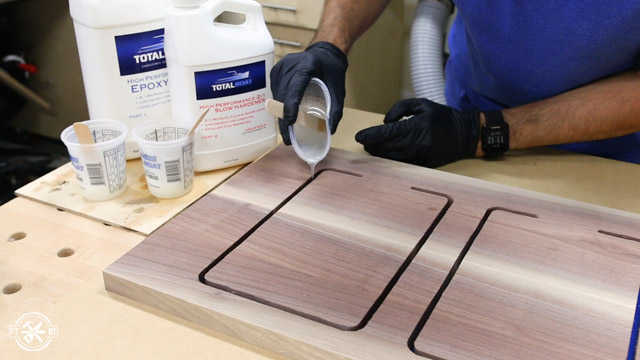
Each cup had just enough in it to fill one channel to the halfway point. I poured them all in and let the epoxy cure for about six hours.
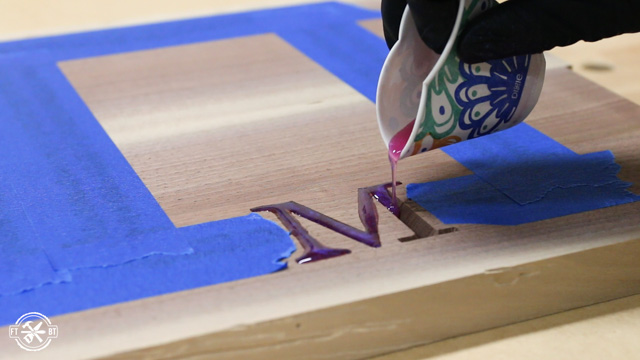
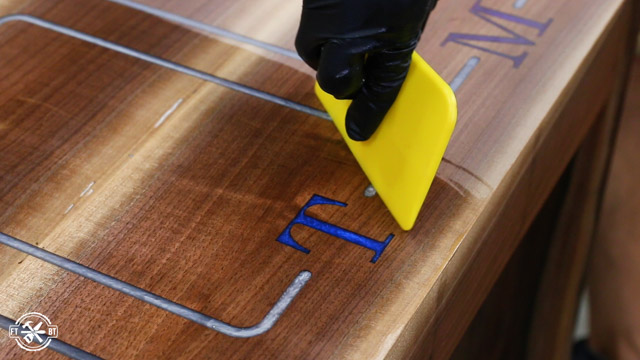
Next I flipped the top over and uncovered the initials. The initials won’t be backlit but I wanted them to be filled with a fun colored epoxy. To do this, I mixed up more epoxy, this time using a fast hardener. I added orange, blue and purple pigments to the mix. I overfilled each letter and then let everything cure overnight.
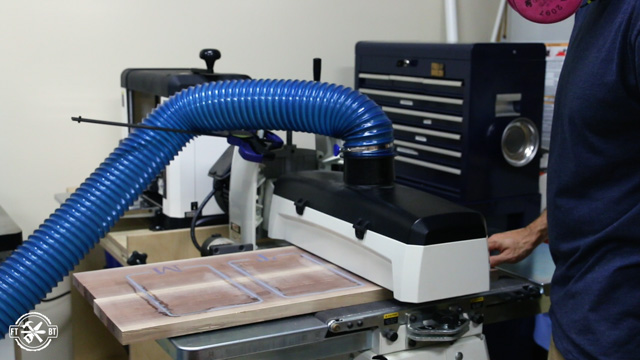
The next day I peeled off the painters tape and I hit all the epoxy with a card scraper to remove that before sanding. And while I was at it I knocked down the epoxy letters a bit just to keep a little wear off my sandpaper.
But I probably didn’t need to do that because my drum sander ate through the epoxy like my kids polish off a box of Lucky Charms.
4. Finish Building the Charging Table
The shape of the charging station is pretty basic so I wanted to give it a few embellishments. First I tilted my table saw to 20 degrees and cut a chamfer on the front face of all the panels. This will give a cool inset look when I put on the front face.
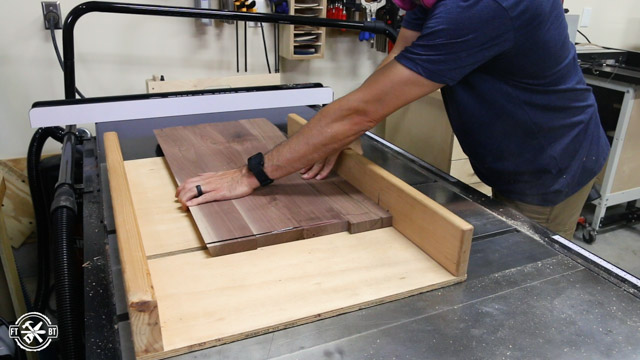
After that it was time to start cutting some joinery to attach the panels. I moved the blade over to 45 degrees and pulled out my old table saw sled that I’ve dedicated to cutting miters.

I started by cutting the miters on the side panels. The measurements weren’t important here since I’ll be cutting them to length after this. But it was important to make sure the miters were on the correct ends. I made one cut with the front chamfer out and one with the chamfer against the fence.
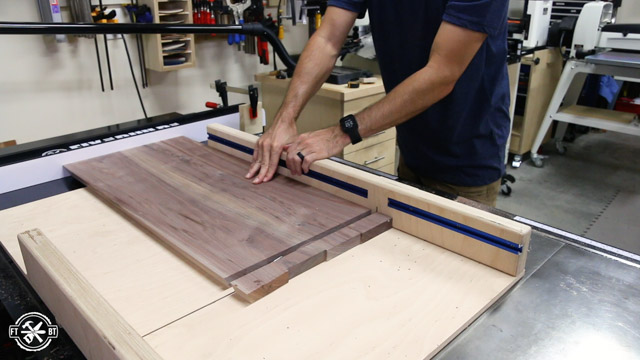
Leaving the top panel oversized for the CNC work let me center the design now with the cuts on the sled. This makes the CNC work a little less finicky as you don’t have to be perfect with your location.
Next I used my new table sled to make the 90 degree cuts on the side panels.
Finally I finished off the table saw work by cutting a front and back for the charging station.
5. Attach Sides to the DIY Charging Table
The DIY Charging Station will have mitered legs, and I’ve done similar mitered glue ups in the past. My epoxy waterfall table and modern end table both involved mitered glue ups. But this one was a bit different as I had three pieces to glue up, instead of two or four like the others.
First I tried using clear packing tape across the miters to hold them together for the glue up. But it didn’t work out well. So I switched over to blue painter’s tape which worked much better.

Pre-planning a glue up like this makes life a lot easier. Going through the full setup beforehand will help cut down on the crazy that comes with a complicated glue up. I’m using a quick set thick glue that works really well for miters.
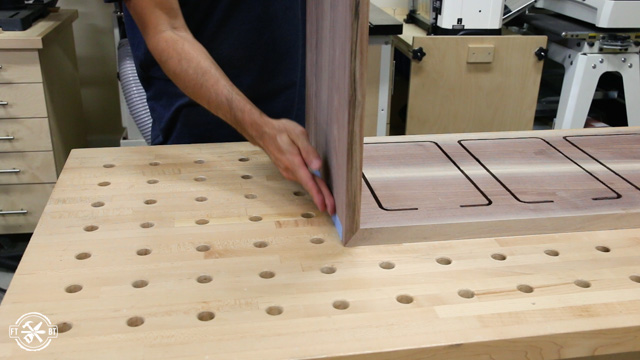
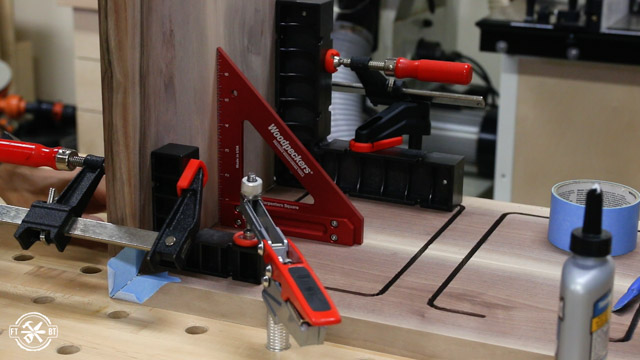
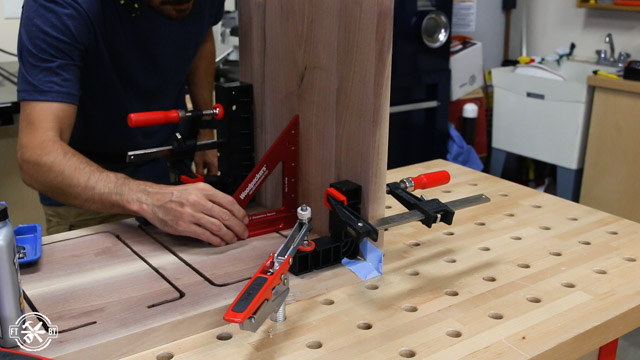
I used the dog holes in my workbench to hold down two right angle clamping squares to the top. Then I hinged the side up and used more clamps to hold the side to the clamping squares.
This technique works pretty well, but you may have to adjust the clamping squares forward or backward to get them lined up perfectly. Definitely check the angle with your best 90 degree square before leaving it to dry because these clamping squares can flex a bit.
After the first side had dried for about 30 minutes I repeated the process on the other side.
6. Assemble and Finish the Charging Station
When the glue was dry I took the table out of the clamps. I did some relief chiseling under the monograms which will let the LEDs sit flush in the groove. This will also create a place for the wires.
I decided to make a removable bottom for the charging station so I can easily access everything if needed. I cut a rabbet groove on the front and back parts to fit a ¼” plywood panel. The bottom piece will sit flush and will be screwed in place for quick removal.
The front got attached with pocket screws on the sides and top. I also inset the front so it was flush with the recessed chamfer edge. This will give a cool detail in the finished piece.
Next I applied a two part oil finish. I sanded up to 150 grit then rubbed in the finish with a white scotchbrite pad on the sides and used a squeegee on the top to distribute it. The epoxy really popped with this finish. Even if you don’t want to get fancy and add LEDs this could be a great looking charging station as-is.
7. Add LED Lights and Animation
But of course I wanted to take it to the next level and here’s where I got a little out of my league. I saw a video several years ago by makjosher, where he made a lightbulb turn on or off when his phone was done charging.
I wanted to do the same thing except with LEDs and have some animation. My only issue was… I had no clue what I was doing. And though I do have some light coding experience, this was my first time working with this type of electronics.
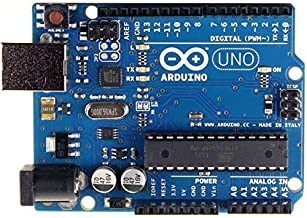
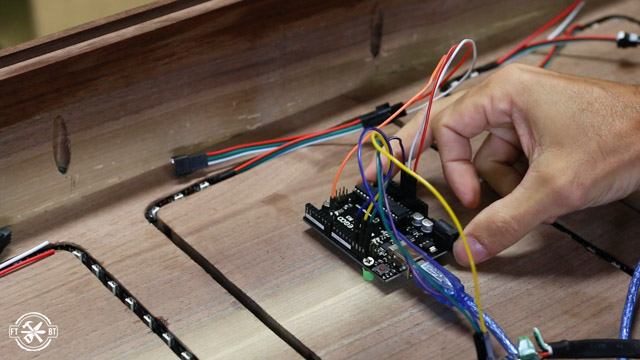
So I’m going to go super high level here. The idea was to use a little microcontroller, the Arduino UNO, and put some code on it to control a set of LEDs. The Arduino reads a variety of inputs and can give commands to the LEDs based off the code and logic uploaded to it.
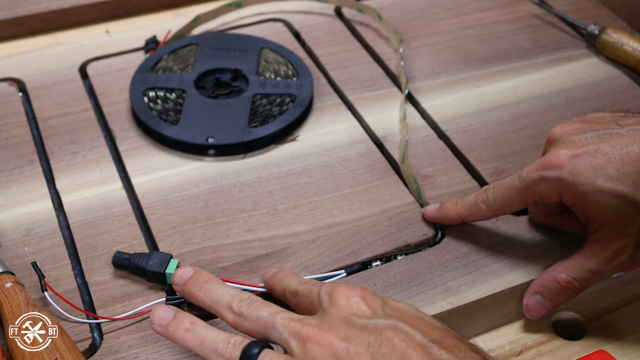
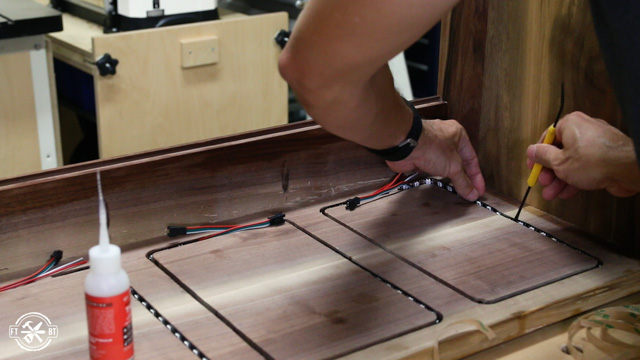
I glued the LEDs in place in the epoxy channels to start the wiring.
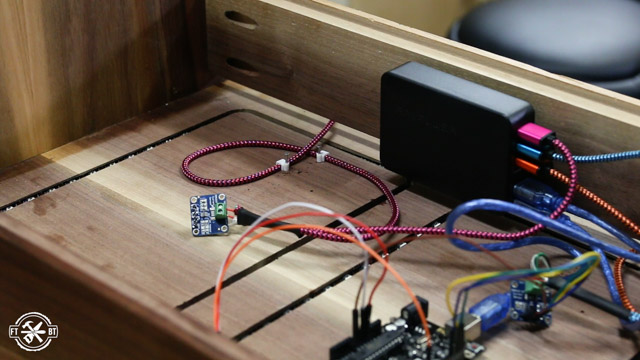
I used a 6-bay USB power block to power everything. Three spots were for usb charging cables dedicated to charging the tablets. The Arduinos were powered from the other charger slots and passed through power to the LEDs.
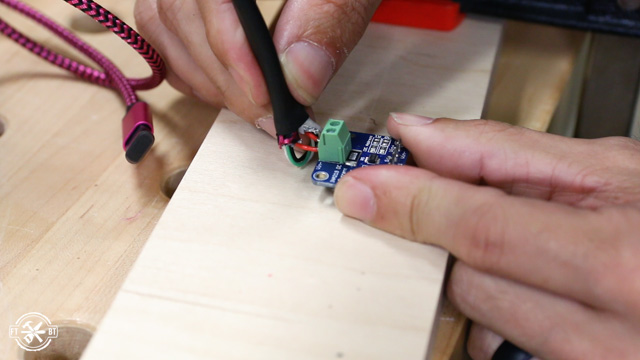
Next I wired in these little current and voltage sensors that makjosher used into each cable. This should have let the Arduino read the current flowing through the cable and know if the tablet is actively charging or not.
Here’s Where Things Went Wrong…
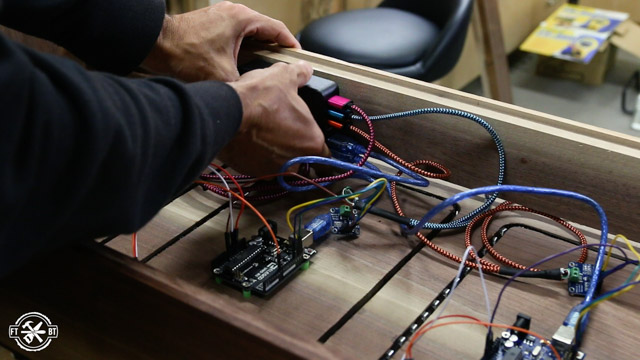
My original plan was to use just one Arduino Uno. I figured out how to measure all the currents at once… but not how to control the multiple LED strips at the same time. When I tried to do this I had major delays during the loop commands. Instead I thought it would be way easier to control each charging location and LED strip with its own Arduino. I only had two on hand so I switched to three less expensive Arduino Nanos later.
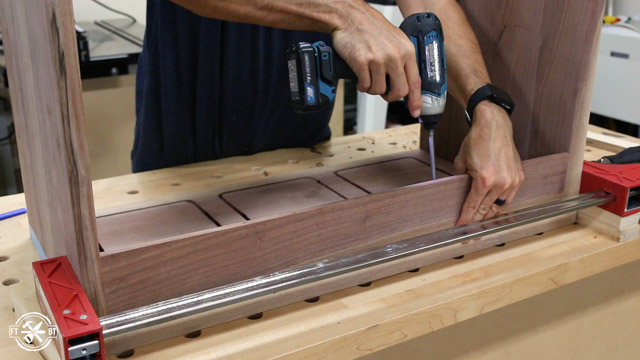
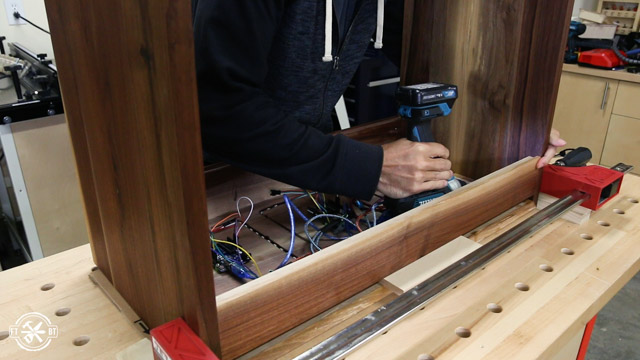
I wired everything in place and secured the boards down using screws and stand offs I cut from a straw.
Then I installed the back which was ½” shorter than the front. This left a space to run the cables out the back and to let any heat out.
I stuck the power block to the back with velcro and ran the charging cables out the back.
I also put a couple cable clips on the cords so they won’t pull out the wiring if they get yanked.
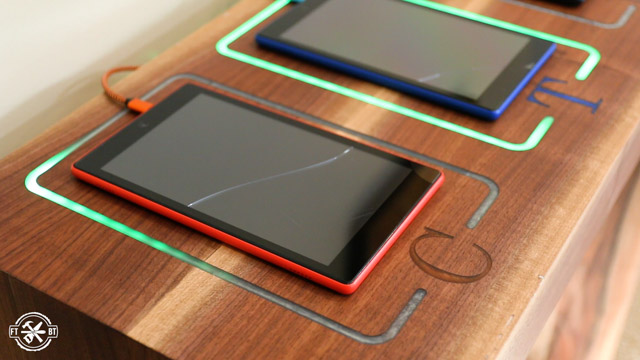
 Now programming these LEDs was a whole other adventure. I got them to to stay off when not charging, pulse in a circle when charging, and glow solid green when fully charged…sometimes. Other times it goes blank after charging and blinks wildly when not plugged in. So I definitely failed figuring out the coding on my own. But that’s what the internet is for and I’ll be getting advice from experts and figuring it out soon.
I know I can figure it out with some help or more research. And most importantly my kids think it’s pretty cool to have their own LED charging station for their tablets.
That’s how I made my own DIY Charging Station. I really learned a lot on this project and pushed myself out of my comfort zone. If you’re into smart projects you may also like my DIY Desk With Hidden Wireless Charging.
Freud Tools provided me with product and/or monetary compensation as a sponsor of this build. All opinions are my own and are not filtered by the sponsor.


Hi, I’m building my own desk with integrated charging station. Can you share the code for the Arduino? even only the light animation part, I’m trying to replicate your animation but I can’t figure it out… Thank you very much! I’ll leave you my email address: [email protected]
P.S. this is an amazing project 😀
Glad you like the project, it was fun. However I can’t provide the code because I messed with it so much that I don’t really know what the code is at this point. Sorry about that!