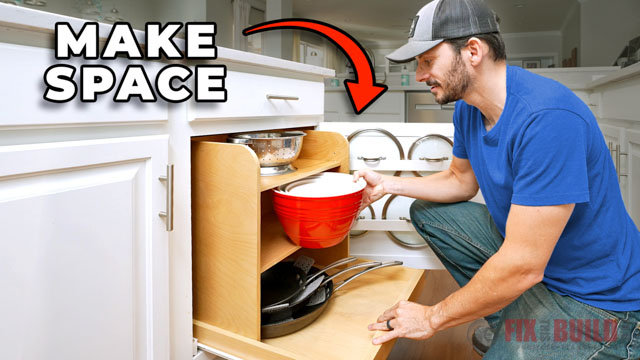
Are you struggling to organize your cutting boards? We had one narrow cabinet that held all of our cutting boards, cookie sheets, cooling racks and more… and it was a mess. I knew there had to be a better way which is why I made my own DIY Cutting Board Storage.
With just a few tools you can make your own adjustable cutting board storage and reclaim your space.
Tools Used
Materials/Supplies
- Mullion Strips 20″x1-1/2″x3″
- Combination Square
- Wood Glue
- CA Glue
- CA Glue Activator
- Water Based Poly
Affiliate links are used on this page. See my disclosure page for info on affiliate programs.
How to make DIY Cutting Board Storage
- Prep cutting board area
- Build bottom divider base
- Build upper divider base
- Make the top frame
- Install cutting board storage
1. Prep Cutting Board Area
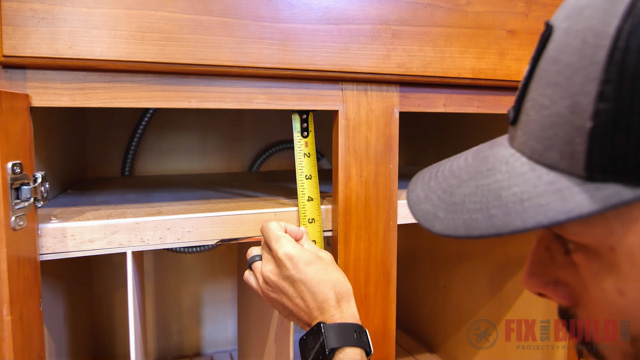
I started by taking everything out of the cabinet I planned to use for my DIY Cutting Board Storage and Cookie Sheet Storage. With the cabinet empty I could see that I had about 20” of depth available to work with. That’s plenty of room for our cutting boards and cookie sheets.
I decided to make adjustable dividers to keep everything organized and to give me flexibility down the road. The base for the dividers and the actual dividers will both be made of ¼” plywood. I saw a similar idea in a Family Handyman magazine, but you’ll see how I modified it for even more storage.
2. Build Bottom Divider Base
The dividers for the cutting board storage are held in place in grooves between the wood strips (mullion strips) on the top and bottom of the cabinet. This makes the storage easy to adjust as needed.
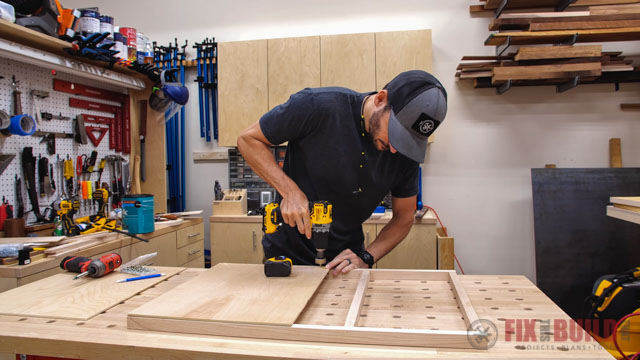
I decided to build the base for the dividers instead of cutting into the cabinet. To do this I used readily available trim from the home center called mullion strips. The mullion strips are 1-½” wide and ⅜” thick and I cut them all down to 20”.
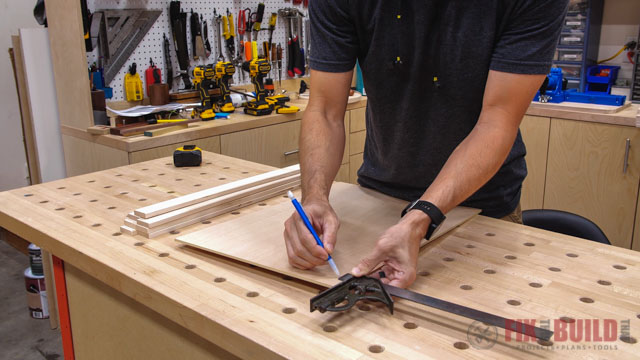
Using a combination square, I marked lines on a plywood panel. The lines are 1” in from the side to be flush with the face frame.
Then I clamped a piece of scrap wood to my bench to help align the front of the strips.
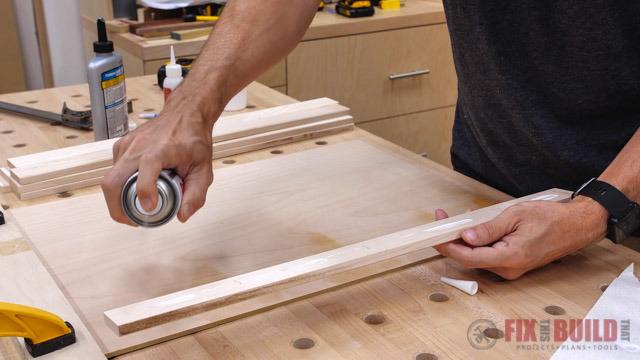
Since the plywood is so thin I’m just using glue to attach the strips instead of using fasteners. I started by using a combination of wood glue and CA glue. The CA glue bonds within a few seconds and holds the strips in place while the wood glue dries for a permanent bond.

I also added an activator before attaching the mullion strip.
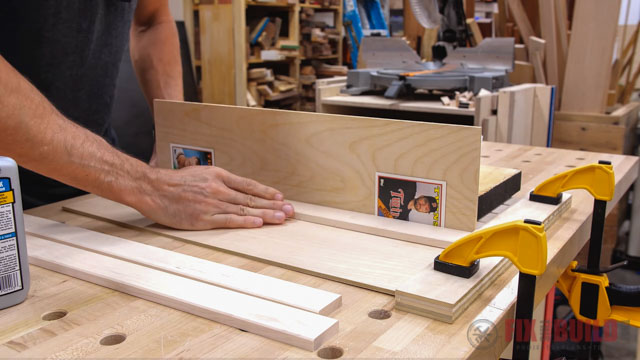
Instead of only using a divider as the spacer, I added two baseball cards to give the dividers just a little wiggle room. I repeated this process until I reached the end of the panel where it would be hidden by the center divider.
3. Build Upper Divider Base
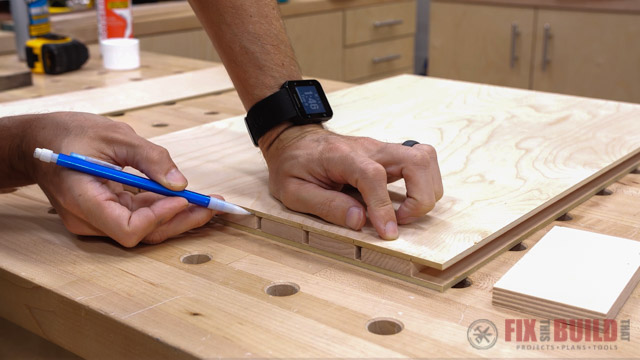
Next I needed to repeat this process on a separate plywood panel that I would use as the upper section of the divider base. To do this I put the second plywood panel on top of the base I just made. Then I marked the positions of the lower grooves on it. This will help make sure they stay aligned and the dividers can move smoothly.
Instead of making one full width section on the top and bottom base, I did one per opening. But if you have a single door cabinet you can make it the full width. I made another set of these panels with strips on them for the other side of the cabinet then moved to the top frame.
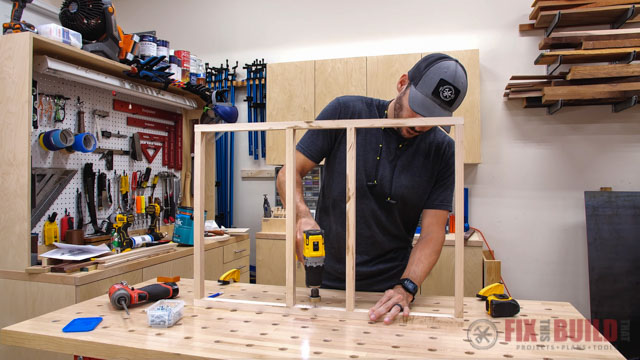
4. Make the Top Frame
The top frame is mounted to the sides of the cabinet and serves two purposes:
- The upper portion of the divider base will attach to the bottom of the top frame
- The top frame creates a little shelf to squeeze out some extra storage.
I built my top frame using solid wood strips that are 1” wide and ¾” thick and sized to the inside of the cabinet. You could also use the ¾” plywood leftovers from the other projects for this.
The frame is very simple and gets connected with pocket screws.
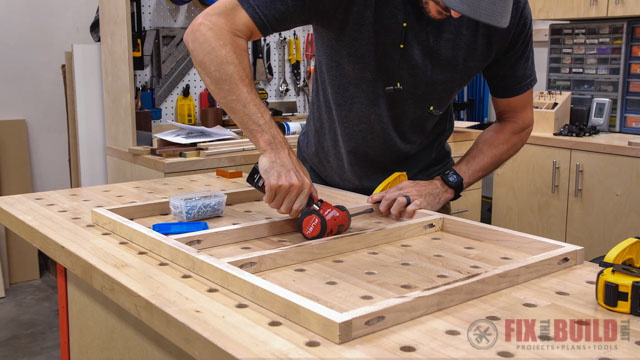
After it was screwed together I predrilled some holes in the sides and front for attachment points to the cabinet. The front holes will go right into the center face frame.
Then I laid the upper divider base on the frame and predrilled holes to attach them to make install easier. You might notice that I moved the center supports as well so that I could drill through the center of a mullion strip into the frame.
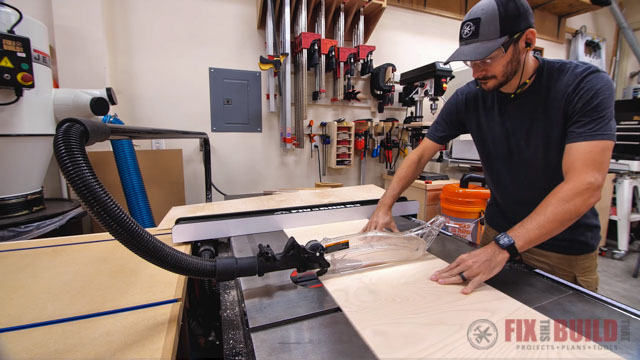
The top of the frame will be a shelf so I cut two more plywood panels to fit the frame. I could have done one solid sheet, but it was a better use of material to split it in two. Then I just attached the panels with some screws to the top frame.
Cut Dividers and Apply Finish
Next I cut all the removable dividers out of more ¼ plywood. After that was done, all the parts got a couple coats of finish.
5. Install DIY Cutting Board Storage
I started by laying the bottom divider base in the cabinet.
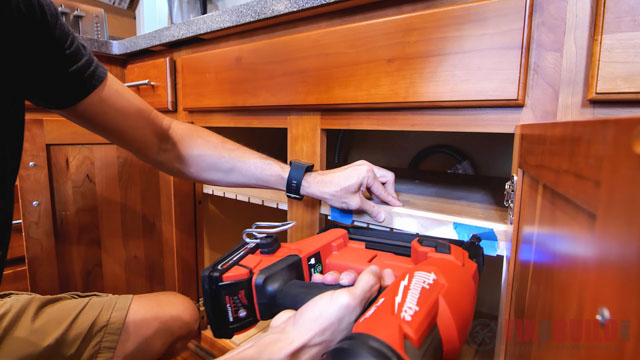
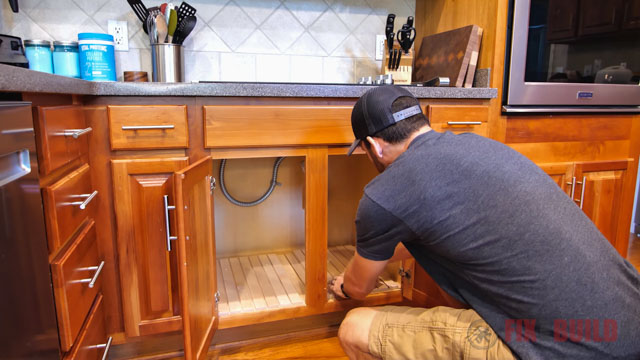 Then I put in the top frame, which was a tight enough fit to stay in place by itself. Next I used the height of one of the removable dividers to figure out the position of the frame. I wanted to leave a ⅛” gap at the top of the sliding panels so they would move smoothly.
After measuring and tapping the frame into place, I secured it to the sides and front of the cabinet.
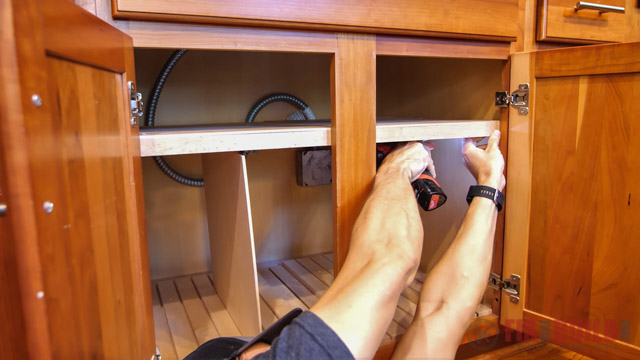
It would’ve been much easier to put the frame in without the top panel on it since the drill kept hitting it, but then putting the top panel on would have been harder. So I guess you gotta deal with it one way or the other.
Add Trim and Dividers
After securing all the panels in place I cut some small maple strips to cover the frame for a nice finished look. I also put a chamfer on the front edge to help with wear and tear.
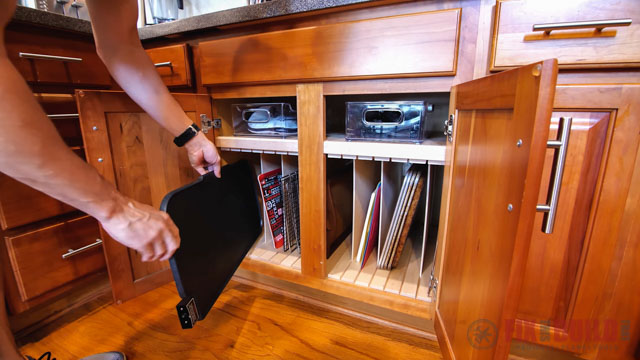
The dividers slide in smooth and now we have a lot better organization of the cooking sheets, cutting boards, and other trays. And the added top shelf is a perfect spot for a few bins to hold little accessories for our griddle.
And that’s how I built my DIY Cutting Board Storage. Now that everything has a place it’s a lot easier to find what we need. Are you looking for more DIY kitchen organization projects? My DIY Tupperware Storage is just what you need!