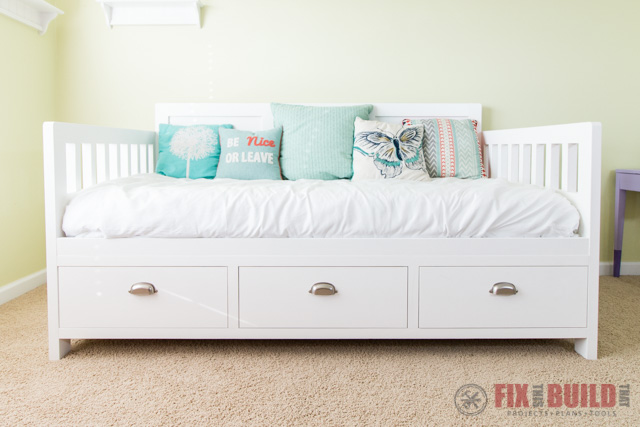
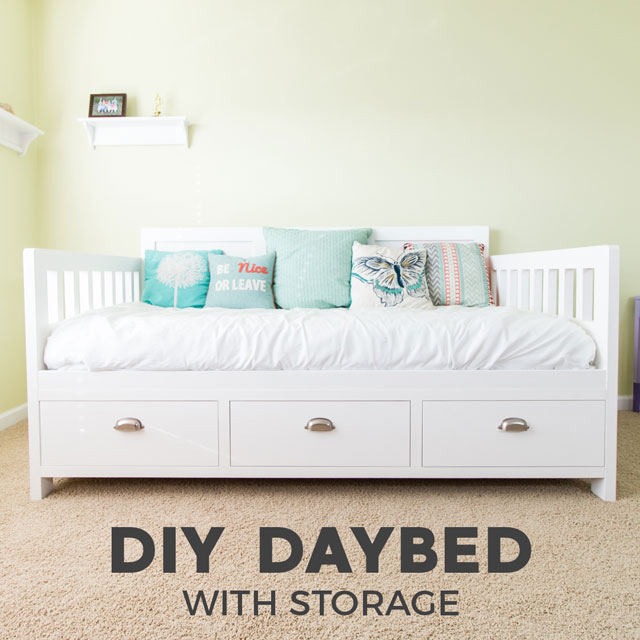
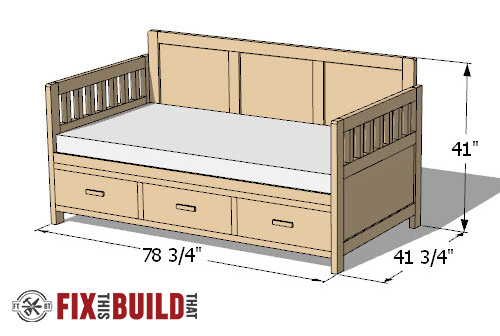
Today I’m making a DIY Daybed with Storage Drawers for my daughter. The twin size bed frame is perfect for a kids bed and the drawers make a great place for toy storage. This could also fit well in a guest room and store extra bedding and blankets beneath.
The joinery for the DIY daybed is very straight forward. I used pocket hole joints for most of it using products from Kreg Tool who is sponsoring today’s project. Their tools and jigs make the whole project go quickly. The whole bed is made from construction grade lumber you can get at your local home center. But I’ll show you some tricks to make it look top notch!
Materials/Supplies
- (14) 8′ 2×4 pine boards
- (1) 8′ 1×3 select pine board
- (2) 4′ x 8′ 3/4″ Plywood
- (1) 4′ x 8′ 1/2″ MDF
- (3) 24″ Drawer Slides
- 2.5″ Pocket Hole Screws
- 2.5″ Wood Screws
- 1-1/4″ Pocket Hole Screws
Affiliate links are used on this page. See my disclosure page for info on affiliate programs.
I’m going to be using simple joinery methods and lumber available from the home center for the DIY daybed build. The storage bed has four main components to it, the headboard, footboard, back and storage base. I started off by ripping the plywood down and cutting the panels for the assemblies.
How to Build DIY Daybed with Storage
- Prepare the lumber for the daybed
- Build the daybed headboard and footboard
- Assemble the back of the daybed
- Build the bed frame with storage
- Make the drawers for the daybed
- Install the bed frame storage drawers
- Final assembly of the DIY daybed
1. Prepare the Lumber for the DIY Daybed
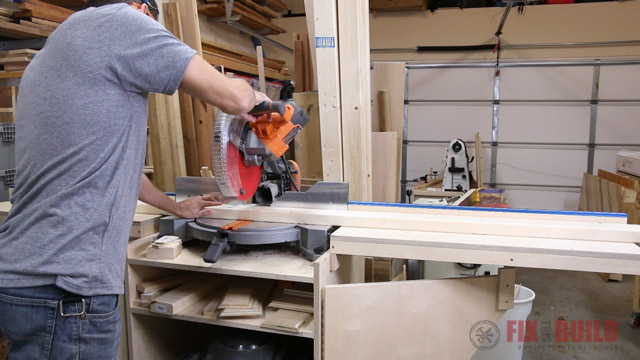
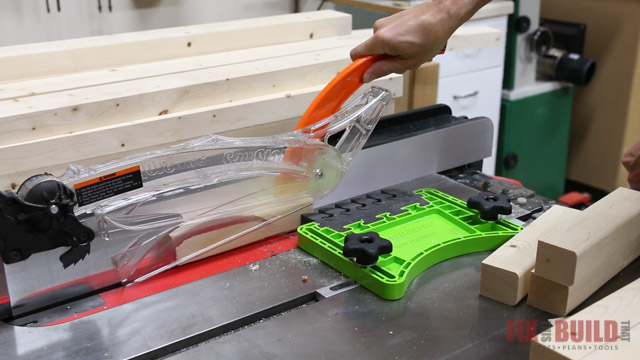
The headboard and footboard of the twin daybed are mirror images of each other with a frame and panel look. The frames are made from 2x4s which I’ll clean up later on the table saw for a more refined look. But first I cut all the parts to size on my Mobile Miter Saw Station. There are a lot of repetitive cuts here and using a stop block is a huge help to make sure everything fits just right during assembly.

I don’t really love working with 2x4s because they tend to be wet, knotty and it’s hard to find straight boards. But with a little patience you can find decent stock. And to get good joints on the boards I like to rip them down from 3.5″ wide to 3″ wide to remove the rounded edges.
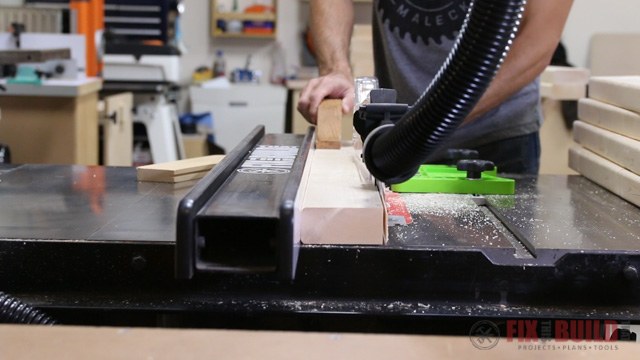

To get the 2x2s for the accents on the DIY daybed I make the same initial cut to get one straight edge, then I set the fence to 1-1/2″ and make two cuts to get two pieces out of each 2×4.

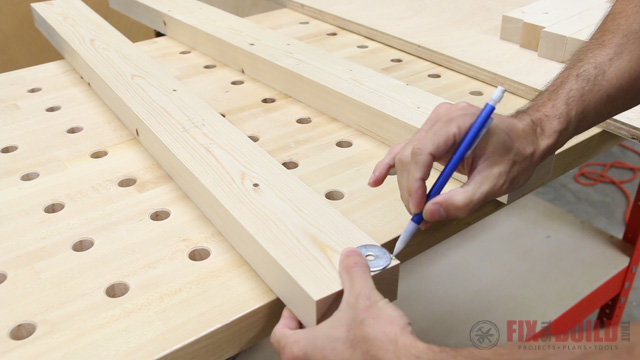
I also wanted a nice soft corner on the daybed headboard and footboard. I laid out a curve on the uprights using a fender washer and took the boards to my oscillating spindle sander where it made short work of sanding to the line.

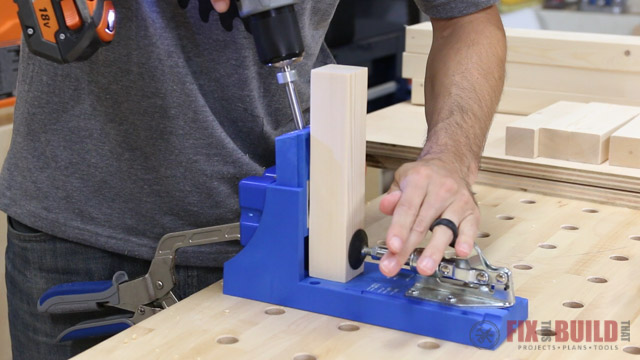
I’m using pocket hole joinery for most of this DIY daybed project, so I setup my jig and went to town. I’m using the K4 pocket hole jig from Kreg. If you have a lot of pocket holes to make the K4 or the K5 are going to save you a ton of time vs the R3 jig or the Kreg Mini.

2. Build the daybed headboard and footboard
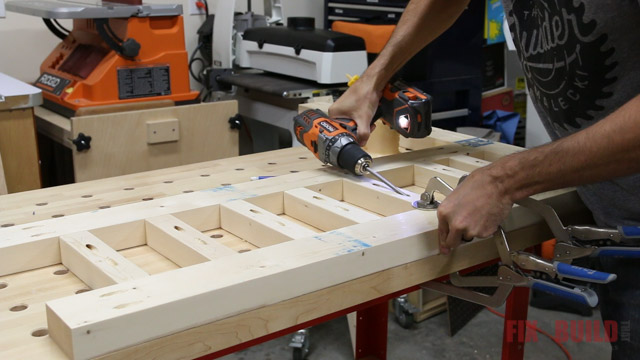
With the parts ready I started assembly of the daybed headboard. I joined the top and side first then put the 2x2s in place to position the middle stretcher and screwed it to the side.
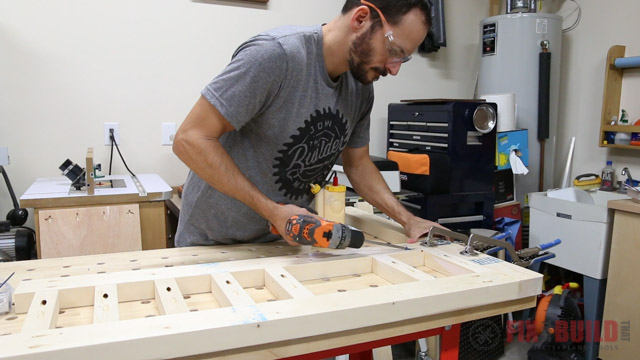

I started joining the 2x2s in the middle to establish my center point and used a small spacer to get consistent spacing between each piece.

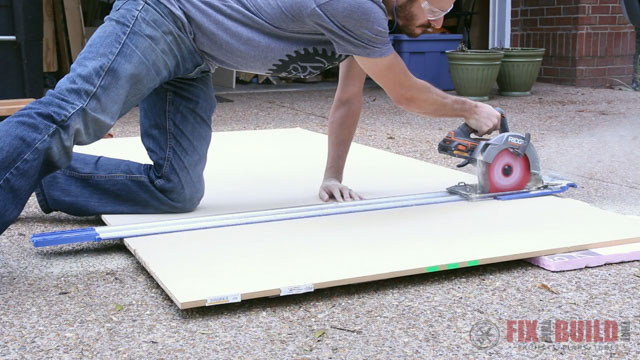
The day bed will rest on a 1/2″ MDF panel on top of the twin bed storage frame. I went outside and cut the panel to length in the driveway using the Kreg Accu-Cut track and my cordless circular saw.

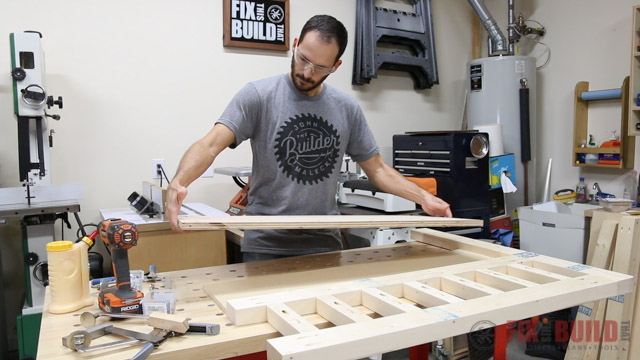
I put the 1/2″ MDF offcut on the bench under my plywood panel. This raises the panel and gives a 1/2″ reveal on the outside and a 1/4″ reveal on the inside which will look a lot better than a flush fit on one side.

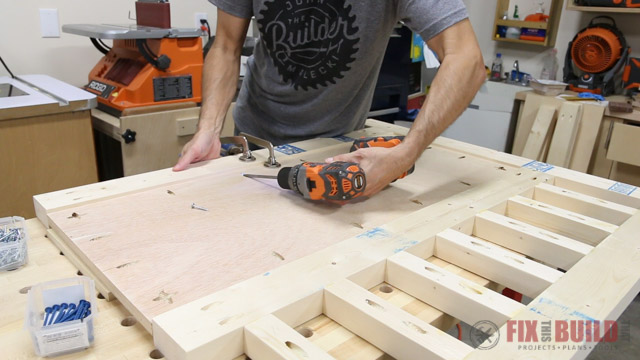
I started in the corner and worked my way around the panel securing it to the frame making sure both the panel and frame pieces were clamped flat. I added the lower rail and attached it to the panel then finished off the assembly by securing the other upright to the side.

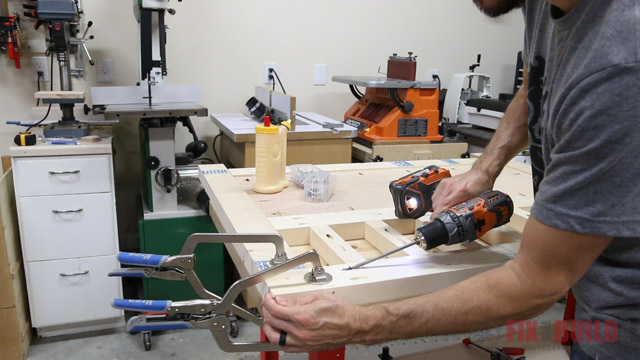

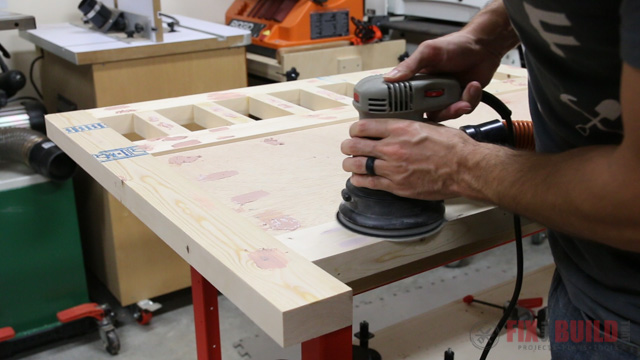
The footboard is made the exact same way so I won’t show that, but I did need to take care of all these pocket holes. I did a post on 6 different ways to fill pocket holes and found Bondo was great option for painted pieces. I mixed the bondo, filled all the visible holes and then sanded them flush after it dried.

3. Assemble the Back of the DIY Daybed
With the bondo drying I started on the back. The back is just a large plywood panel framed by 2×4’s. I cut the panel to size then drilled pocket holes around the perimeter of the panel and in the horizontal stretchers.
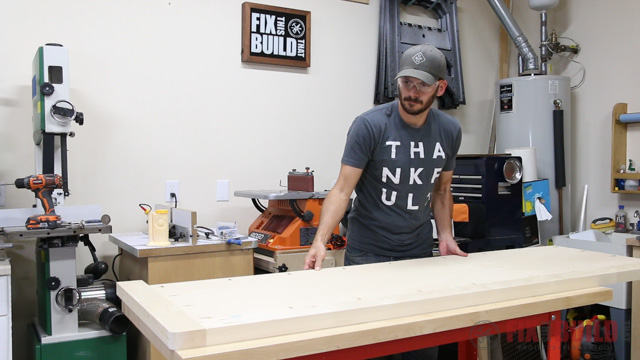

From there I assembled the panel similarly to the headboard. I started with one corner of the 2×4 frame then added the ½” MDF spacer to position the plywood panel. I clamped everything firmly in place then secured the panel to the frame with 1-¼” pocket screws. Then I added the lower stretcher and finally the other vertical frame piece.
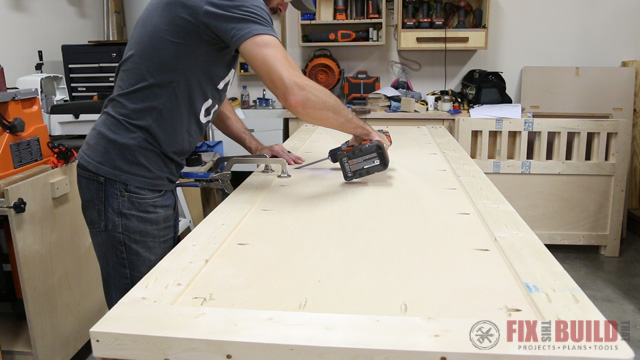

To add some detail to the storage bed back panel I cut two pieces to match the frame boards. I used glue and brad nails and to secure the MDF to the back panel and give the appearance of three separate panels.
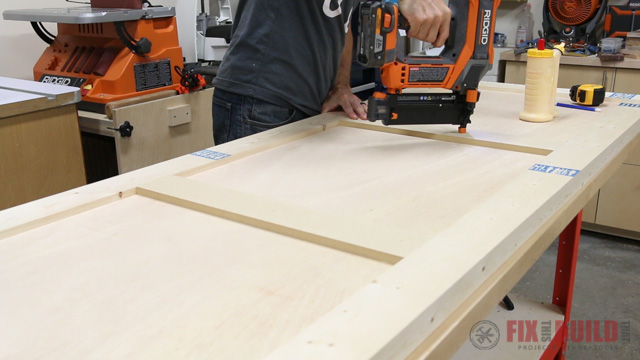

This back is optional and basically turns it into a day bed. I have full detailed plans with step by step instructions, and a parts and cut list for this design.
4. Build the DIY Bed Frame with Storage
The last part of the daybed is the bed frame with storage drawers. The base is basically a large framed box with three sections for the drawers. I cut all the parts to size on the miter station using clamps and gang cuts for the long pieces and my miter stop to make repeated cuts like before.
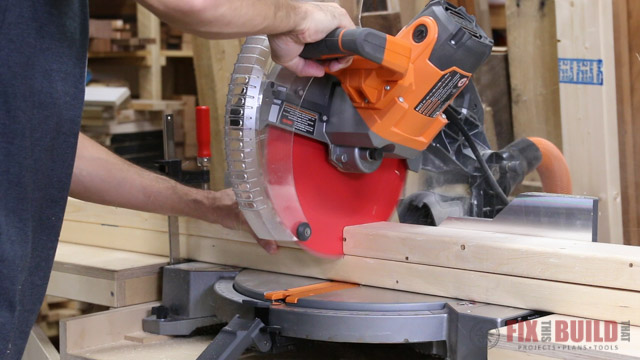

Two of the long stretchers and four vertical supports go together to make the back frame of the twin bed storage base. Clamping everything firmly in place and making sure the parts are square will make things much easier later. The front frame is made the same way except I left the outer vertical supports off. This was purely for aesthetics and gives the drawer bank a nice clean look when assembled which you’ll see later.
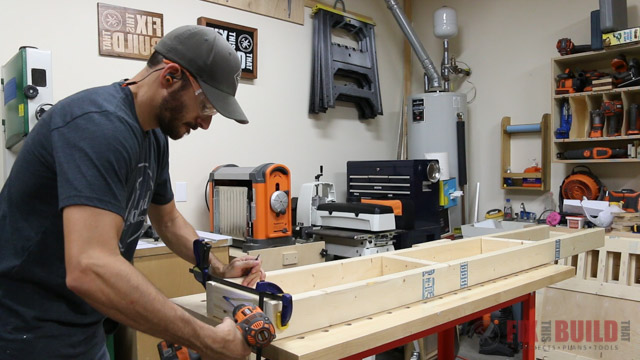

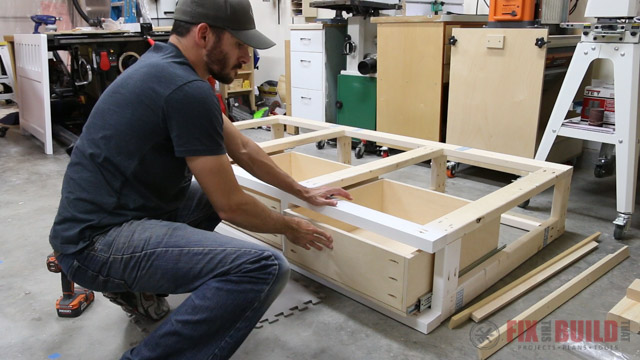
From here I had to move to the floor for the rest of the base assembly. I added the lower supports to join the front and back frame. These supports are put in vertically and will also be used to attach the drawer slides later.
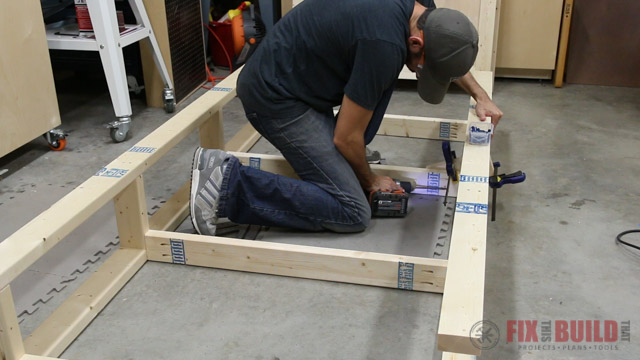

I joined the top supports to the storage bed frame next. These are laid flat as they will be supporting the ½” MDF platform the mattress will go on.
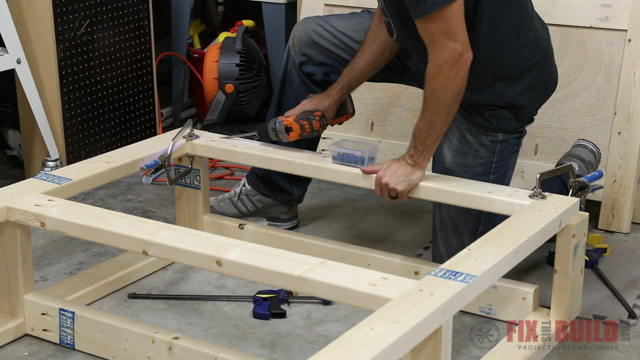

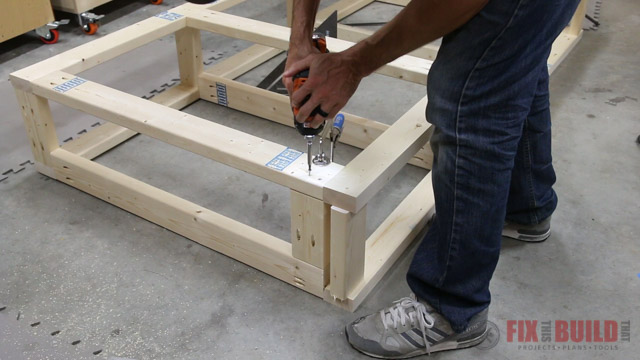
The final piece of the DIY bed frame is to add two small vertical supports to give the front frame support on the ends but let the drawer front cover them to get that seamless look I was talking about earlier. I used a spacer block to make sure I wasn’t closing the drawer opening by over tightening the screws.

5. Make the Drawers for the DIY Daybed
With the bed frame done I moved onto the drawers. The drawers are made from ¾” plywood and because they are so wide I decided to use a ¾” bottom as well. I ripped the parts to width and then cross cut them to fit the drawer openings.
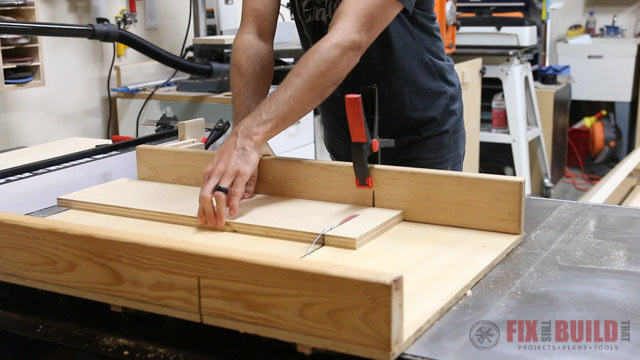

I’m using pocket holes for the joinery like I do for most of my drawers. Each of the drawer fronts and backs gets pocket holes on the outside faces. Then I glued and clamped the sides to the front and back with parallel clamps and screwed them together.
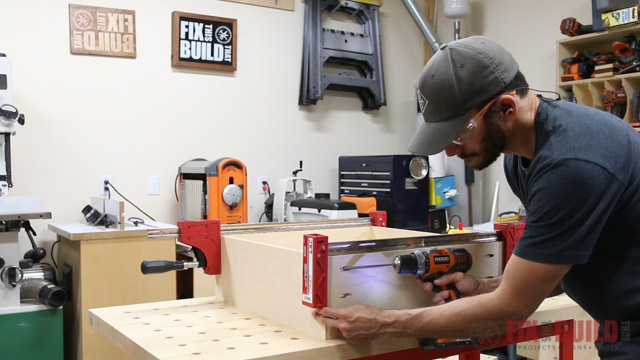

I typically use a ¼” captured bottom piece, but I cut an exact fitting ¾” bottom for these drawers. The nice thing about using this method is you can use the bottom to square the drawer. I secured the perimeter of the bottom with screws for a beefy drawer that can hold a ton of weight.
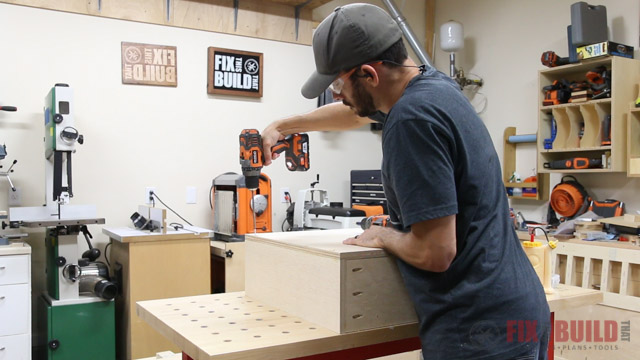

I wanted to paint the base before installing the drawers, so I went ahead and applied 3 coats of sprayed on latex paint to the headboard, footboard, back, and front of the base.
6. Install the DIY Bed Frame Storage Drawers
Since there is no bottom to the twin bed frame I made some temporary supports from the ½” MDF and ¾” plywood offcuts. It’s a simple T shape where the ¾” ply supports the MDF as it spans from the front frame to the back frame. The temporary supports hold the drawer slides in place and also act as spacers at the same time.
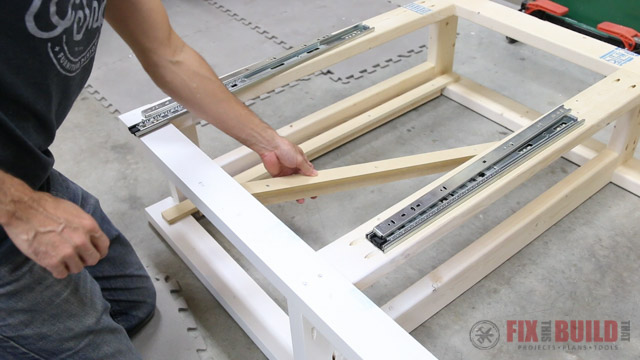

The drawers will all have false drawer fronts so I used a scrap piece of plywood to set the position of the drawer slide. I predrilled and secured the slide to the frame with screws.
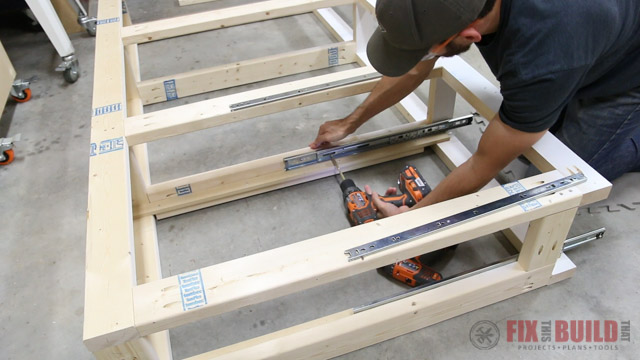

I repeated this on the other side then slid the drawer into the opening between the slides. The temporary supports held the drawer in place while I secured the slide extensions to each side of the drawer in two spots.
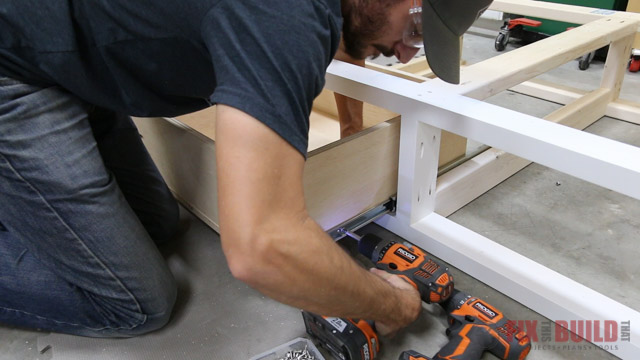

Then I pulled the storage drawer out and secured the back of the slides with another screw on each side. I’m pretty happy with how well this little temporary support worked. I repeated the same process in the next two bays and installed all three drawers.

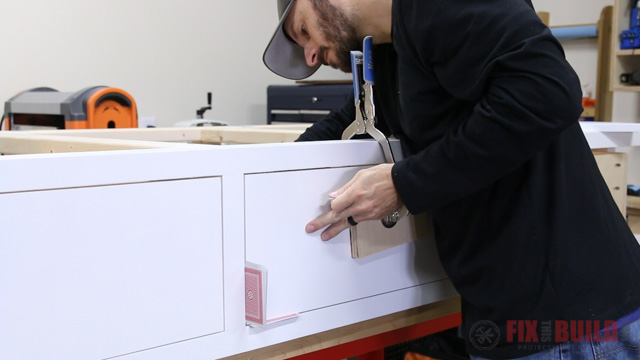
The last piece was to make were the false drawer fronts. I measured each drawer opening and ripped the drawers to height and then to width on the tablesaw and gave them a paint job before assembly. The drawer fronts are inset so I used playing cards to get a consistent reveal around the drawer then I attached the false fronts to the drawers with 1-¼” screws.

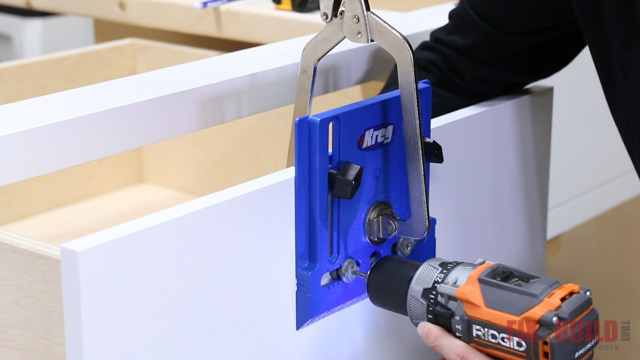
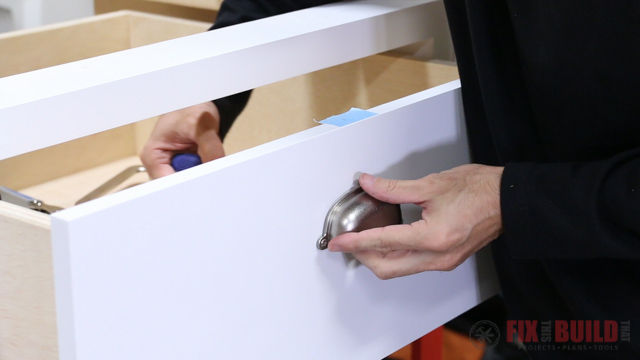
I’m using the Kreg Cabinet Hardware jig to drill the drawer pull holes and it makes it very easy to set the size of the pull and the height I wanted. I clamped it in place then drilled the holes for the hardware and installed the drawer pulls with the longer of the two screw types included with the pulls.


7. Final Assembly of the DIY Daybed
That’s it! Now it was time to assemble. First I moved the DIY daybed parts up to my daughter’s room and laid the base down. I used 2×4’s under the corners of the base to get a relatively flat reference surface then raised the base another 3-½” inches by propping it up on 2×4’s on edge.
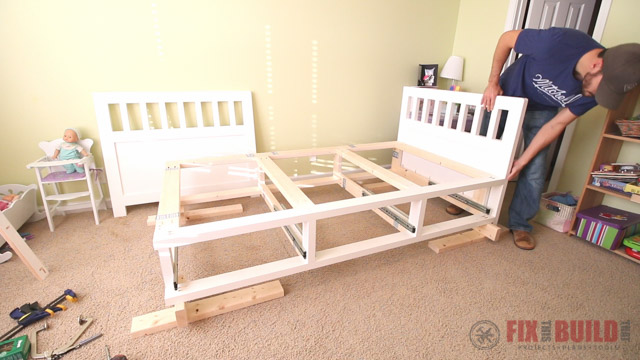

Then I put the footboard in place resting it directly on the flat 2x4s and clamped the pieces together. After that I secured them with pocket screws in the front frame and 2-½” wood screws along the bottom and back frame. I did the same thing for the headboard then brought in the back panel.
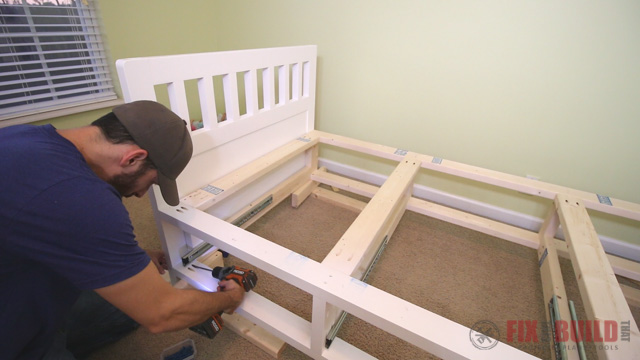

The panel sits on the back of the base and is secured to the daybed base frame and sides with pocket screws from the back.
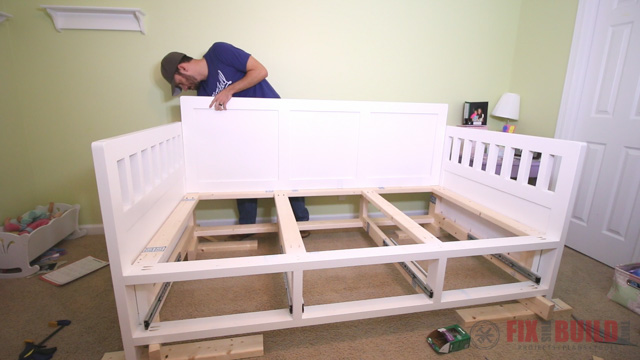

We brought in the ½” MDF I’d cut to size earlier and laid it down on the bed frame. To hold the mattress and MDF sheet in place I attached a 1×3 to the front edge of the frame.


I finished up by installing the drawers in the storage bed frame.
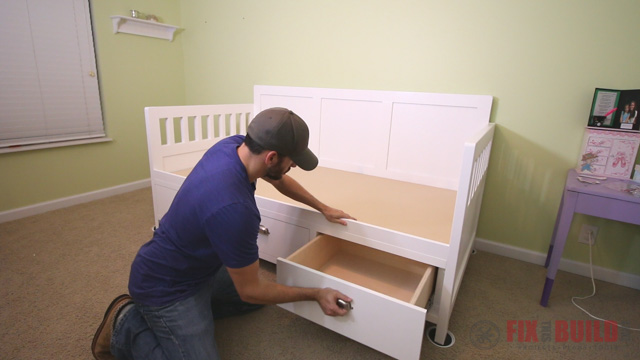

My daughter is absolutely ecstatic about her new big girl bed. The large storage drawers can hold a lot of toys for quick clean up when it’s time to put things away.
If you liked this DIY Daybed with Storage Drawers and want to build your own you can find plans here. You can also check out my other furniture builds on my Furniture Projects page.
Kreg Tool provided me with product and/or monetary compensation as a sponsor of this build. All opinions are my own and are not filtered by the sponsor.



Hi, is there any way to turn the storage into a trundle instead? Roughly how long did it take you to finish the project?
Roughly how many man hours did this take for you to build, paint, and assemble? Thanks
Do you have these plans for a Twin XL length bed? I’m not sure where to make the modifications.
The link to download plans is not working
I’m really impressed with your build and am ready to build my own, but I can’t download the plans, any suggestions?
Awesome work, dude! Looks great. Also nice FTD Thankful TEE!!!
Always reppin’ FTD, brother!!!
Awesome work, my man! Looks great. Also nice FTD Thankful TEE!!!