Today I’m going to show you how I made a custom DIY Drawer Organizer with only four affordable tools. I’ll walk you through the process step by step from planning to completion so you can easily make your own custom drawer organizer too.
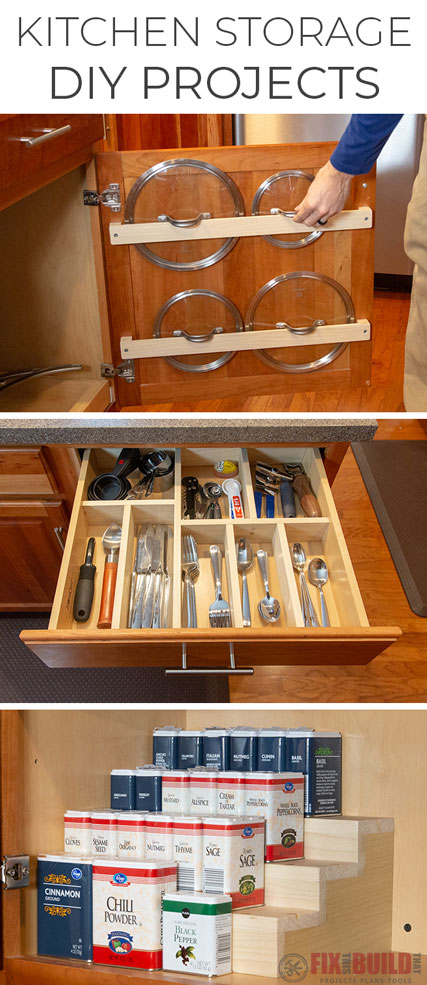
This is the second project in my 3 Easy DIY Kitchen Organization series. I designed the projects in this series so that they’re easy for beginners or folks with limited tools to be able to complete. With just a few pieces of wood and some simple tools you’ll be amazed at what you can make!
Tools Used
Materials/Supplies
- (3) ½” x 2.5” x 3′ poplar boards
- 1-¼” Screws
- ⅜” Flat Plugs
- Wood Glue
- Sanding Blocks
- Water Based Polyurethane
Affiliate links are used on this page. See my disclosure page for info on affiliate programs.

How To Build A Drawer Organizer
- Design the Layout
- Cut and Assemble the Drawer Organizer
- Use Wood Plugs to Cover Screws
- Sand and Apply Finish
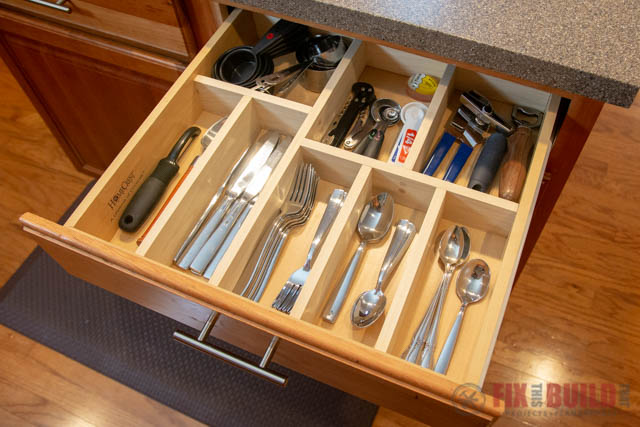
For this project I’m taking on one of the most used drawers in our kitchen, the silverware drawer. But this would be perfect for any drawer in your home, especially a junk drawer or other hard to tame spots.
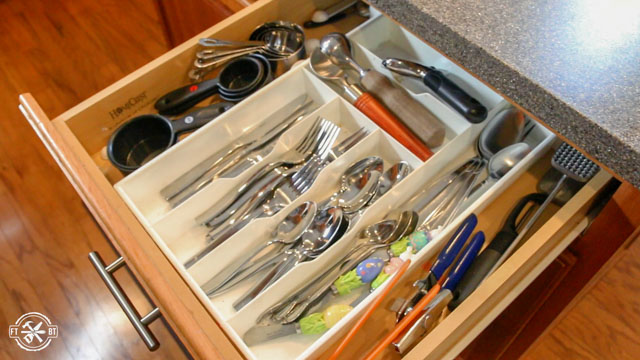
We had one of those cheap plastic dividers in our silverware drawer, but things slid around and the openings weren’t exactly the right size for our needs. But a custom drawer organizer will fix that!
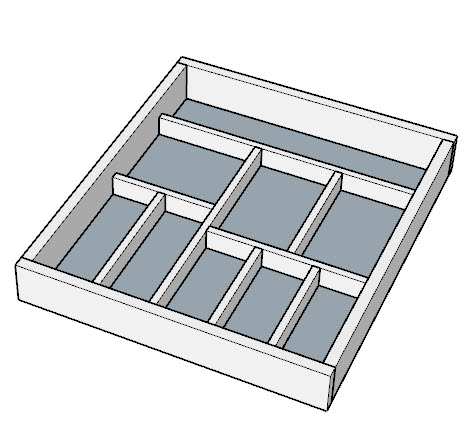
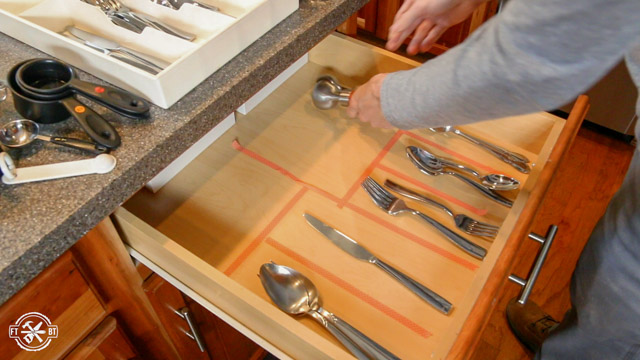
1. Design the Layout for the DIY Drawer Organizer
To begin, I took the tray and all the stuff out of the drawer. Then I laid out where I’d want the things we use the most to go. My wife had some crafting tape and we used it to mark where the diy drawer dividers would go. Be sure to check out the free plans for this project! You may need to adjust them based on your drawer space and your needs, but it’s a great place to start.
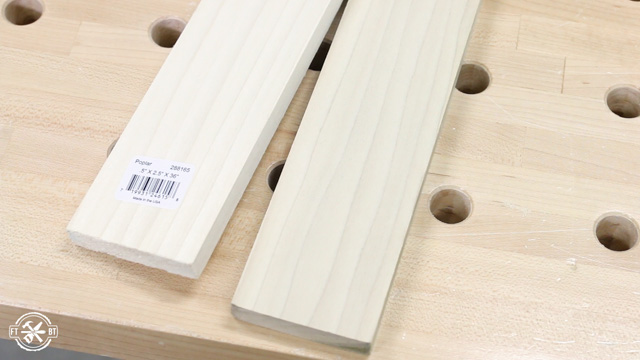
I’m using ½” thick poplar for this project and I used three of these 2.5” wide, 3 foot long boards which was just over $11.
2. Cut and Assemble the DIY Drawer Organizer
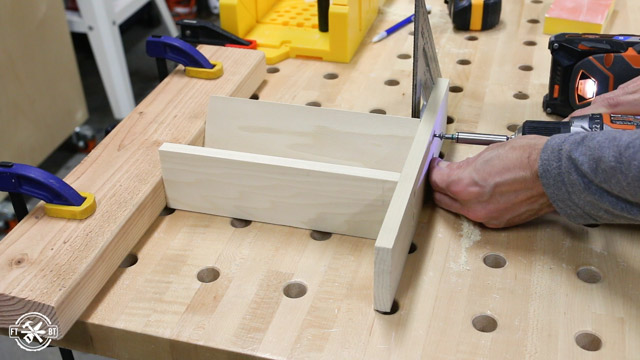
I decided to make the drawer organizer in sections and then join them all together. I’m starting with the openings for the forks and spoons. It’s made up of a top piece and two dividers the same length.
To speed things up I cut the two similar pieces together at the same time.
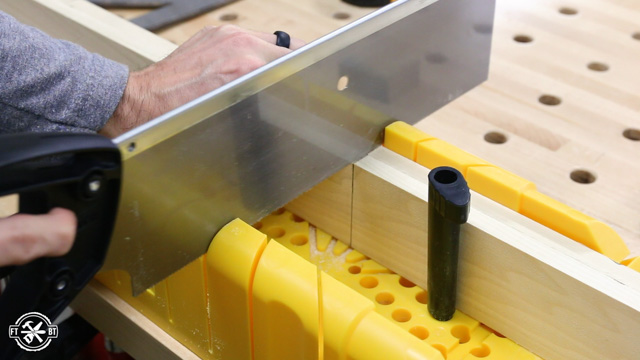
Then I cut the top piece with the miter box and then started laying out the joinery.
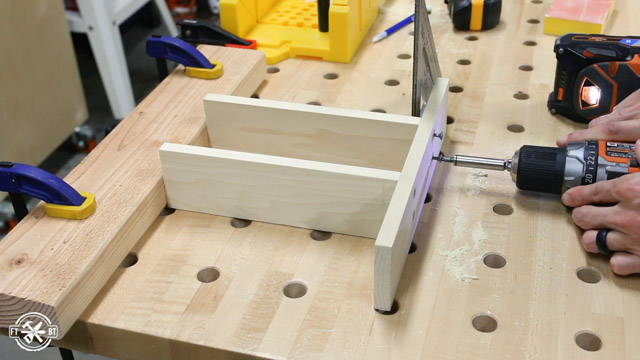
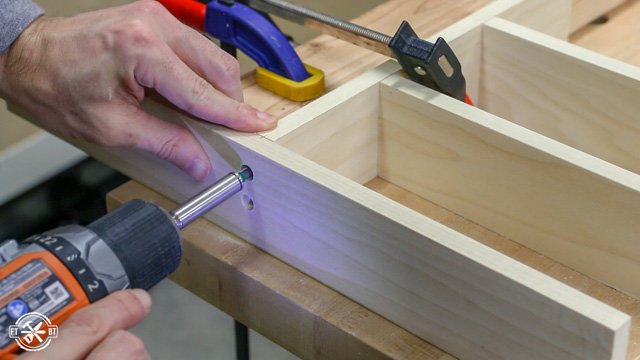
The drawer is joined together by 1-1/4″ screws and I predrilled the holes with a countersink bit.
Using a 2×4 clamped to the worktable gave me a good reference to keep things steady while I was drilling, but it’s not the greatest solution for driving in screws. When I started securing the pieces together the twisting force of the screw wanted to turn the divider.
I was able to get around this somewhat by partially driving in the first screw then putting the second one and coming back to tighten up the first one.
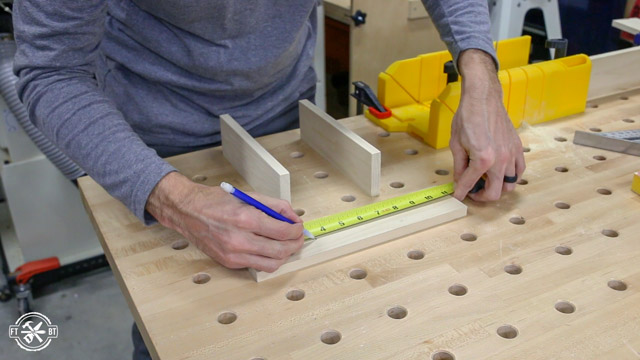
With the first section established I put it in the drawer to get measurements for the remaining compartments.
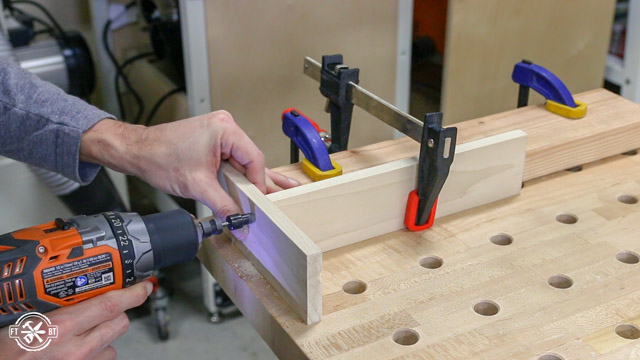
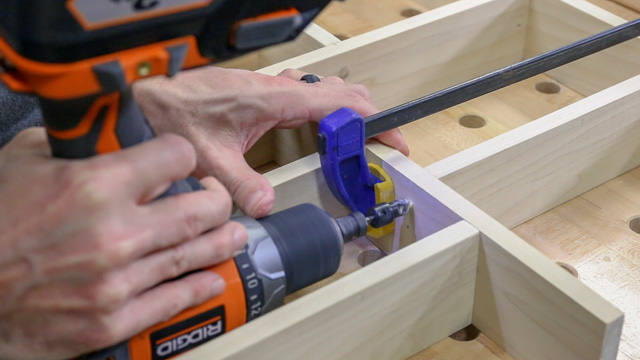
I cut the parts for the longer utensil bays which just makes a basic T-shape. But this time instead of using the 2×4 as a backstop, I clamped the board to it. This kept the board from turning and at the same time held it square at 90 degrees.
I cut a long piece that will go between the large and small utensil bays then took them back to the drawer to mark for joinery.
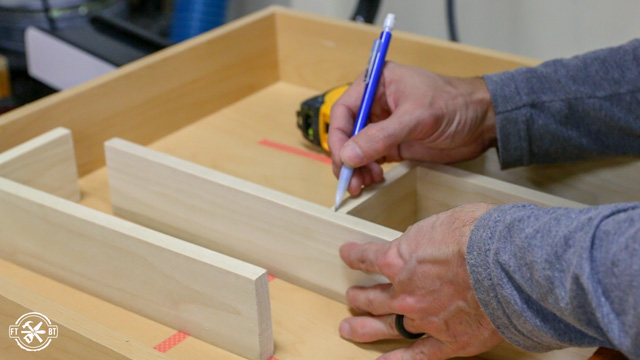
The key to assembling these dividers is doing it in the right order so you aren’t trying to fit a drill into a 3” opening to attach a part…cause that’s not gonna happen!
3. Use Wood Plugs to Cover Screws
On the long board the screws are on the side and would be seen in use. So I drilled using my countersink bit which leaves a deeper opening to allow room for a plug.
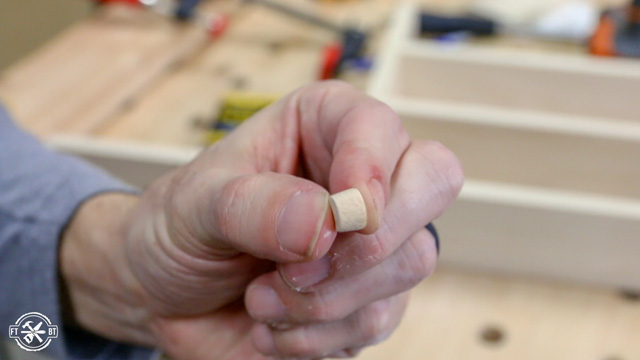
These little ⅜” flat bottom plugs will fit perfectly right in the hole left by the countersink. With a dab of wood glue and a hammer you can fit them right in.
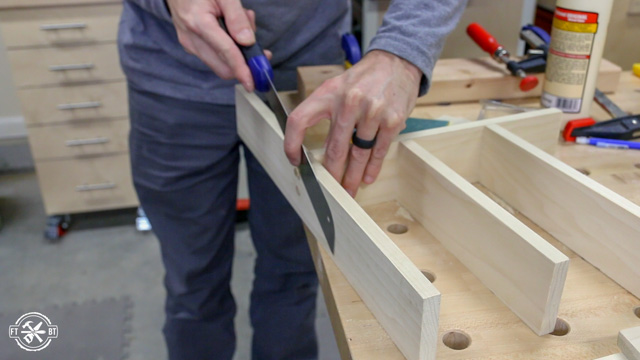
And you could sand these flush here, but a better way is to use a flush trim saw. This little guy is about 15 bucks and has super fine teeth. It saws right through the plugs and with a little sanding they are perfect.
I drilled and attached the large utensil bay the same way, plugging the holes since they are on the side as well and not the back.
Because our drawer slides don’t come out all the way I didn’t make the organizer run all the way to the back of the drawer. I made a long back piece that spans the drawer and basically cuts off the back 3 inches or so of the drawer to keep things from getting lost back there.
The final piece of the organizer was to separate the large opening at the back. I measured the length and width of the opening and cut a piece to fit then secured it with screws the same way as before.
4. Sand and Apply Finish
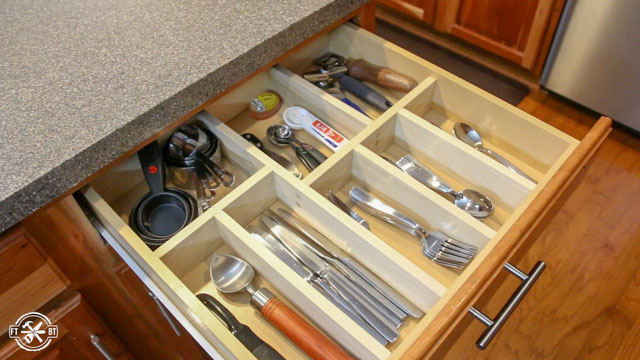
After everything was in place I sanded the whole thing and applied two coats of water base poly like before. The DIY Drawer Organizer fits great in our drawer and it’s awesome to have custom spots exactly for the items we have and use the most.
If you liked this project make sure to check out the other beginner projects in my 3 Easy DIY Kitchen Organization Projects series!
FilterBuy provided me with product and/or monetary compensation as a sponsor of this build. All opinions are my own and are not filtered by the sponsor.