
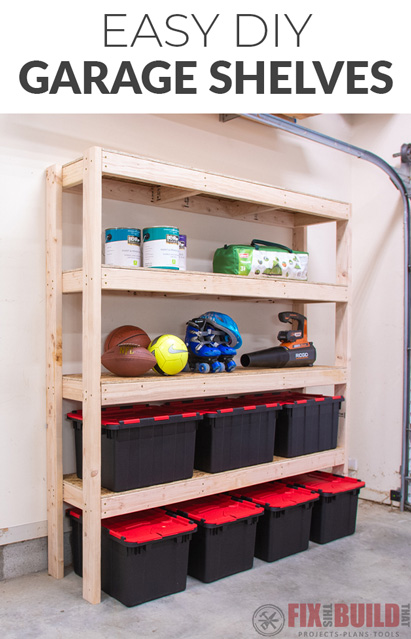
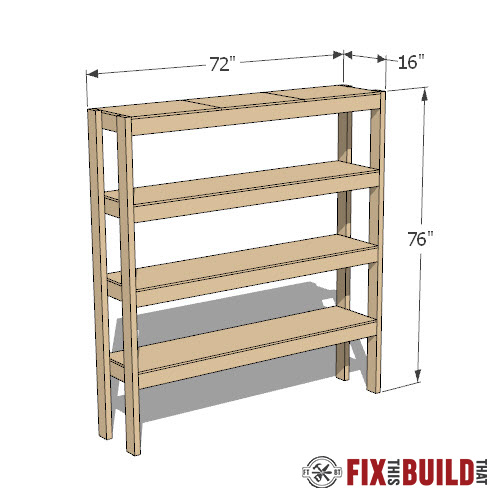
This is the best, most efficient way to build DIY garage shelves, period. And the best part is you can build these DIY shelves for under $60. The DIY Garage Shelves are 6 feet long, 16 inches deep and 75.5 inches tall. All you need to build the shelves are twelve 2x4s, one sheet of OSB and a few tools. And you can make them longer or deeper depending on what you need for your space.
I wanted these storage shelves to fit on the sidewall of my garage; that’s why I made them 16 inches deep. There’s still plenty of room for totes or bins on the shelves, but you won’t hit them pulling into the garage. And you won’t waste any materials because the DIY Garage Shelves are designed to be as efficient as possible.
If you need shelves for your garage, basement or workshop, you’ve come to the right place. This DIY project is the perfect way to add storage space wherever you need it!
Materials/Supplies
- (12) 8′ 2×4
- (1) 4′ x 8′ 1/2″ OSB
- 2-½” Wood Screws
- 12 Gallon Totes
Affiliate links are used on this page. See my disclosure page for info on affiliate programs.

How to Build DIY Garage Shelves
- Cut parts for shelves
- Assemble shelves
- Cut 2x4s for legs
- Assemble shelving unit
- Attach shelves to wall
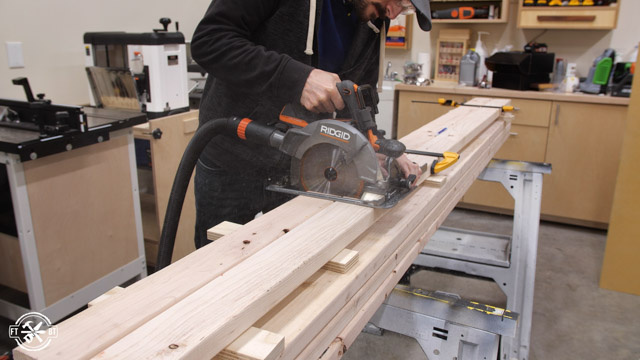
1. Cut Parts for Shelves
I started by marking and cutting eight 2x4s to length. I used both my circular saw and my miter saw to do this; you can go either way depending on what you have. A miter saw will be faster and you can easily make repeated cuts, but a circular saw works fine too. Watch the DIY Garage Shelves Video to learn more about both methods.
The long shelf boards are connected with 13” bracing which I cut on my miter saw. Then I moved on to cutting the material for the top of the shelves.
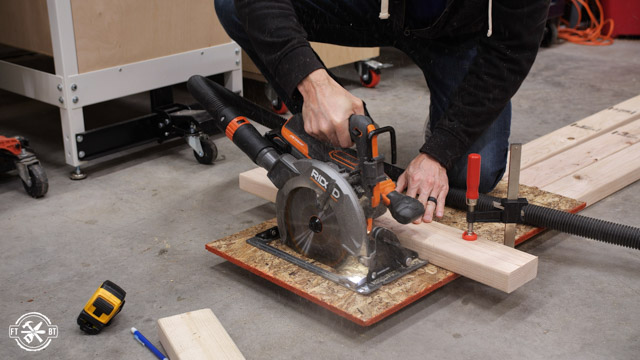
I used my Kreg Rip Cut Jig to cut 16” strips from the sheet of OSB which worked really well. Before I cut the OSB I laid it on top of the 2×4’s that I’ll be using for the legs. This makes a great support base for cutting things down.
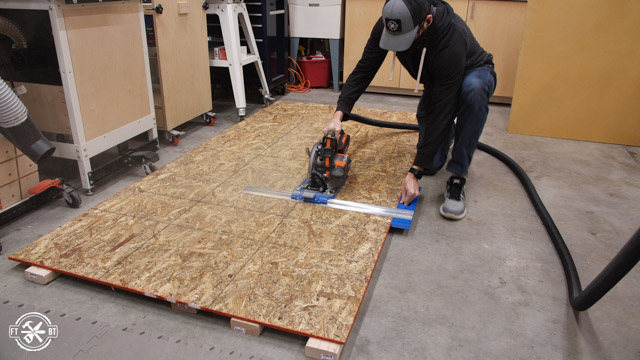
And finally used my circular saw to cut each strip to length. Watch the full build video for more details on how I set this cut up.

Now I could use the offcuts to get three 23” pieces to cover a fourth shelf. That means the only waste from the full sheet of OSB are these tiny pieces I’m cutting below. I’m all about efficiency so that makes me happy!
Make sure to get the free shelving plan with step-by-step instructions and a full cut list.
2. Assemble Shelves
To start assembling the garage shelving I began by laying out the long shelf boards on the floor. Then I measured in 23” from each side and marked the spot where I’ll attach the inner braces. I decided to use four braces on each shelf, which is honestly overkill but these things won’t sag for sure now.
I’m using 2-½” #10 screws to attach everything. The screws I’m using are self-tapping so you don’t need to drill pilot holes. But if you want to play it safe or are using regular screws, make sure to predrill the ends so they don’t split.
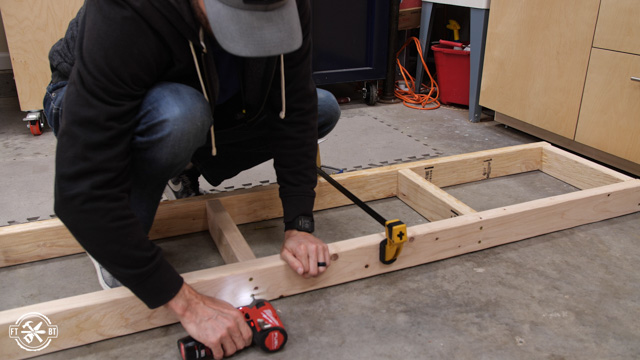
I squared up the frames with a carpenter’s square then clamped them together and secured both ends.
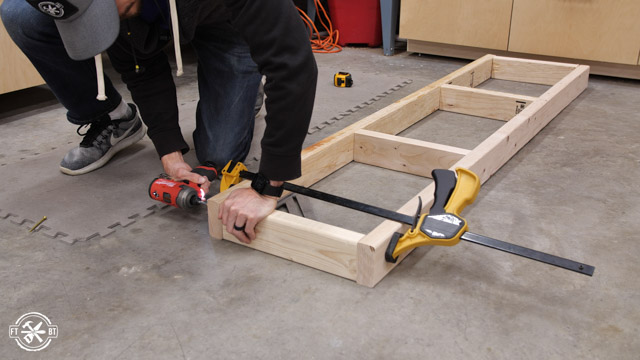
Next I centered the inner braces on the marks I’d made, screwed them in place, and moved on to the next shelf.
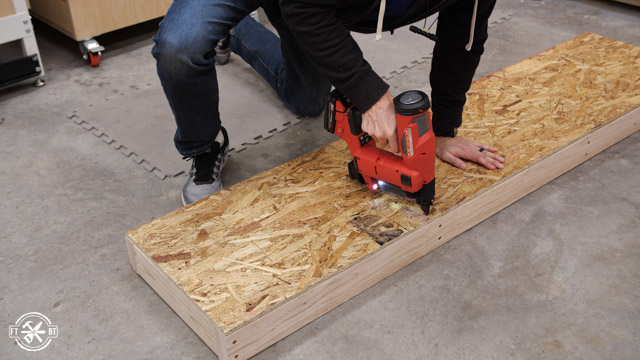
To finish off the shelves I added the OSB sheathing to the tops. I started with the upper shelf and laid out the three small panels and attached them to the 2x4s with brad nails. Finally I attached the long sections of OSB to the rest of the shelves. I didn’t use wood glue when attaching the OSB because it just wasn’t necessary for this project.
3. Cut 2x4s for Legs
These garage storage shelves are designed to fit on the sidewall of your garage. You’ll need to determine the slope in your garage floors if you plan to use them on your sidewall. This is easy to do, and will allow you to adjust the leg height of your shelves to make them completely flat.
Skip this step if you’re putting these DIY shelves in a place that’s already flat. If you plan to use them in the far end of your garage, laundry room, utility room or basement you’re probably good to go.
But for those of us that are adding these garage shelves to the sidewall…here’s what you need to do. Cut the 2x4s for the legs on the interior side of your garage to the regular height which is 75-1/2”. For me that’s the left set of legs. Next place a 2×4 on the ground with a level on top. Then shim the 2×4 at the far end until you can see that the 2×4 is level. Measure the shim height and that’s the amount of slope in your garage.
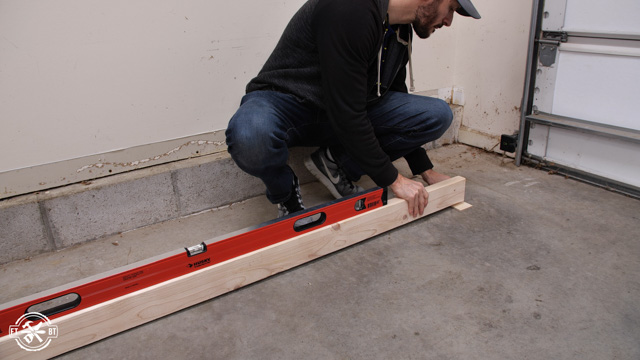
The slope in my garage ended up being just under ½” drop over that distance, so I cut the right side legs to right under 76”.
4. Assemble Shelving Unit
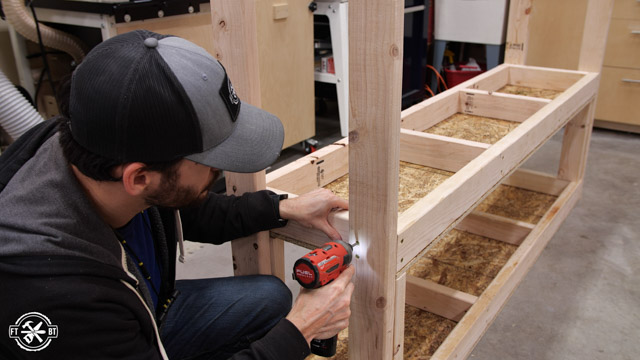
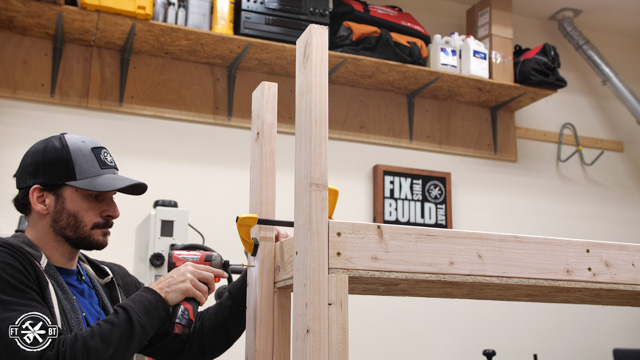
Since the top shelf is flush with the legs it’s easiest to assemble the shelves upside down starting from the top. I squared up the left side legs making sure I kept the orientation of the shelving unit in mind and put the short legs on the correct end. Next I secured each leg with 3 screws, then did the same on the other end.
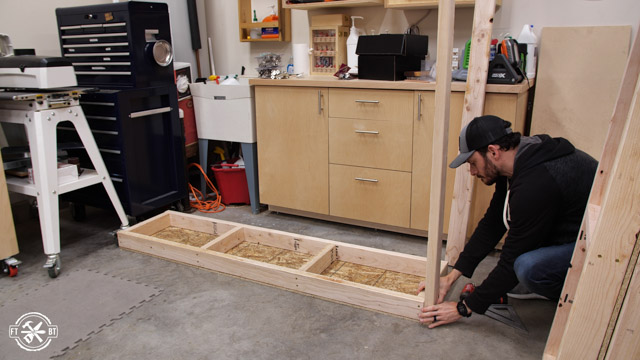
To space the shelves consistently and make one-person assembly way easier I cut 15” spacers from the offcuts of the legs. Then I put a spacer in each corner and brought over the next shelf and laid it on the boards.
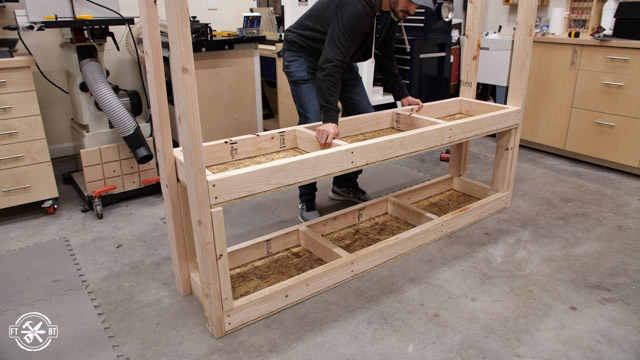
At this point I spent a little time getting everything lined up square and flush. Checking the distance between the legs at the top and at the next shelf is an easy way to see if the legs are out of square. After putting one screw in each leg and getting everything in place, I went back and added two more at each corner.
The last two shelves go in just like this one.
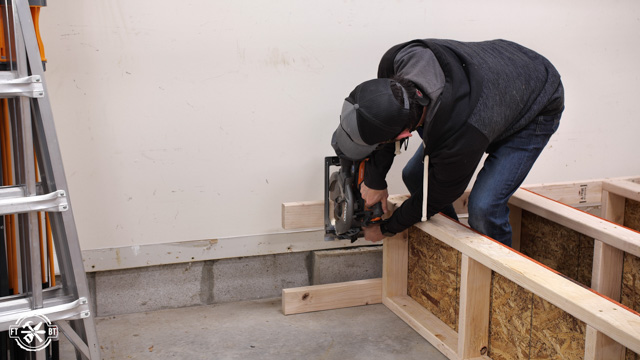
Finally I dealt with one last issue. Our garage has a curb that sticks out past the drywall and it’s right where one of the legs needs to sit. To fix this, I measured and marked where the top of the curb lines up with the leg of the shelf.
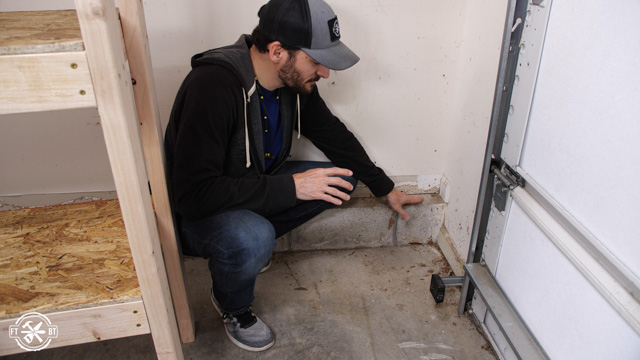
Then after carefully lowering the shelving unit to the ground, I cut the leg at that spot. When we put the shelves in place, the adjusted leg will sit right on the curb and everything will fit like a glove.
5. Attach Shelves to Wall
But before I put the storage shelves in place, I used a magnet to find the screws in the drywall. This showed me where the studs were and I marked them with blue tape.
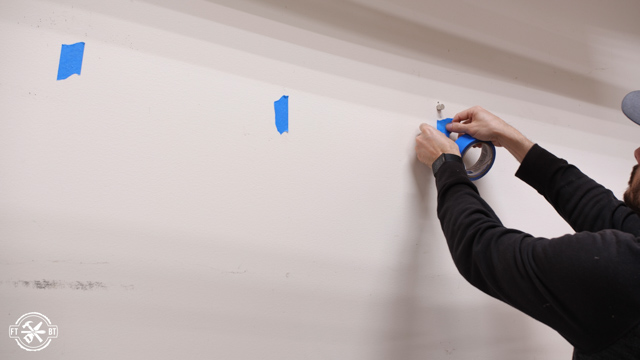
Then we moved the shelving into place and I secured it into the studs with 3” screws.

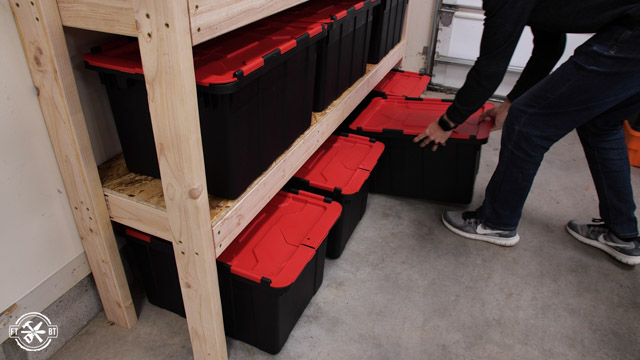
We reorganized the items on the shelves and got some new bins that we’ll put labels on later. And the nice thing is you can fit three bins per shelf with a low profile or if you don’t mind them sticking out over the edge a little you can fit four which is what we’ll be doing.

 And just like that our DIY Garage Shelves are done! This was a super simple project that anyone can do. Do you want to get even more organized? Check out our Shop Projects for more ways to reclaim your space!


hi.. what is the average time it takes to build these?
It’s hard to say. That would really depends on the skill level of the person building it. My best suggestion is to watch the video and try to gauge it for yourself.
Hey Brad!
Thanks for the plans and design. I built a variation of this yesterday with some OSB and wood I’ve accumulated over the years.
Awesome! Glad they worked out for you.
You have created an incredible website here. I am excited to try this out this summer with my kids and our elderly handyman friend. Your instructions and visuals are the easiest to follow I think I have ever seen. I appreciate the time and effort you put into creating this and your other blog posts. Have a blessed day!
Thanks! Hope it goes well for you.
great ideas…
Thanks Ken!
Lot of really freat ideas!! Many thanks, Ken