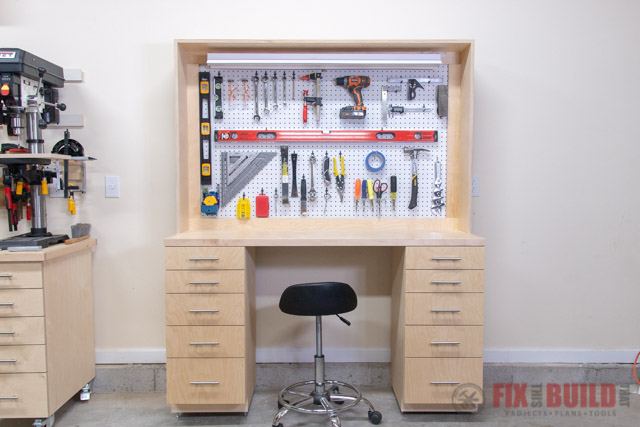
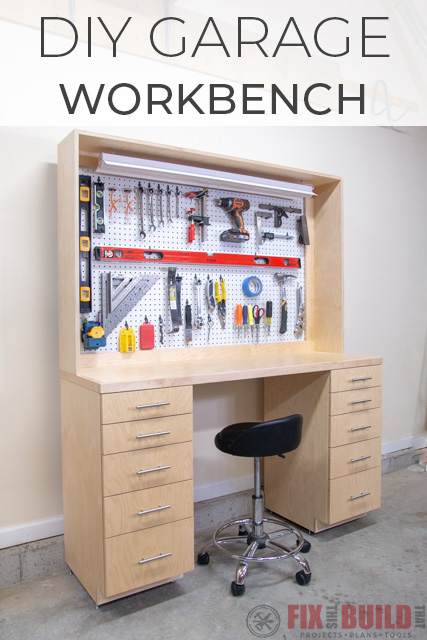
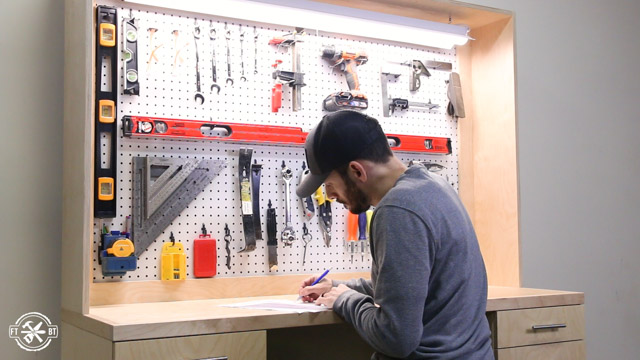
Today I’m making a DIY Garage Workbench that’s designed to fit in a working garage. It has plenty of shop storage with 5 drawers on each side, a place to sit and work, and pegboard storage with a built-in light. If you need a DIY workbench that gives you lots of storage without taking up too much room, this is the build for you! I have plans available for the build and a full video tutorial below.
Materials/Supplies
- (3) 3/4″ 4×8 Plywood Sheet
- (1) 1/4″ 4×8 Plywood Sheet
- (1) 1/4″ 4×8 Pegboard Sheet
- 6′ 1×4 Maple
- (20) 18” Drawer Slides
- (10) Drawer Pulls
- (8) 5/16″ tee nuts
- (8) 5/16″ 2″ carriage bolts
Affiliate links are used on this page. See my disclosure page for info on affiliate programs.

How To Build a DIY Garage Workbench
- Cut Cabinet Sides and Attach Stretchers
- Install Drawer Slides
- Build Drawers and Attach Feet
- Install Drawers
- Make DIY Workbench Top
- Build and Attach Hutch
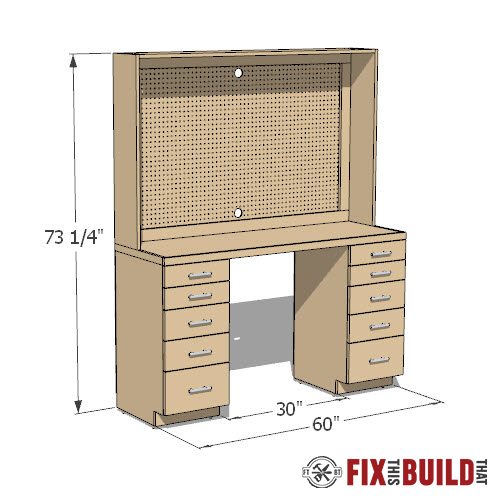
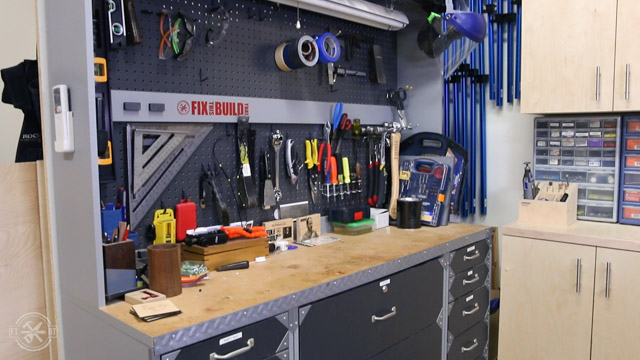
I modeled the DIY Garage Workbench after the workbench I’ve been using for over a decade. It’s two 15” cabinets on either side with a 60” top and pegboard hutch. I’ll leave out the center cabinet for now to make this a nice workbench or shop desk. My dad is getting the old version for his garage.
I’m going to walk through the full build here, but this is basically a mashup of the DIY Garage Cabinets I just made and my DIY Drill Press Stand with Storage I made last year. I’ll share a lot of tips and insights for mounting the drawers and such. If you still have questions after reading this post make sure to check out my full selection of Shop Build Projects as I go into detail on different aspects of each build.
1. Cut Cabinet Sides and Attach Stretchers
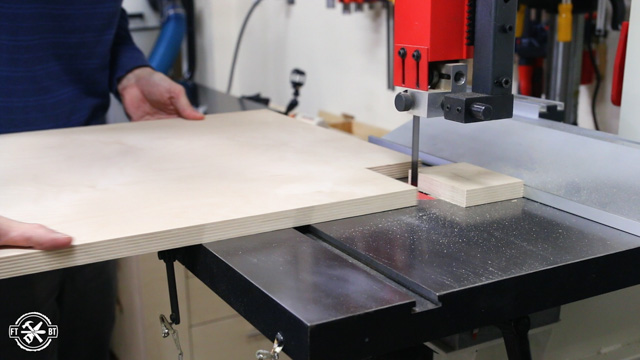
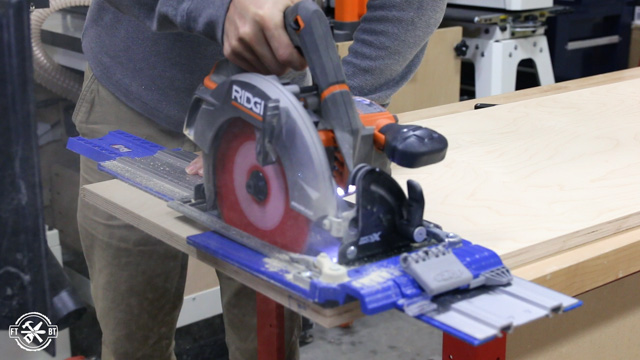
The DIY garage workbench is made up of two cabinets, a worktop and a hutch. I’m building both cabinets at the same time out of ¾” Baltic Birch plywood. Each side piece gets a small toe kick which I marked for and cut on the bandsaw. If you’re cutting these with a jigsaw you can stack two sides together and cut them both at once.
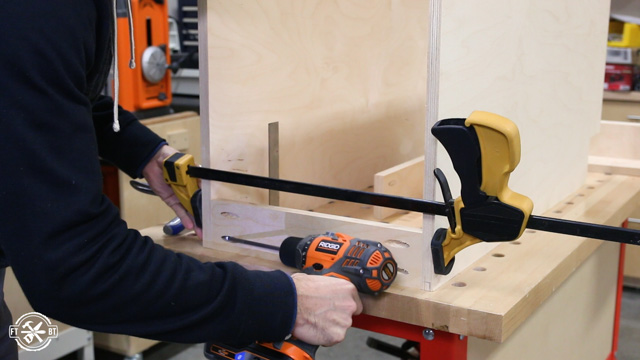
The cabinet sides are joined together by a bottom piece and four stretchers. You want the width of the bottom and the length of the stretchers to be exactly the same so take the extra time to match them up when cutting since you can’t use the same stop block or fence to do this. If they don’t match it can cause an out of square cabinet and fitting the drawers later can be tough.
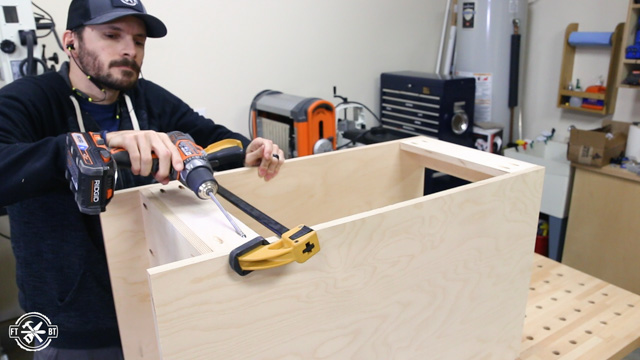
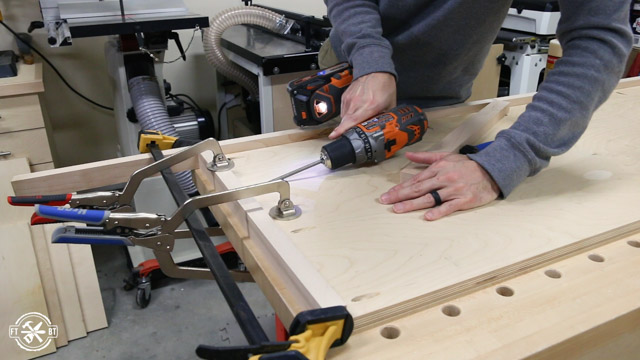
With a nice small cabinet like this connecting the sides is a lot easier. I used a clamp to hold the stretchers in place between the sides and attached them with pocket screws.
For the bottom piece make sure to check that it’s at 90 degrees to both the sides and your workbench before attaching it. If the bottom slopes from the front to back of the cabinet this can also foul up your drawer install.
Back stretchers are attached to the top and bottom to firm up the whole assembly and give an attachment spot for anchoring to the wall.
I cut eight 3″ by 3″ blocks for the leveling feet and attached them with glue and brad nails. 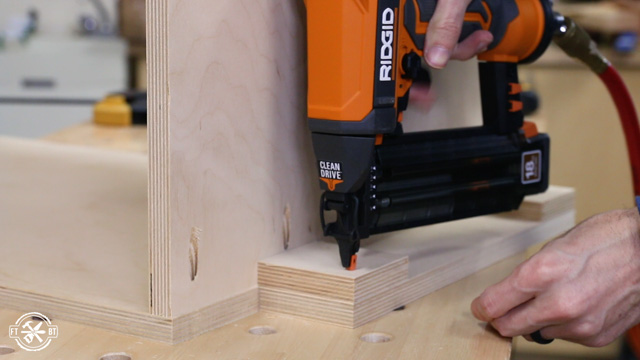
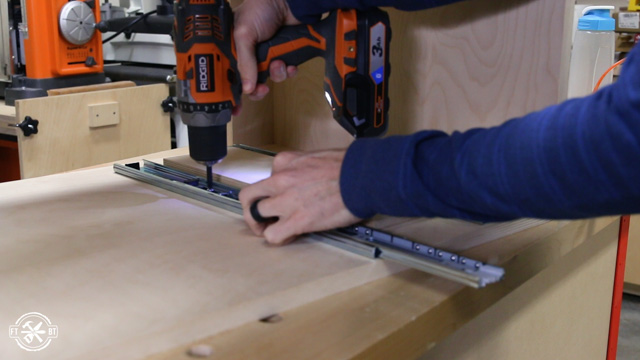
2. Install Drawer Slides on the Cabinets
I installed the drawer slides with the cabinet on its side this time. That has some pros and cons but overall I like this way better since you aren’t fighting gravity. Just make sure your slides remain at a right angle to the front of the cabinet.
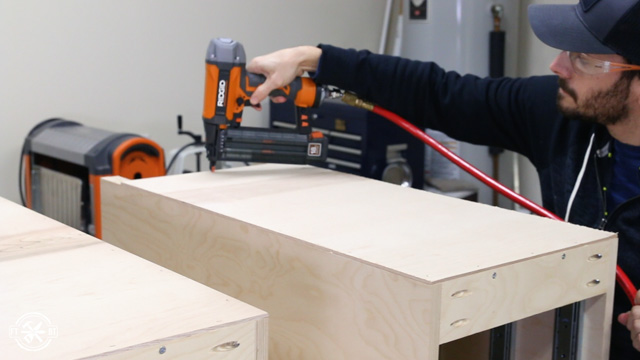
With the slides in I cut backs for the cabinets out of ¼” plywood and attached them with glue and staples to finish up the carcass.
3. Build Drawers and Attach Adjustable to Cabinets
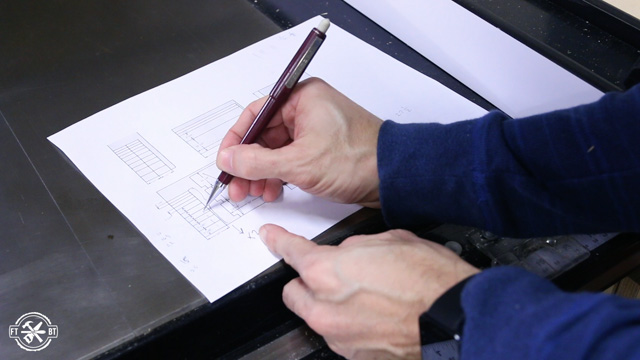
Next I needed to cut the 10 drawers for the DIY garage workbench, which means 40 different parts with 4 different sized drawers. I laid out all my parts in Sketchup. Then I printed out everything I could get from each piece of plywood. This gave me a guide for all the cuts. I do have the workbench phttps://fixthisbuildthat.com/shopdeskplanslans available to make this easy for you too.
I cut the sides to exact length since I knew the length of the drawer slides, but sizing the fronts and back is a little trickier since it depends on the plywood thickness. An easy way to check the size of your fronts before cutting them all is to do a dry fit in the cabinet. Use scraps to represent the sides and front see if they will move easily between the slides.
The drawers go together with pocket holes on the front and back and using a nice set of clamps really makes this easy.

I finished off the drawers for the DIY Garage Workbench with ¼” bottom panels glued and stapled onto the bottom. And I also chamfered the bottom sides with a router like in my other garage cabinet projects.
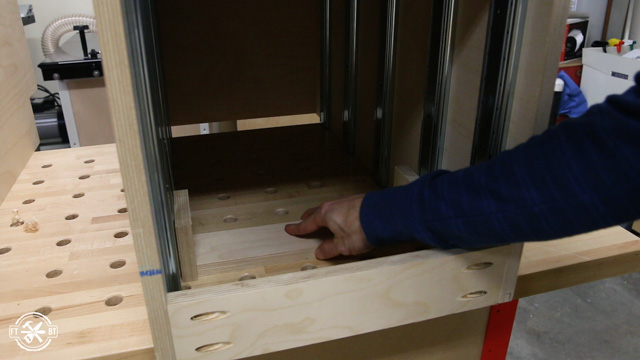
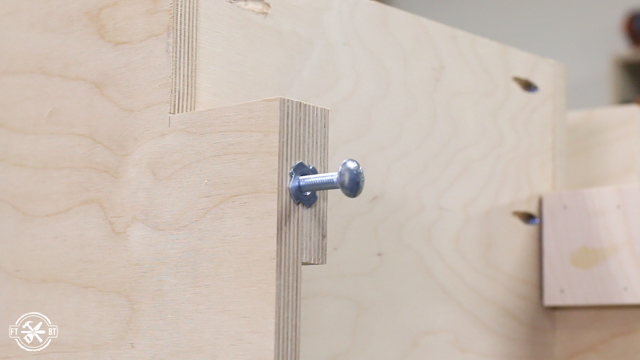
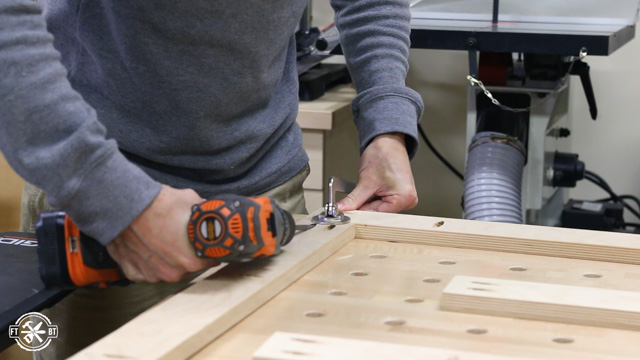
After that I went back to finish up the workbench cabinets before drawer install. I drilled out ⅜” holes 2” deep in between the side and the block.
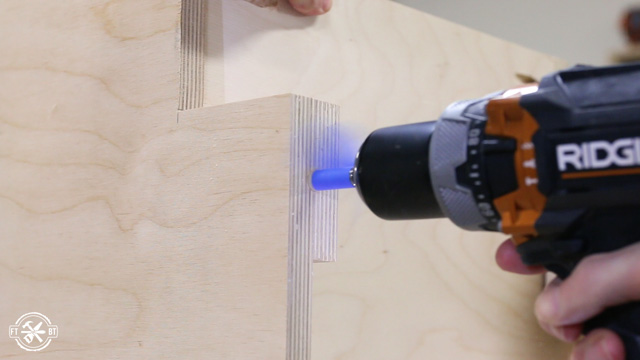
Each foot gets a 5/16” tee nut and a 2” carriage bolt that allows for leveling on uneven garage floors.
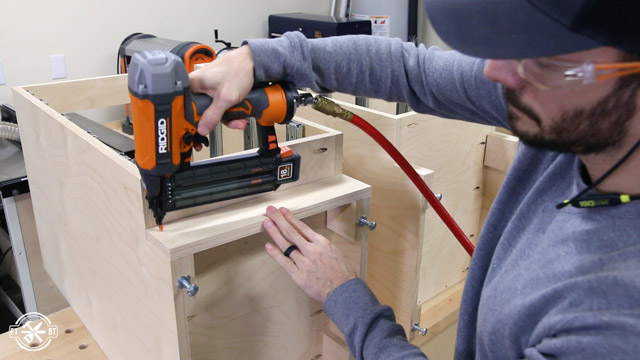
I finished off the base by installing a toe kick on each cabinet with brad nails.
The last pieces of the workbench cabinets was to make were the false drawer fronts. I cut the drawer fronts to size for each cabinet then applied two coats of water-based polyurethane to the fronts and cabinet sides.
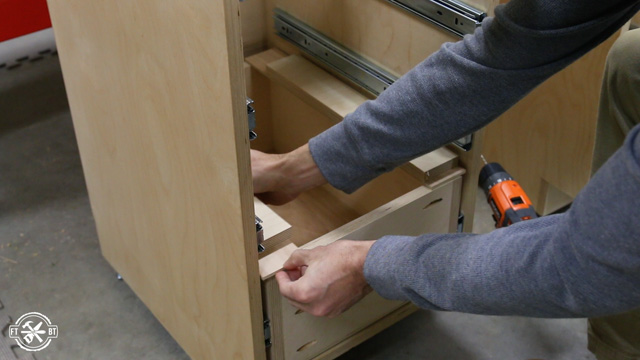
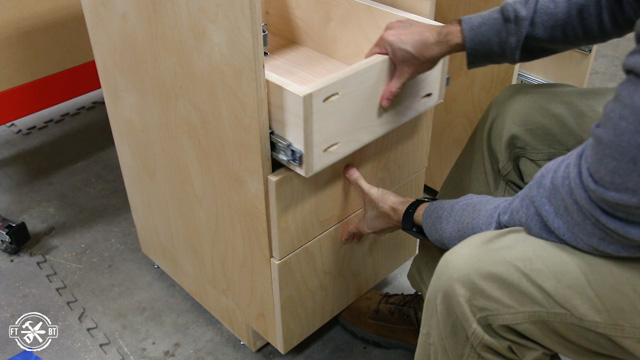
4. Install Drawers for the DIY Garage Workbench
The large amount of drawers is one of the things that sets this DIY Garage Workbench apart from similar shop projects. To install the cabinet drawers I used a ¼” spacer for the bottom drawer and then added a ¾” piece to the stack for the next two drawers.
The plywood I’m using was even more undersized than normal and that adds up over several drawers. If you get too far off then you can get drawer bottoms and fronts running into each other.
I mocked up the fronts for the bottom two drawers using a ⅛” spacer between them and that fit was a bit too close for my liking. So I pulled the top one out and added an additional ¼” spacer to raise it up another notch.
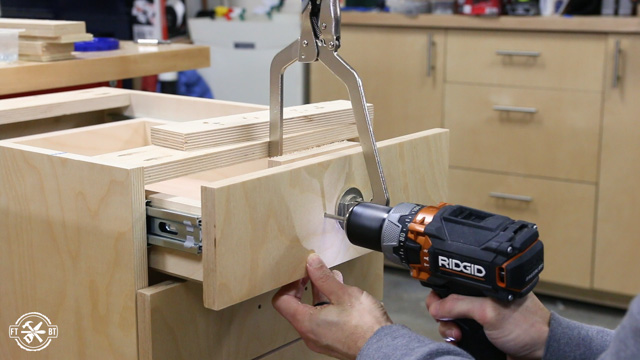
My new preferred way to install the fronts is to drill the holes for the pulls first with my cabinet hardware jig.
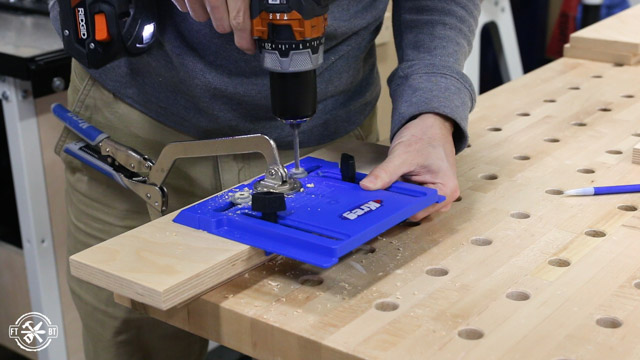
Then I attach them to the drawer boxes with 1-¼” pocket screws from the inside.
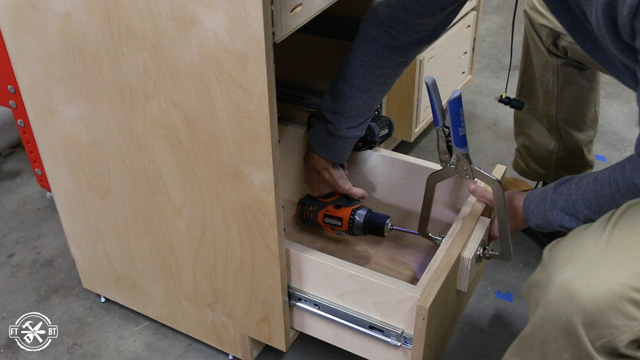
I finish it off by extending the holes for the pulls all the way through and attaching the hardware.
5. Make DIY Workbench Top
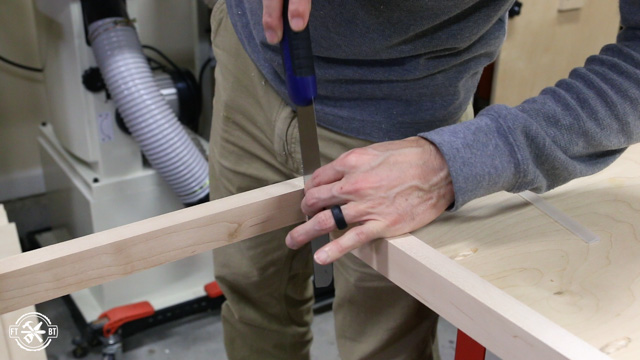
The top is the same plywood trimmed in hardwood design like I did on my 30″ wide DIY garage cabinets. But I did figure out a couple improvements to putting it together. I cut the plywood to width and then length with my Accu-Cut guide.
But since this plywood is so undersized I used two pieces of it to size the trim which ended up being about 1-⅜”. Doing it this way keeps me from having an ⅛” lip between the trim and the double stacked plywood underneath
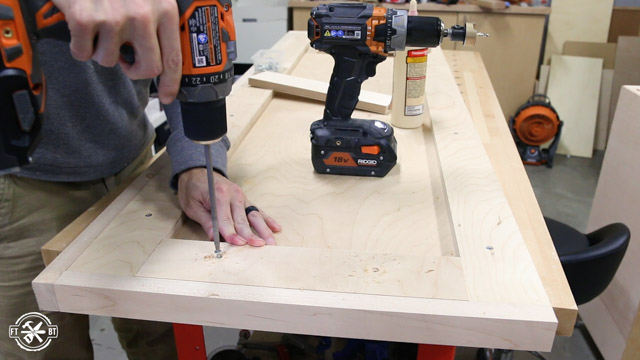
I attached the front trim to the workbench top with pocket screws and glue leaving the trim long on each side.

Instead of leaving the side pieces long as well I went ahead and trimmed them to exact size and joined them the same way as the front.
Then I used a flush cut saw to cut the excess trim on each side of the front piece.
Instead of using two full sized pieces of plywood for this DIY workbench top I used 3” strips along the front and sides. I glued and screwed them down and put two more strips in where they would overlap the inner sides of the cabinets.
I finished up the plywood top by sanding all the trim flush to the top and applying two coats of poly.
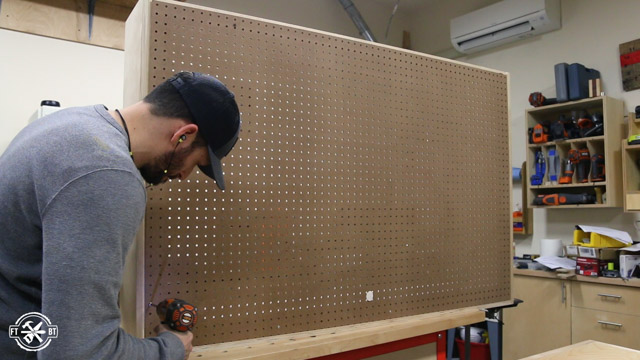
6. Build and Attach Hutch to the Workbench
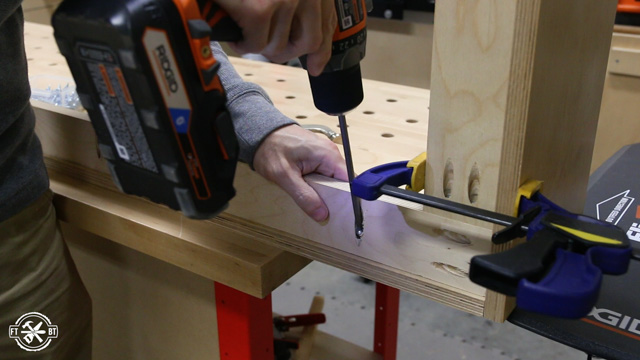
This is a two piece hutch with a frame for the pegboard held between the sides and top. I used pocket hole joinery for the whole thing since it’ll all be hidden on the back.
I put finish on the parts before I assembled them. Much easier that way. Then I joined the sides and top of the hutch together and then went to cut the pegboard to size.
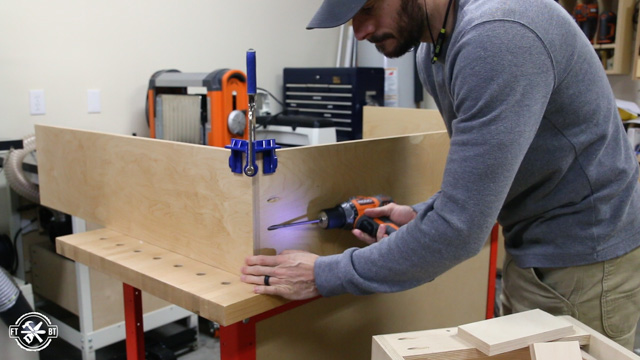
To assemble the workbench hutch I set it upside down and brought over the frame. I used some off-cuts of the pegboard to set the frame forward so the hutch would be flush on the back.
Working my way around the hutch I connected the frame to the top and sides with pocket screws.
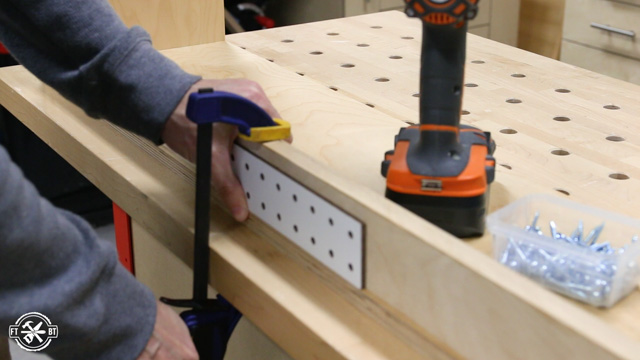
At this point I brought over a 4’ LED shop light I’ll be using and measured it for placement and mounting hardware. I drilled holes for some screw hooks which I decided to replace with screw eyes a bit later.
Then before mounting the pegboard I located a spot to drill a hole for the power cord for the light.
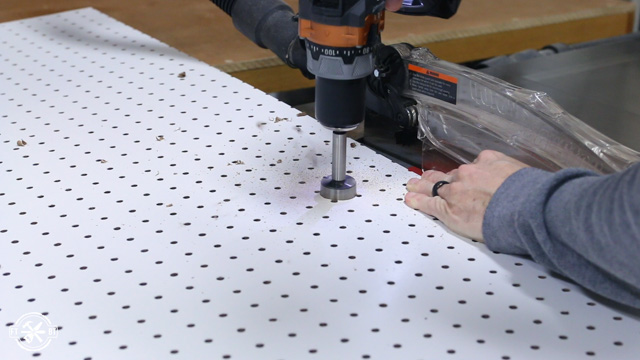
The pegboard went on with ⅝” screws around the frame. When installing this in its final location you would want to attach the hutch to the workbench top first then install the pegboard. I can’t take the old cabinets over to my dad’s just yet so this is a temporary setup. But I will secure the top to cabinets and the hutch to the top with hidden screws.
The DIY Garage Workbench is a great low profile spot to work on projects and go through plans for your projects. I can’t wait to get it in its final place and complete the look of my own shop organization. If you want plans to build your own you can get them here.
And if you liked this project check out the rest of my Shop Projects for more ideas.
Woodcraft provided me with product and/or monetary compensation as a sponsor of this build. All opinions are my own and are not filtered by the sponsor.


