*This post is sponsored by The Home Depot
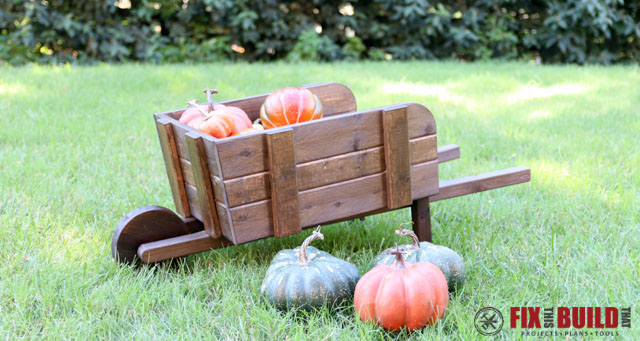
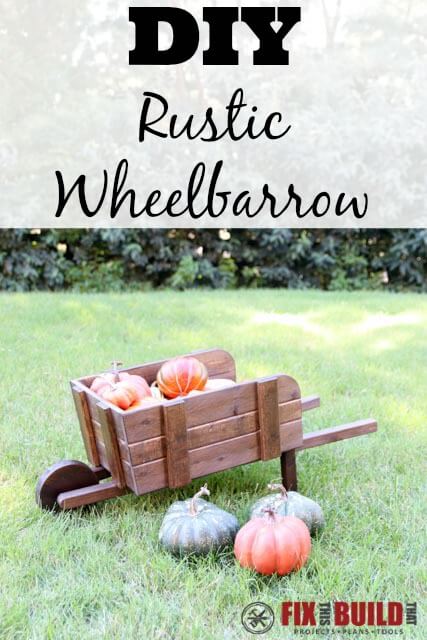
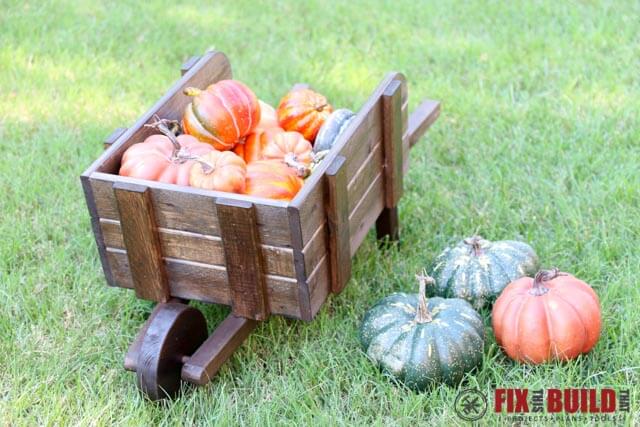
Hey guys, today I’m so excited to share with you the DIY Rustic Wheelbarrow my wife, Susan, made. This is Susan’s debut on the blog, but I hope to have her on many more times since she loved building so much. For Susan’s version she used some inexpensive materials from the home center and gave the wheelbarrow a more authentic look by using an open back and staved sides.
This year I’ve been helping The Home Depot promote their DIY Workshops by building projects like the DIY Wooden Doormat and the DIY Football Toss Game. This quarter we’re helping promote the Do It Herself (DIH) Workshops. So I invited four of my awesome DIY blogger friends (who just happen to be women) to build along with us. I’ll be sharing their projects as well as a bunch of other bloggers who participated later in the post.
The best part is that you can learn how to make your own by going to your local Home Depot this weekend! The class is a free demonstration class where you’ll see one being made. While attendees won’t always be able to make and take the project home that day (changes by store), at a minimum you’ll walk away with the skills to recreate the project at home. You can learn more and register at your local Home Depot below.
If you want some hands on help to build your own then go to your local Home Depot this Thursday September 15 from 6:30p – 8:00p local time. Get all the details on the Rustic Wheelbarrow workshop here:
DIY Workshop Info & Registration
Materials/Supplies
- (3) 8′ pine 1×4
- (2) 8′ pine 1×3
- (2) 8′ pine 2×2
- 1′ scrap of pine 2×8
- 4″ of 1/2″ dowel rod
- 1-1/4″ Pocket Hole Screws
- 2″ wood screws
- 2-1/2″ wood screws
Affiliate links are used on this page. See my disclosure page for info on affiliate programs.
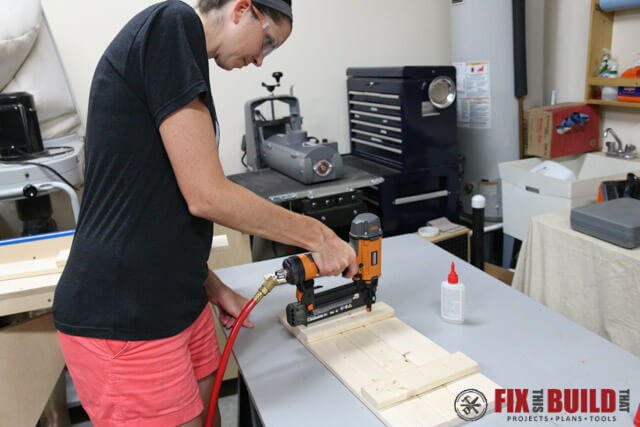
Assembling the Wheelbarrow Sides & Front
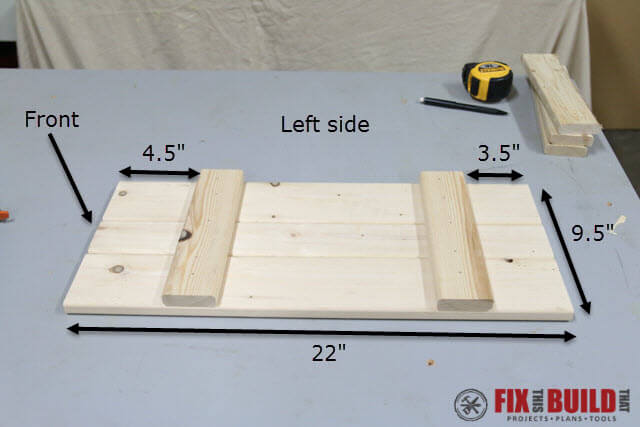
The entire build is done with 1×4’s, 1×3’s, 2×2’s and a scrap 2×8. Susan started off by making the sides which are 22″ wide with 1×3 staves glued and nailed to the outsides for support. The front stave is 4.5″ from the edge and the back stave is 3.5″ from the edge.
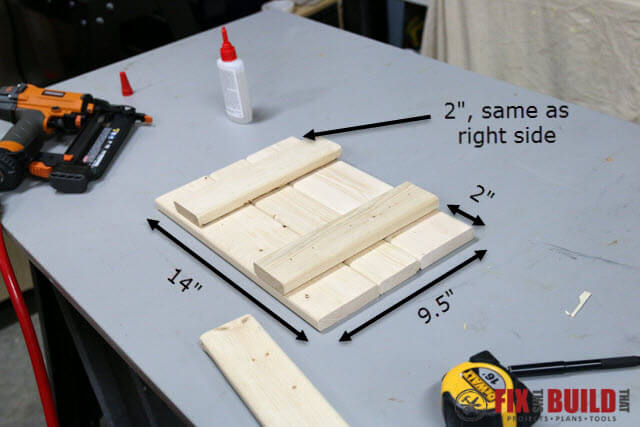
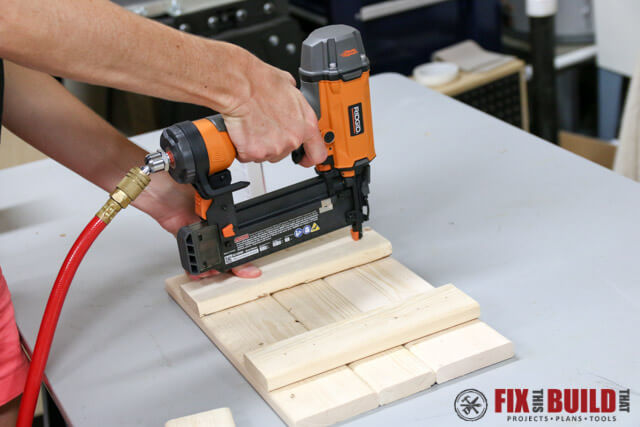
She made the front in a similar fashion with 14″ long boards and staves 2″ from each side.
Making the Bottom and Adding Details to Sides
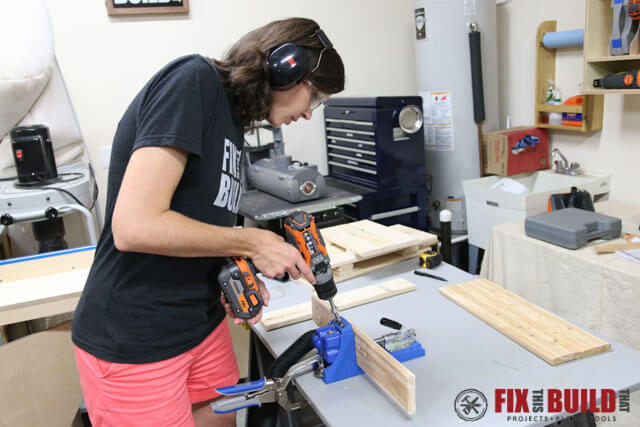
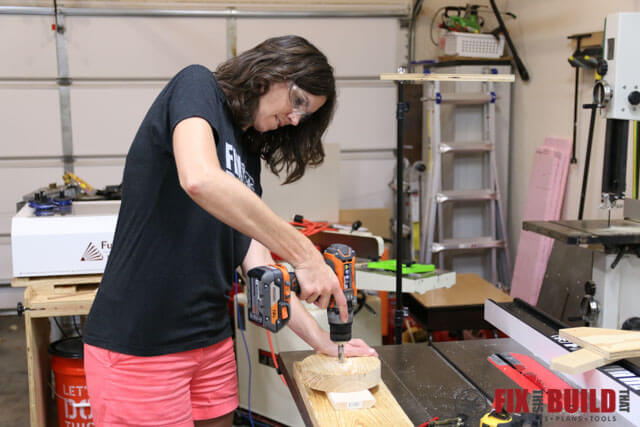
The bottom was made using 4 pieces of 1×4 each 19.75″ long. Susan used a pocket hole jig to drill pocket holes in the pieces to join them and holes at the ends to attach the front and the back slat. 1-1/4″ pocket screws were used to join the bottom pieces together.

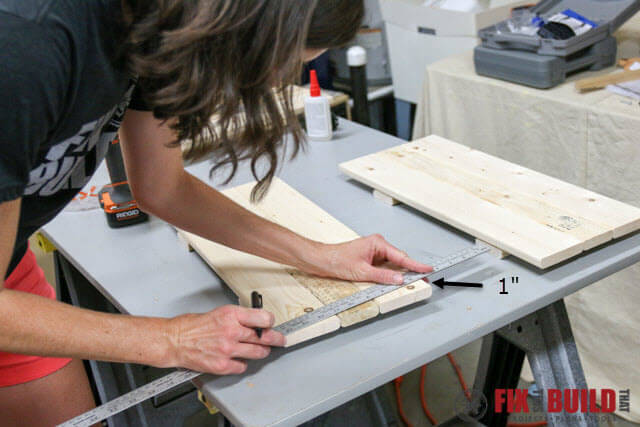
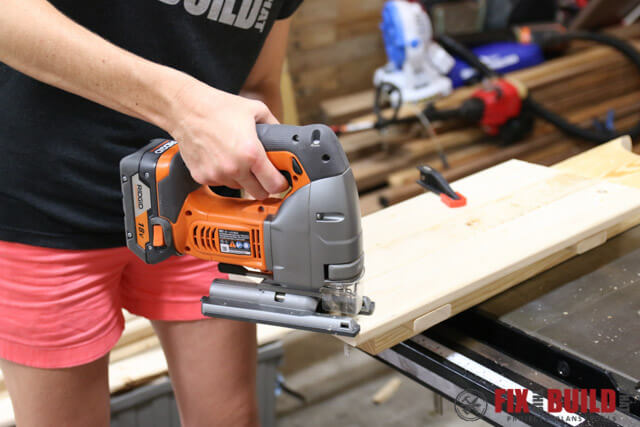
 Before assembling the sides to the bottom she wanted to give the wheelbarrow a few details. She put a slight taper on the sides but running a line from the top front corner of the sides to 1″ in from the bottom front corner. Then she cut the line with my bandsaw and did an awesome job with the cut. Use a jigsaw if you don’t have a bandsaw.
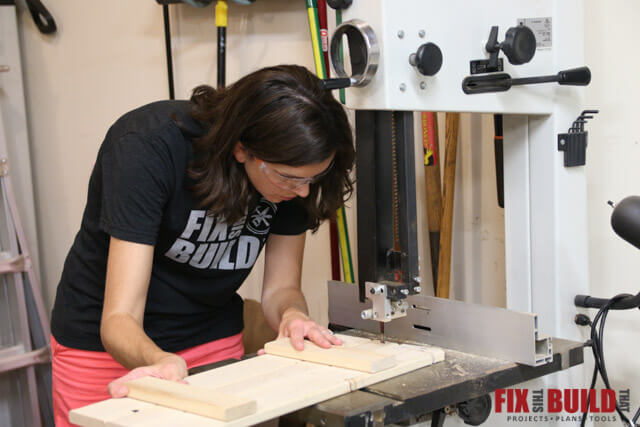
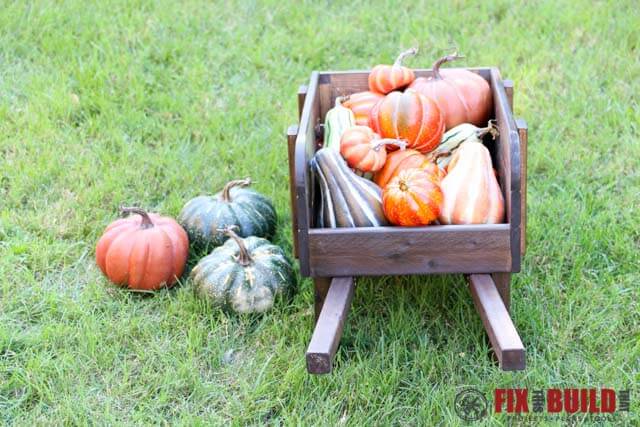
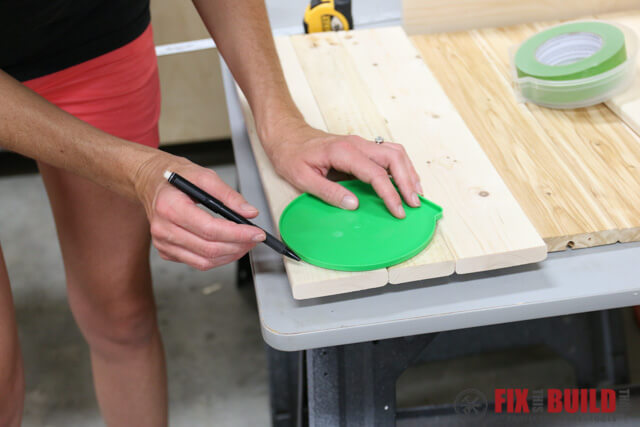
Then Susan rounded over the top back corners of each side. She used a large circle from a container to layout the curve and cut it with a jigsaw.
Assembling the DIY Rustic Wheelbarrow Body
Next Susan attached the sides and front to the bottom to form the wheelbarrow body. She cut 9″ glue block for the front corners from a 1×1 scrap cutoff and used brad nails and glue to secured the sides to the front.
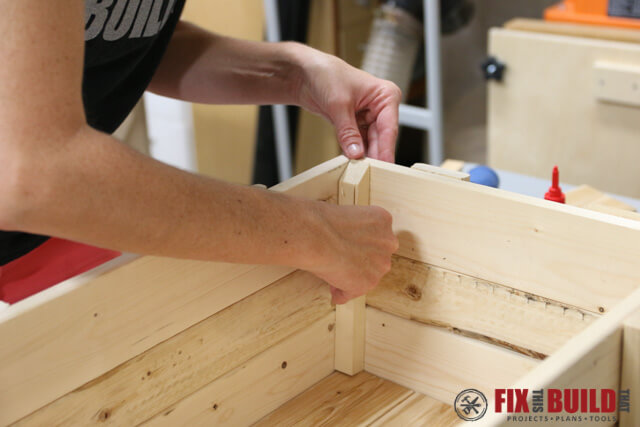
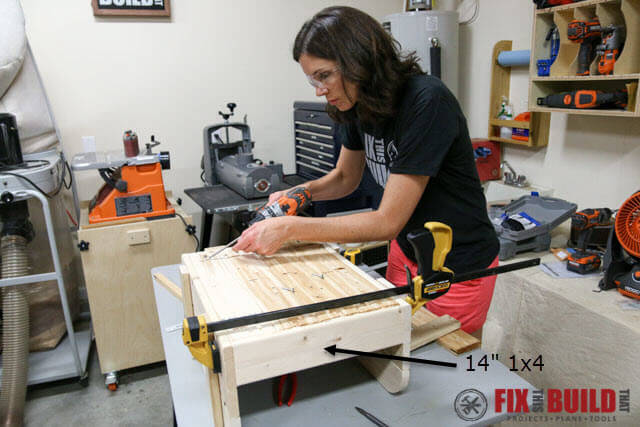
After nailing and gluing the sides and front together she flipped the assembly over and attached the bottom to the front and sides with 1-1/4″ pocket screws. She also cut and added a back slat from a 14″ 1×4 piece.
Making the Rustic Wheelbarrow Wheel
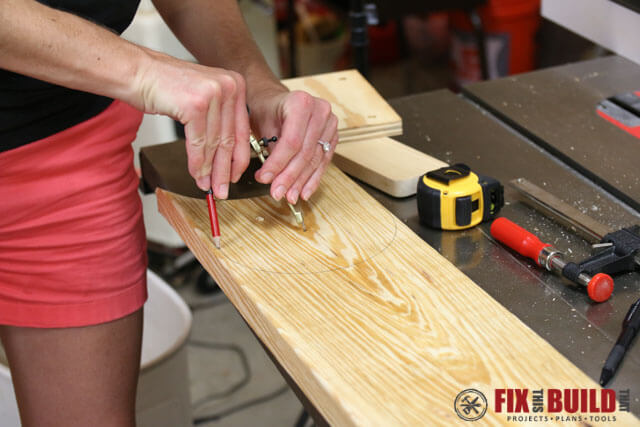
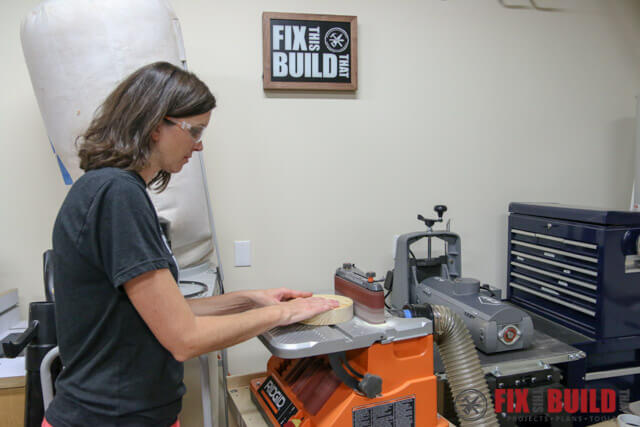
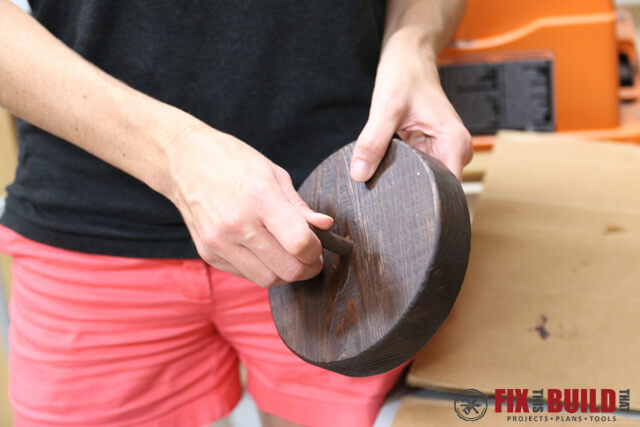
After the body was done, Susan made the wheel from a scrap piece of 2×8. She used a compass to lay out a 7″ circle then cut it out with the jigsaw and sanded it smooth on the oscillating sander.
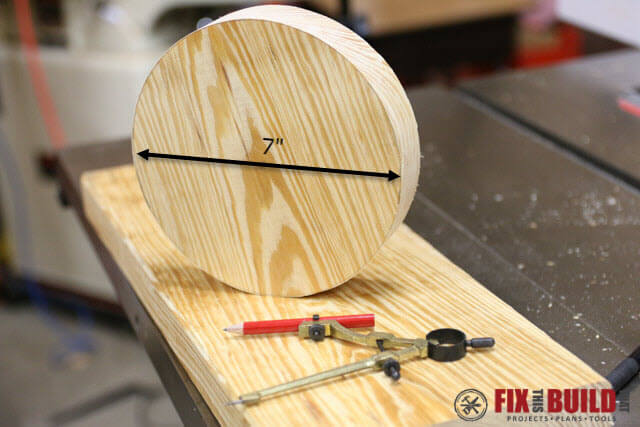
Once the wheel was to size she drilled a 1/2″ hole through the center of the wheel to later mount the axle.
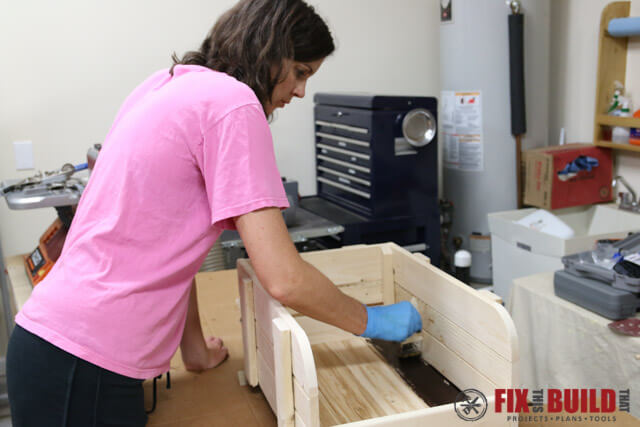
Staining and Final Assembly
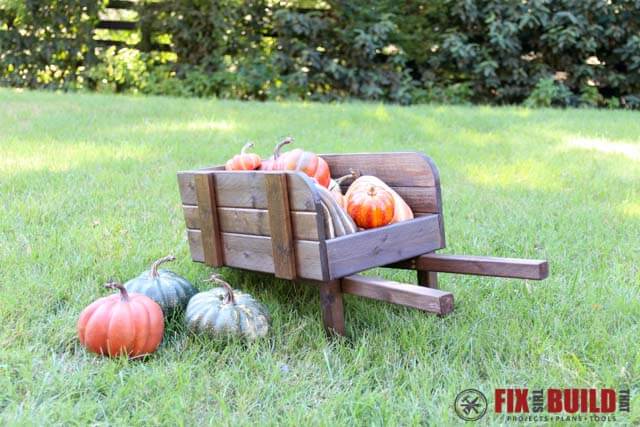
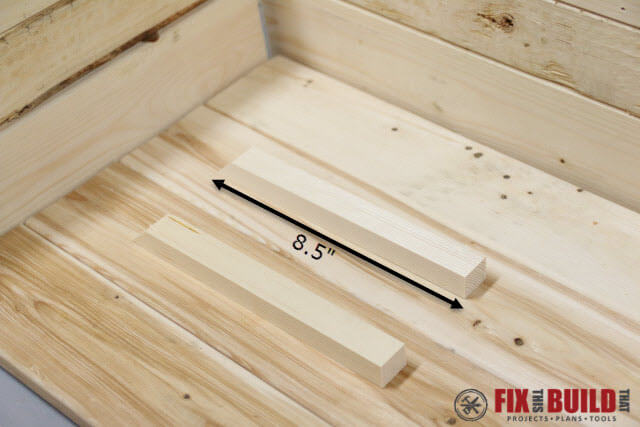
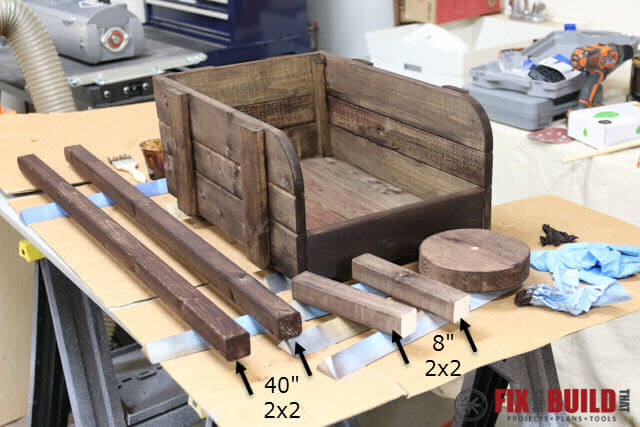
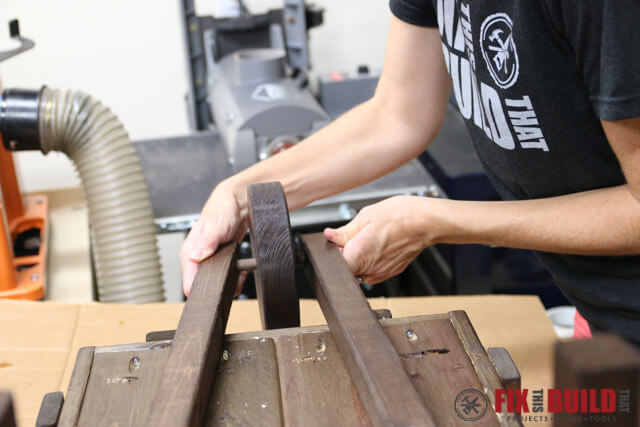
Before final assembly she applied a dark stain to the body. She also cut the rustic wheelbarrow handles to 40″ and legs to 8″ from 2×2 and then stained them as well. We applied some outdoor poly to everything after the stain was dry.
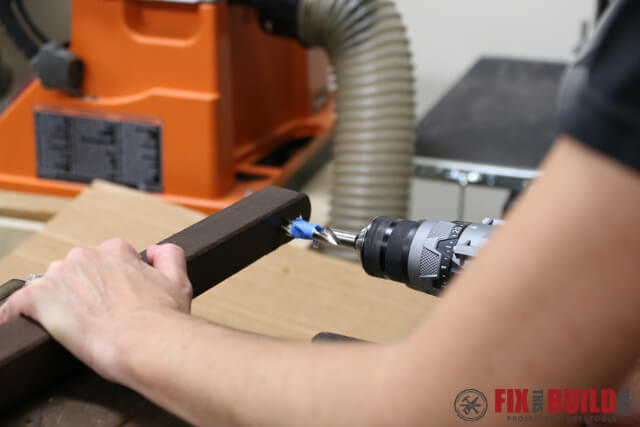
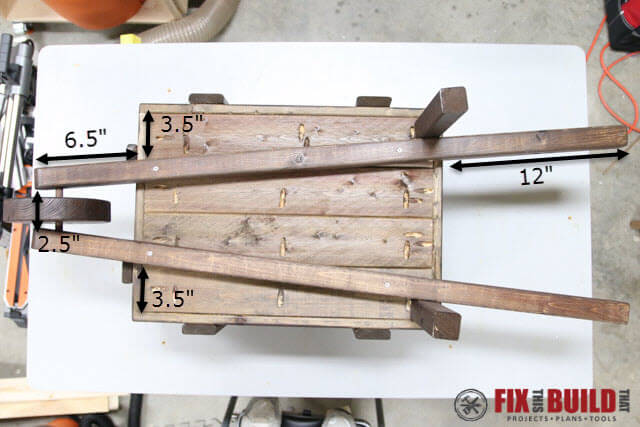
To attach the wheel, Susan cut a 4″ piece of 1/2″ dowel. She drilled 1/2″ holes 3/4″ deep on the inside of the front end of the handles at angle so the wheel would be straight.
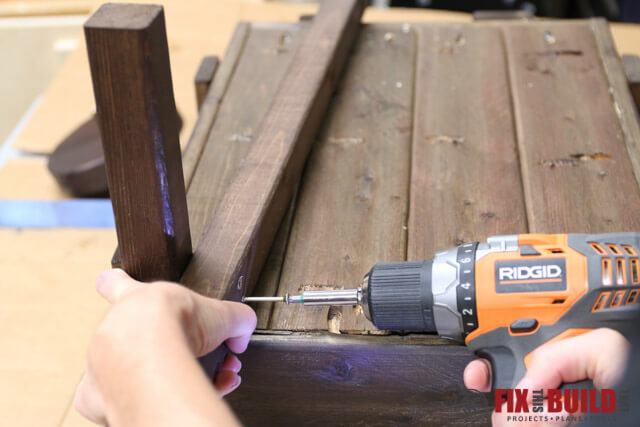
Then she turned the body upside down and aligned the handles and legs how she wanted them. Note the legs are butted into the corner of the bottom assembly. She attached the legs to the handles first with 2.5″ screws then secured the handles to the underside of the body with 2″ screws. The dimensions are seen below for reference.

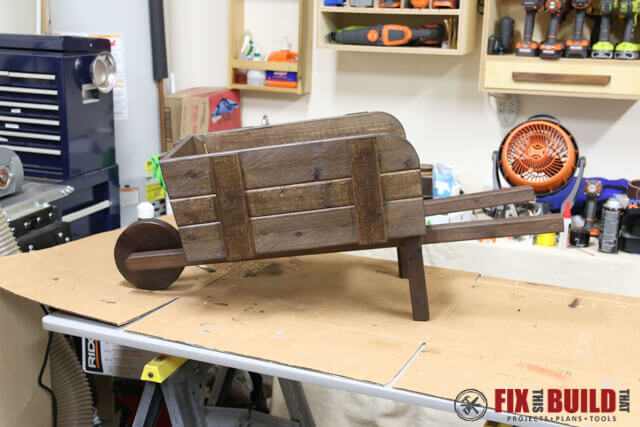
And that was it! She did such an amazing job and we really like how it turned out.
Before I show the other projects, don’t forget to:
Register for the Workshop!
Here are the four awesome women that joined me on this build. You can see their versions here:
- Corey from Sawdust 2 Stiches
- Elisha from Pneumatic Addict
- Katie from Addicted 2 DIY
- Mindi from My Love 2 Create
And here are all the other bloggers that also build their own verions. You should have a TON of ideas to choose from now!
That’s My Letter / Field Treasure Design / NewlyWoodwards / Keeping It Cozy / Averie Lane
House of Wood / The Chronicles of Home / Homemade By Carmona / Place of My Taste / The Home I Have Made
Build Basic / Build Craft Love / UnCookie Cutter / DIY Huntress / Tinsel and Wheat
Remodelando La Casa / Chatfield Court / Cozy Little House / Love of Home / Duke Manor Farm
And in case you are wondering about these workshops or have never heard of them before here are some details.
- The Home Depot offers Workshops at all of their locations for do-it-yourselfers of all ages and experience levels
- There are three types of Workshops offered – Do-ItYourself (DIY), Do-It-Herself (DIH) and Kids
- Customers can learn how to build decor projects, how to make easy home repsirs and how to operate tools through demonstrations and step-by-step instructions
- Visit workshops.homedepot.com to learn more
I acknowledge that The Home Depot is partnering with me to participate in this Workshops Program (the “Program”). As a part of the Program, I am receiving compensation in the form of products and services, for the purpose of promoting The Home Depot. All expressed opinions and experiences are my own words. My post complies with the Word Of Mouth Marketing Association (WOMMA) Ethics Codes and applicable Federal Trade Commission guidelines.


Wish I could meet you so I could pat you on the back for being so great and wonderful!
This is much cuter then the ones made out of a crate IMHO.
Thank you, Carla!!
I love your unique take on this project! The rounded corners are so good! Great work!
I love the way it’s rounded! Really adds another dimension to it. Brenda
Looks awesome! Susan did a great job, you better watch out, she just might take over your workshop! 😉
I love your version – your crate is too cool. Such a great look.