Today I’m giving you and updated workshop tour of the Fix This Build That woodshop, better known as my garage. I’ve added several machines since the December 2016 Shop Tour and today I’ll be focusing mainly on the changes since last time. If you want to see anything I don’t talk about here more in depth then check the 2016 tour.
I’d suggest to check out the video below first to get a better feel for the space and my first hand explanation about things. I’ll take shots from the video and talk a little about each area here as well and link to any available plans. You can see the builds for most all these projects on my Shop Projects page and can get the plans at my Woodworking Plans page. Enjoy the tour and ask my any questions in the comments!
Affiliate links are used on this page. See my disclosure page for info on affiliate programs.
Home Woodworking Shop Tour 2018
(You can skip ahead to any of the sections by clicking the links below)
My woodworking shop is mainly contained in the back of the 2 car garage that I’m in. Here is a look to the left and right showing the main working area of the workshop.

As I walk around the workshop, I’ve pulled some stills from the video showing the key parts of the workshop. I tried to find still where I had the stupidest look on my face just so you know 🙂
1. Woodworking Shop Tour – Center Shop
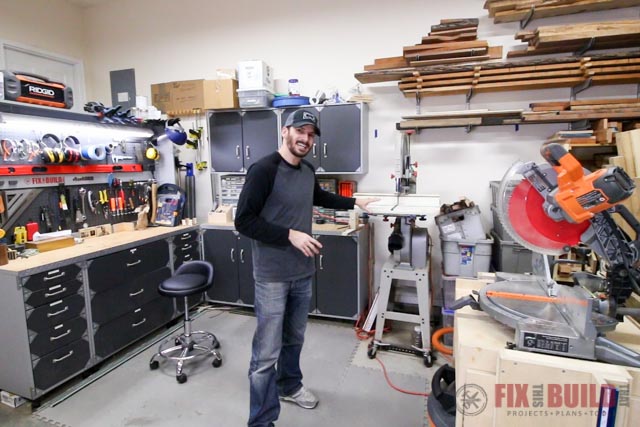
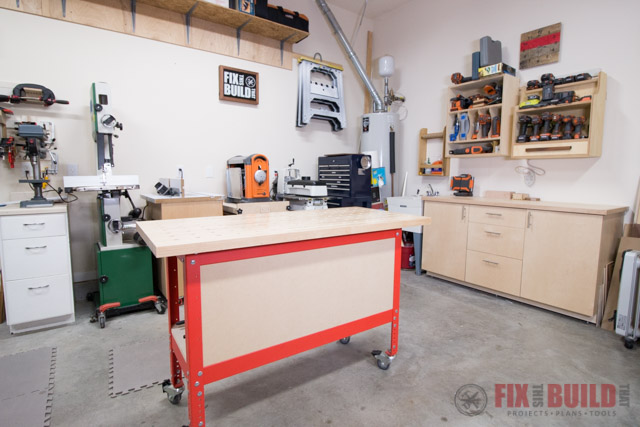
I’ll start out the home woodworking shop tour in the middle of the shop. My workshop is 31′ deep by 19′ wide with 11′ ceilings. This view is from the front of the garage looking back and I’m admiring my tall ceilings.
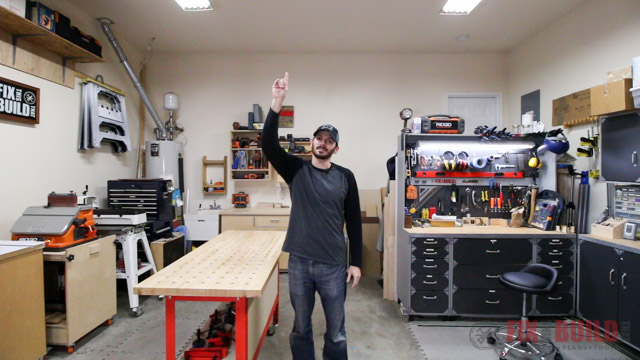
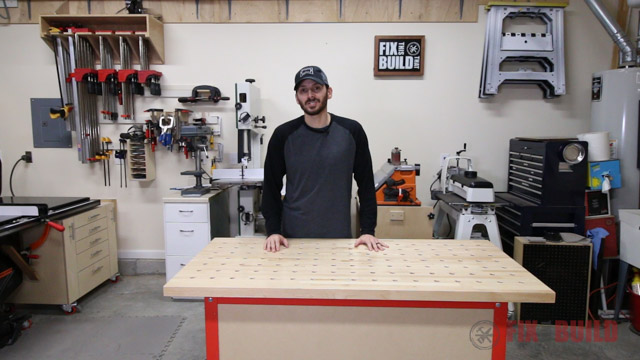
I’ve been using this clamping table as my main assembly table and workbench. It’s much better than the old melamine top I would put on sawhorses in the past.
2. Woodworking Shop Tour – Back Wall
In the back of the workshop I’ve upgraded the storage this year. I made my DIY Base Cabinet which has been a great addition to my workshop storage. It holds a lot of mid and long term items in the pull out slides behind the two doors. In the three drawers I have screw storage, pneumatic tools, and power hand tools in the lower drawer.
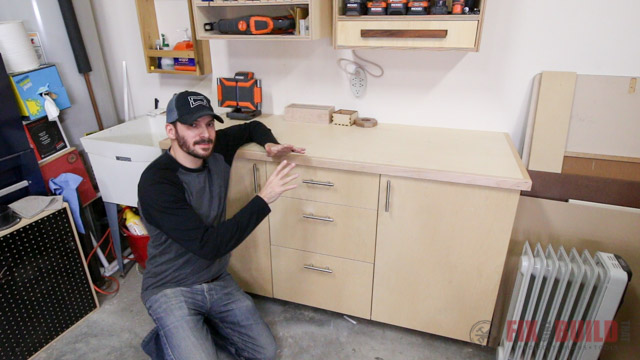
Above the base storage cabinet in the workshop I have two great wall hanging storage options. The Cordless Drill Charging Station on the right holds all my cordless drills, chargers and batteries. The Tool Storage Wall Cabinet on the left holds an assortment of other cordless tools like trim routers, jigsaw, circular saw, etc.
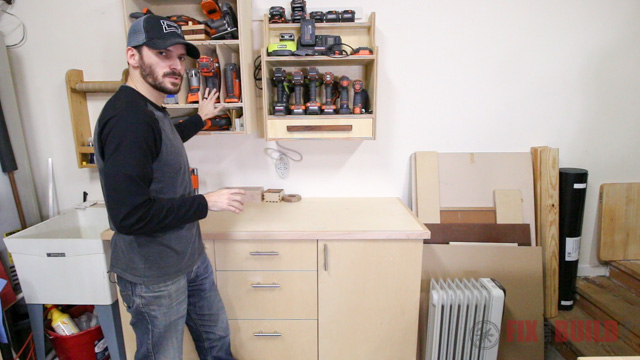
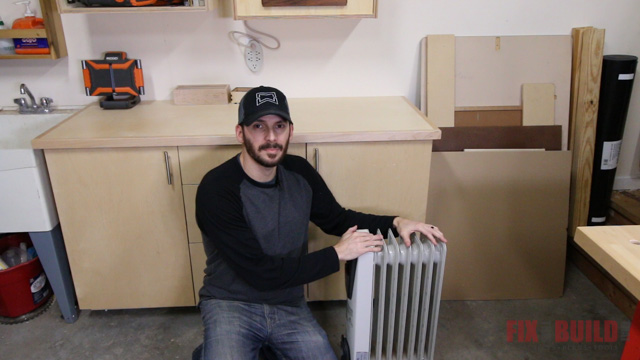
I got several questions about heating in my shop. I just use a little enclosed oil radiant heater like this one. It does a great job to bring the shop up by 10 degrees or more depending on how long I run it. My shop is insulated on two walls and the ceiling so that helps as well.
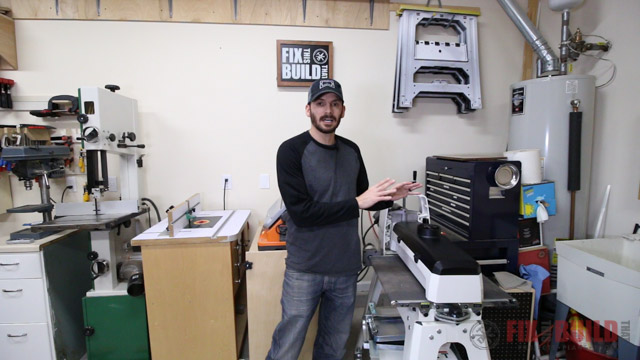
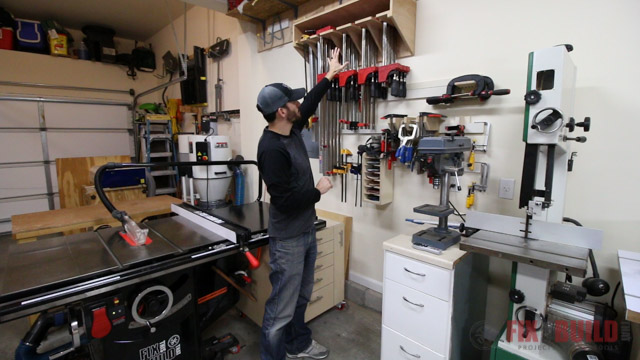
3. Woodworking Shop Tour – Tool Wall
The next stop on the woodworking shop tour is the wall that holds most of my tools. The first big change was the addition of this new drum sander. It’s a JET 16-36 drum sander and I’ve been very happy with it’s performance, especially the dust collection.
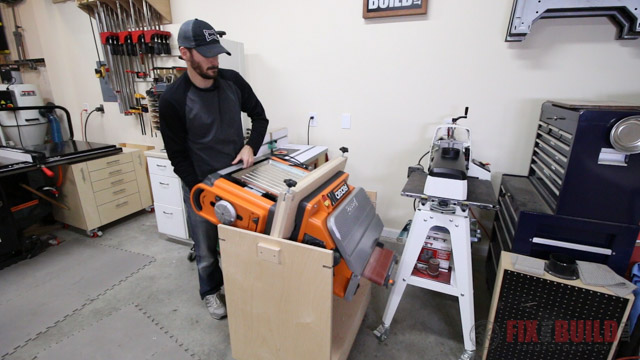
One of the mainstays in my workshop is the Flip Top Tool Stand that holds my Oscillating Sander and Planer. It’s still one of the best spacing saving projects in my shop. I’ve seen reader builds with all kinds of different tool combos, but these two make perfect sense for me.
Not much has changed on the rest of this part of the wall. I still have the router table that I built long ago (well before I started blogging). The biggest change was moving the bandsaw to this location and the dust collector to the back which I’ll show in a moment.
My clamp storage has remained mainly the same as last year. I did add a couple more clamps and the parallel clamps are all stored in my Space Saving Clamp Rack. I also have the French Cleat Tool Storage setup that holds a lot of my smaller clamps and some sanding gear.
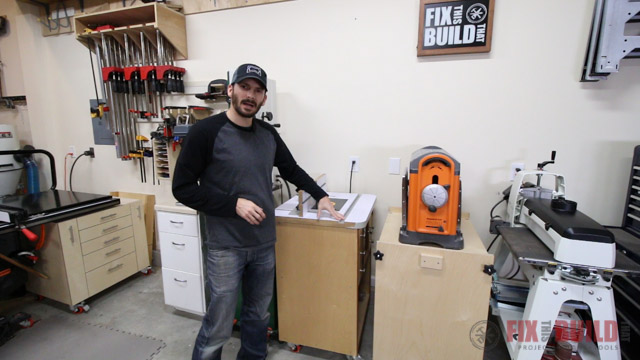
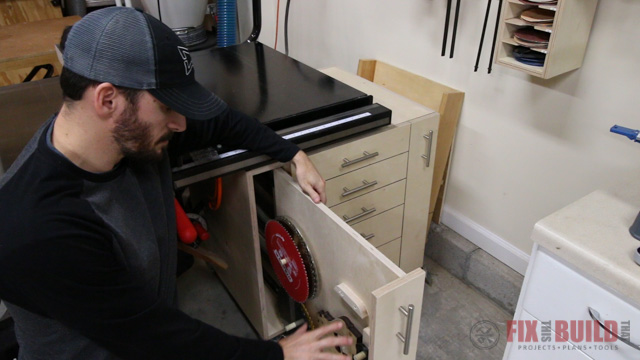
Another major addition to the shop this year was the Table Saw Cabinet that I just recently built for the woodshop. It’s has really been a great storage cabinet that took care of that nasty pile of stuff that was sitting on the floor in the last shop tour.
4. Woodworking Shop Tour – Front Shop
In the front of my woodworking shop I have some of the lesser used tools. Here is the dust collector I mentioned before. It’s a JET 2hp Cyclone and it’s a great upgrade over my single stage one I used to have. Emptying the barrel is so much easier than dealing with those plastic bags of chips. I have it positioned right behind my table saw but it doesn’t interfere with outfeed.
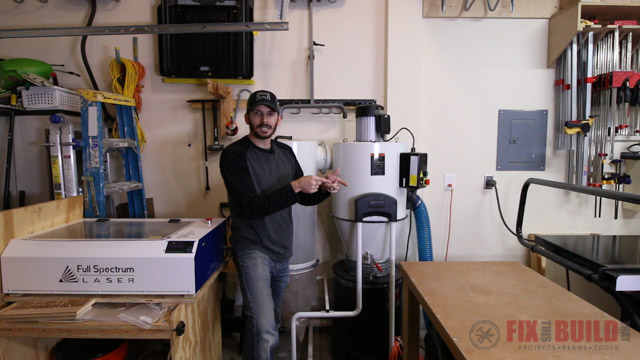
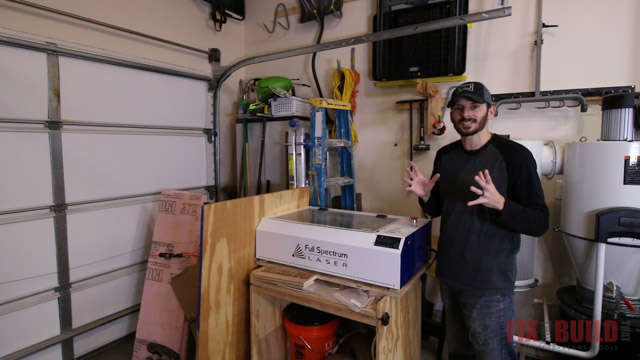
This is probably the item on the workshop tour I need to use more than I do. It’s my Full Spectrum Hobby Laser. It can engrave and cut thin woods. I plan to do some more with it this year because I just don’t use it enough.
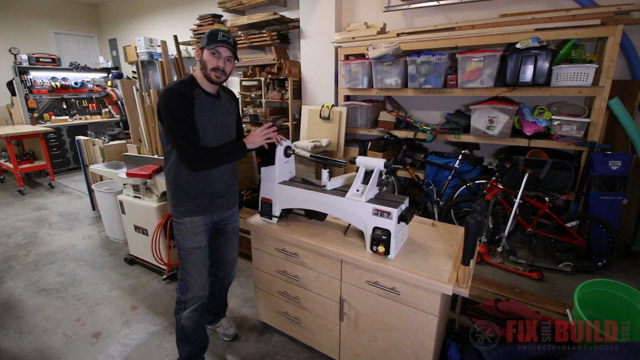
I’ve gotten more into woodturning this year and even did a whole series on my YouTube channel called 6 Days of Beginner Woodturning. I upgraded my lathe to a JET 1221VS and it’s so much nicer than the small one I used to have. I also built this Mobile Lathe Stand for it which sits here in the front of the workshop until I need it. Then I roll it where the lighting is good and use it in the back of the shop.
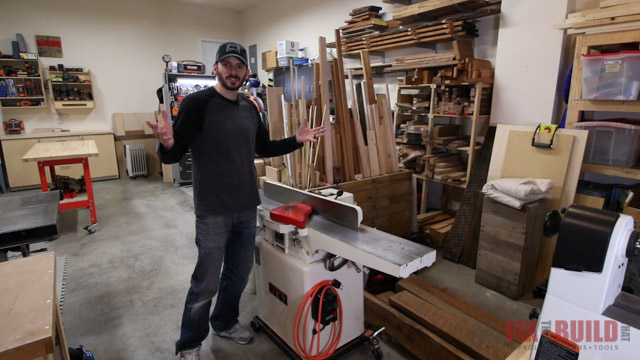
The other major tool here in the front of the shop is the JET 8″ jointer. It fits nicely here beside my wood storage and gives me all the infeed and outfeed I need.
5. Woodworking Shop Tour – Lumber Storage
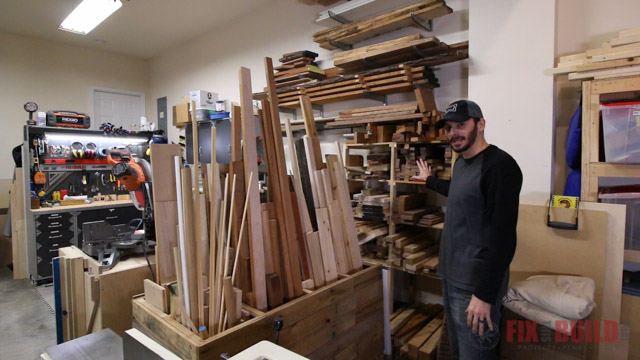
The most cluttered part of my woodworking shop tour has got to be the lumber storage. I have a lot more wood than I need like I talked about in the last shop tour, but it is fairly well contained in my Mobile Wood Storage Cart and on the offcut and wall storage I have.
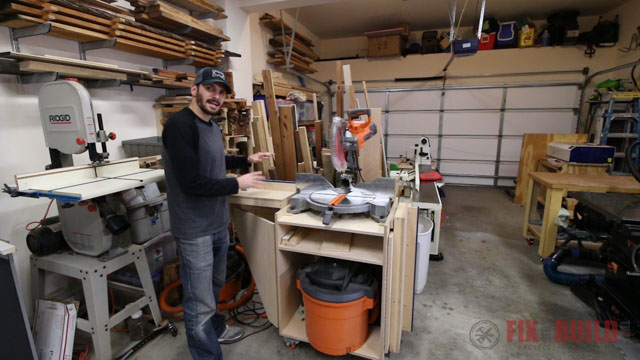
6. Woodworking Shop Tour – Cabinet Area
The last stop on the workshop tour is what I’m calling the cabinet are because I can’t come up with a better name. I’ve had these shop cabinets for a long time and they hold a lot of long term storage items. I also have the pegboard on the hutch of the cabinets on the left that hold my most used shop items that are easily accessible.
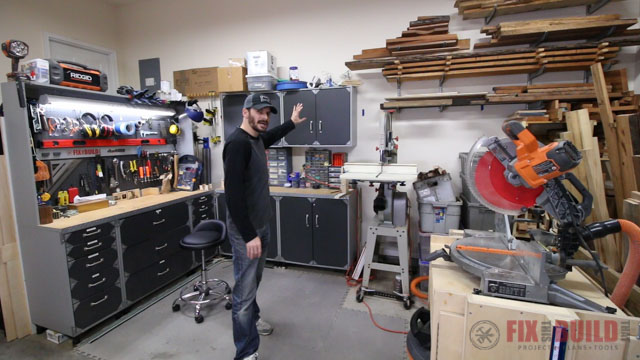
My Mobile Miter Saw Stand also sits in this area tucked behind my the wood cart. It holds my 12″ RIDGID Miter Saw and sees a lot of action in all my projects.
7. Woodworking Shop Tour – Miscellaneous
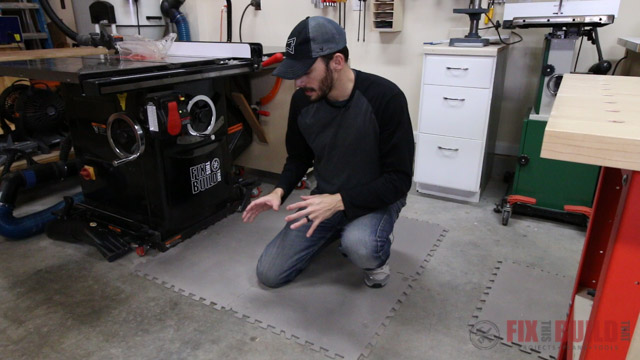
One of the questions I got a lot of on social media was about the tiles on my shop floor. These are small foam tiles that I use that are similar to these tiles. My tiles are only 3/8″ thick though I believe. I’d like to get more substantial floor covering at some point, but not sure when I’ll do it.
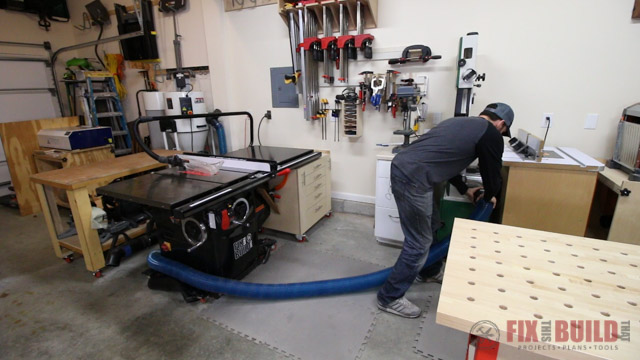
The other big question was about dust collection in the shop. I showed you my cyclone, but this is how I connect it to the machines…disgraceful I know. I have a this flexible dust hose in the 28′ variety and have to wrap it around my table saw to get to the machines on the tool wall. I want to hard pipe the table saw and have a blast gate that will let me run other machines down the tool wall. This is definitely a priority this year.
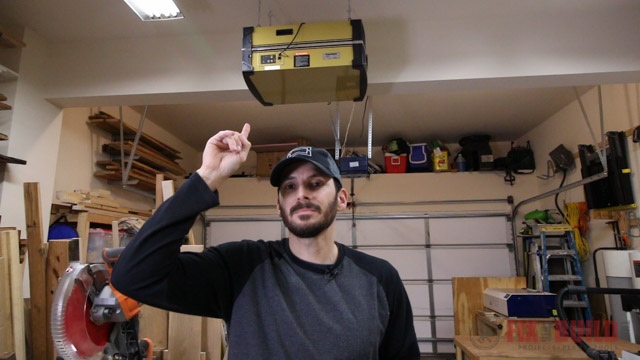
The final piece of machinery in my dust collection arsenal is the Powermatic PM1200 air filter. I run this whenever I’m machining wood to get rid of the fine dust floating in the air and it works great.
Hope you enjoyed the home woodworking shop tour update for 2018. If you want plans for any of these projects you can get them at my Woodworking Plans page and you can see the full articles for many of them on my Shop Projects page.