If you have kids and your kids have bikes… you have a mess, right? That’s been true for us whether they were in the garage, or (as they are now) under our back deck. The common denominator? My kids.
I like to say you gotta have the right tool for the job, which means my kids need the right tool to store their bikes. That’s why I built a super simple (and hopefully really effective) DIY Bike Stand for each of them. Fingers crossed.
This post is sponsored by The Home Depot.
Materials/Supplies
- Scrap 2x4s
- 2-1/2″ Screws
Affiliate links are used on this page. See my disclosure page for info on affiliate programs.
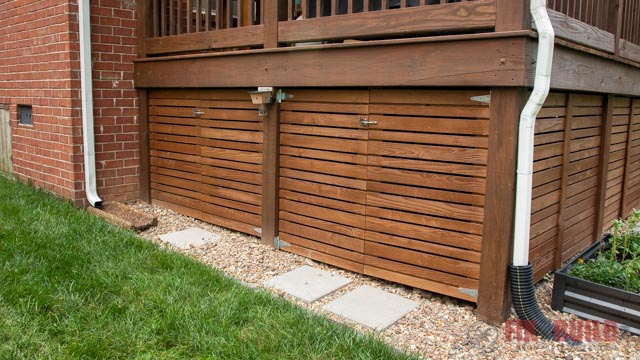
Are you wondering why my kids are storing their bikes under our deck? It’s because I enclosed the sides of my deck to create more storage space about two months ago. There are doors that open, pavers for them to easily roll their bikes on, and a designated area for their bikes. It looks great when the doors are closed, as you can see.
But reality hits when you open the door. The bikes are toppled over, pedals are stuck in wheels and it’s generally just a mess. Honestly, it’s not really my kid’s fault either. The ground isn’t level because it slopes away from our house. Their kickstands are not going to keep these bikes upright.
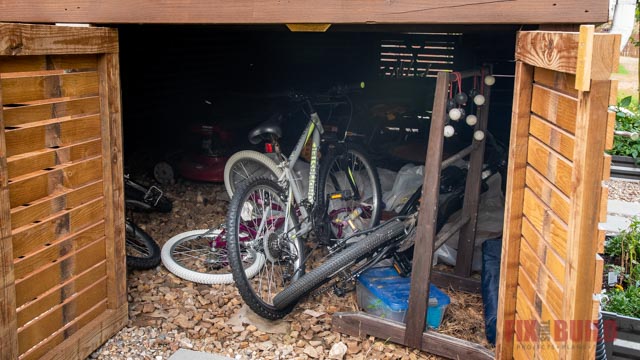
This has lead to two things happening; one of my children leaves his bike in the driveway ALL THE TIME and the others just quit riding their bikes altogether. Getting them out from under the deck is too much work.
It was time for a solution, and that’s when I decided to make easy DIY bike stands and hopefully fix the problem.
Cut Wood for Bike Stands
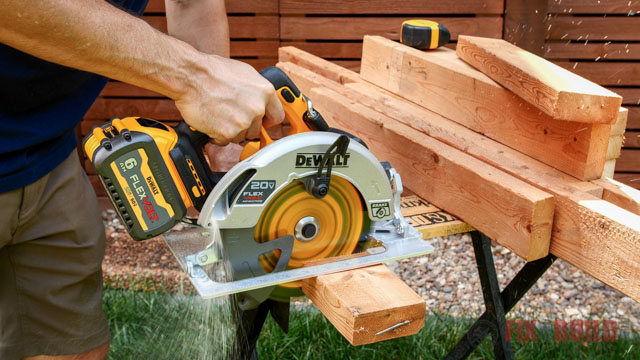
To build the bike stands I used scrap 2x4s I recently got for free. The wood wasn’t in the best condition, but with lumber prices these days I’ll take all the free wood I can get.
For each DIY bike stand I used my Dewalt 20V Max 7-1/4 inch Cordless Circular Saw to cut two boards that were 22″ long and two more sections that were 18″ long. When the saw is paired with the Flexvolt batteries it can have up to 77% more power, so you could plow through 2×4’s all day long and tackle much bigger cuts. The brushless motor also spins at 5500 rpm to give you faster cuts. Needless to say it made short work of this job.
Assemble Bike Stands
After quickly measuring the width of the front tires to get the spacing right, I was ready to assemble. Knobby mountain bike tires flare out at the treads, so try and get a snug fit on these.
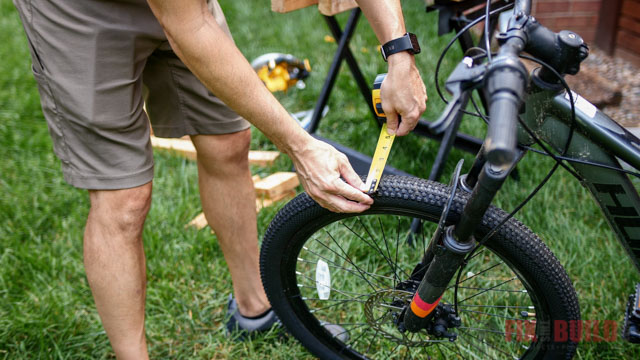
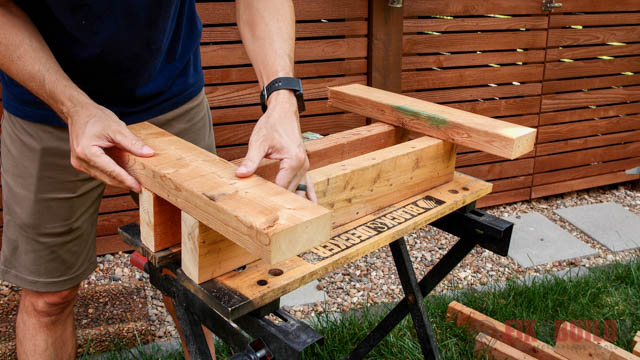
I turned the 22″ long boards on their sides and laid them on the work table. Then I put the 18″ boards across them at the top and bottom. I’ll flip this when I’m done, so the bike’s tire will rest in the channel I’m making with the 22″ long boards.
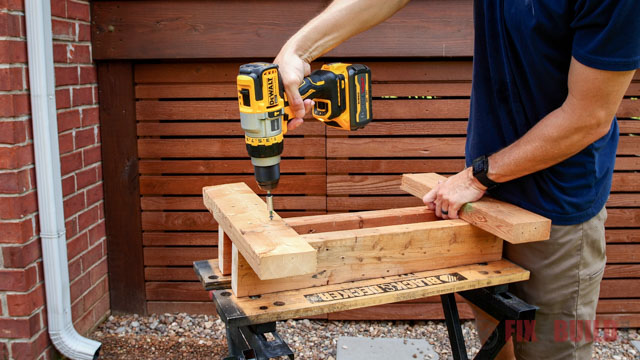
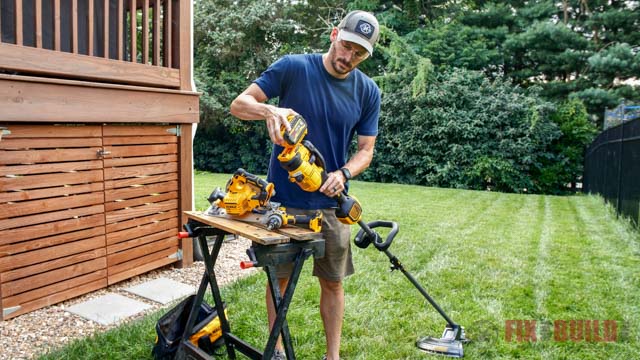
Once I had everything lined up, and used my Dewalt 20V MAX 1/2 in. Cordless Hammer Drill/Driver to screw everything together. The drill comes with a big 6Ah battery in the kit, so you can use it on the circular saw which is available as a tool only purchase. This saves you some money and gets you a big battery to easily power both tools.
And if you need to put the hammer drill to tough work it’s got a heavy duty 1/2 inch metal chuck and a 3-speed transmission to fit different jobs.
If you want to go a step further you could secure the DIY bike stand to the ground. Just drill a hole through the 18″ boards, and pound a stake through it into the ground.
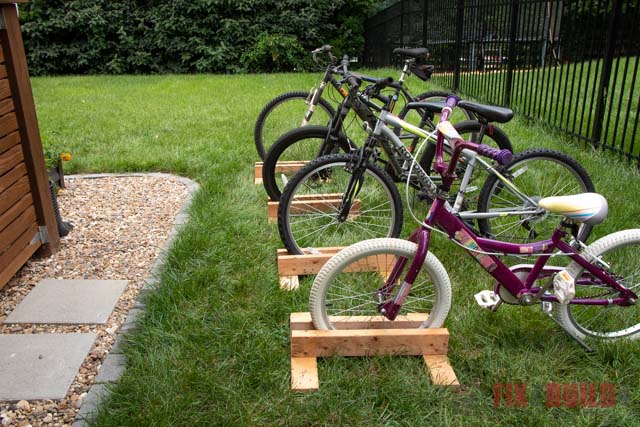
With the bike stands assembled, I flipped them right side up put them on the ground and gave them a test run.

They work great and make it easy for the kids to park their bikes and not have them fall over. But more importantly they are easy to take out of the storage are when they want to use them.
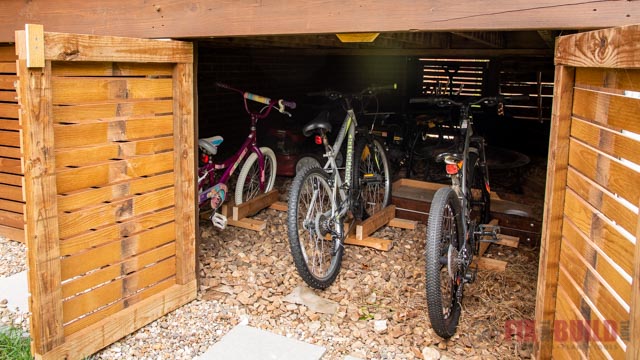
Once the DIY bike stands were done I put them in place under the deck, and rolled all of the bikes into their new homes. No more falling bikes! I love a simple solution.
Clean Up Work Area
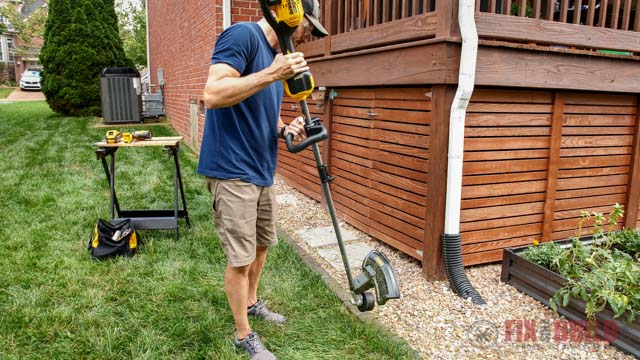
The under deck storage is great for the bikes and I also put a paver edged garden bed around it which we love. But our bermuda grass loves to try and grow into the garden bed. So I got to try out the Dewalt 60V Max Cordless String Trimmer to clean things up. That’s the beauty of the Dewalt Flexvolt batteries, they can run both 20V and 60V tools. I just swapped out the battery over to the string trimmer and was ready to edge.
Being able to switch batteries like that is a big benefit of this system. Any time you can reduce another battery charger or buy one less battery it’ll save you space and more importantly money. The trimmer is only 12.8 lbs so it’s light to carry around and has a universal attachment system that you accepts other heads like a polesaw, blower, and hedge trimmer.
I’ve been working with Dewalt this year as part of the Home Depot ProSpective program. I was so thankful to receieve the Flexvolt Circular Saw, Flexvolt Hammer Drill and the Flexvolt String Trimmer so I could use them on this project.
With everything cleaned up and the DIY bike stands in place the bikes are ready to roll (I couldn’t resist). Here’s hoping I’ve solved at least one problem for my kids!
If you liked this project check out my other Outdoor Projects.
The Home Depot provided me with product and/or monetary compensation as a sponsor of this build. All opinions are my own and are not filtered by the sponsor.