Thinking about adding recessed lighting to a dark room? Today I’m going to show you how to install recessed lighting, using LED wafer lights. LED wafer lights take up much less room than can lights and installing LED wafer lights is quick and easy.
Things to know about my room:
- I don’t have access from above the ceiling. This room is on the first floor of my two story house.
- I don’t have a ceiling fixture in the room. This means I don’t have electricity already in the ceiling that I could easily tie into.
- I have a wall switch that controls an outlet across the room, and that’s it. Which means fishing wires is in my future.
This post is sponsored by The Home Depot.
Affiliate links are used on this page. See my disclosure page for info on affiliate programs.
Can Lights vs LED Wafer Lights
I’m using 6” LED ‘wafer’ lights in my room which are a HUGE improvement over older can lights. One major disadvantage with can lights is their size. Can lights are large and they take up more space above your ceiling. As a result, you have to figure out where the studs are in your ceiling and avoid them.

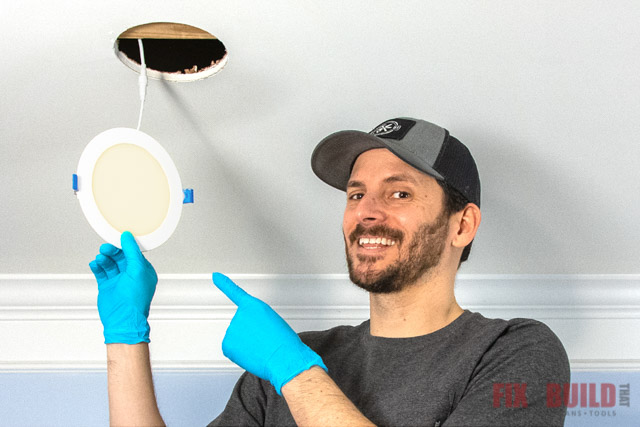
In contrast, LED wafer lights are very thin and can typically slip in right underneath a stud. This is exactly what happened in one of the holes I drilled. You can see that the LED wafer light fit in easily.

How Much To Install Recessed Lighting?
LED wafer lights are very affordable. I was able to get a pack of six lights for $60, or a pack of 12 lights for $110. The LED lights I purchased were 3000 Kelvin and they are IC rated. IC rated means insulation contact, so if you have insulation in your ceiling that should be fine. Make sure you get the correct rating for your specific situation.
How Many Lights Do I Need?
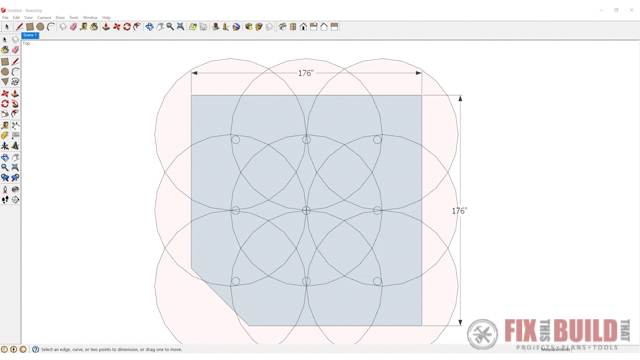
I’m not an expert so I searched to find out what the recommendations are. I also drew my room in Sketchup so I could model my options to make the decision a little bit easier.
Placement Recommendations
One popular school of thought is to use half the ceiling height as the distance between the lights. I used a placement calculator to help figure out how many lights that would suggest I put in my room. And I found out that I would need to install nine recessed lights in my room. That felt like too much for my space, so I moved on to light output recommendations.
Light Output Recommendations
A light output recommendation tells you how many lights you’ll need in your room and how many lumens would be best. This time I used a general lighting calculator and found out I should have four to six lights. That seemed reasonable for my room so I went with four lights. I figured I could always add a light later if we needed it to be brighter.
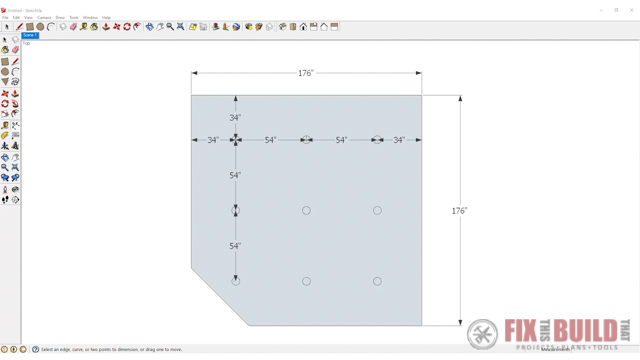
Recessed Lighting Placement
Since I decided to install four lights, I planned to put one LED light in each corner of my room. I also determined that I wanted each light 39 inches off the wall. To find the correct location for each light, I measured 39” from each wall until I found the place where they overlapped. Finally I marked the spot and I was ready to go.
Cut Holes for Recessed Lighting
Before you do anything else make sure you’ve turned off the power going to your room. Also, if you have any hesitation about taking on this project, reach out to an electrician instead.
With my safety measures in place, I was ready to cut the holes. Since I’m installing 6” LED lights, I used a 6’⅜” Abrasive Hole Saw.
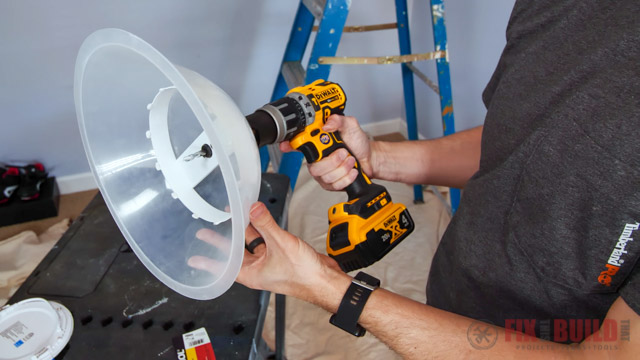
And because I hate dust and making a mess, I used a Hole Saw Dust Bowl. The hole saw fits right into the dust bowl which catches the majority of the dust and debris. The dust bowl worked really well.
Drilling Tips
Before you drill your holes, make sure that your drill is set to low. With such a big saw you can get some grabbing and kickback if you’re at high speed. Since you’ll be drilling these holes above your head, if you have a side handle this is a good time to use it.
Testing the Electrical Wires
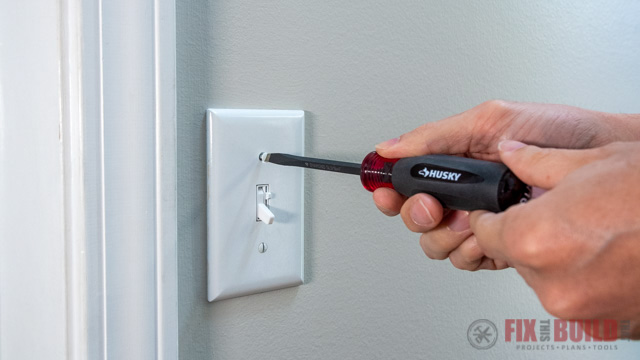
The next step to install recessed lighting is removing the switch plate with my Husky Diamond Tip Magnetic screwdriver. This was a breeze because the screwdriver’s magnetic tip held the screws securely. I’ve had screws fall off my screwdriver so many times; which can be frustrating when you’ll knee deep in your project.
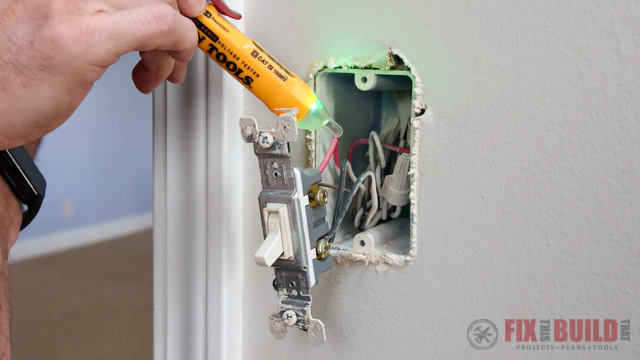
With the switch plate off I was able to see that my wires were running up the wall and over the ceiling. Next I needed to figure out which wires were getting power. I could see I had two hot wires, the red wire I suspected was feeding the switched outlet. And the black wire was probably feeding in constant power because it looped out and went to another circuit.
To confirm this I turned the power back on and made sure the light switch was turned off. Then I touched my non-contact voltage tester to the red wire. The voltage tester stayed green (no voltage in the wire).
When I touched it to the back wire, it turned red (had voltage in the wire).
Next I flipped the switch to turn it on. Then I touched the voltage tester to the red wire again and this time it turned red.
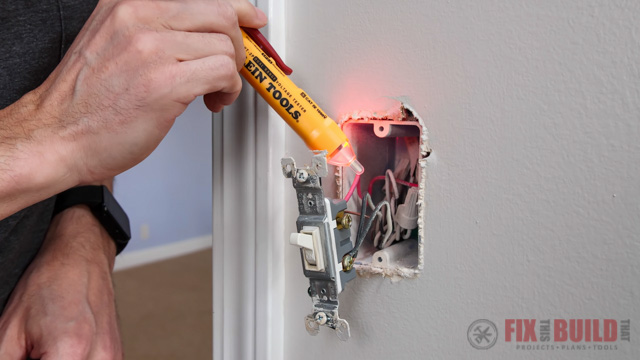 This told me that the voltage transferred to the red wire.
Check for Wires in Ceiling
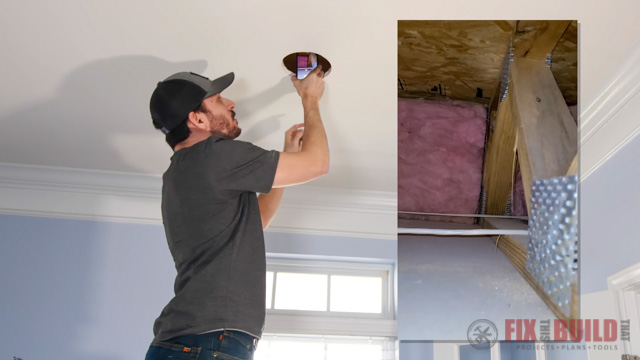
Next I went to the hole I drilled closest to the light switch to look for the wires in the ceiling. The easiest way for me to check for the wires was to hold my phone in the opening. I had the video going with the flash turned on. Using my phone, I was able to see a wire was just a few feet over.
With the light switch turned off, I reached in with the voltage tester and tested it. Unfortunately the voltage tester turned red which told me the wire had voltage. After some head scratching I realized the wire I was testing is a 14/3 romex.
A 14/3 romex has two hot conductors, a red and a black. The red wire comes off the switch and powers the top of the plug in the room, and the black wire is constant power to the bottom of the plug, causing the continued beeping.
After some research I decided my best path forward was to tap into the 14/3 romex line to get my electricity in the ceiling for the LED lights. However that would kill the power to the previously switched wall outlet, but I plan to fix that down the road.
Fish Wires into Ceiling
I have floor trusses in my ceiling which was a lucky break as they are open vs. wood beams. That means I won’t have to drill through any solid wood joists. If you have solid joists you can still run your wires, you’ll just have a few extra steps and more clean up.
I used an electrical fish tape and started at one can light opening and ran the tape over to the one next to it. Then I attached the 14/2 wire to the fish tape and pulled it through that far hole into the first one. This links the two holes and I could cut the wire and go to the next one.
Fishing the wires from hole to hole is pretty easy. But if you do have solid joists you’ll need to cut an access hole in your ceiling at each joist location and drill a hole through each one when running wire across the room.
When finished you should have a series of wires running around the room to pass electricity from the light switch to each light.
Wire the Recessed Lighting
Wire New Light Switch
First I wired my new light switch so that I’ll be able to turn on the new LED lights once they’re installed. I made sure the power was still turned off before wiring the switch. All I had to do was connect the output of the switch to the red wire and the input for the power to the black wire.
Prep Junction Box
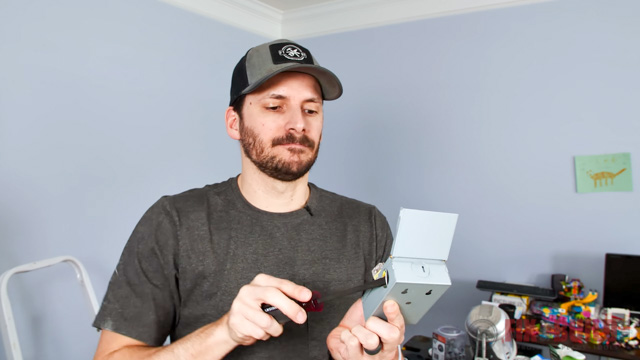
The LED wafer lights have two parts: the junction box and the light itself. After the junction box is wired, the LED light will be connected to it via a small “pigtail.” More on that later.
Prepping the junction box for install is easy to do. First I pushed out the knockout on the side of the box with my Husky Diamond Tip Magnetic Screwdriver. Then you’ll add a push-in knock out connector in that space. Knockout connectors protect the wires from getting cut on sharp edges of the metal and prevent the wires from accidently getting pulled out.
Wire Junction Boxes
The next step was to cut the wire in my ceiling so I could connect it to the first junction box. I cut the wire and pulled it out of the opening for the light. Then I stripped the wire and connected each wire in the junction box. Make sure you do a good job getting each wired seated in the push connectors.
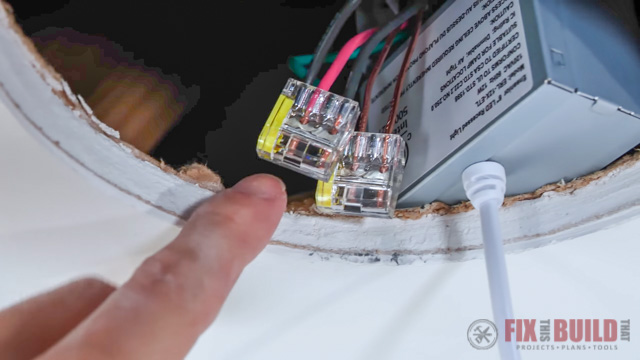
The connectors in the junction box are color coded; so you’ll connect the white wire to the white connection, the green wire to the green connector, etc. Once that’s done you’ll close up the junction box, put it into your ceiling opening and move onto the next light. Finally I went around and wired all the junction boxes for the lights.
Connect LED Wafer Lights to Junction Boxes
Attaching the LED lights to the junction box is easy. Just connect the pigtail off of the light to the other end coming off of the junction box. Make sure you screw it down all the way so that it’s fully compressed. 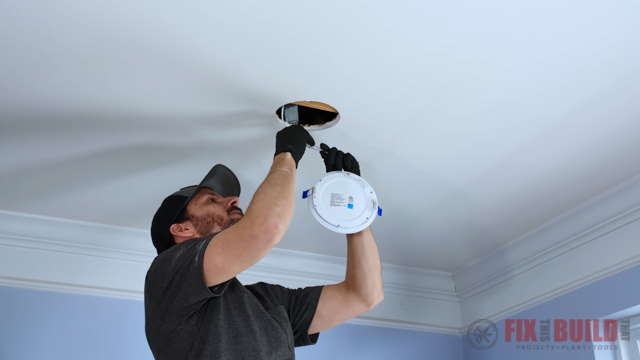
Finally it’s time to insert the LED light into the opening. The wafer lights have clips on the side that you’ll hold back as you angle one side into the opening. When you angle the other side into the opening, the clips will suck the light up where it needs to be.
 Turn your power back, flip the switch and check out recessed lighting you installed! Anyone can install recessed lighting with a little planning and preparation. If you liked this project check out the rest of my great DIY Projects.
The Home Depot provided me with product and/or monetary compensation as a sponsor of this build. All opinions are my own and are not filtered by the sponsor.