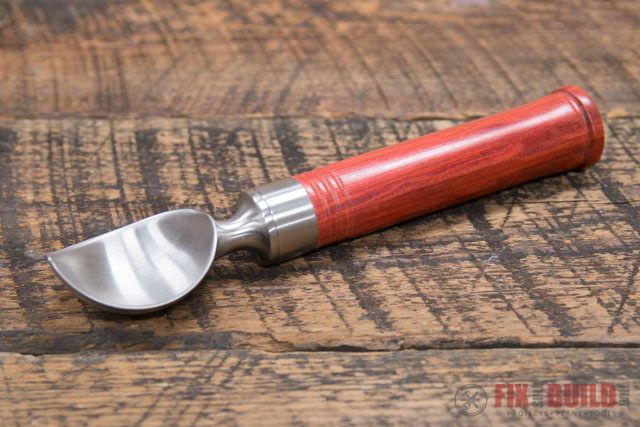
Today I’m going to show you how to make a DIY ice cream scoop on the wood lathe. This was my first time making most of these lathe projects so you’ll see some mistakes I made and things I learned. I’ll link the whole video series below as well as to the other posts.
I’d like to thank JET Woodworking for sponsoring this project and I’ll be using the JET 1221VS lathe for all the turning. It’s a great lathe and the variable speed is a real game changer vs. my old 3 speed mini lathe I only used for a short time.
Before we get started, make sure to follow me on YouTube, Facebook and Instagram to keep up with all my latest builds!
Here is what you’ll need for the project:[/vc_column_text]
Affiliate links are used on this page. See my disclosure page for info on affiliate programs.
DAY 2 Video – How to Make an Ice Cream Scoop
Full 6 Days of Beginner Woodturning Playlist
How to Make an Ice Cream Scoop on the Lathe
Since this is Day 2 of my Beginner Woodturning Series I’m going to skip over some of the things covered in Day 1 and talk more about the new aspects of this project. So if you missed Day 1 you might want to head over and check it out first.
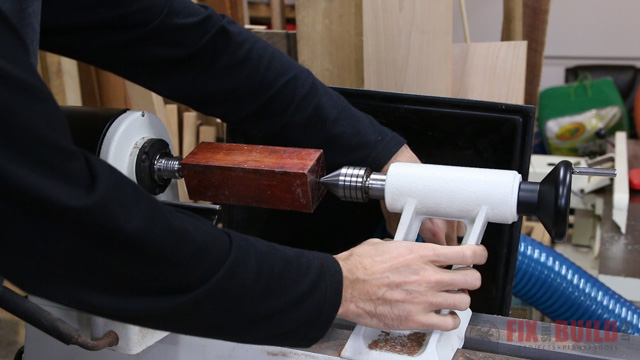
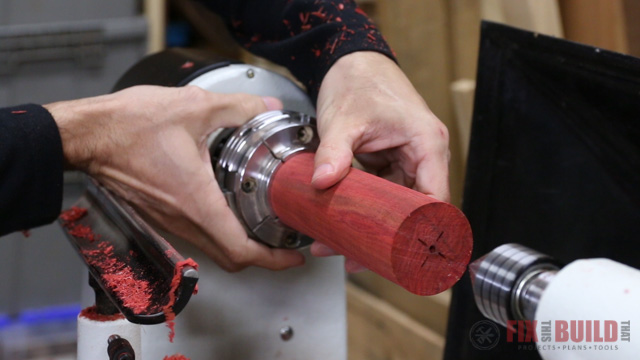
I’m using redheart for the ice cream scoop handle which is a great wood for turning. It’s nice and dense with closed grain which makes for easy turning. I started by roughing the blank out to prepare it for the chuck like I did yesterday.
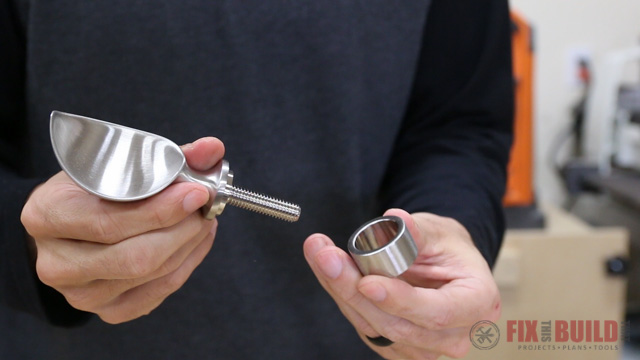
This is the ice cream scoop hardware I’ll be using. It has a ⅜” threaded shaft so I needed to drill and tap a hole and use the mandrel for turning.
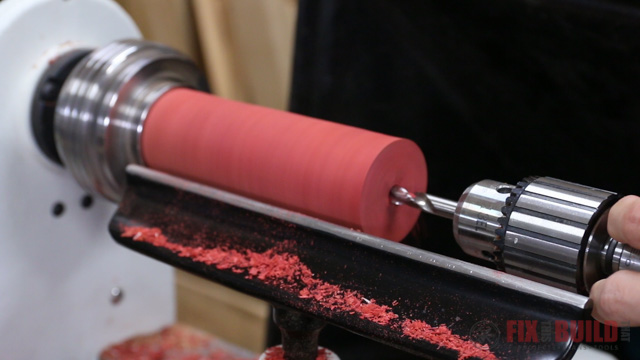
I put the blank in the chuck to prep for drilling, and I still didn’t get the tenon right this time either by the way.
Here is one tip I found out while drilling this blank. I was running the lathe a little slower this time and the blank started stalling and the bit was moving. I quickly realized that the bit actually needs more speed to perform well, so if you’re having stalls then speed up the lathe a little and see if this helps.
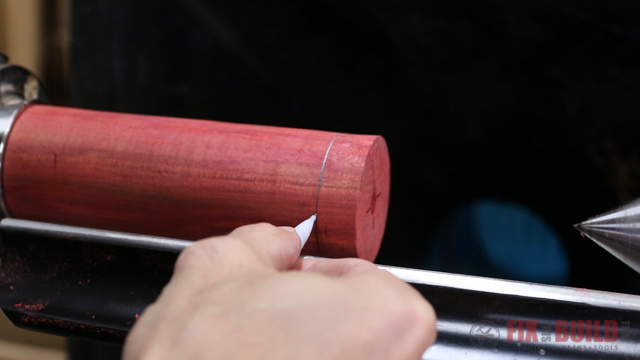
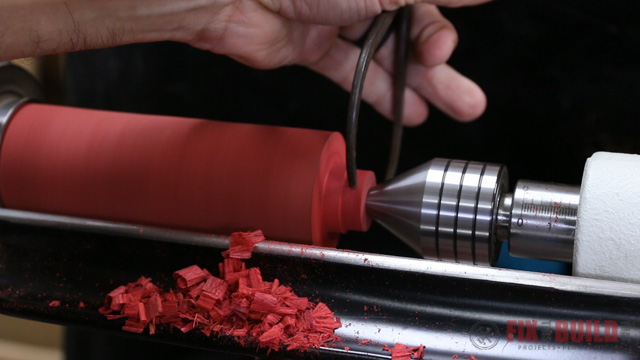
The ice cream scoop comes with a ferrule that fits over the end of the handle. This means I get practice on making a tenon on the lathe. The tenon needs to fit inside of the ferrule so I laid out the length of the tenon using the ferrule for reference.
Then I measured the inside of the ferrule to get the diameter of the tenon.
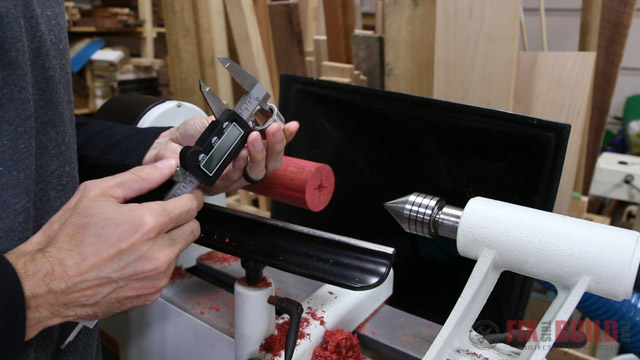
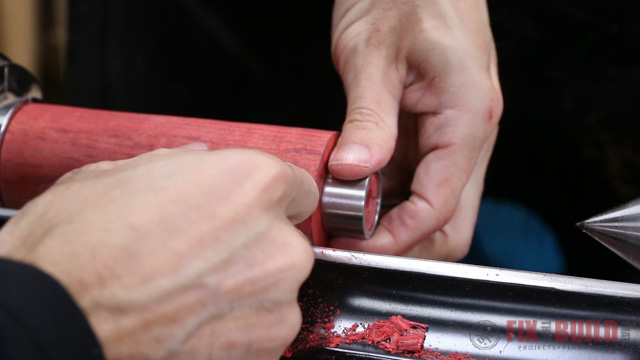
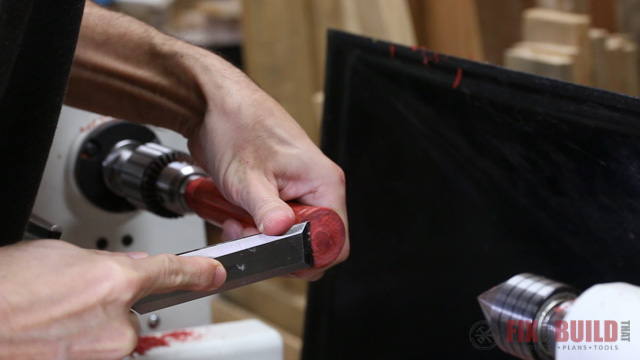
After that it’s just turning down to the diameter you need. I transferred the measurement to a pair of turning calipers and removed the material with a square carbide tool until the fit was right.
 Go slow here because it’s easy to overshoot if you get carried away. I test fit the ferrule until I got it just right.
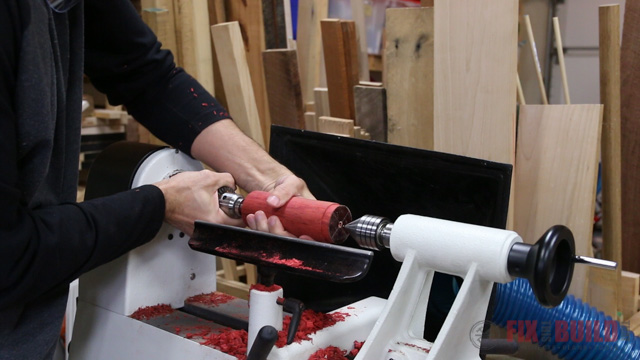
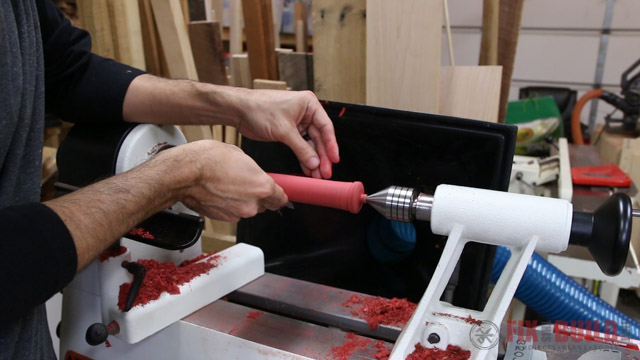
Next I moved to the shaping of the blank. I mounted the blank on the ⅜” tapping mandrel set in my drill chuck. The mandrel will hold the blank in place and also taps the threads for the ice cream scoop.
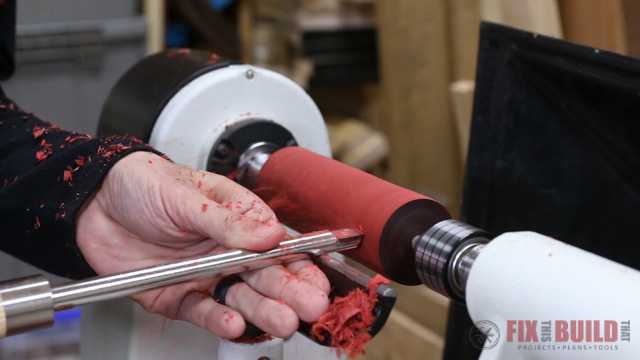
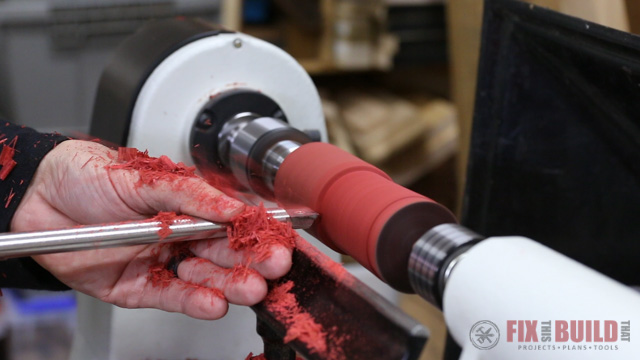
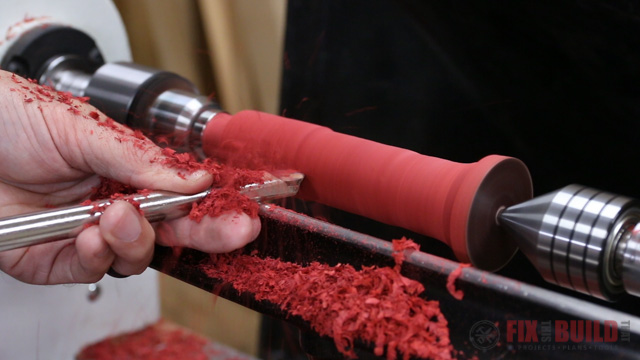
I started turning the blank with my square carbide tool. This blank of redheart was wax sealed so it’s still pretty wet from a moisture content level. You’ll see how nice the chips are flying off and there is very little chatter. If you turn something bone dry it’s much harder to turn and chips out.
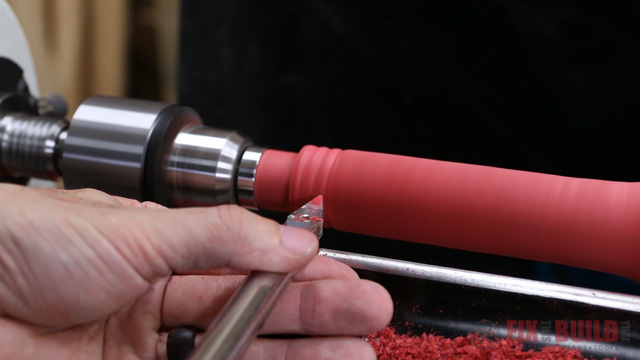
After taking of the majority of the waste I switched over to the round cutter for a small sweep on the end and some finishing cuts. I reset the calipers to the outer diameter of the ferrule and turned the base of the tenon to the same size for a seamless fit.
I decided to add a few accents to the ice cream scoop handle to add some detail to a clean look. One thing I love about turning is how easy it is to add details and embellishments.
I came back to the end of the ice cream scoop handle and removed all the excess stock with a parting tool, just leaving a small bit to allow the live center to stay in place and support the piece during finishing.
I went through a similar sanding progression as Day 1, going from 150 grit to 600 grit. Then I added my first coat of woodturner’s finish. I sanded with the micromesh in between coats and added 5 coats in total.
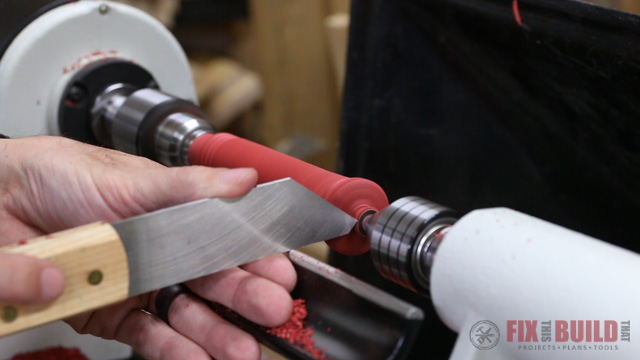
After I’d applied the final coat of finish I sawed off the little nubbin left on the end of the handle. I cleaned up the base using a chisel and sandpaper until I got a smooth finish. Then applied finish to the base. Looking back I would have saved time by doing all the sanding then cutting it free and finishing the whole handle at once since it doesn’t really need tailstock support when applying finish.
I took the handle off the mandrel and fit the the ferrule on then screwed in the ice cream scoop. The scoop threads are actually much longer than the mandrel so I basically had to tap the hole with the scoop threads. It was a little slow going, but I added a little paste wax and it seemed to help.
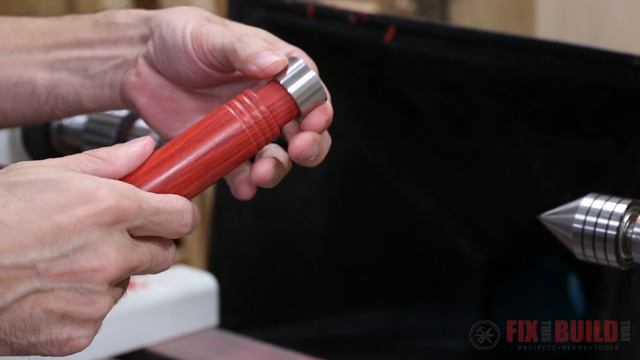
This redheart really looks amazing. The red is so brilliant and I’ve heard it will fade with time, but man does it look great now.
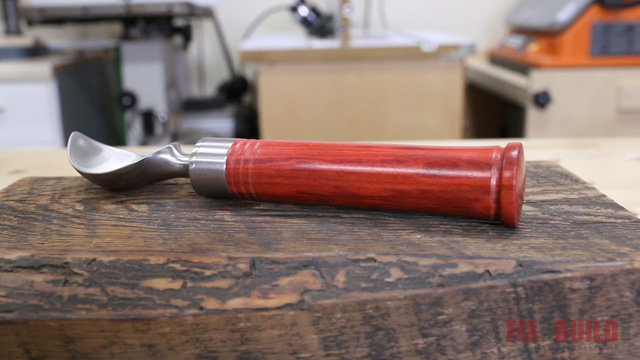
Now you know how to make and ice cream scoop handle on the lathe. Day 2 of my 6 Days of Beginner Woodturning Projects is in the books. Be sure to come back tomorrow for Day 3!
Until then you can see some of my other work on my Projects Page.
JET Woodworking provided me with product and/or monetary compensation as a sponsor of this build. All opinions are my own and are not filtered by the sponsor.


This project combines two of my biggest passions, making things, and ice cream. I have not worked up the courage to make a metal and wood scoop, but I have made a few wooden ice cream scoops. Great work!