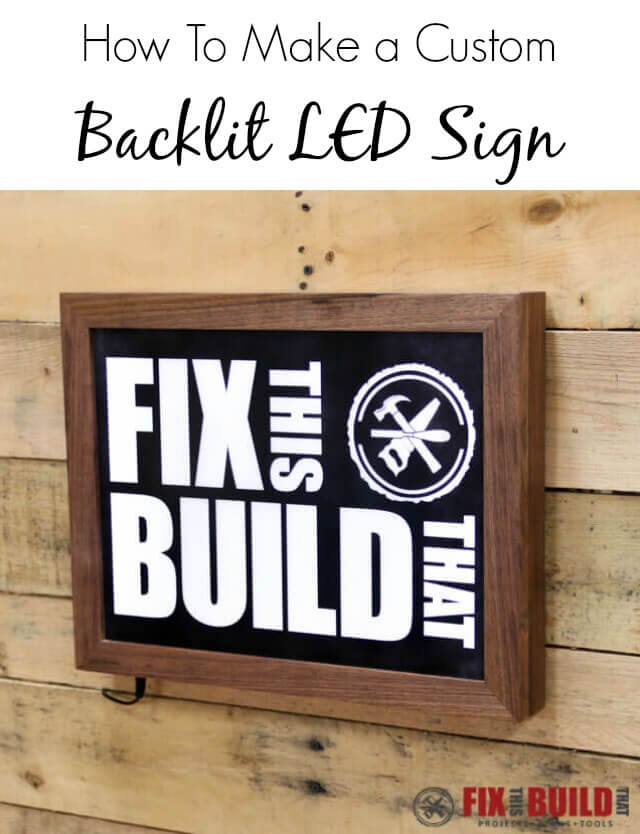
Today I’m going to show you how to make a DIY LED sign for your logo. This is the third project in my laser series I’m doing with Rockler and I’ll be using the Full Spectrum Hobby 20×12 laser to etch my logo into the glass. If you don’t have access to a laser you can use these same methods for building the sign but use stencils instead of a laser to make your design.
The sign measures 18″ wide by 14″ tall and is built around a 16″x12″ glass insert, but could be sized for a wide variety of inserts. I used a set of inexpensive LED lights and a power supply to light the glass and I love the way it looks. The inspiration for this build came from Bob over at I Like To Make Stuff and the DIY LED sign that he made. I loved the idea but wanted to use the laser and also make it more sleek and modern vs. rustic. You can go check out his build video here.
I’m sure you can think of some other applications for this project idea and I’d love to see what you come up with after you read through the article.
![]()
![]()
![]()
Materials/Supplies
- (2) 18″ x 1-1/2″ x 3/4″ wood boards
- (2) 14″ x 1-1/2″ x 3/4″ wood boards
- (2) 18″ x 1-1/4″ x 3/4″ wood boards
- (2) 14″ x 1-1/4″ x 3/4″ wood boards
- (1) 17-1/4″ x 13-1/4″ 1/4″ plywood
- LED light strip
- LED power supply
- Rocker on/off switch
- Terminal connectors
- 16″ x 12″ glass (or acrylic)
- Spray paint – black and white
Affiliate links are used on this page. See my disclosure page for info on affiliate programs.
How to Make a DIY LED Sign
- Make the LED Sign Frame
- Make the Logo Insert
- Install the LEDs and Switch
- Install the Glass, Back, and Hanging Harware
1. Make the DIY LED Sign Frame
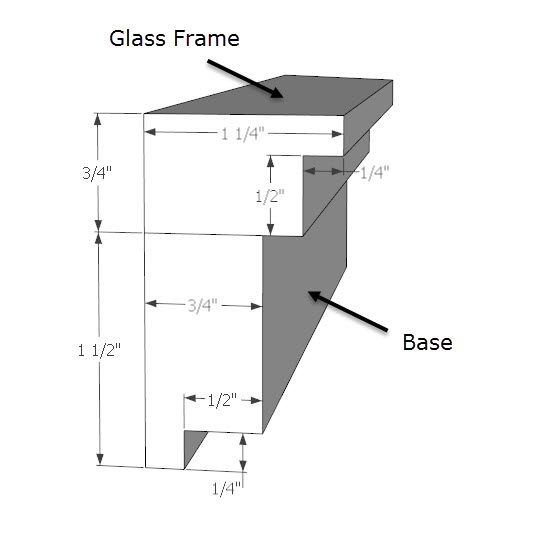
I used 3/4″ thick walnut for my DIY LED sign frame, but you can use any wood you have. The total frame is made from two smaller assemblies, the base and the glass frame. The base pieces are 1-1/2″ wide and the glass frame pieces are 1-1/4″ wide. Cut the boards to width for all the frame pieces, but leave them about 1″ longer than needed.
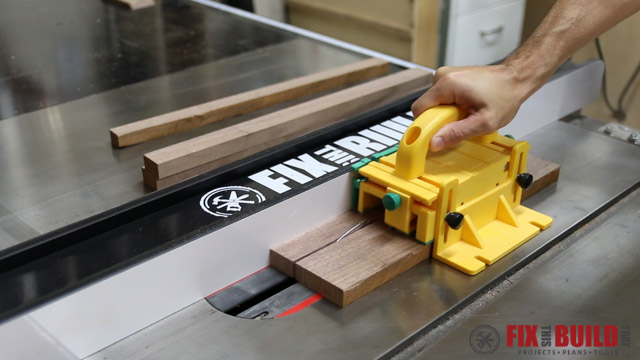
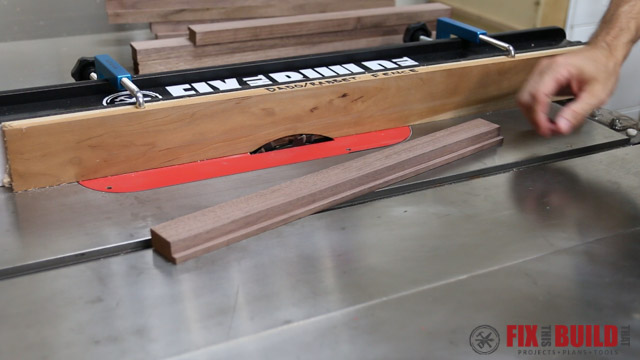
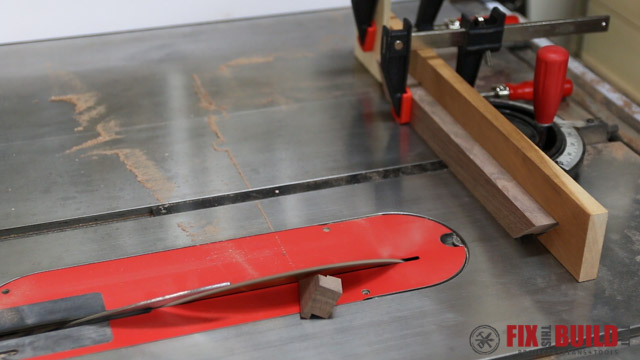
The boards all need a ledge (rabbet) cut in them. I cut the rabbets with a dado blade on my tablesaw but this could be done with 2 cuts using a regular blade or on a router table.
Cut a 1/2″ wide and 1/4″ deep rabbet the inside edge of the mirror frames and the back inside edge of the base. The rabbet on the base pieces will hold the 1/4″ plywood back and the rabbet on the glass frame pieces will hold the glass.
Now all the pieces can be cut to size. 18″ for the long sides and 14″ for the short sides with miters on each end. The base pieces will stand on edge when joined together and then mirror frames will lay flat, so cut the miters accordingly.
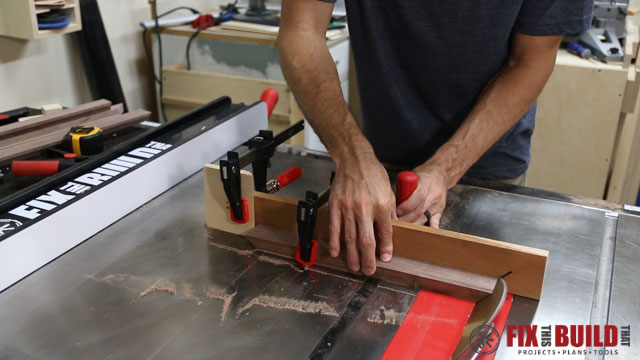
Glue up the base and mirror frames separately and put them in the clamps until dry. I used a web clamp for this process and it worked great. Check that your inside corners are at 90 degrees before allowing to dry. Here is the base frame glue up.
And here is the Mirror Frame glue up.
Before gluing the base and mirror frame for the DIY LED sign together, cut the holes for the power switch and power supply in the base. Your location will depend on where you plan to use it and personal preference. I put my switch on the left side 2″ from the bottom and the power supply on the bottom 2″ from the left. By the way, if you do this before assembling the base it will be a little easier, I just didn’t think to do it before.
![]()
The switch I used is a little rocker switch and is made for a different application. So I took a dremel tool to it and cut off the little plastic tabs that would hold it on a thin metal application.
![]()
![]()
Mark the size of the switch on the wood then use a drill bit to remove the majority of the wood. Come back and clean up the sides with a chisel until the switch fits.
![]()
![]()
A similar process can be used for the power supply plug. The difference here is that the plug is stepped in size. I drilled a recess to accommodate the wide part of the plug first then drilled all the way through with a bit sized exactly the diameter of the plug. This gives a flush fit when finished.
![]()
![]()
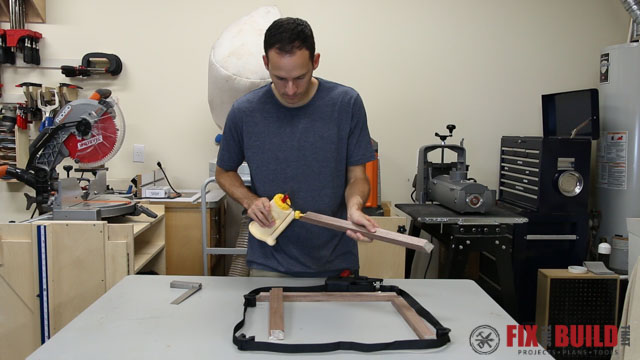
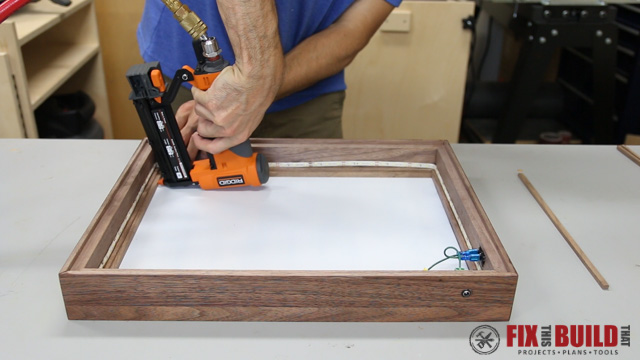
With the holes for the electronics complete, glue the mirror frame to the base to complete the DIY LED sign frame. It will likely not fit exactly so just get it close and you can sand all the sides flush later.
![]()
For reference, here is a cut-away of what the DIY LED sign assembly will look like showing the appropriate dimensions.
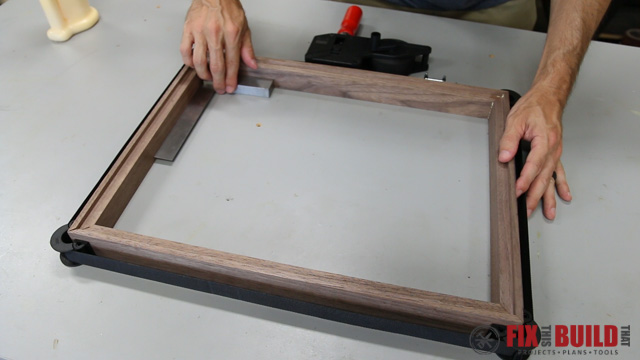
 After dry, sand all the edges flush and sand everything to 220 grit.
![]()
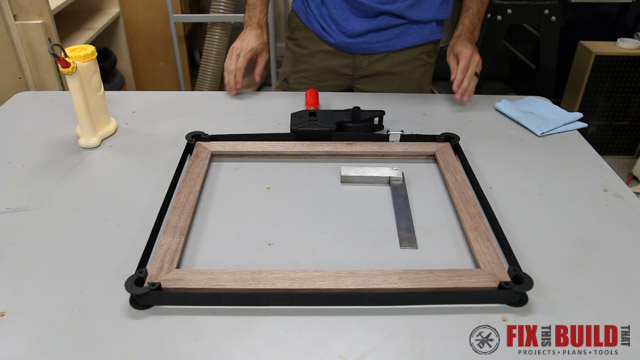
I applied an oil varnish blend finish made of Boiled Linseed Oil, Mineral Spirits, and Polyurethane in equal parts. You just flood the finish on, let it sit for about 10 minutes then wipe it off. Sand lightly between coats and repeat until you get the sheen you want.
2. Make the Logo Insert for the DIY LED Sign
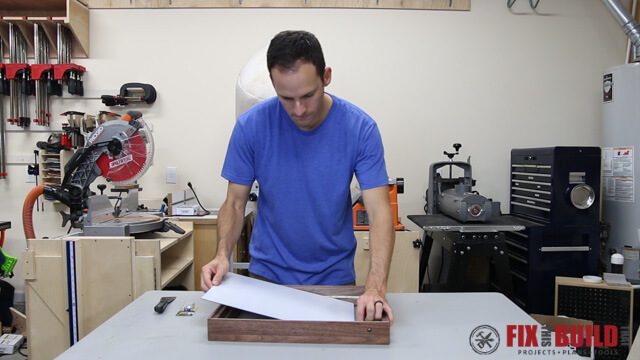
While my finish was drying I moved on to the glass insert. I wanted to put the logo design from stickers and t-shirts (coming soon) on the glass and a 16″ x 12″ piece of glass was just about perfect. Instead of just etching the glass I wanted it to really stand out, so I spray painted the front of the glass black. I sprayed 2 sheets of glass in case anything went wrong with one.
![]()
After the paint dried for a day I took it the Hobby 20×12 laser. I used the Retina Engraved 3D software that comes with the machine to import my design and set it up for lasering. If you want to see more about that whole process I covered it in my first laser video, Custom Lasered Wood Coaster Set.
I etched the glass with the laser using 100% power and 25% speed settings. This took a LONG time to run, like 2 and a half hours. It’s very accurate and an awesome output, but the process is not fast. That said, if you are in the market for a laser, they are AWESOME! Go check out Rockler’s site for the latest and greatest available from Full Spectrum Laser.
![]()
![]()
![]()
After the logo was etched I tested it out and noticed a lot of hot spots from the LED lights where it was brighter in one area. I did some testing on another sheet of glass and found if I sprayed the back with white spray paint it did a great job diffusing the light and it also looked a lot better with the lights off, score! I sprayed the backs with white and was finished with the glass insert.
3. Install the DIY Sign LEDs and Electronics
The LEDs come in a 16′ strip that can be cut to size every 2 inches or so. They also come prewired at the starting end of the strip. Put this end in the corner nearest your switch then run the LEDs around the perimeter of the base where it meets the mirror frame. There is an adhesive backing on the strip you can peel off and stick to the strip straight to the wood. I also used a few dots of CA glue for good measure.
![]() With the lights in place you can wire in the power switch. Follow the labeling on your switch and connect the line (power supply side) and load (LED side) to the appropriate terminals. I used some spare 18ga wire and connectors I had on hand to wire the switch in. Then I hot glued the power connector in the hole I’d made for it.
With the lights in place you can wire in the power switch. Follow the labeling on your switch and connect the line (power supply side) and load (LED side) to the appropriate terminals. I used some spare 18ga wire and connectors I had on hand to wire the switch in. Then I hot glued the power connector in the hole I’d made for it.
![]()
The power supply connector has simple screw down connectors on it. Just strip the wire and insert it in the proper side, + and -, then screw down the terminal on the wire.
![]()
When everything is wired up the DIY LED sign has a nice clean look from the outside.
![]()
4. Install the Glass, Back, and Hanging Hardware
Put the glass into the DIY LED sign frame. It should fit right into the rabbet on the upper frame.
To hold the glass in place cut scrap pieces of the frame material to 1/4″ strips and cut them to fit the sides. Attach the strips with 3/4″ pin nails via a pin nailer.
The final piece of the sign is to install the back. Cut a piece of 1/4″ plywood to 17-1/2″ x 13-1/2″ to fit in the rabbet on the back of the sign.
![]()
Drill pilot holes and install the back with 3/4″ screws. I painted the inside of the back panel with white semi gloss paint to get more reflection of the light, but honestly I don’t think it made a difference.
![]()
Install a sawtooth hanger on the back of the sign for hanging and you’re all done!
![]()
![]() Making this DIY LED Sign for my logo was a fun project and I definitely want to do more projects with electronics in them. If you like this project and want to see other things I did with the laser then go check out my Kids Outdoor Acrylic Easel and Custom Lasered Wood Coaster Set projects.
Making this DIY LED Sign for my logo was a fun project and I definitely want to do more projects with electronics in them. If you like this project and want to see other things I did with the laser then go check out my Kids Outdoor Acrylic Easel and Custom Lasered Wood Coaster Set projects.
Rockler provided me with product and/or monetary compensation as a sponsor of this build. All opinions are my own and are not filtered by the sponsor.


Does this sign come in a backwards version?
hahaha, you must be an IG Live viewer 🙂