We’ve lived in our house for 9 years, and my wife has hated the TV niche for roughly 9 years. Seriously, this is the project she’s been asking me to do for almost a decade. Better late than never, right?
So we’ve established that my wife hated the TV niche, but what did I do about it? *Spoiler Alert* I ripped it out! Today I’m going to show you exactly how I tore out my TV nook, and how you can too.
You may be wondering what we’re going to do after we rip out the TV niche. The plan is to make the opening bigger and reframe it so we’ll be ready to add custom built in cabinets. I’ll be building and installing those built-in cabinets soon so stick around for an epic before and after.
This blog post is sponsored by the Home Depot.
Tools Used
Materials/Supplies
- Milwaukee Oscillating Tool Blades
- Drywall Screws
Affiliate links are used on this page. See my disclosure page for info on affiliate programs.
How to remove a TV niche
- Remove trim and baseboards
- Remove the drywall
- Pry out 2x4s
- Frame opening for new built ins
- Cut drywall to fit opening
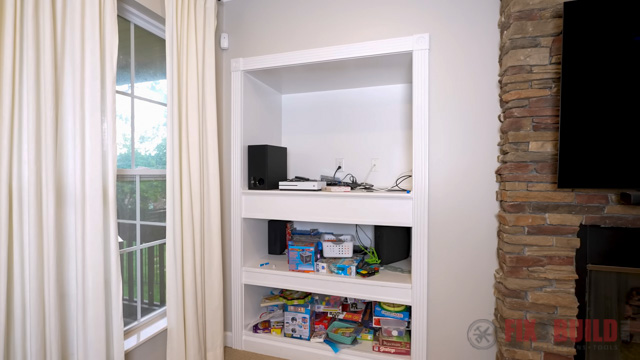
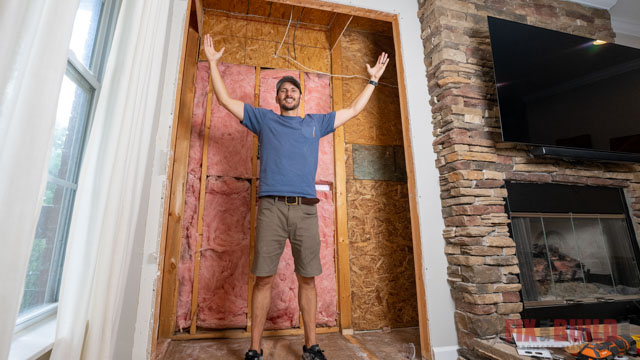
Before we get started let’s take a look at our old TV nook. As you can see it’s super deep (to fit those old TVs) and looks really dated.
Obviously we aren’t using the TV alcove to hold our TV anymore. We actually mounted the TV over our fireplace instead. I have a full blogpost showing you how you can too.
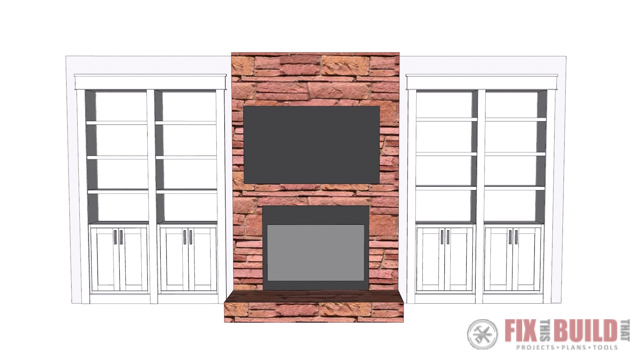
This is what we plan to build to replace our dated TV niche and shelving. I’ll be building the first set of built-in shelving soon so stay tuned!
1. Remove Trim and Baseboards
Remove the Trim
When I’m removing this much finish carpentry I like to start by prying off the trim. Removing the trim first let’s me see the best way to remove the drywall and lumber.
To remove the trim and baseboards you’ll need; a box cutter or utility knife, a small pry bar, a mallet and a trim puller.
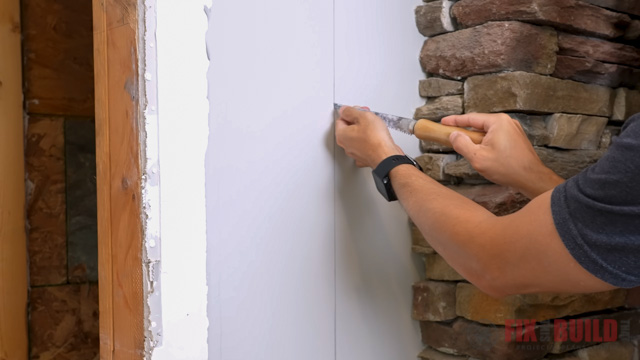
Always start by scoring the caulk or paint lines with your box cutter so you don’t damage the drywall. Then you can use your small pry bar and pull the trim off.
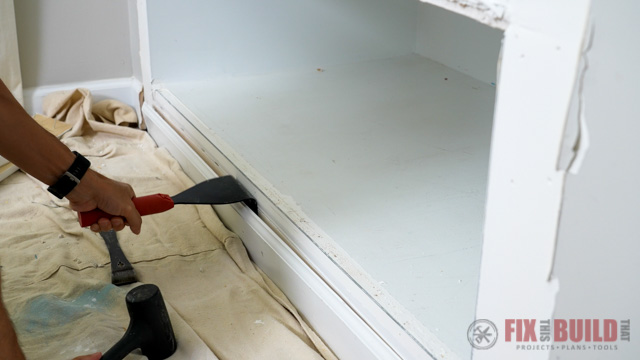
Remove the Baseboards
Removing baseboards can be tricky; it’s easy to accidentally snap them. That’s where the trim puller comes in really handy. Trim pullers aren’t absolutely necessary, but if you’re removing a lot of baseboards it’s a good tool to have.
Start by wedging the trim puller in between the baseboard and the wall, you’ll need to use the rubber mallet for this part. Repeat as you move along the baseboard and then gently pry the baseboard off the wall.
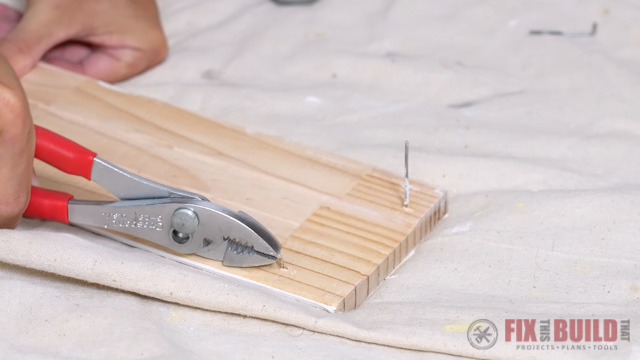
If you plan to reuse your baseboards you’ll need to remove the nails. The best way I’ve found to do this is with slip joint pliers. Grab the base of the nail with slip joint pliers and rock the pliers back. The nail should pop right out of the back of the baseboard without leaving a big hole on the front.
2. Remove the Drywall and Wood from TV Niche
Dust Collection
Removing drywall can be a dusty job. To cut down on the dust I’m going to vacuuming as I go, and remove the drywall in sheets, not with a sledgehammer. That looks good on tv shows but it makes a ton of mess and more work.
The vacuum I’m using is the Milwaukee M18 Fuel Six Gallon Cordless Vac that I picked up from the Home Depot. It’s pretty cool because it’s a cordless, wet/dry vac which makes it really flexible. You can use it anywhere you don’t have access to power; on the jobsite, remodeling your house or outside.
For even more fine particulate dust collection, Milwaukee makes a M18 Fuel 6 Gallon Vac with HEPA filter.
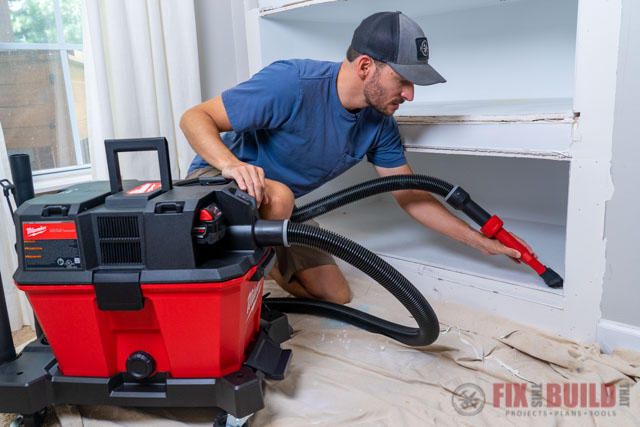
Milwaukee also has a whole lineup of air-tip accessories. I used the 2-in-1 Utility Brush when I was cleaning up the drywall and it worked great. The 3-in-1 Crevice & Brush attachment is good for hard to reach cleaning jobs and the Dust Collector may be my favorite vacuum attachment ever. See it in action on Step 4.
Removing Drywall from TV Niche
The best (and cleanest) way to remove drywall is to take it out in sections. First start by locating the drywall screws by sliding a rare earth magnet on the surface of your drywall. It should be attracted to the metal drywall that you can’t see. Then drill down to uncover the screw. Finally back out the screw with your drill.
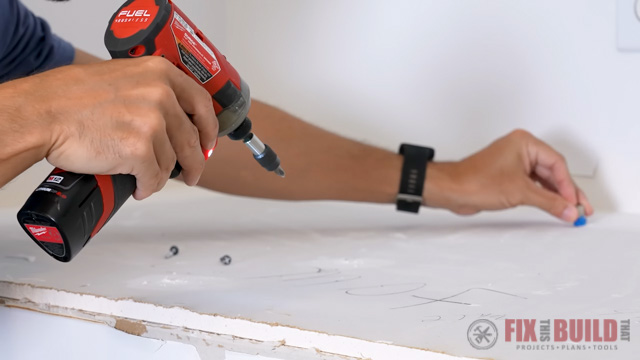
With the drywall screws removed you can score the drywall with your box cutter and then pull each section out.
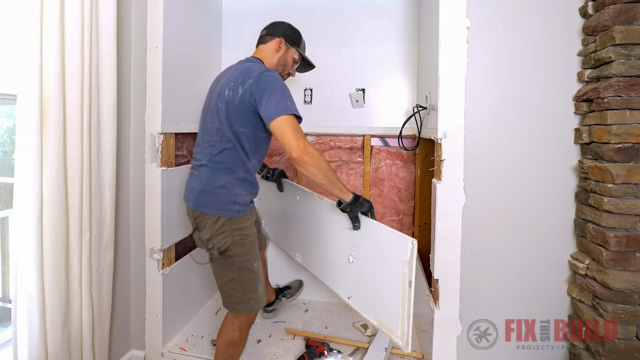
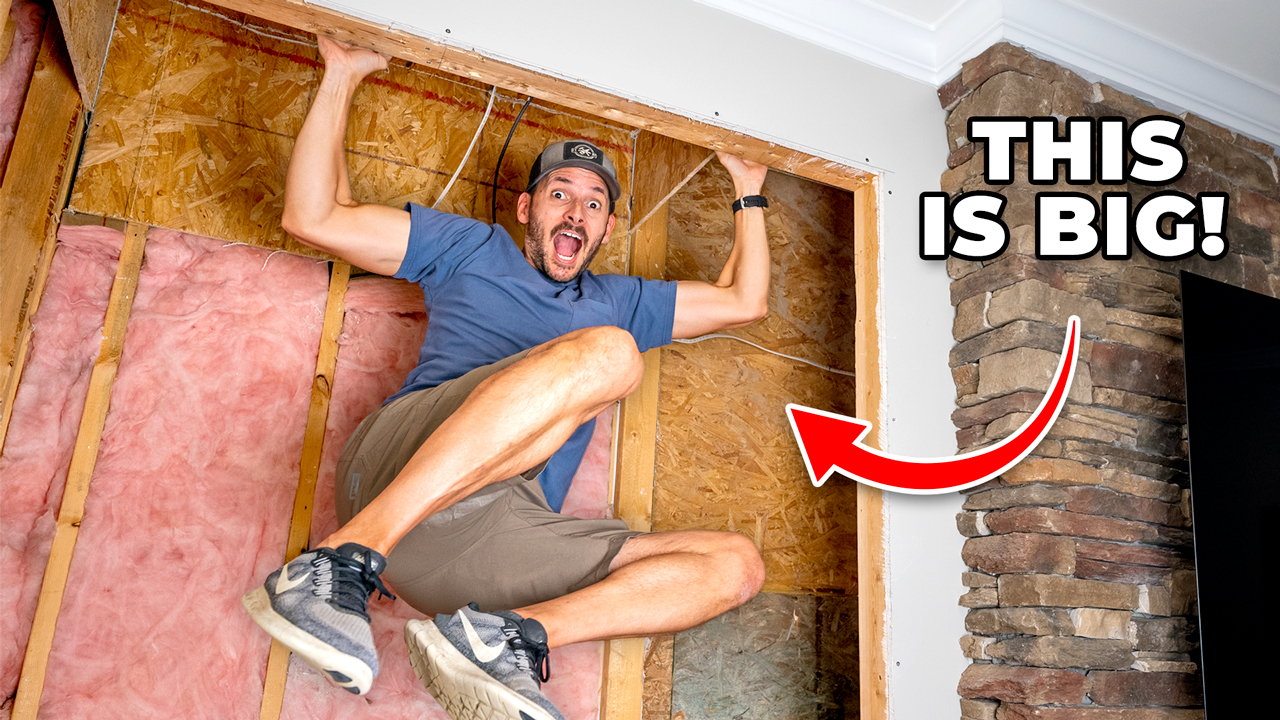
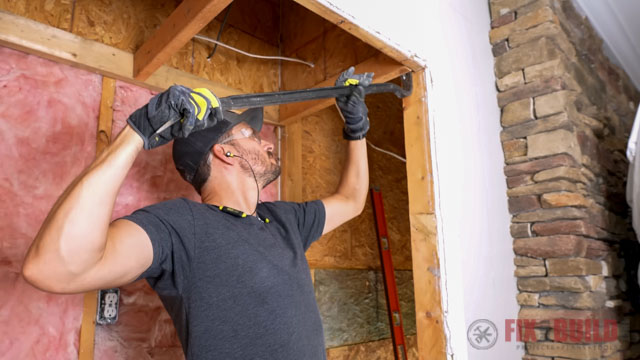
Pry Out the 2x4s
With the drywall removal complete, I’m ready to remove all of the 2x4s that remain. In my case the boards formed the shelves and are easy to pry out.
The opening for my built in cabinets will be about a foot wider to the right, and about 12 inches taller overall. That means I’m going to have to move all of the existing framing which is the next step.
3. Frame Opening for New Built Ins
When framing a wall it’s very important to determine if the wall is load bearing. In my case it isn’t, which makes things much easier. If your wall is load bearing you’ll need to approach framing differently than I am.
Layout New Opening
I started by laying out the new opening right on the outside of the wall. But before I could secure the framing, I needed to lay out these same lines inside the wall. Once this is done I’ll know I’m attaching the framing in the right place.
To easily transfer the layout lines I poked my jab saw through the drywall every so often. By connected these opening on the inside of the wall, I reconstructed my layout lines. This technique was easy to do and worked really well for me.
Frame the New Opening
To frame out the new opening I started by attaching a vertical 2×4. This will support the drywall on the right side of the opening.

Next I focused on the area above our old TV nook. I needed to remove quite a bit of OSB and lumber that made up the framing of the old built in shelving. It was too low and would be in the way for the new built in bookshelves.
Finally I added a new header to the top of the opening. Let me tell you, that board isn’t going anywhere!

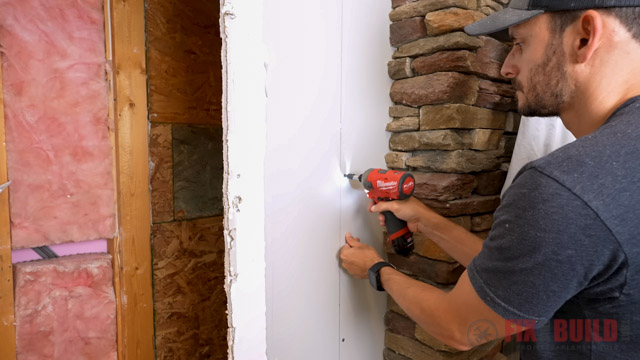
4. Cut Drywall to Fit Opening
Finally we’re ready to remove the drywall and establish a new opening. But first I need to secure the drywall to the new framing. I attached the drywall by screwing it into the outer edge of the new framing.
Cutting drywall can be very dusty, and I hate dust! So I wanted to check out the Dust Collector Air Tip accessory by Milwaukee. It has an opening on the back so it suctions to the wall, while the funnel shaped opening sucks the dust in. Hands-free dust collection? I had to try it.
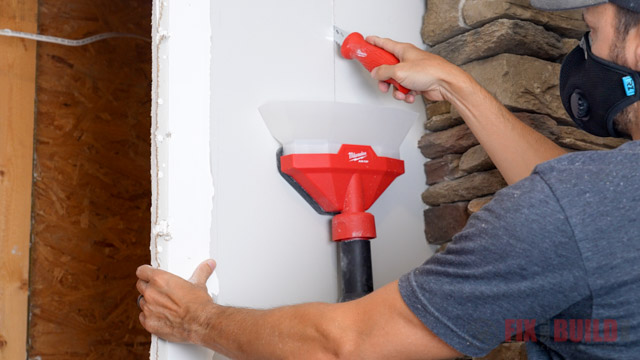
I started removing the drywall with a rotary tool while the Dust Collector was suctioned to the wall below. The Dust Collector worked great, it stayed on the wall securely and contained a lot of the dust. However the rotary tool put off a TON of dust in every direction, so I decided to switch to a jab saw instead.
The jab saw was slower, but worked out much better for me. I was able to cut clean lines in my drywall and the Dust Collector sucked in even more of the dust I was putting off.
Finally I removed the bottom plate from my old built in and I was done! I still have to deal with the electrical and the cable, but I’m going to save that for next time.
And that’s how I ripped out my old TV niche! This project was a lot easier to do than I thought it would be. Now I can’t wait to build the built in cabinets that will complete the space. If you liked this project, check out more of my great Home DIY Projects.
Home Depot provided me with product and/or monetary compensation as a sponsor of this build. All opinions are my own and are not filtered by the sponsor.