Today I’m going to show you how to stain a deck with the right tools to make it easy. We love our wooden deck, it’s a living space that we use all the time. But our deck was looking worn after years of being in the sun and rain.
Along with refinishing the deck we also need to prepare the wood and make small deck repairs. I’ll walk you through the whole process step-by-step so you can take on this DIY project yourself.
Affiliate links are used on this page. See my disclosure page for info on affiliate programs.
How to Stain a Deck
- Check the Weather
- Clean the Deck
- Brighten the Deck
- Repair Deck and Prepare for Staining
- Apply Deck Stain
1. Check the Weather
Before you start to stain your deck, you need to check your forecast. Your deck needs to be totally dry for at least three days before you start. You also need it to be dry after you apply the stain for 24 hours.
2. Clean the Deck
Remove Furniture and Fixtures
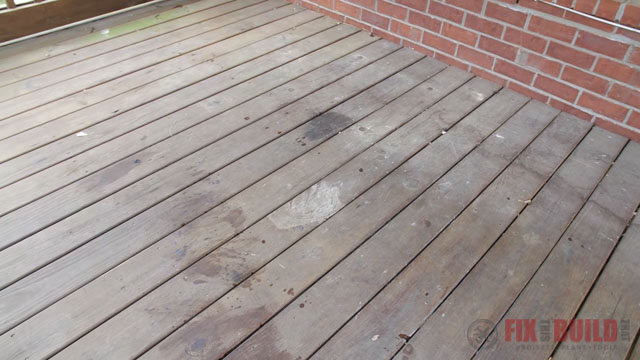
To get started you need to take everything off of your deck. Once we were done with this, we could really see how bad our deck looked. Thankfully the deck boards were in good shape, but they needed a serious cleaning and some new stain.
Also make sure to remove anything that’s touching the wood part of the deck, like plant hangers or wind chimes. And if you have a covered deck go ahead and remove the downspouts if they’re attached to the posts.
Sweep the Deck
We started cleaning by sweeping the loose debris from the deck. Then we used a shop vac to get the leaves and dirt wedged between the boards and against the house. Once this is done, you’re ready for the fun part… power washing!
Power Wash the Deck
The first tool that’s going to make this job easier is a pressure washer. You can get an electric one for 100 or 200 dollars or you can rent one for the day at the home center.
I’m using a gas powered model, actually two, but..more on that later. Pressure washers have different tips and the black tip is typically the low pressure tip. I put that one on and wet down the whole deck including the railings and posts.
Pressure Washer Safety Tips
When you’re running a power washer things can be flying around so it’s important to wear safety glasses to protect your eyes. You also want to wear some closed toe shoes and long pants. Trust me, you don’t want that beam of water to hit you on your bare leg or foot, it could do some damage. It’s also smart to have hearing protection because the pressure washer is loud, especially where it’s coming out.
Wet Down the Boards
It’s important to wet down the deck boards before you apply the cleaner. If you apply deck cleaner to the dry boards it can soak in quickly and can cause streaking if it fully dries. By giving everything a good soaking before using the degreaser will help keep the boards from drying out while the cleaner soaks.
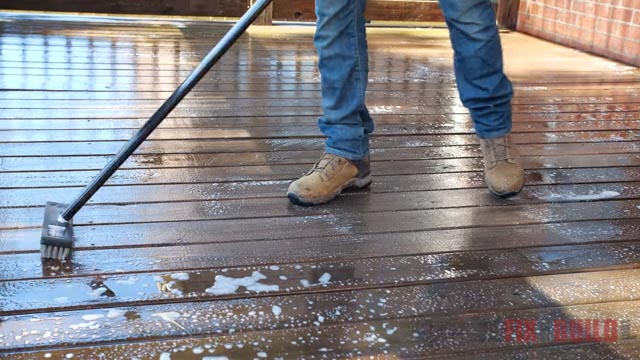
Apply Cleaner to the Boards
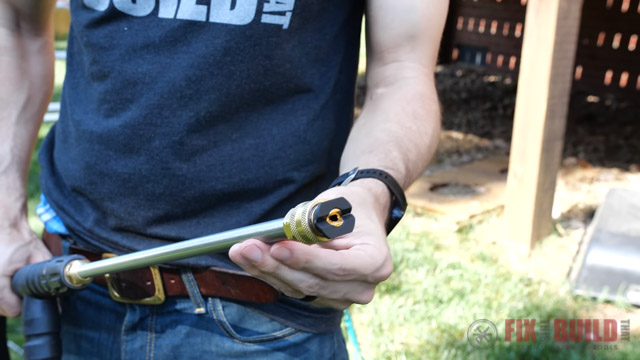
I’m using the machine’s siphon tube to spread the deck cleaner. It mixes the water with the degreaser in a 10:1 ratio so I just put the pickup tube in the jug and let it dilute it for me. I sprayed it on and let it sit for 10 minutes before I washed it off.
While I was waiting to wash the soap off, I hit the stains and grease spots with a deck brush to help loosen them up.
The stairs don’t get much sun and had a ton of mildew on them so I also scrubbed them.
Power Wash the Cleaner Off
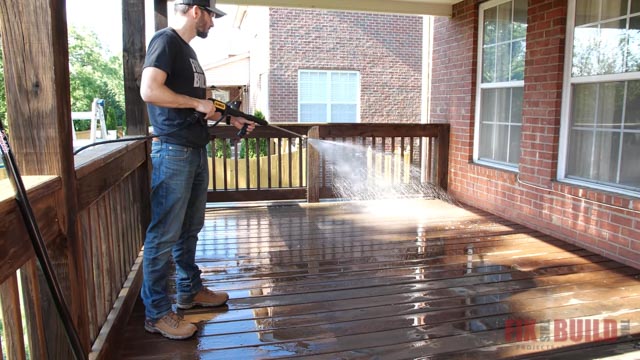
I took the siphon tube out of the bottle and put it in some clean water. I also switched the black tip out for the green 25 degree high pressure tip to wash off the degreaser. Finally I went over the whole deck spraying off the grime and dirt.
I kept the nozzle pretty far away from the deck to keep it from damaging the wood and went through in sweeping patterns removing all the cleaner.
It really did a great job with the mildew on the stairs, but I realized my new power washer wasn’t the best for me right now. The DeWalt 3400psi was so powerful that I was worried it would damage the wood on my deck so I had to hold it back pretty far. I tried dialing the pressure down but couldn’t quite get it where I needed it to be. So I went back to my Briggs and Stratton power washer. I felt a lot more comfortable about being able to control the pressure and not tear up the wood.
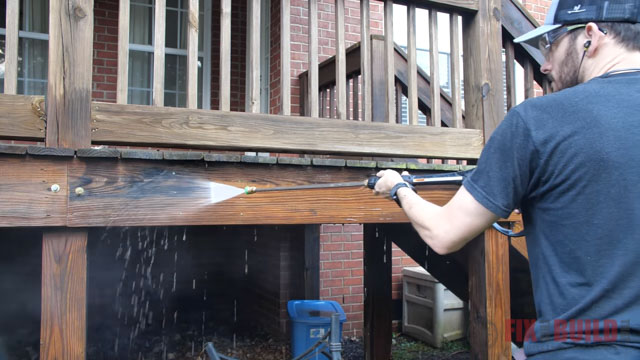
When I was spraying the columns I made sure not to spray upwards at the top. You don’t want to force water behind the ceiling trim and get mold up there.
And I was getting a LOT better cleaning now since I wasn’t as afraid of tearing the wood up. You can see the difference here is pretty crazy.
I just wasn’t getting close enough before, but now it was really doing it’s job. I finished up the removing all the degreaser then could move to the next step.
3. Brighten the Deck
The next step is to apply oxalic acid deck wash which should brighten the wood and hopefully help to remove set in stains. I used my power washer to apply the oxalic acid and switched back to the black tip and used the siphon tube to put the deck spray on. The oxalic acid needs to sit for 5 to 10 minutes and works kind of like a bleach; it should brighten the look of gray weathered wood.
It works much better when the dirt and grime are already gone. So going with a degreaser first and then the oxalic acid let’s it do the job more effectively.
After sitting for 5 to 10 minutes I came back again with the green 25 degree tip and washed it off like before.
4. Repair Deck and Prepare for Staining
Sand Out Stains
After the deck dried I could see it was a lot brighter, but I still had some stains that didn’t come out. I’m using my orbital sander to take off the top layer of wood and remove the stain. Hand sanding off stains like this would take a long time, but an orbital sander takes them up in just a few seconds.
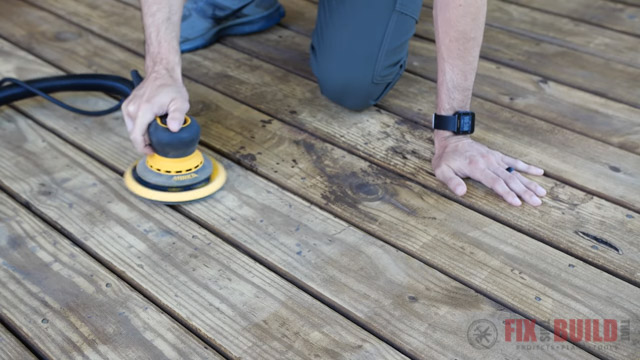
Feathering the sanded parts will also help the final color look more natural and not have harsh light and dark spots next to each other.
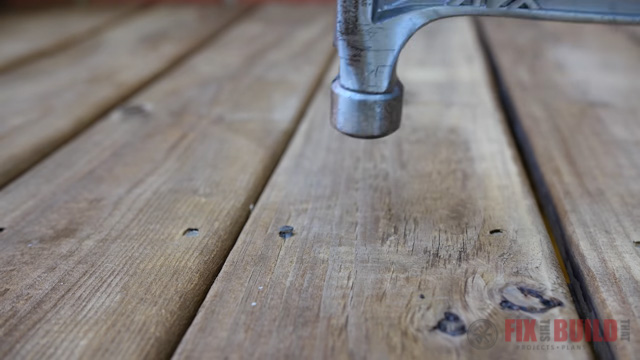
Reset Nails
Next I went over each of the deck boards looking for nails that were sticking up. Then I drove them flush or below the surface of the wood so they wouldn’t catch the stain pad.
Any easy way to find these nails is to run your hammer over the surface of the deck floor and just see where it catches. Then use a nailset or punch to set them below the surface.
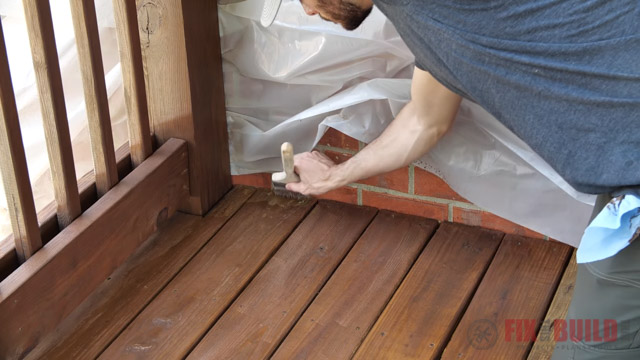
Before jumping into the staining we taped up some plastic sheeting to protect the house because we’ll be using a sprayer soon.
5. Apply Stain to Deck
For the finish I went with a Behr Semi-Transparent stain and sealer in Chocolate. You typically want to go on the darker side when re-staining to help cover any old coloring leftover. It’s also important to avoid applying the stain in direct sunlight. In my case that meant I had to start early in the morning.
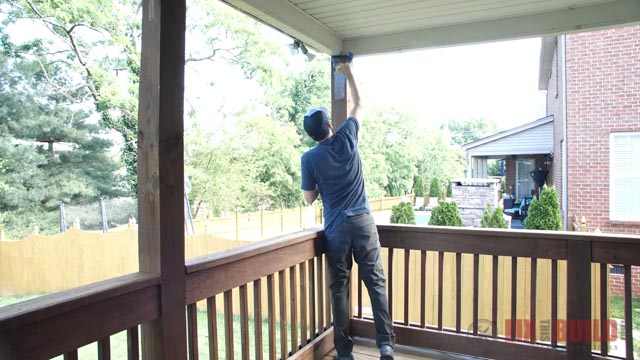
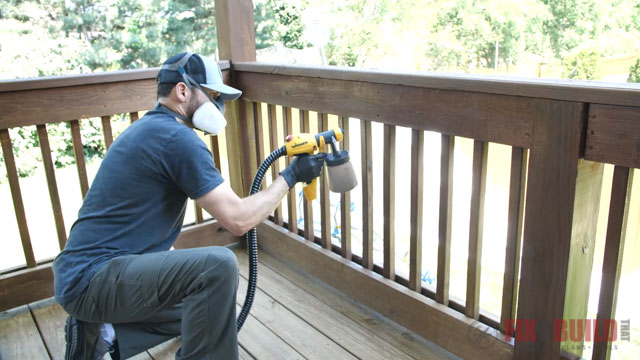
The upper posts are easiest to stain just using a natural bristle brush so you don’t have to worry about any overspray getting on the ceiling.
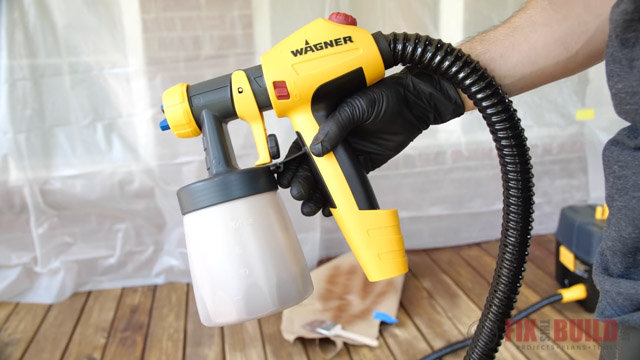
But for the rest of the railings and especially the spindles, using a sprayer is one tool that will save you a ton of time. I used the Flexio 5000 from Wagner which is a High Volume Low Pressure (or HVLP) sprayer. It’s got a wide spray nozzle and a fine detail nozzle which is the one I used. It’s perfect for getting the spindles and not wasting a lot of material.
Spraying the Rails and Spindles
I sprayed one rail section at a time doing the top and bottom rails and the three sides of the spindles I could get to. After spraying I backbrushed the stain on the wood to smooth it out and fix any drips or heavy spots.
The combo of a sprayer and brush is a great way to quickly get the stain on the railings and get a smooth finish.
I used a ladder to get the back sides of the posts and the outside of the railings and spindles. And after finishing up spraying all the vertical surfaces I could move on to the deck floor.
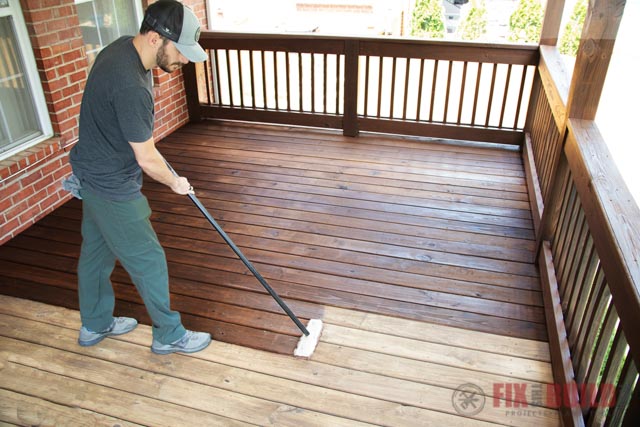
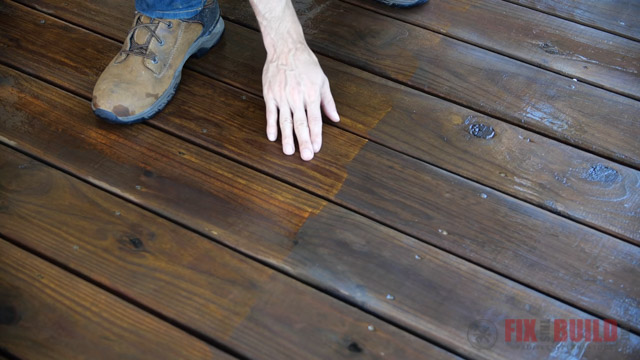
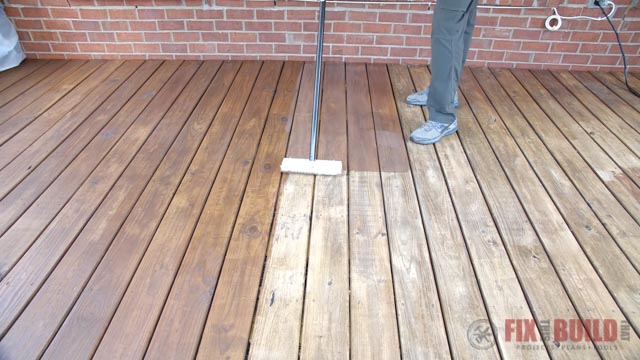
Applying 1st Coat of Stain to Floor
I decided to use a lambswool applicator attached to the end of a pole to apply the stain to the floor of the deck. I started on the far end of the deck using the lambswool pad which worked out great. It put down a ton of stain at one time and did a great job of getting in the cracks and crevices of the wood.
I realized I should probably be cutting in the edges so I started doing that after the first few rows and working ahead of the staining pad.
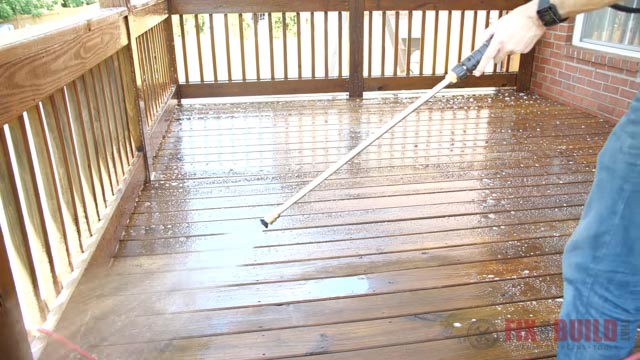
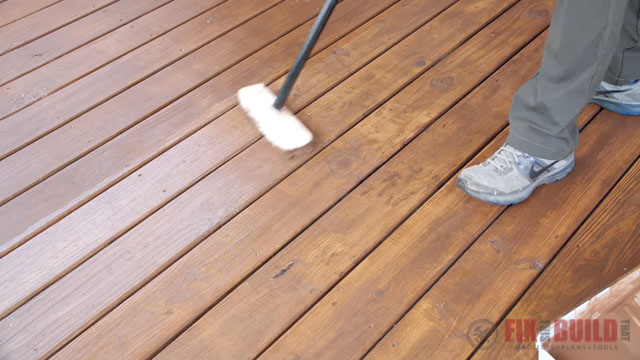
The nice part about using the pad on the pole is that it smooths the finish out just like brushing. So instead of spraying the floor then going back and backbrushing any puddling, you can do it all in one step.
As I worked my way across the deck I got into a groove and was doing three or four boards at a time. It’s good to keep a wet edge and do the length of a board all at the same time. And doing three or four at once seemed like the sweet spot to do it efficiently.
One area to look out for is between the boards. Sometimes the stain pad did a good job of getting down between them, but if they were uneven or too tightly spaced it didn’t work as well. When that happened I went back, turned the pad sideways and ran it down the gap between the boards.
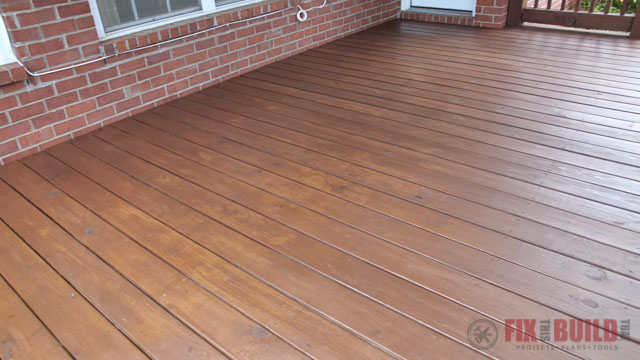
But this was definitely the most satisfying part of the project, seeing the new stain go on and instantly revive the worn out deck boards.
Applying the Second Coat
It’s important to wait until the floor isn’t sticky before you start putting down the second coat. For me, that was about an hour and a half.
When I put on the second coat it really did a good job turning some of those lighter areas like where I sanded the stains off a lot darker.
And after drying for another few hours the deck turned out amazing. It went from nasty and bleached out to rich and ready for a steady summer of barbecue. And after it’s cured for a few days we’ll be putting the refinished outdoor furniture back on it and enjoying it all season.
And that’s how to stain a deck! Learning how to stain your deck is easy to do and once your deck is all fixed up you’ll need furniture to put on it. I have tons of different Outdoor Furniture plans available so you can make your own. And when you need to give them a little facelift How To Refinish Outdoor Furniture will be waiting for you.


Thank you for the tutorial! I just did ours, turned out great.