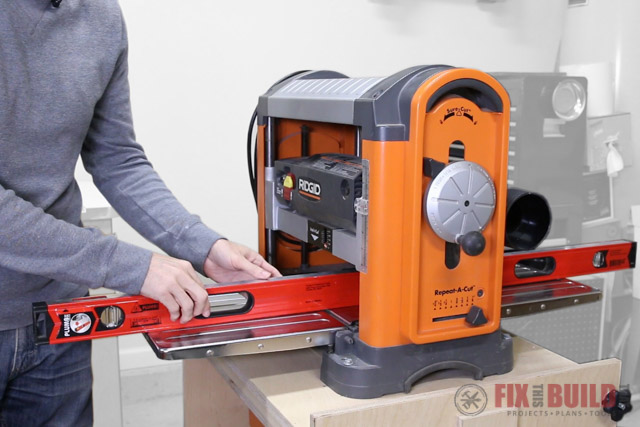
How to use a planer starts with the basics. That means setup, maintenance and alignment of your thickness planer to get the most out of it. These steps will work for most if not all benchtop or lunchbox style planers. The planer I have is the RIDGID TP13002 which is an older model. You guys know I love the orange tools and I want to thank RIDGID for sponsoring my channel and this post!. You can check out their latest promotions and tools here: RIDGID Promotions
Check out the video below for the full walk through to get your surface planer in tip top shape. After you get your planer setup, if you’re having problems with snipe make sure you also check out my 6 Ways to Reduce Planer Snipe post and video.
Materials/Supplies
- Small board for planing
- Paste Wax
- Mineral Spirits
- Shop Towels
- Nitrile Gloves
Affiliate links are used on this page. See my disclosure page for info on affiliate programs.
This is part 1 in my How to use a planer series. I’ll be doing more videos on Basic Planer Usage and Advanced Planer Usage soon. I’ll cover things like identifying grain direction and how to plane warped boards. So stay tuned!
If you to see some great shop projects to organize your workspace head over to my Shop Projects page.
RIDGID Power Tools provided me with product and/or monetary compensation as a sponsor of this build. All opinions are my own and are not filtered by the sponsor.


