
Hey, guys! Today I’m going to show you how to make a jewelry box with free plans for beginners. I’ve had a lot of requests over on Instagram and Facebook for me to show how to make a small keepsake or jewelry box. The great thing about boxes is that you can make them many different ways and for a ton of different purposes. Jewelry box, keepsake box, men’s valet, photo box, DIY gift box…you name it and you can use these same methods to make a box for whatever your little hear desires.
Since the top is a friction fit, you don’t need any special hardware for the jewelry box. This is a great way to try out box making! You can add hinges, locks, drawers, trays, etc. as you progress in your skills. This is actually only my second try at a wooden jewelry box, so you can see it’s not hard to do!
Materials/Supplies
- 3′ x 3-1/2″ x 3/8″ maple
- 28″ x 2″ x 3/16″ walnut
- 20″ x 4-1/2″ x 1/4″ walnut
*substitute other woods as desired
Affiliate links are used on this page. See my disclosure page for info on affiliate programs.
How to Make a Jewelry Box
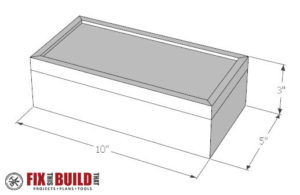
I made the wooden jewelry box 10″ x 5″ and 3″ high. I like the 2:1 ratio look on the box and this size seems to be just big enough to be substantial, but not too big. You can easily adjust the size to any dimensions you’d like and use these same methods. I also have jewelry box plans for beginners above so make sure to check those out.
The best part is this build takes very little wood. So you can buy nice hardwoods for the box and not break the bank. I had this piece of curly maple with amazing figure I’ve been looking to use. So I cut material for two boxes which you will see some parts for both boxes in the pictures.
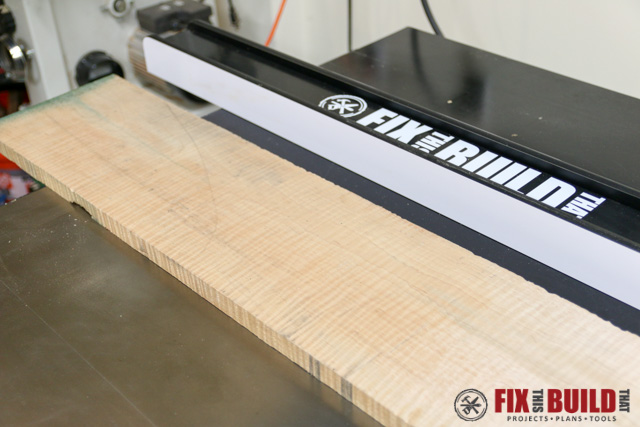

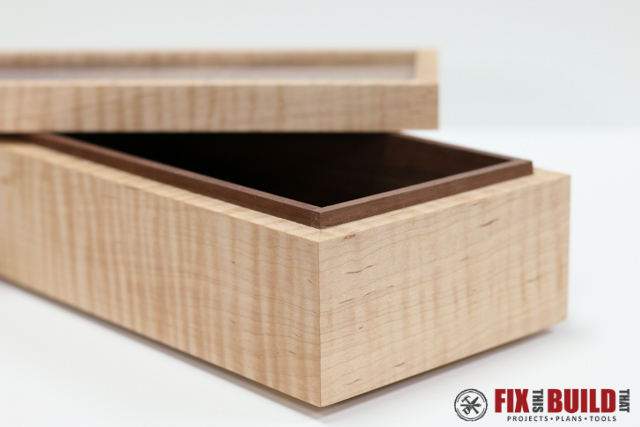
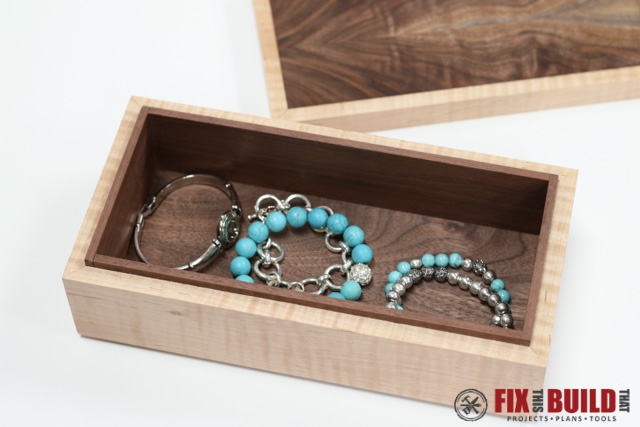
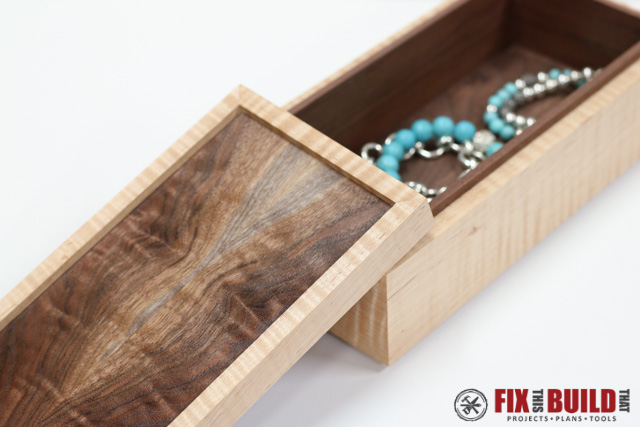
I used the maple for the sides of the box and walnut for the top, bottom, and lining for a nice contrast.
Make the Top and Bottom Panels of the Jewelry Box
Firstly you’ll make the top and bottom panels. I used a larger piece of walnut with some nice figure to make my tops and bottom panels. If you are just using a solid one piece panel or 1/4″ plywood this will be very easy.
I resawed the walnut into 2 pieces on the bandsaw then cut those in half to finish with 4 pieces.
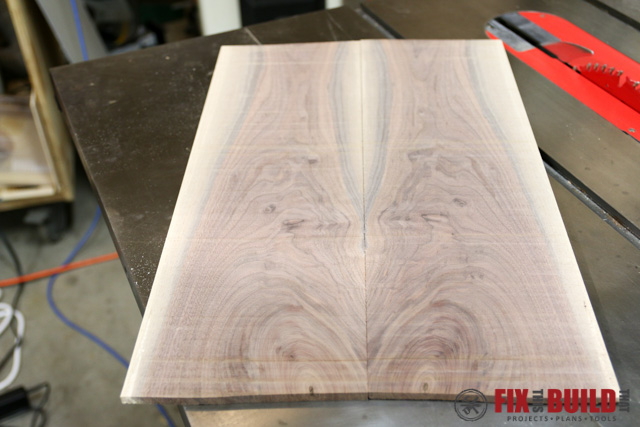

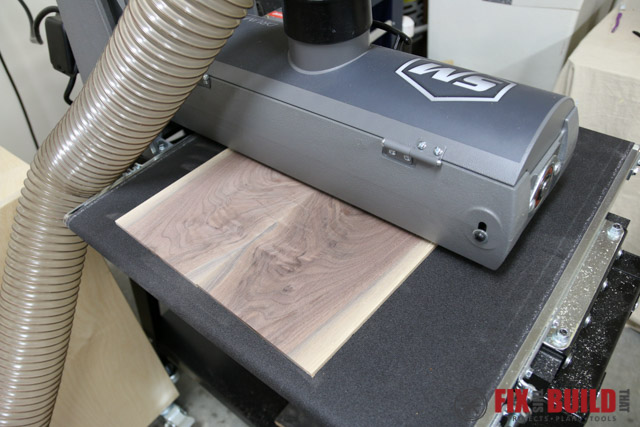
Next I put them through the 19-38 drum sander to get down to a final dimension of 1/4″. This is one of the best uses for the drum sander in my book. It’s easy to get right down to a specific dimension quickly.

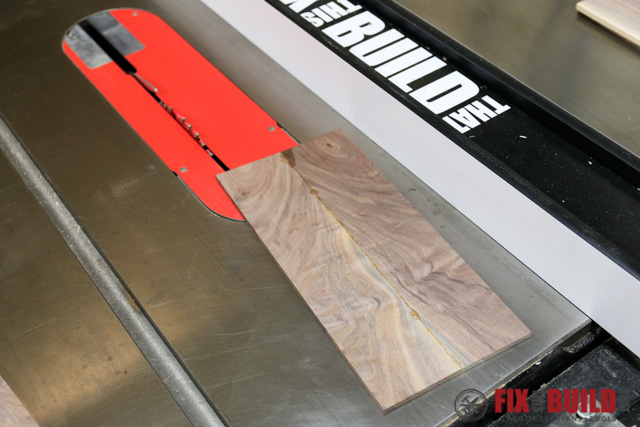
After they were flat I glued the pieces together into 2 panels and then cut them to size. If you aren’t using resawn lumber or glue ups, cut your top panel and bottom panel for your wooden jewelry box to 9-1/2″ by 4-1/2″.

Make the Sides of the DIY Wooden Jewelry Box
For the sides, cut your pieces into 3-1/8″ wide strips. You’ll need two 10″ piece and two 5″ pieces. I cut mine to 16″ long to be split in two next.
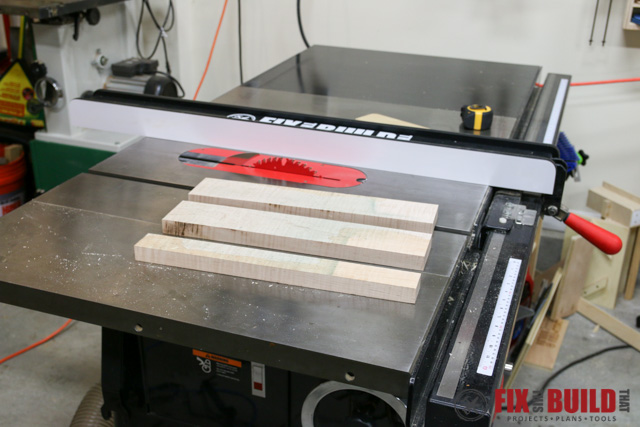

I resawed the pieces on the bandsaw to get two pieces 16″ long and just under 1/2″ then took them to the drum sander and brought them down to 3/8″ in thickness.
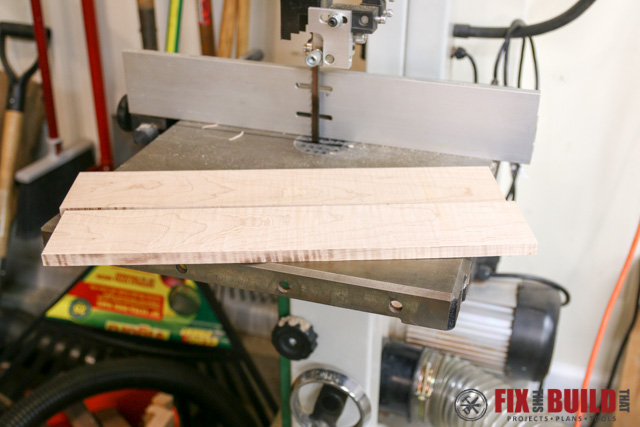

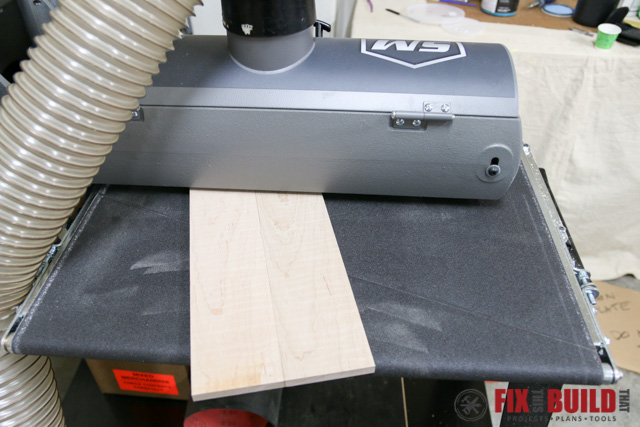

Next, cut the grooves in the sides of the DIY jewelry box for the top and bottom panels. The grooves are 1/4″ wide and 3/16″ deep. They are located 3/16″ from the top and bottom. Do some test cuts in scrap before making the grooves to be sure your top and bottom panels fit snugly.
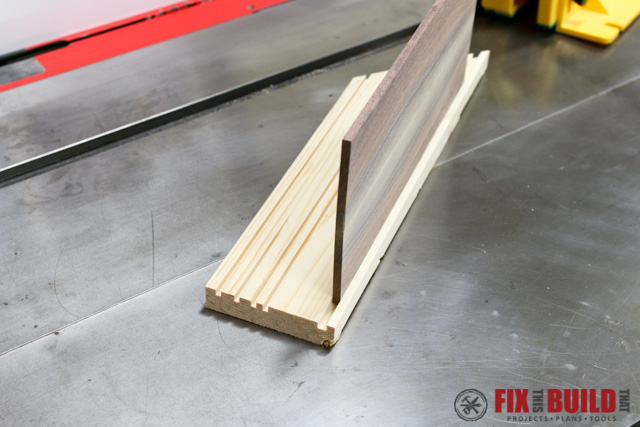

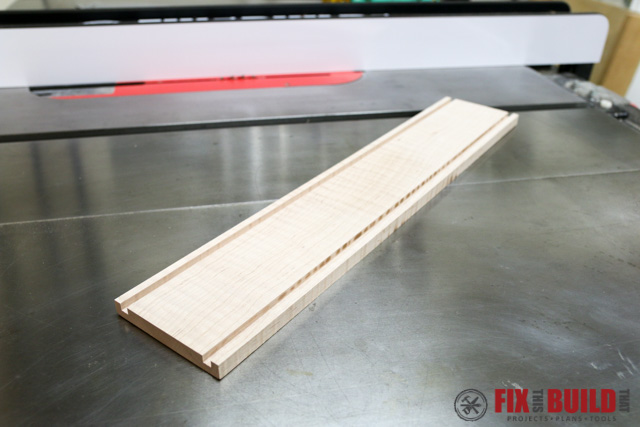

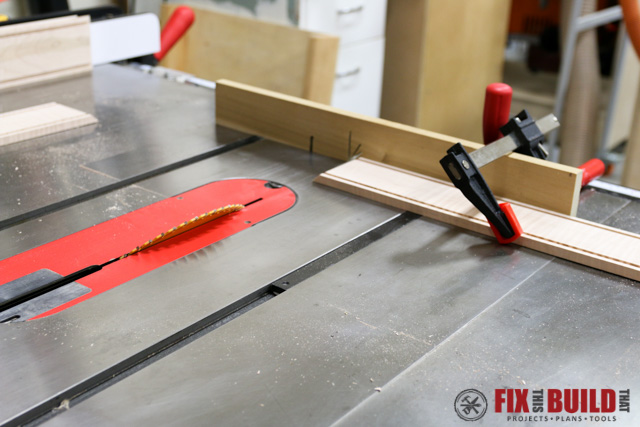
Cut the sides to length, 5″ and 10″, with miters on each end. By cutting the sides from the same piece you can achieve a continuous grain flow around the whole box.

Assemble the Simple Wooden Jewelry Box
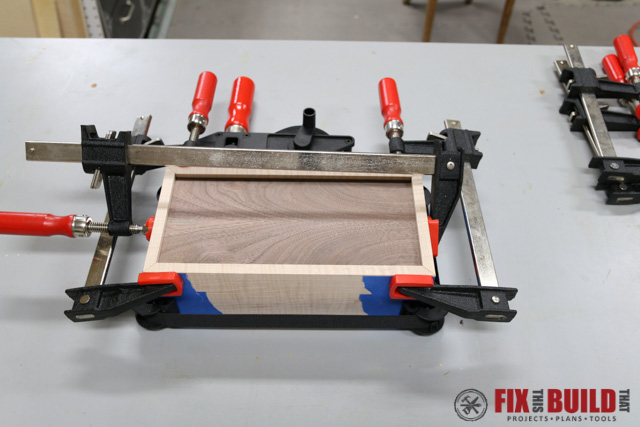
Assemble the jewelry box by laying the side pieces end to end in a straight line and taping the joints on the outside. Apply glue to the miters and then “fold up” the box, inserting the top and bottom panels into the grooves.
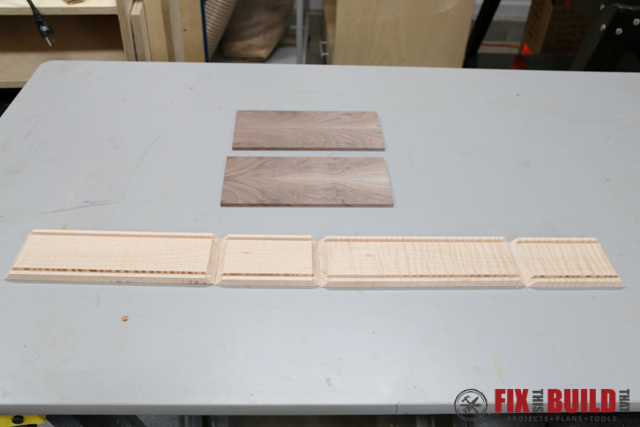

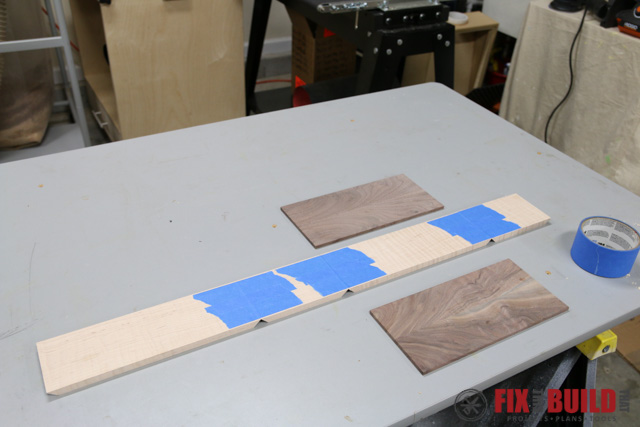

Clamping the glue up with a web clamp makes this much easier, but f-clamps work well also. After the box is dry sand the sides to 220 grit before the next step. Yes, I realize this a wooden box with no way to get inside…patience my friend.

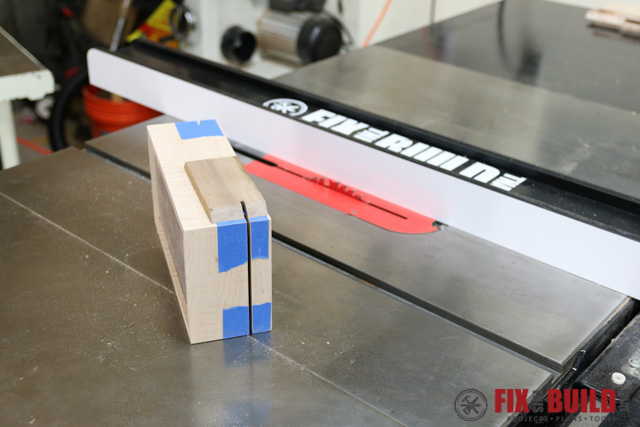
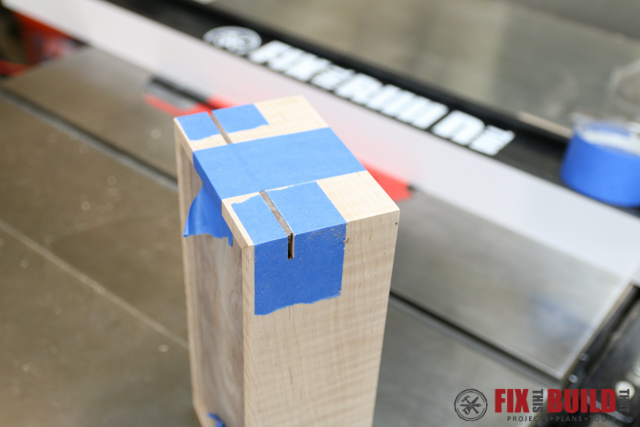
Now you’ll make the top (ah ha!). Cut through the jewelry box 3/4″ down from the top on all 4 sides. To do this safely, cut the short ends first and then tape in some 1/8″ shims in the kerfs to hold the wooden box together while you cut the long sides. This is the method for doing it on a tablesaw, you can also do this on a bandsaw, you’ll just have a little more clean up.


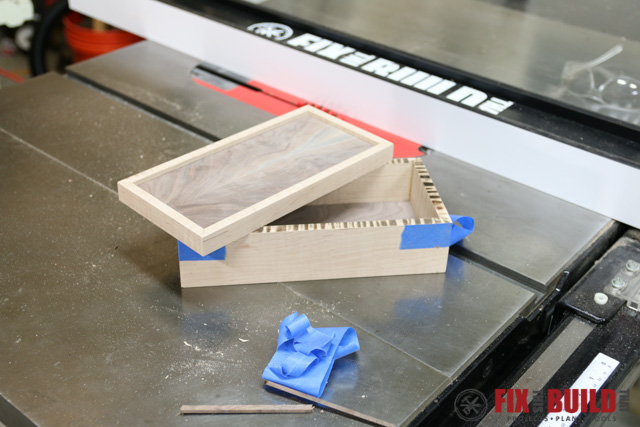

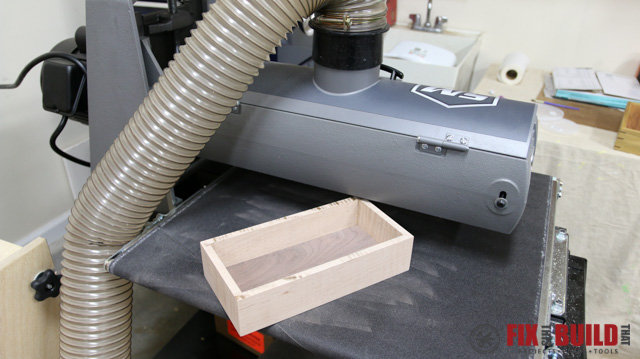
I got burning on the top edge of the jewelry box, so I took it to the drum sander to remove the burn marks and get everything level. I also did this to the underside of the top. Feeding the box in on an angle helps reduce your chances of snipe. You can also flatten the parts on a sheet of sandpaper stuck to your tablesaw.

Install the Lining on the DIY Jewelry Box
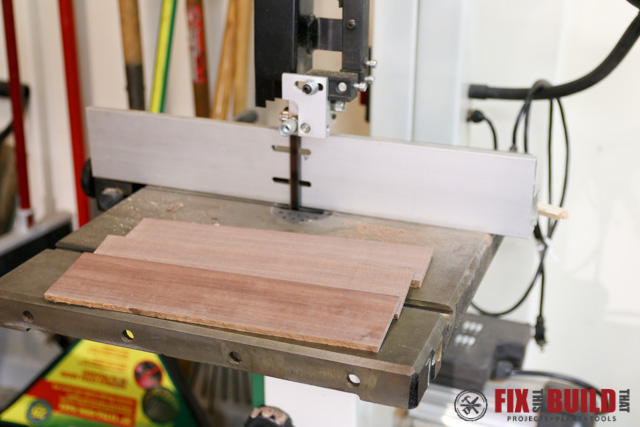
The last piece of the jewelry box is the lining which serves as decoration as well a lip for the lid. I resawed some walnut to 1/4″ on the bandsaw and sanded it flat to 3/16″ on the drum sander.

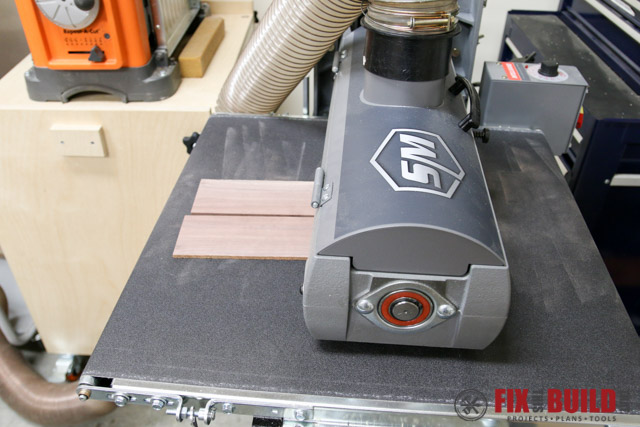

Rip the pieces to 2″ wide and then cut the pieces to fit in the box. The short pieces should be ~ 4-1/4″ and the long pieces should be ~8-7/8″, cut the pieces to fit your wooden jewelry box. You can miter these corners as well, but stacking miters inside miters is a bit more tricky.
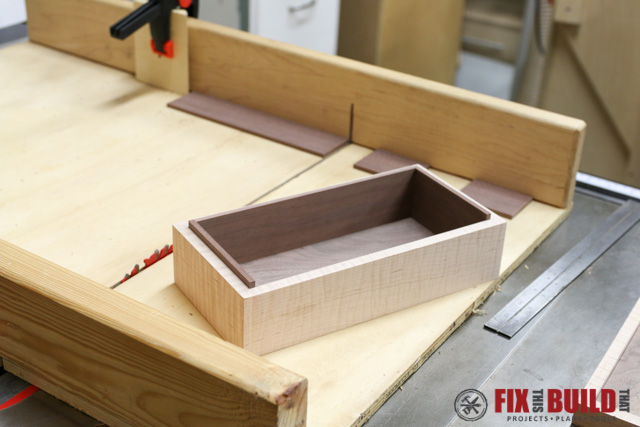

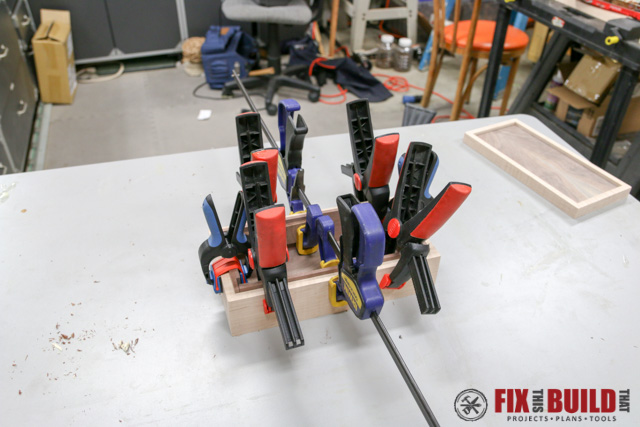
Glue the pieces in place and clamp with some spring clamps. Put the short pieces in first and sand everything to 220 grit before installing.

Apply A Finish to the Wooden Jewelry Box
After the glue has dried, touch up any sharp edges and do a once over of the whole jewelry box with 220 grit sandpaper. Now apply your finish of choice. I used shellac to really pop the grain of the maple but not yellow it. I applied 4 coats and finished it with a beeswax mixture.
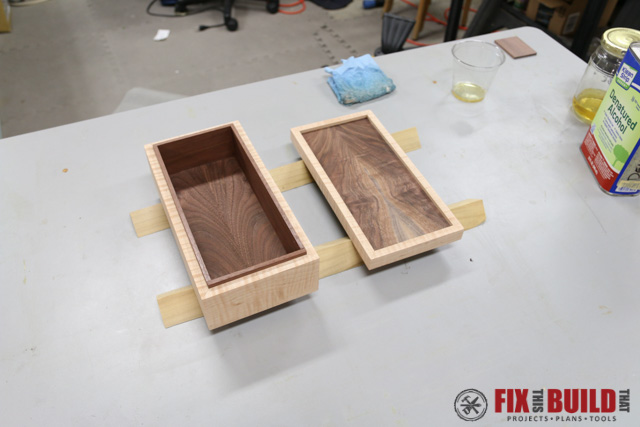

Even though I used some fancy wood, this simple DIY wooden jewelry box build is easy to make and a great way to get started in box making. You can do so many more things with boxes, like splines, hinges, trays, etc. Don’t forget to get the jewelry box plans below!
For more great ideas check out the Projects section on my site.
SuperMax Tools provided me with product and/or monetary compensation as a sponsor of this build.



My awesome husband made 6 of them for Christmas presents for our adult kids this year….he still needs to apply a finish…see you said that you shellacked them…did you shellac the friction fit parts of the tops? I’m afraid it is going to make them a too tight fit
I used an oil finish on the friction parts so they wouldn’t build film and cause problems with the fit.
Is there an alternative way to cut the lid for the box without a table or band saw?
You could always use a hand saw.
Nice job of making this nice tutorial… Wish I had your equipment…. Easily followed and you made a stunning box that anyone would be proud of…
I mitered the ends of my inserts and cut them so the fit really tight. I was practicing for a humidor build in which you wouldn’t want to glue in the cedar lining to mess with moisture. I also chamfered the top lips of the lining to about 45 degrees so that I could hinge the lid. I didn’t have a bandsaw then, but I do now. So, I’m really looking forward to doing some resawing for that continuous grain pattern around all four corners. And, those book-matched panels are sweet. I tried making a second box with store-bought oak boards (I still have no planers…) and my mitered corners came out all screwed up… I can only guess that when I cut them to 45 degrees on my table saw that the hardness of the oak is deflecting the blade and making my cuts really wonky. I was trying to make a box for a foam insert to go into so I needed the sides to be really precise in length and chopping at them over and over with the table saw really ruined that. Ticked me off so bad that I haven’t tried at it again since…
Yeah, doing double miters is a tough thing, that’s why I stayed away from it. But just doing one set is doable if you really take your time on setup and fitting. Glad you are getting after it!
No splines to support the miter corners? I’m curious about whether or not I need to do that on the box I’m about to make. Probably going to follow your design and see how it goes!
Ryan, I’ve done them with and without. Frankly though, it’s just a box sitting on a dresser so I think the glue should be more than enough.
Very nice project! I like the combination of maple and walnut. Quick question — when cutting the sides, did you use some kind of sled/jig or a stop block? I would imagine those cuts need to be fairly precise. Thanks for the inspiration. I’ve made a bandsaw box before, but would like to get into making the kind of box in your tutorial.
Yup, I used the miter gauge with a wood backer and a stop block. If you watch the video you can see it in use. And thanks!