Are you planning to refinish outdoor furniture? It can be an overwhelming job, but I’m going to show you the easiest ways to get your furniture looking like new. I’ll go over three different methods you can use to get your outdoor furniture looking great, with the least amount of work possible.
I built all of my outdoor furniture between 3-4 years ago, and haven’t refinished them since. Each piece of furniture was made from cedar and finished with spar urethane. My outdoor furniture is mostly out of direct sunlight because it’s on my covered deck.
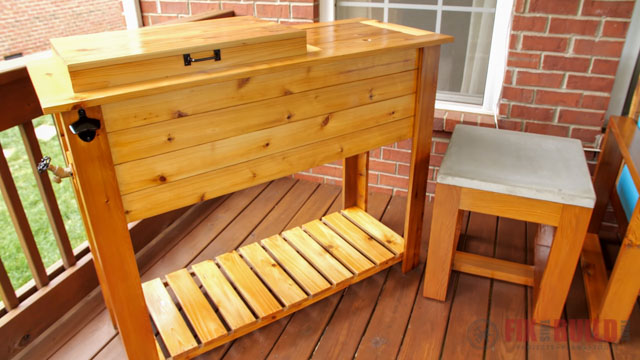
However some of the pieces get more sun and rain than others and need more help. My DIY Patio Cooler Cart was looking pretty weathered and needed the most work. I’ll show you how I brought all of my outdoor furniture back to life, with the least amount of work.

Tools Used
- Vacuum Hose and Brushes
- Mirka Deros Sander
- ISOtunes Bluetooth Earbuds ($10 off code: FTBT)
Materials/Supplies
Affiliate links are used on this page. See my disclosure page for info on affiliate programs.
How to Refinish Outdoor Furniture
- Clean Outdoor Furniture
- Light Refinishing
- Full Refinishing of Furniture
1. Clean Outdoor Furniture.
If your outdoor furniture hasn’t been damaged by the sun and rain, cleaning it is the easiest way to make it look better. And the best part is, it involves the least amount of work. If you’re lucky, you can stop after this step and be done.
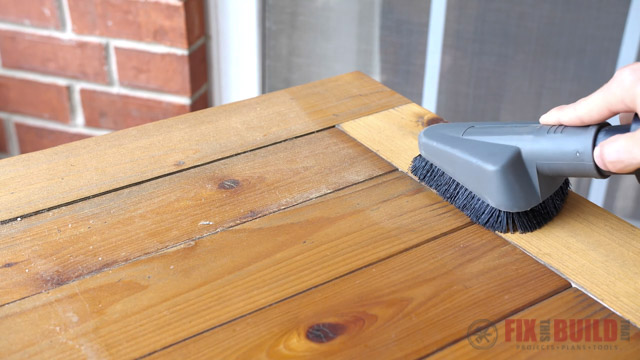
Vacuum Outdoor Furniture
My outdoor sofa and side tables were in fairly good condition because they weren’t in direct sunlight or in the rain. Because of this, I started by giving them a simple cleaning. The first step to cleaning off outdoor furniture is to vacuum the furniture. I used my shop vac to suck leaves, dirt and loose debris off of the furniture.
Wash Outdoor Furniture
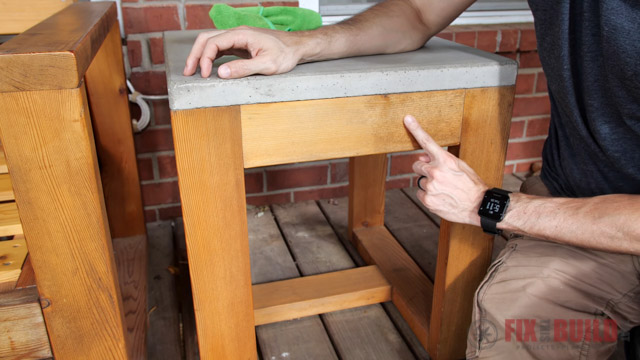
Next I gathered the supplies I needed to give the outdoor furniture a good cleaning. This included; two buckets, two microfiber cloths and dish soap. I measured out a quarter cup of dish soap and added that to one bucket of lukewarm water. I used a soapy, damp microfiber cloth it to wipe down the furniture. Next I used the second microfiber cloth from the clean water to wipe off the dirt. I cleaned the left side of the side table, and you can see how much lighter and brighter it looks compared to the right side.
If your outdoor furniture is in similar condition, you could get away with just giving it a good cleaning.
2. Light Refinishing of Furniture
My sofa and side tables looked great after the general cleaning. But I decided to go ahead and lightly refinish them so you can see how they look after being refinished.
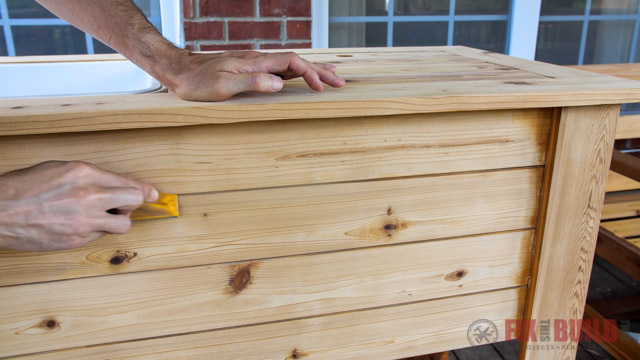
Lightly Sand Furniture
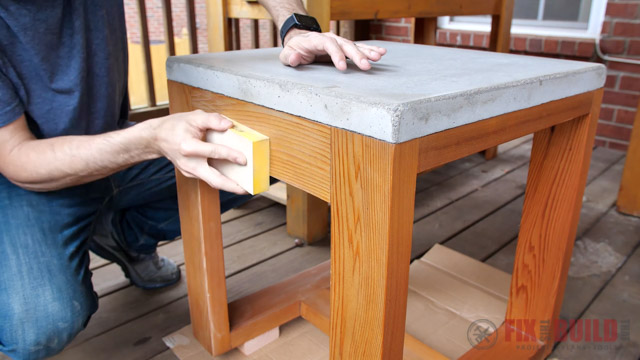
First I lightly sanded my furniture with 220 grit sandpaper. The goal is just to scuff the finish.
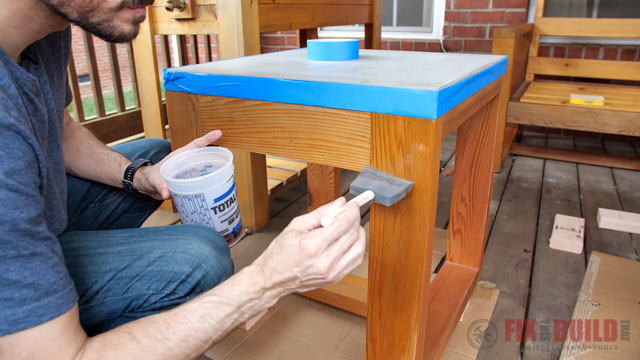
Then I removed the dust and then start applying varnish. I applied two coats of varnish to my outdoor furniture and it was done!
If your outdoor furniture is in good condition with even just a little bit of discoloration, this is a good option to try.
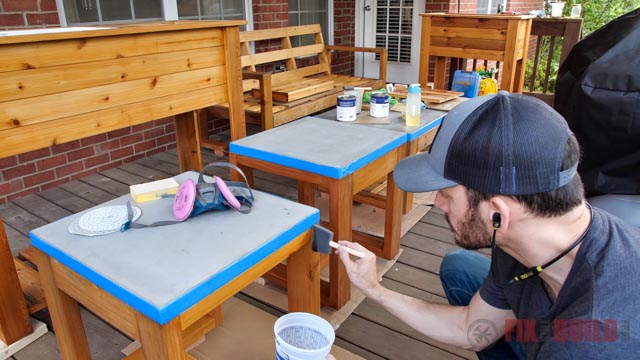
Should You Lightly Refinishing Wooden Furniture?
Lightly refinishing your wooden outdoor furniture is much easier and less time consuming than doing a full refinish of the furniture. But a light refinish may not remove all of the dark spots or discolorations that you can get from weathering. Just keep that in mind and decide how good is good enough for you. You can see that my coffee table had some weathering which didn’t fully come out after the light refinishing.
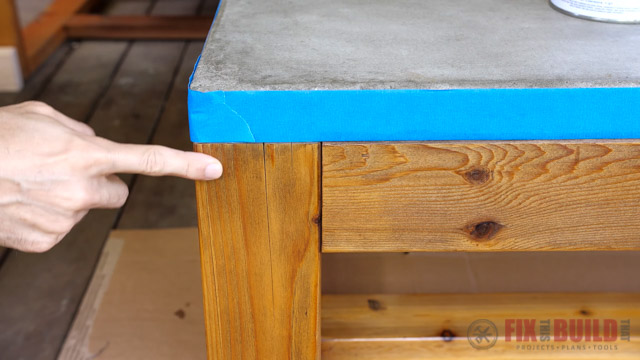
I’m okay with this, it still looks so much better, but you’ll need to decide what your goal is. If you want that wood looking perfect without any weathering you may need to move on to step three.
3. Full Refinishing of Furniture
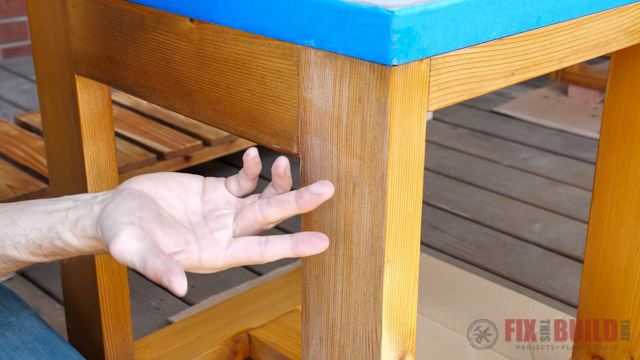
Remember my DIY Patio Cooler Cart? It’s the piece of outdoor furniture that was in the worst shape because it had the most exposure to direct sunlight and rain. It’s really weathered on the surfaces that got the most sunlight. I knew I would need to sand the wood down, but first I needed to remove all of the hardware.
 Sand the Outdoor Furniture
Once the hardware was removed I sanded the wood with 80 grit sandpaper using my random orbital sander. Having a random orbital sander is really nice for this job and makes the sanding go a lot faster.
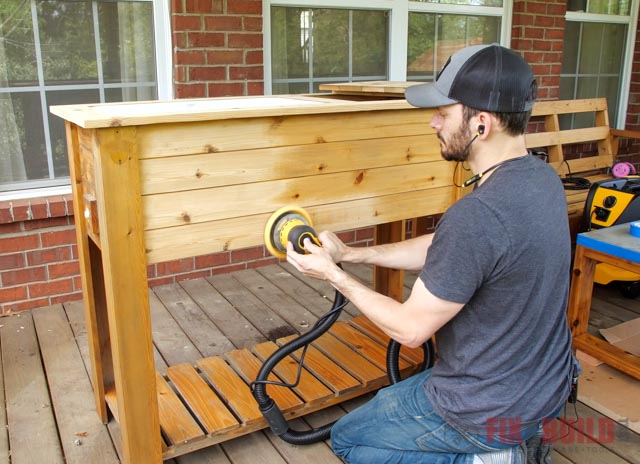
You will need to switch to a hand sander to sand into corners and smaller cracks that your random orbital sander can’t reach.
Once every surface has been sanded with 80 grit, I went back and sanded everything with 150 grit sandpaper. Make sure you sand with the grain of the wood.
Decide On the End Result
And at this point you’ll also need to decide how perfect you want the end result to be. If you want your furniture to look as perfect as it did when it was first made, you’ll be doing a lot of sanding. You may have to remove boards or other parts to be able to fully access all the areas you need to sand. And when you apply the finish, you’ll have to make sure to hit all of these areas as well. I didn’t expect my furniture to be as perfect as it once was, so I sanded all of the areas I could reach and didn’t worry about the rest of it.
Apply Sealer and Varnish
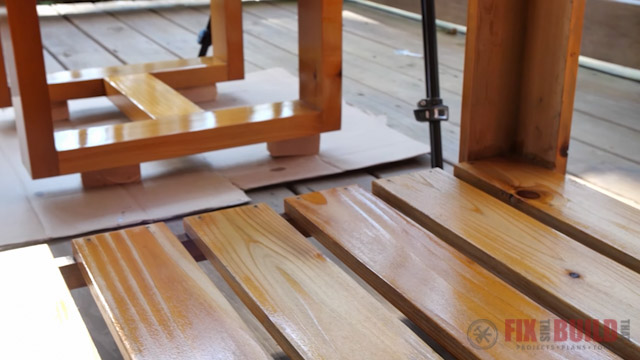
Once the furniture was sanded with 150 grit sandpaper I removed all the dust and started sealing the wood. I used Total Boat Wood Sealer and watched that cedar come to life!
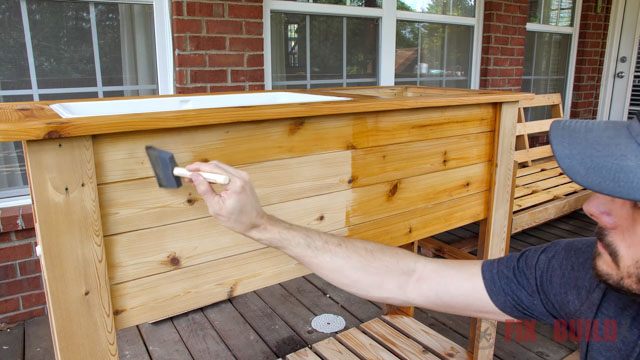
After the sealer dried I started applying coats of Total Boat Gleam Spar Varnish.
Between coats you’ll want to sand with a high grit sandpaper like a 320 or 400 grit sandpaper. Make sure to only do a light sanding. You’ll know when it’s ready to be sanded because you’ll get a nice powdery white dust.
If the varnish starts to gum up or it’s hard to sand, that means it’s not ready yet and it needs more time to cure. After that make sure to wipe everything down before you apply the next coat of varnish. I use Total Boat Gleam for all of the layers of finish, but I’ll use Gloss until I get to the final coat where I’ll use Satin.
When you’re applying your second coats try and use a reflecting light to see where the finish is going on. If you have gaps or spots you’ve missed you’ll be able to see them as spots that don’t reflect the light.
After you’ve applied a coat of finish, try to look at the wood in the glare from the sun. If the finish is uneven or doesn’t have a consistent sheen, that means it needs another layer.

Once you get an even coat, you’re done!
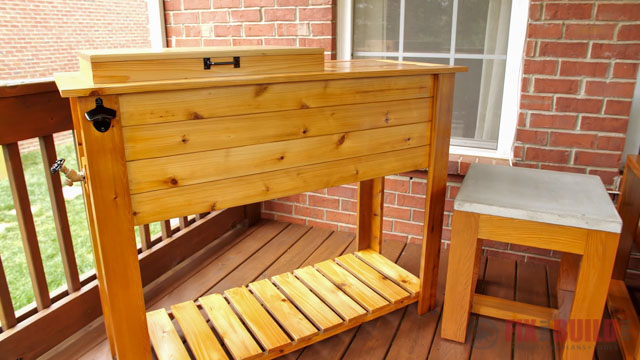
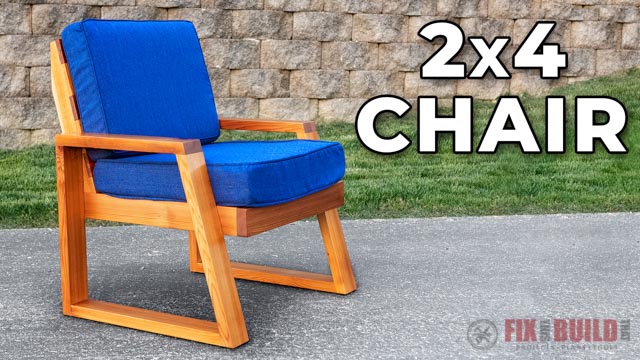
That’s how I refinish outdoor furniture the easy way! Every piece of outdoor furniture you saw in this post has a plan available. And if you’re looking for a different style of outdoor furniture I also have the Modern DIY Outdoor Chair plans available too.
Total Boat provided me with product and/or monetary compensation as a sponsor of this build. All opinions are my own and are not filtered by the sponsor.