Today we’re talking drum sanders! I’m working with an awesome new sponsor, SuperMax Tools, and I’m going to show you how I use the SuperMax 19-38 Drum Sander in my shop. If you’ve been woodworking for very long then you’ve probably read about drum sanders or seen one in use on YouTube, social media or elsewhere. But I’ve found that not a lot of people really know what they are all about and how they can help you in the shop. Well today that ends!
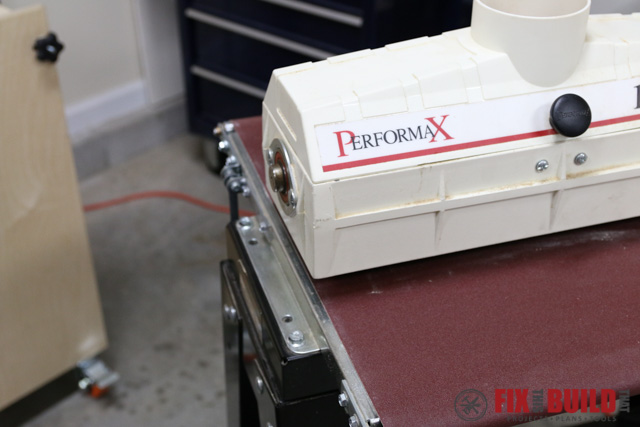
I’ve had a drum sander in my shop for about 2 years now and it’s really transformed how I work and what I’m able to do. I have a Performax 16-32 and also briefly had a Performax 22-44 (the new versions of these are the Jet brand), so I’ve had experience with different brands and models. Along with showing you my favorite uses for a drum sander, I’m going to give a comparison of the SuperMax 19-38 and the Performax 16-32. I’ll show you the features that made me want to upgrade and why the 19-38 is such a better machine for me.

Affiliate links are used on this page. See my disclosure page for info on affiliate programs.
Alright, let’s start out with the good stuff…what can a drum sander really do!?! Well, it sands wood. What did you think it does? 🙂 Okay, so that is a gross simplification. In reality it sands wood very quickly, very efficiently and very consistently. I’m sure your mind is already racing thinking about how you could use one.
Top Uses for a Drum Sander
My top 3 uses for a drum sander are:
- Cleaning up resawed wood
- Sanding cutting boards flat (edge grain and end grain)
- Eliminating tear out on figured wood
Other uses include but are not limited to:
- Flattening large glue ups (table tops, door panels, etc.)
- Dimensioning thin stock
- Thicknessing small slabs or rough material
- Leveling joints after glue up (rail and stile doors)
- Getting consistent thickness boards
- Batch sanding of parts
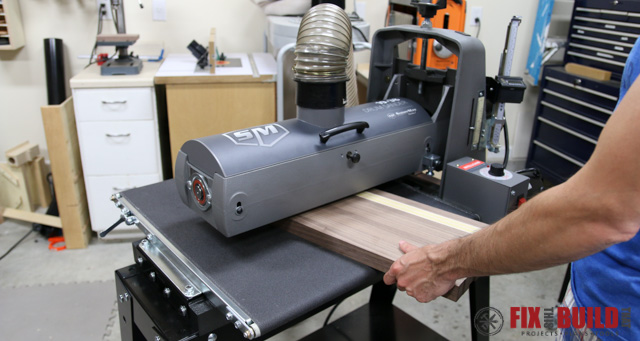
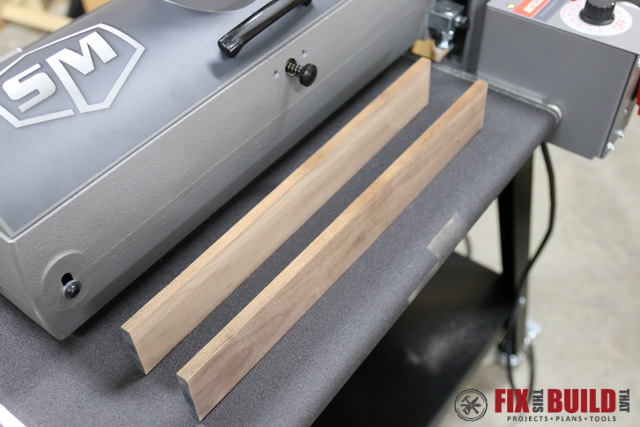
Cleaning up resawed wood is my absolute favorite use for a drum sander. If you’re wondering what “resawed wood” is, it’s when you take a thick board and slice it into 2 or more boards. I do this a lot when making cutting boards. I take a piece that is 1″ thick and saw it down the middle on my bandsaw.
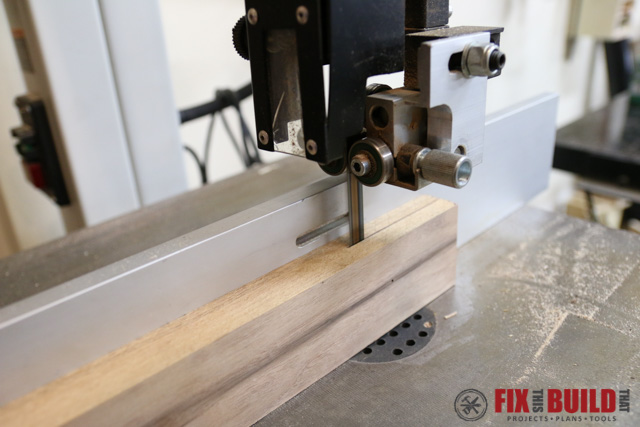
Then I’m left with 2 pieces that are flat on one side but have rough bandsaw marks on the other side.
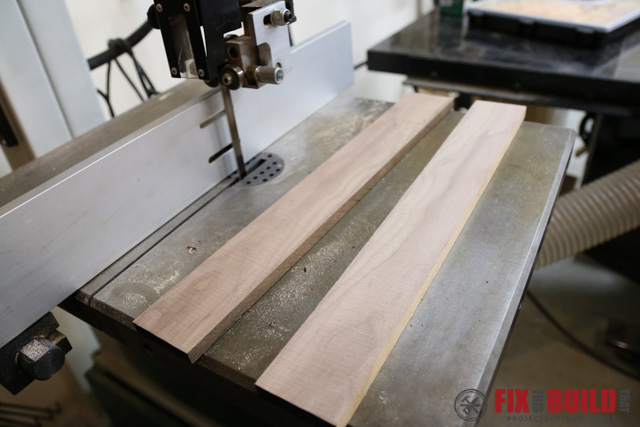
You could use a planer to flatten the boards, but you risk snipe and tearout doing that. Also, if the boards are under 1/4″ then using a planer can get hairy or need the use of a sled. Instead I feed them through the drum sander and come out with perfectly flat and sanded thin strips ready for glue up.
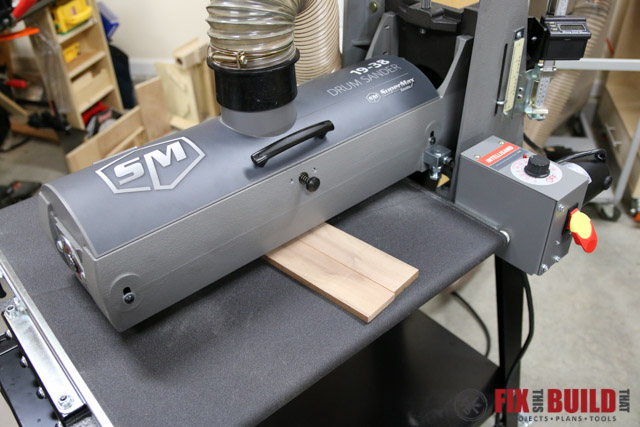
My second favorite use is to sand my cutting boards. I make a fair amount of cutting boards (you can see my current ones in my Etsy shop) and getting them flat and smooth is of utmost importance. I used to do them on my planer and that works well most of the time. But sometimes you’ll get gouges (snipe) or high spots from a nick in the blade when using the planer.
Now I plane my boards and then put them through the drum sander using 120 grit paper. This is the perfect transition from the planer for me. It’s aggressive enough to remove tearout and snipe, but still leaves a nice surface.
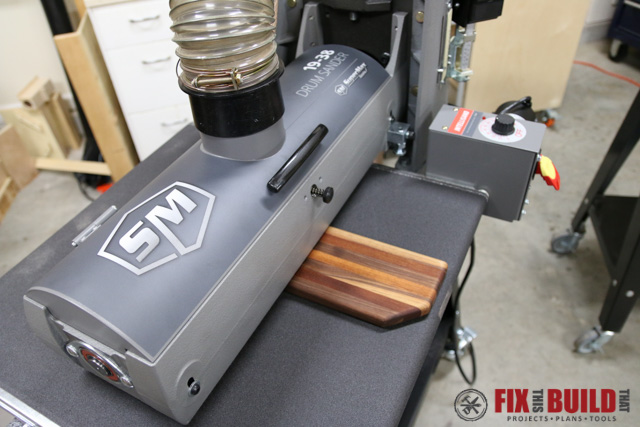
After the boards go through the drum sander I hit them with 100, 150, then 220 grit sandpaper. Going back to 100 grit helps get rid of the linear marks quicker, but I could probably go straight to 150 and be fine.
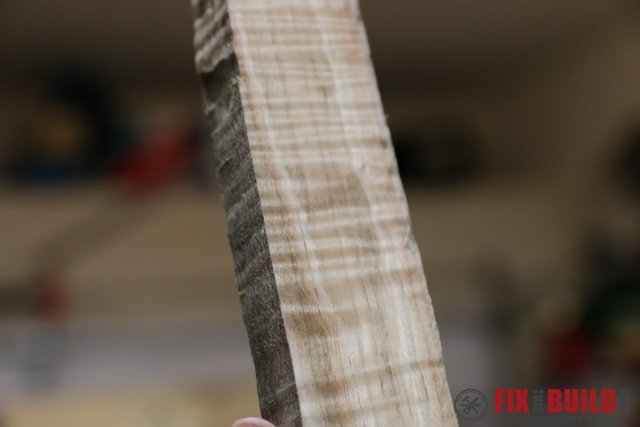
And my third favorite use for the drum sander is dealing with figured grain. If you’ve ever planed figured grain (hand plane or power planer), you know the struggles #thestruggleisreal. You always want to plane WITH the grain but when the board has figure to it the grain goes in some crazy directions, kind of like my hair when I wake up in the mornings.
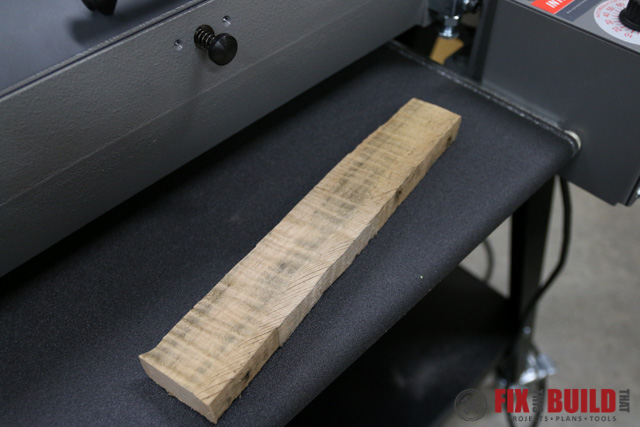
Another way tearout happen is if you do a glue up and don’t orient the grain all in the same direction on the different boards. This is a common occurrence for me as I arrange the boards by look vs. by grain direction. But either way, you can get tearout and the pieces will come out looking like this…YIKES!
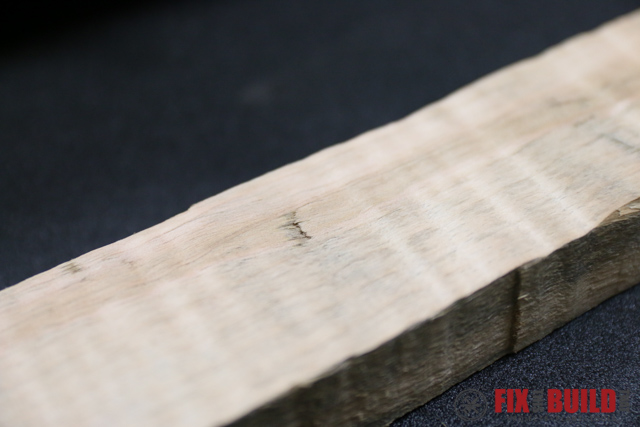
Tearout happens when the cutting edge gets under the grain and instead of cutting, it tears the wood out. Well, sanding doesn’t cut, it abrades. So there is no chance of tearout, just sweet sweet sanding action. And you can turn that board into this board
SuperMax 19-38 vs. Performax 16-32
Okay, now let’s take a little closer look at the SuperMax 19-38 and compare it to my Performax 16-32.
Capacity
Let’s start with the obvious. The SuperMax has a 3″ wider drum than the Performax, 19″ vs. 16″. And that gives a total width advantage of 6″ when using the open end feature (sanding one half of a very wide piece then flipping it and sanding the other half).
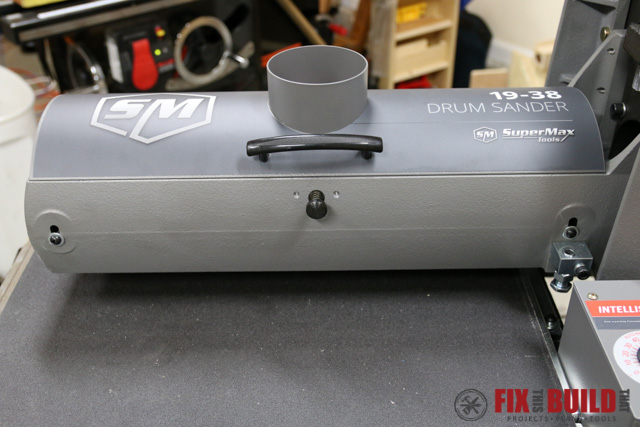
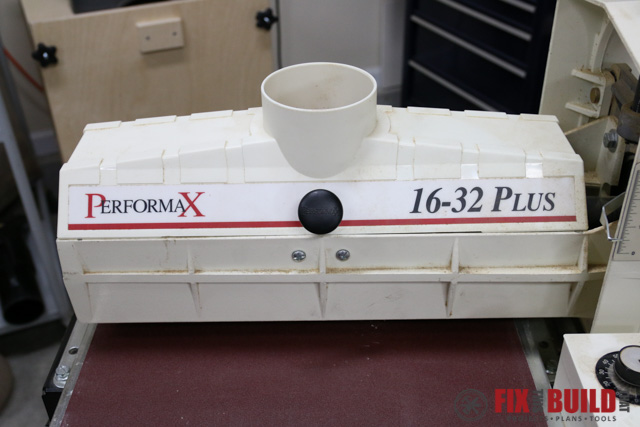
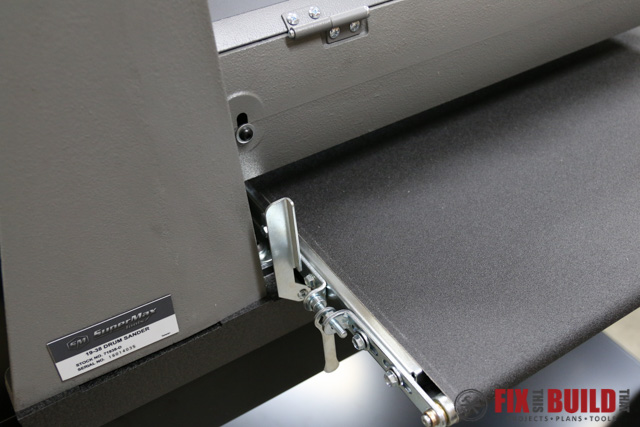
You’ll also notice from these pictures that the conveyor of the 19-38 is wider than the sanding head and on the 16-32 it is the same size. If you are maxing out the capacity and run a 32″ wide piece through the 16-32, you will have 16″ under the drum sander and 16″ hanging off the edge. This is a tipping issue and the board will want to fall away as it exits the machine.
The 19-38 on the other hand has an extended conveyor that goes ~3″ past the sanding head. This gives the workpiece extra support and it won’t want to tip.
Sticking with the size advantage, the SuperMax also has an extra inch of height capacity over the Performax. The 19-38 can go up to 4″ above the conveyor while the 16-32 can go 3″ above the conveyor.
Both machines have infeed and outfeed support add-ons you can install. In my small shop I don’t have them installed do to space constraints.
Features
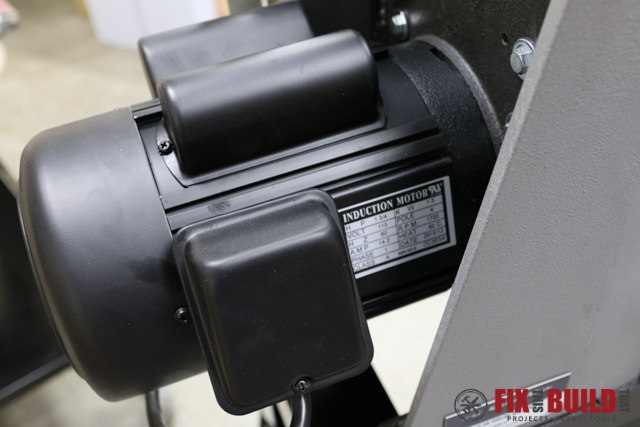
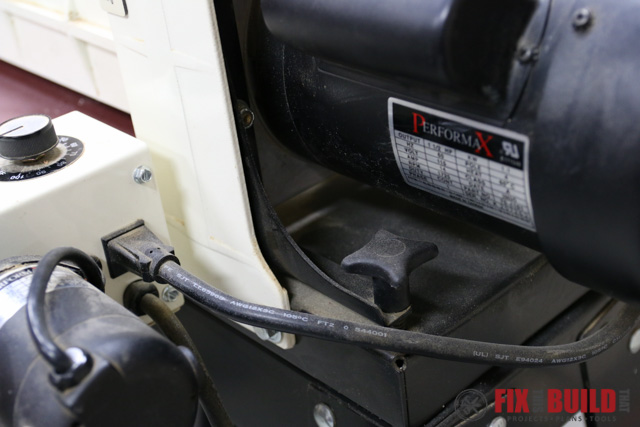
Now let’s talk about some features of each machine. The motor on the SuperMax is 1-3/4″ HP and purrs like a kitten. I was seriously surprised by how quiet it ran. The Performax has a 1-1/2″ HP motor. I’m sure it probably purred when it was young, but my machine is 10 years old and I’d call it more of a growl than a purr a this point 🙂
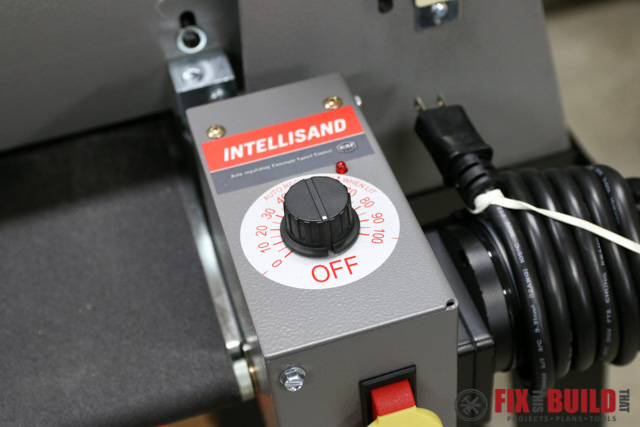
Another nice feature of the SuperMax that my Performax does not have is the Intellisand. This is a conveyor speed regulator that will sense when you are trying to feed the piece too fast (like trying to stuff an entire donut in your face instead of taking small bites) and it will slow down the conveyor. Without this feature the motor will draw too many amps trying to keep up and will blow a circuit breaker. Note, the newer Jet models have this same feature, but my older Performax does not.
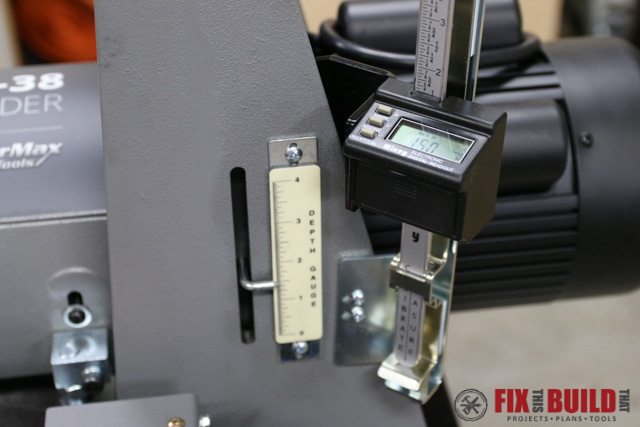
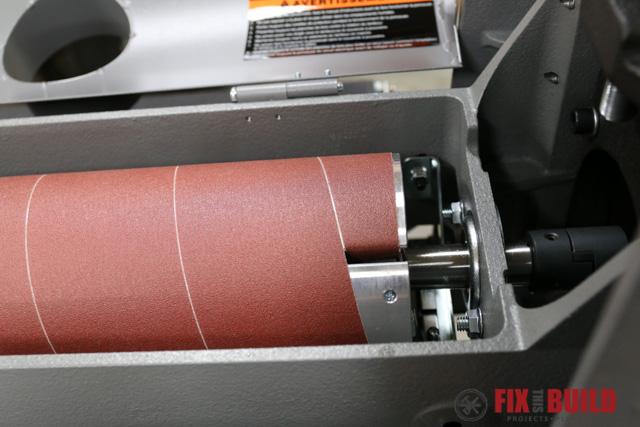
You probably noticed the Wixey digital readout on the SuperMax by now. This is an add-on to the machine which is a great option for precise work. It let’s you do both absolute measurements or you can set it to incremental mode. In incremental mode you zero the scale when the drum touches the board and can take off a desired amount, not looking at absolute measurements. You could also add this to the Performax, but there are dedicated mounting holes already on the SuperMax while you would have to drill or modify the Performax to use this digital readout.
A cool thing about the 19-38 is a quick adjust for running wide boards. When you are going to flip a wide board (over 19″) as mentioned above, you will inevitably have at least some small overlap between the first pass and second pass. On the SuperMax there is a small lever you can push down and this will tilt the outboard (open end) of the sander up ever so slightly. This lets the passes blend into each other and you will not have a hard line that can occur without this adjustment.
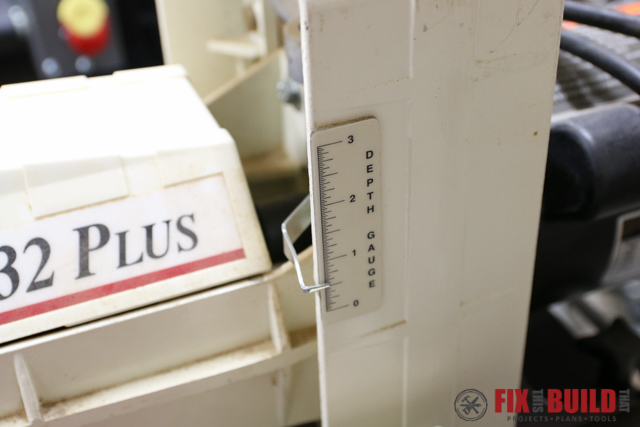
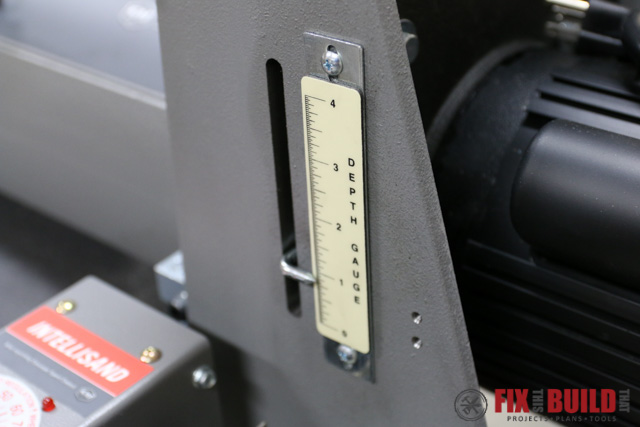
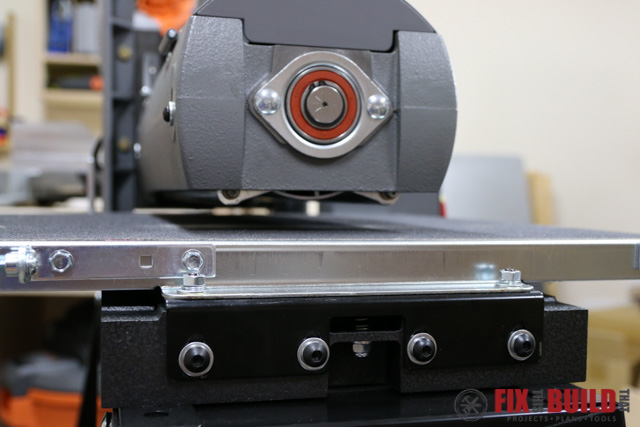
And my favorite adjustment feature of the SuperMax is the way you level the drum. When setup properly a drum sander’s drum should be parallel with the conveyor. This gives a flat and consistent sanding across the width of the board. To level the drum on the Performax 16-32 you loosen or tighten the bolts holding the entire casting onot the stand and tilt the entire head forward or backward. The assembly is very heavy and this adjustment is not easy to hone in.
The Supermax on the other hand lets you adjust the conveyor table, which is very light and easy to adjust. There are 4 bolts and then an adjusting screw on the outboard end of the conveyor. I found I was able to adjust the drum much quicker than I was able to on my 16-32. Probably not a big deal in the long run since once it’s set you shouldn’t have to move it. But it was a big enough deal on initial setup that I distinctly remember wanting to roll my 16-32 down the driveway when trying to level it the first time.
Fit and Finish
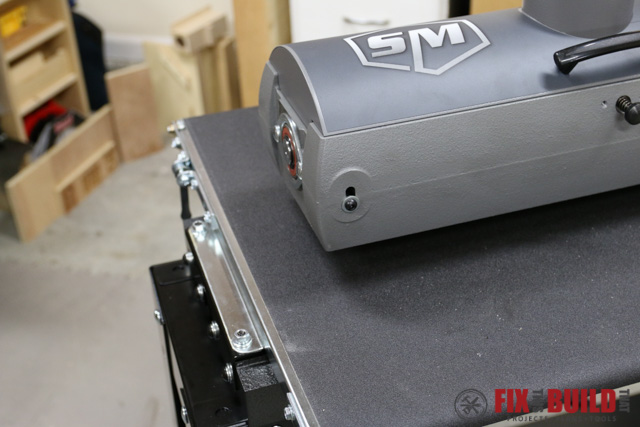
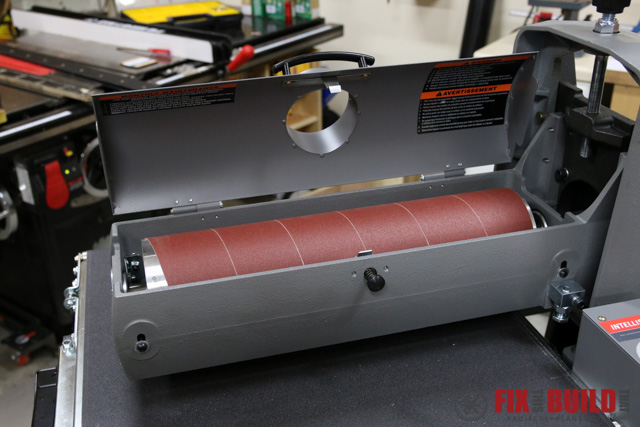
Finally I’ll talk a little about fit and finish. One of the biggest advantages of the SuperMax 19-38 in my book is that it has a metal dust shroud on the drum while the Performax 16-32 has a plastic housing. The plastic shroud on my 16-32 flexes and rattles when in use. This means more noise and more of a chance for dust to escape.
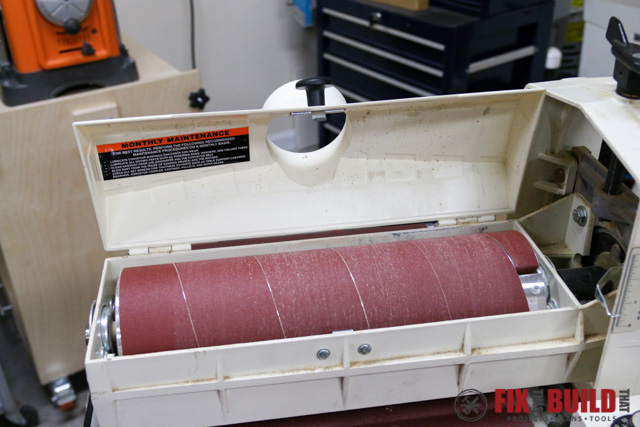
The metal shroud on the 19-38 locks into place with a metal level and is released by pushing in on the button on the front. The 4″ hose from my dust collector will not budge this thing and it stay tight.
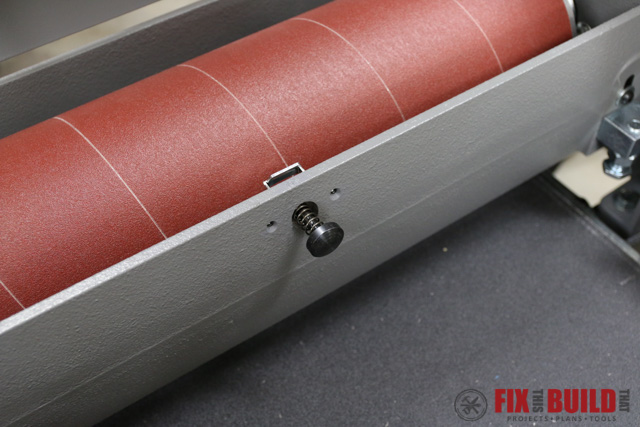
And last but certainly not least is the way you change out the paper on the drum sanders. They both use a clip on each end of the drum to hold the paper tight. The big advantage of the SuperMax is the amount of space they give you on the inboard side. On the Performax there is this little key thingy they give you. I didn’t get one when I bought mine used so I have to use my fingers. And it is a super tight squeeze to get your fingers in there (thus the tool).
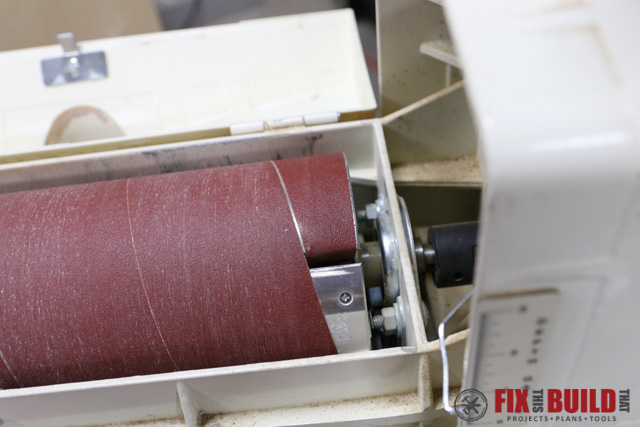
Well the SuperMax team figured that out and gave you a bunch more room on the inboard side. No tool needed, just use your hand and you are good to go!
Wrap Up
Okay, now you know my favorite uses for a drum sander and you know a lot more about the features of the SuperMax 19-38. And I’m sure you can tell that I love the SuperMax and am so excited to have it as a replacement to the Performax 16-32.
Don’t get me wrong, if you are strapped for cash and a used 16-32 is your only option, then it will do an admirable job. But I’d suggest saving your money and getting a SuperMax 19-38 either first or as an upgrade later down the road. The added capacity, features, and finish make it an easy pick over the 16-32 in my book. The base SuperMax runs $1,399 and the base Jet is $1,120. I think the extra money is worth the added capacity, features and quality of build on the 19-38.
Stay tuned for another upcoming post where I build a project using the SuperMax 19-38. And until then go check out my Projects Page and get some ideas for your new builds!
SuperMax Tools provided me with product and/or monetary compensation as a sponsor of this build. All opinions are my own and are not filtered by the sponsor.


why would you compare a 10 year old machine to a new machine. Of course there should be improvements on the newer machine. Why wouldn’t you compare the 19 38 to a new at least 18 36 and actually have a worthwhile comparison. This is really a waste of time for the people who read it.