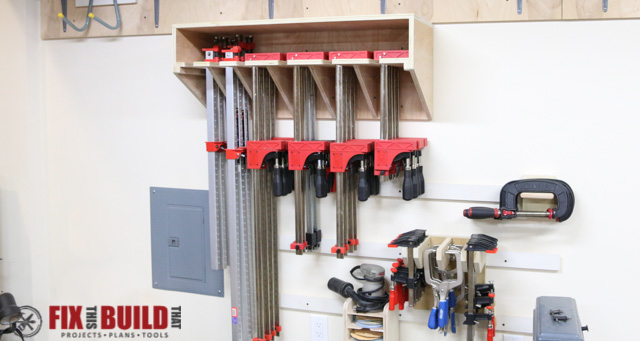
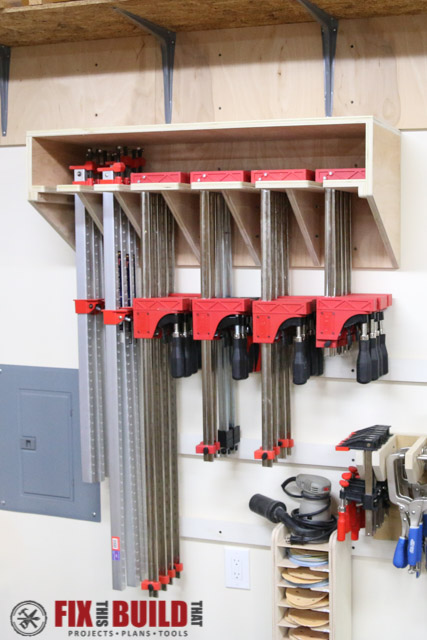
I built this Space Saving Parallel Clamp Rack to wrangle the clamps in my shop. I used to store my Jet and Bessey parallel clamps on the floor. Now I have all my long clamps in one easily accessible clamp rack. You can store 24 parallel clamps and 14 bar clamps in just under 39″ of wall space with this design!
I got the idea for this design from Dyami Plotke, who runs Penultimate Workshop. So I modified his design to fit my space and to make it a stand alone clamp rack that could be moved around on the wall. I also made a cap shelf on top to take advantage of my high ceilings and add some extra shelving space. The wood clamp rack is a quick build from just a half sheet of 3/4″ ply. So if you want a great space saving solution to store your clamps then keep reading!
**I also ended up building a larger version of this clamp rack that you can see at my How to Build a Clamp Rack post. I have clamp rack plans available for both of these projects. You get a cut list, 3D drawings and step by step instructions for both clamps racks in one package.
Tools Used
- Tablesaw (or circular saw)
- Miter saw
- Cordless Drill
- Pocket hole jig
- Jigsaw
- Brad Nailer (optional)
- Kreg Right Angle Clamp
- Oscillating Spindle Sander
- T-bevel
Materials/Supplies
- (1) 4′ 4′ 3/4″ plywood
- 1-1/4″ Pocket Hole Screws
- 1-1/4″ wood screws
- 1-5/8″ wood screws
- 3″ wood screws
This page uses affiliate links. See my disclosure page for info on affiliate programs.


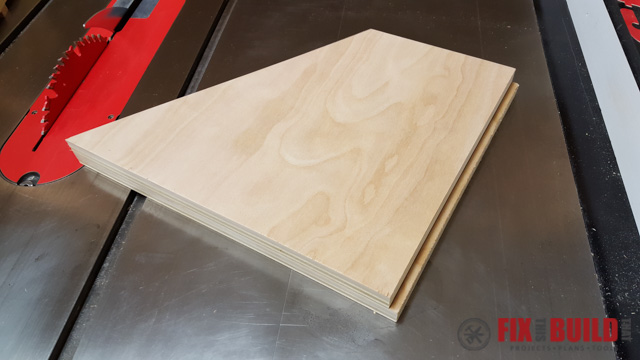
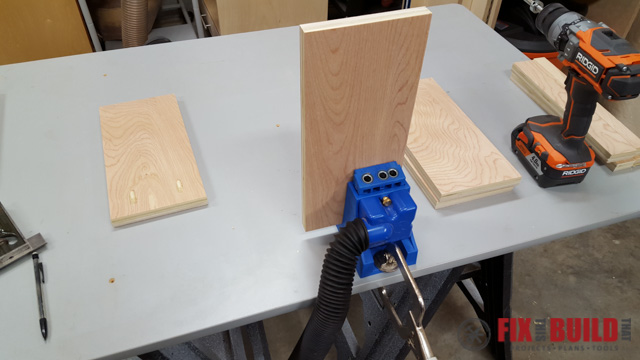
Cutting Parts for the Wood Clamp Rack
The parallel clamp rack is made from a 48″x48″ piece of 3/4″ plywood. My clamp rack plan is sized to hold 2 rows of bar clamps (8 deep) and 4 rows of parallel clamps (6 deep). If you want more or less of either of these you can adjust the dimensions accordingly.
I started off by cutting the parts for the sides. Each side has an angled front which makes better material usage.
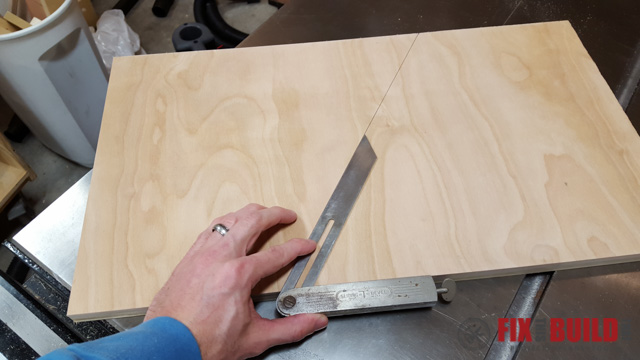
Use the t-bevel as a reference and set the angle between the miter gauge and the blade to the exact angle you drew on the board.
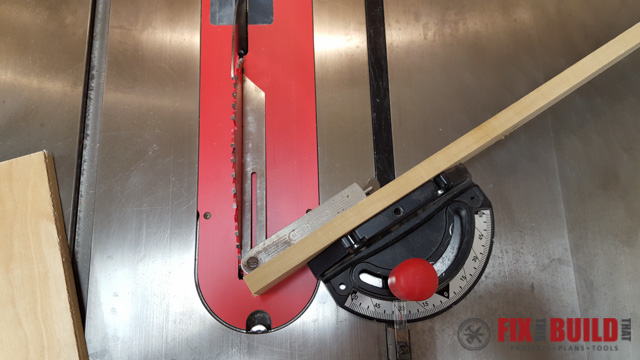
After making the angled cut, you will have one piece that is just a bit longer. So cut the longer piece to match the other side.
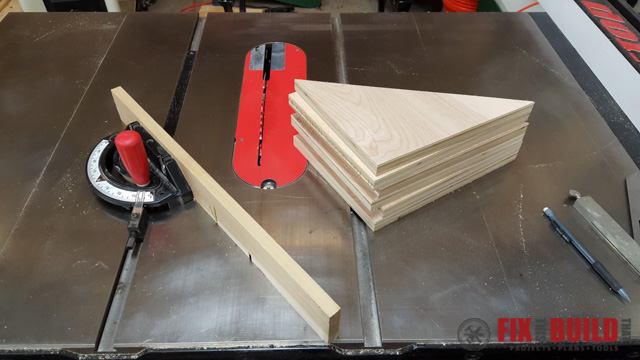
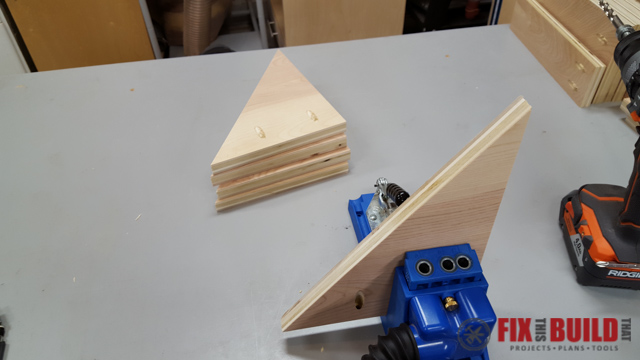
After that I cut the clamp support triangles. I made cut a series of blanks then marked diagonal lines on each one to mark the cut line.
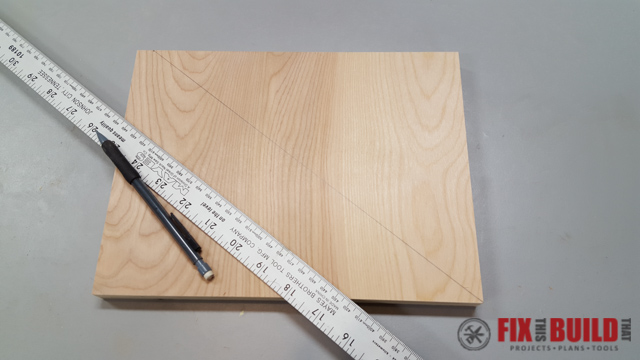
Then I cut along the line with my table saw to get the triangles. Trim the longer pieces to length to get 5 triangles with straight edges.
Assembling the Clamp Supports
The side supports on each end of the clamp rack are attached with the 1″ cleats. Glue and screw a 1″ cleat underneath and on the left side of the 1-1/2″ support arm to form a L-bracket as shown below.
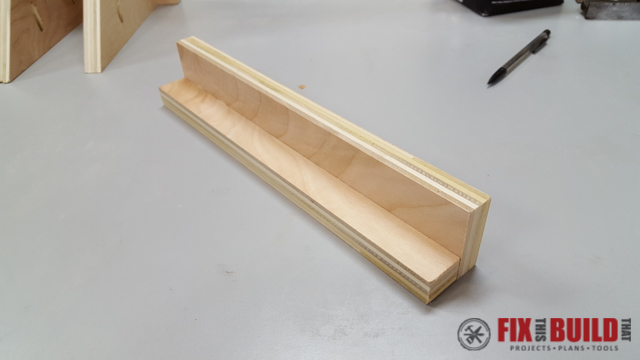
Repeat this for the 4-1/4″ support arm, but attach the cleat to the right side.
After that the support arms and triangles are joined together. Each assembly is attached to the back of the clamp rack with (4) 1-1/4″ pocket hole screws.
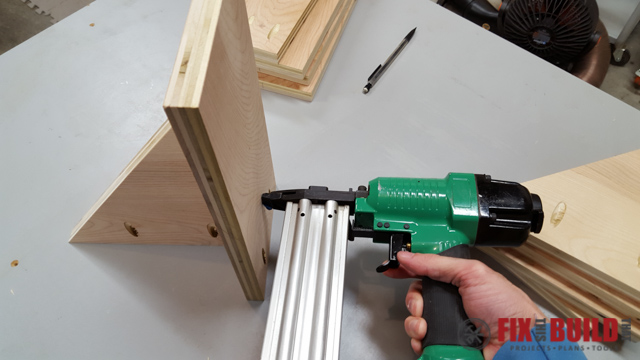
Before assembling, drill 2 pocket holes in the top side of the support arms and 2 pocket holes on the 8″ side of the triangles with a pocket hole jig.
After that attach the support arms and triangles together with glue and screws. The 10″ side of the triangles should be centered on the support arms. Use brad nails to tack the pieces in place and then follow up with 2 countersunk 1-5/8″ screws driven through the support arms into the triangles.

After all the support assemblies are complete, round the front corners to make pulling clamps in and out a little easier.
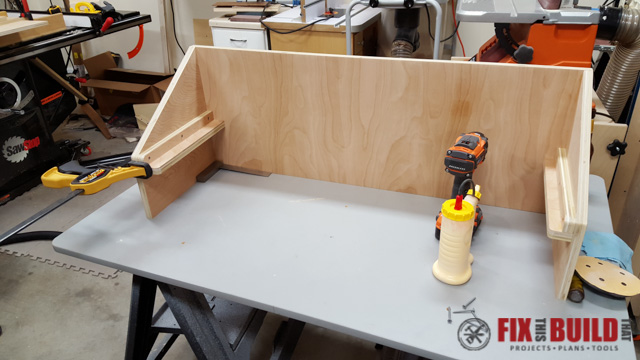
Assembling the Parallel Clamp Rack
Begin assembling the clamp rack by securing the support arm and cleat brackets to each side with 1-1/4″ screws. The top of the supports should be 5″ down from the top of the sides.
Attach the sides to the back using 1-5/8″ screws. Use clamps and a right angle to make sure everything is square. You’ll notice in this pic below the left side support (right side of pic since rack is upside down) is not 4-1/4″ wide. After this pic was taken I changed it to the wider version .
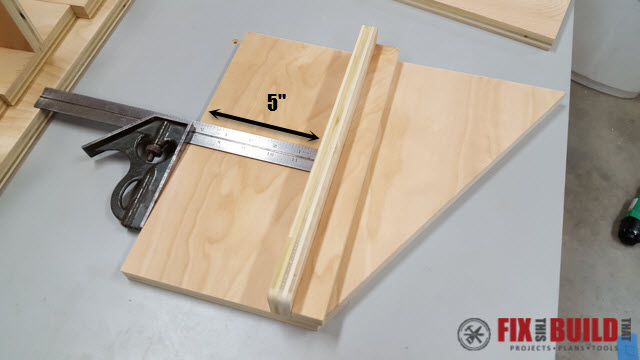
Secure the top to the rack with 1-5/8″ wood screws and then cut a straight piece of wood to 36″ (I used a scrap of 3/4″ MDF). Flip the clamp rack assembly on it’s back and lay the straight edge on the top of the 2 supports on either side. Reference the interior supports against the edge to keep a straight line without measuring.
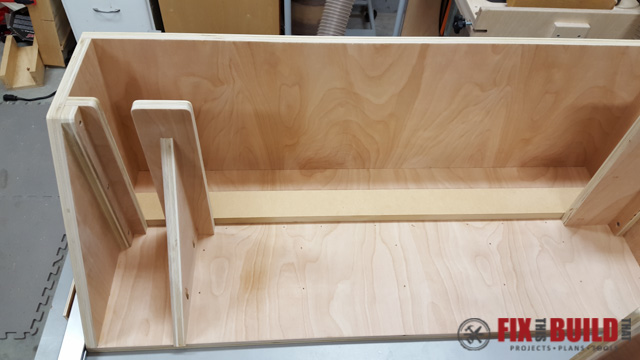
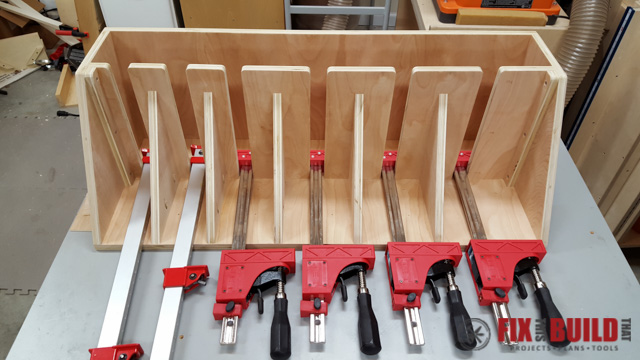
Start on the left side and attach the 3″ interior supports with 1-1/4″ pocket holes screws. A 1-1/2″ opening between the supports worked well for both the bar clamps and the parallel clamps. Cut a scrap to 1-1/2″ to use as a spacer. If you have pipe clamps you’ll need a different spacing and will have to reconfigure the support arm widths to make this work out right.
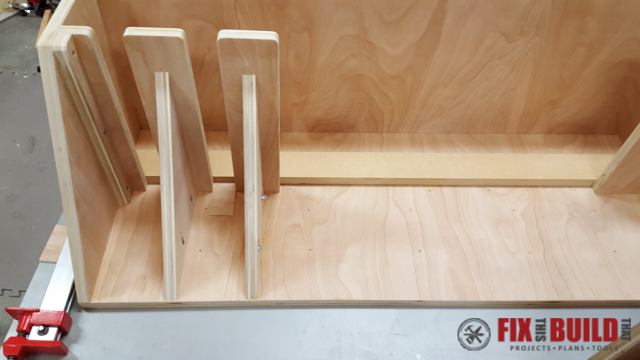
Next attach the 5-1/2″ interior supports for the parallel clamps using the same 1-1/2″ spacer.
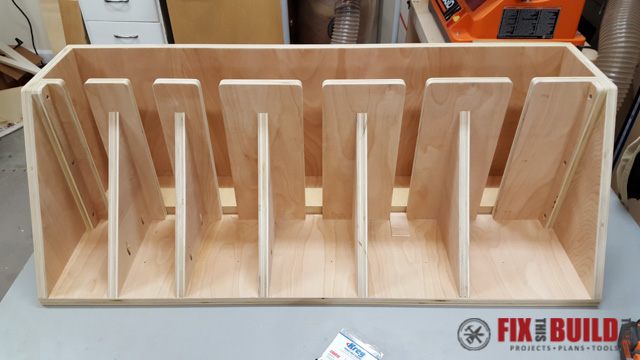
Test fit your clamps and make sure everything lines up properly. Make any adjustments as needed.
Final Clamp Rack Install
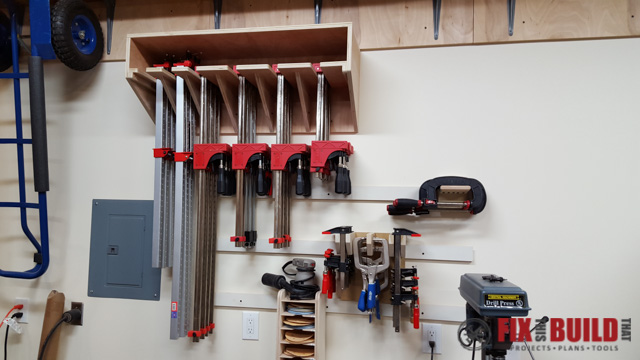
I chose to put my clamp rack next to my tablesaw and over some french cleats. If you want to know more about french cleats then check out my french cleat tool storage post.
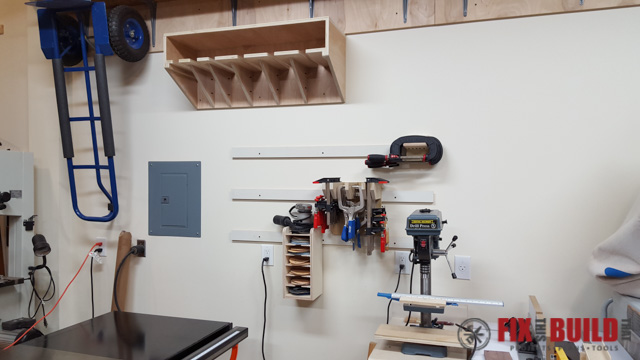
Once loaded up I have access to my bar clamps and parallel clamps and left a good portion of the french cleats open for other clamp storage!
If you liked this Space Saving Parallel Clamp Rack and want to see more shop project builds then go checkout my Shop Projects page.


What method did you use to round the corners of the supports?
I used the Oscillating Spindle Sander to round them.
I just bought 30 of the aluminum bar clamps from a cabinet shop in town. I designed a rack to hold the clamps, each clamp side by side, one clamp deep. With 30 clamps I would need 10 feet of rack LOL. I never thought of stacking the clamps 5 or 6 deep. With a design like yours I only need 24″! Great design and thanks for sharing!!
Sounds like the perfect solution, Stephen!