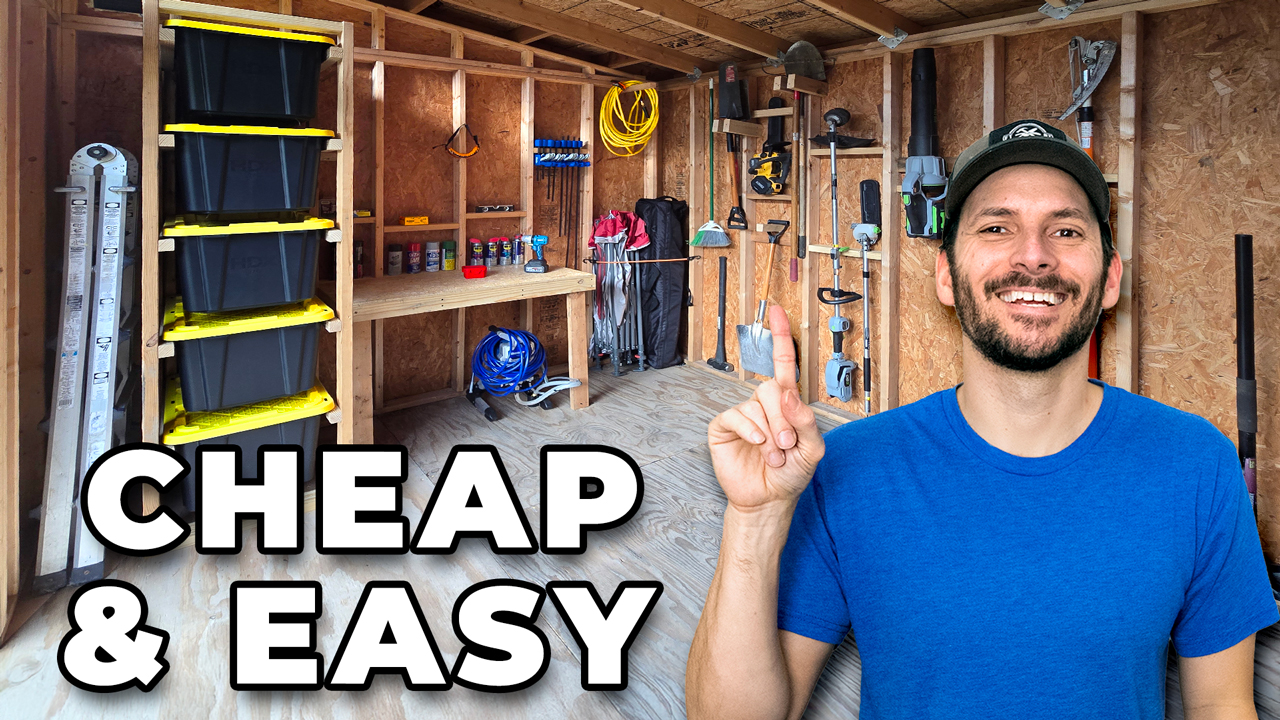
I built a DIY Tote Storage Rack designed to hold five 27-gallon tote bins using the least amount of lumber possible. It’s a simple, affordable project that you can customize to fit your space — whether it’s a shed, garage, basement, or attic.
This project turned out to be one of my easiest and most effective builds yet!
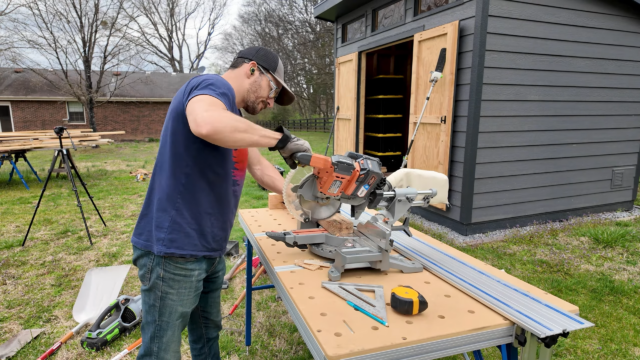
Tools Used
- Circular saw
- Miter Saw
- Cordless drill
- Clamps
Materials/Supplies
- (5) 8’ 2×4 pine
- (4) 8’ 2×2 pine
- 2-1/2″ #10 screws
Affiliate links are used on this page. See my disclosure page for info on affiliate programs.
\
Why Choose the DIY Tote Storage Rack?
There are countless options for storage out there, but this storage tote shelving rack DIY project is a clear winner for a few reasons:
- Simple Design: Just two frames connected by runners. No complicated joinery or tools required.
- Low-Cost Materials: Made from 2x4s and 2x2s, this is a budget-friendly solution.
- Free Plan: Don’t waste time trying to figure it out yourself, use my free plan to build your own!
- Efficient Use of Space: Built to perfectly fit standard 27-gallon tote bins.
- Modular Flexibility: Need more storage? Build another set! These shelves expand effortlessly.
- Use Up Scrap Wood: We used leftover lumber, and it worked great. Don’t worry if it’s not pretty — once it’s assembled, it’ll do the job.
Step-by-Step Instructions
1. Cut the Frames and Stretchers:
-
- Start by cutting your 2x4s to size for the sides, top, and bottom.
- Cut your 2x2s to length for the runners. Each tote will rest on these.
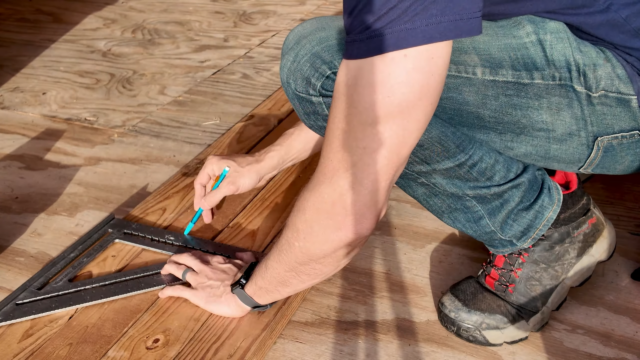
2. Mark Your Runner Placements:
-
- Measure where you want each tote bin to rest. We measured for five totes, but you can adjust for more or fewer.
- Transfer those measurements to the frame boards, marking where the runners will go.
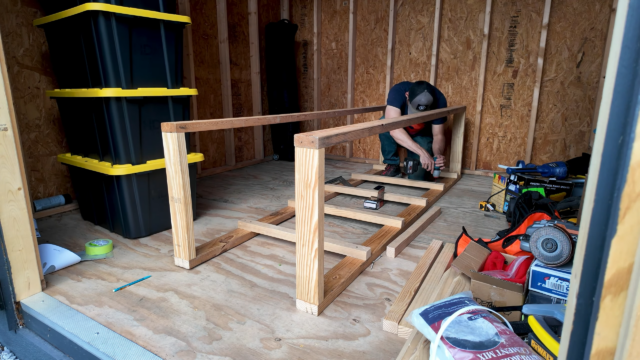
3. Build the Frames:
-
- Assemble two identical rectangular frames using screws.
- Be sure to check for square using a speed square.
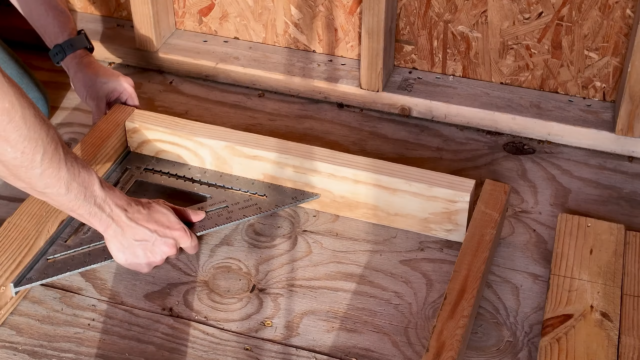
4. Attach the Runners:
-
- Screw the runners into place, ensuring they’re level.
- Start by attaching a runner at the bottom and another at the top to keep your DIY tote storage rack aligned. Then, fill in the remaining runners for a sturdy build
5. Secure DIY Tote Storage Rack:
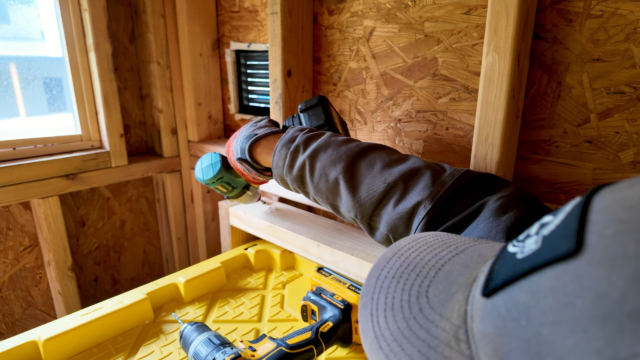
-
- Use a level to make sure the storage rack is plumb and level before securing
- Prevent tipping by screwing the storage tote rack diy to the wall or floor.
6. Load It Up:

-
- Slide your totes into place and admire your new organized storage solution!
Pro Tips
- Pre-Drill to Avoid Splitting: Especially when using drywall screws, pre-drilling can prevent splitting.
- Adjust for Larger or Smaller Totes: This design is flexible! Modify the shelf height and width as needed.
- Use in Multiple Spaces: While we built ours for a shed, these shelves are perfect for a garage, basement or attic.
Ready to Build Your Own?
Download our free DIY tote storage rack plans and get started today. With our DIY tote storage rack plans PDF, the simple design means you’ll have a functional storage solution in no time.
And don’t forget to check out our YouTube video to see the full build in action. Happy building!


