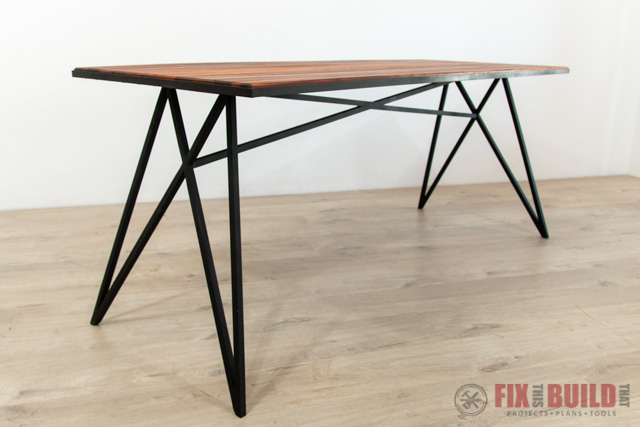
This sleek Modern Outdoor Table will add style and personality to any outdoor space. I went out to the Maker Ranch to hang out with Ben Uyeda, Mike Montgomery from Modern Builds, and John Maleck. And with their help I built this DIY modern outdoor dining table from ¾” solid steel bar stock, a little angle iron, and some tropical hardwood deck boards. I was able to make this steel table base with an entry level welder, grinder and cutoff saw.
I’m a beginning welder and my friends at Lincoln Electric made this build even easier with their Weld Pak 140. Thanks to Lincoln Electric for sponsoring today’s build.
Materials/Supplies
- 3/4” Steel Bar
- 2 1/2” Steel Flat Bar
- 3/4” Steel Angle Iron
- Tropical Hardwood Decking Boards
- Self Etching Primer
- Matte Black Paint
Affiliate links are used on this page. See my disclosure page for info on affiliate programs.
How to Build a Modern Outdoor Table
- Layout and Cut the Metal Legs
- Weld the Table Base Legs
- Add Top Connectors to the Legs
- Connect the Legs to Complete the Table Base
- Mill Wood for the Outdoor Table Top
- Weld the Metal Table Top Frame
- Apply Finish to the Wood and Metal Base
- Assemble the Modern Outdoor Table
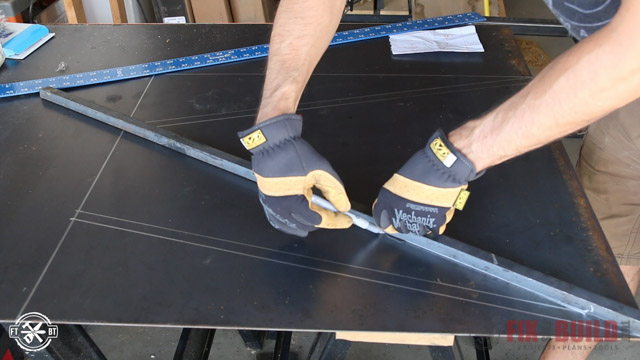
1. Layout and Cut the Metal Base Legs
The focal point of the Modern Outdoor Table is the steel base. I wanted it to be very geometric and eye-catching and with some input from the guys I sketched out a plan for it.
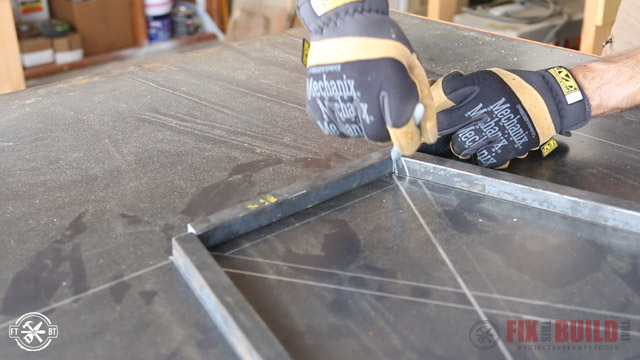
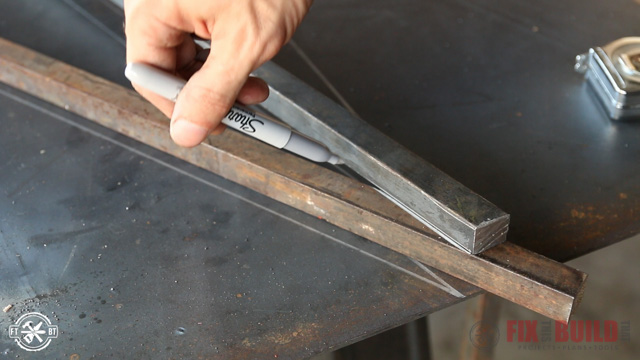
I started the layout by transferring the measurements of the leg design to a piece of sheet metal that we used as a table. I’m using ¾” bar stock for the legs and used a stick of it to get the thickness of the pieces and find my angles.
With the layout done I cut one of the outdoor table legs to length from a piece of bar stock using a cold saw. It has a 15 degree bevel on the top and bottom for the splay and I used that piece to mark and cut the other outside leg to size.
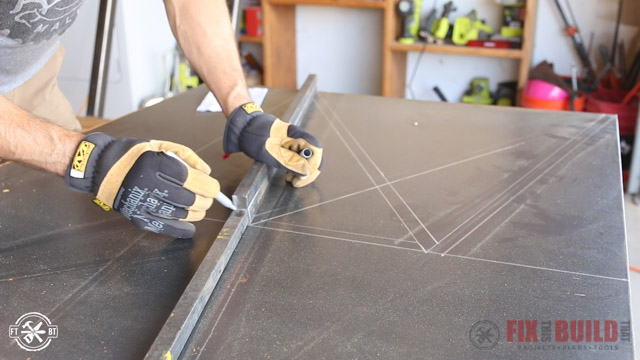
I cut a small piece for the top and marked and cut it to size using the layout I had drawn on the metal sheet.
2. Weld the Metal Table Base Legs
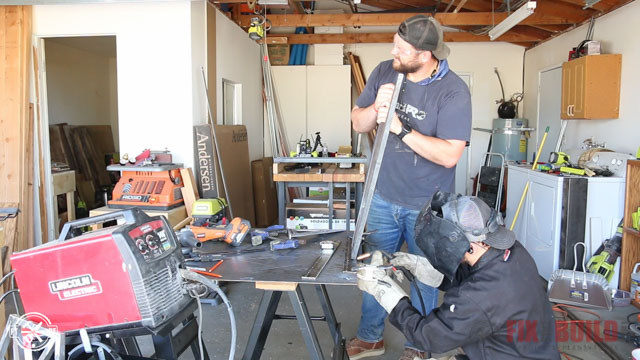
I prepped the pieces where they would join together by grinding bevels on the ends.
Then I used some setup magnets to hold things in place to tack weld the pieces together.
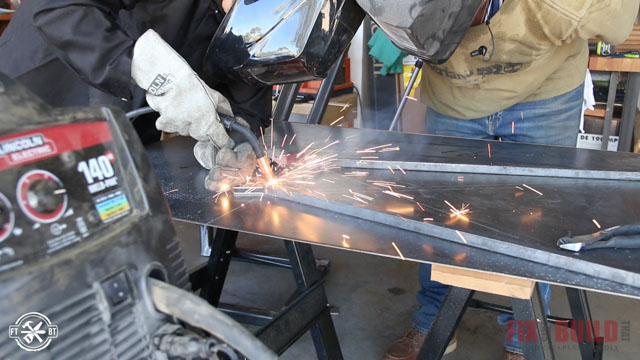
We used the Lincoln Electric Weld Pak 140 and it has the settings for different material and wire size on the inside. Since we were welding bar stock we used the hottest setting recommended for our wire size of .035.
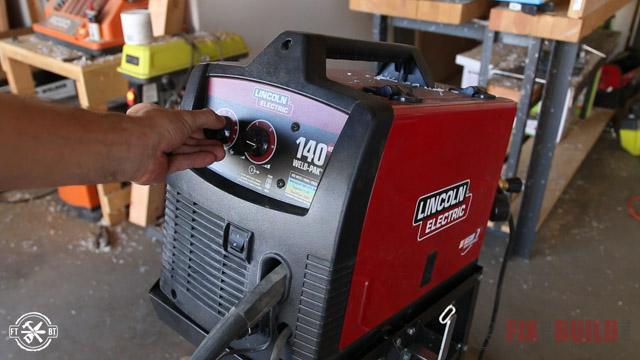
I quickly realized welding bar stock is very different than tube steel. I had to spend more time to really let the weld puddle form and penetrate the bar, but the Weld Pak 140 did a great job. It’s significantly cheaper than the Lincoln 210MP. It’s a great entry level machine that runs on 110V.
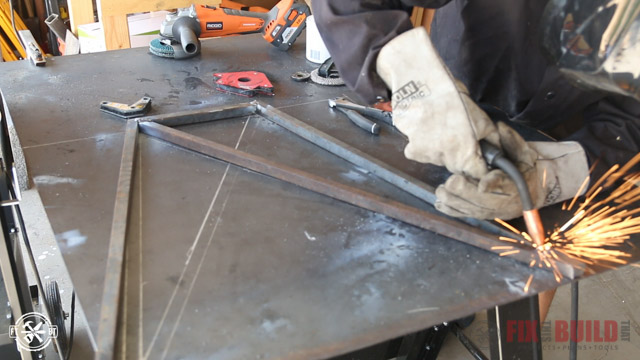
After welding up the small assembly I ground the welds flat on one side then brought in another bar for the full length cross bar using my layout lines.
The top is a tame angle, but that bottom angle is really severe.
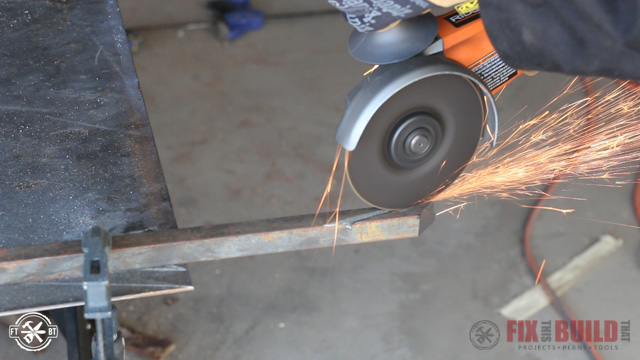
I cut the easier of the two angles first on the cold saw and then cut the harsh bottom angle with an angle grinder and I made two cross bars.
I clamped the first cross bar down then tacked it in place and ran full weld beads across each joint.
The second cross bar is a little tricky since it needs to be cut in half. I raised up the assembly and positioned the bar underneath and marked it for the cuts.
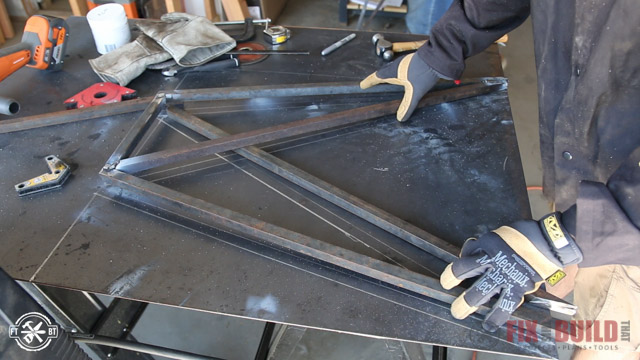
Both angles are the same so I set it up on the cold cut saw and quickly made the cuts. I tacked the pieces in place then ran full welds on both sides.
I changed over to the 7” grinder and that thing is a beast!
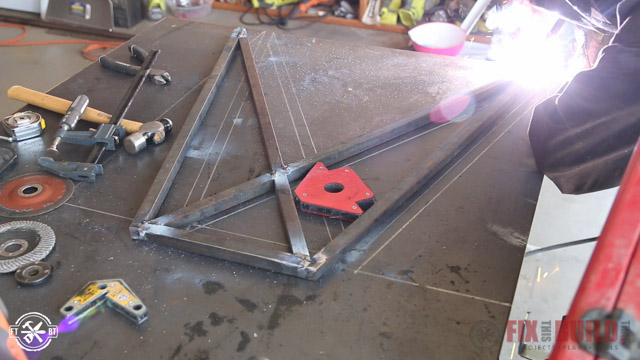
3. Add Top Connectors to the Table Legs
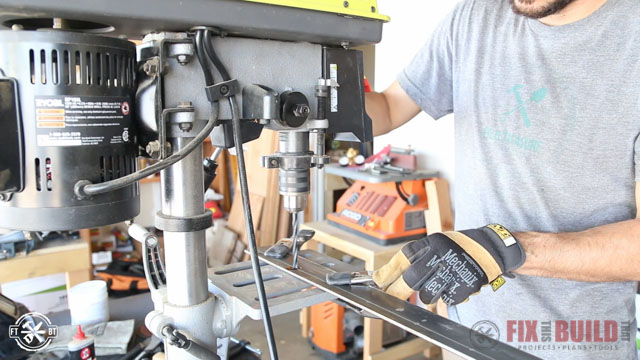
I cut some 2-½” flat bar to size to weld to the top of each leg for attaching the DIY outdoor table. Then I laid out for holes along the flat bar to attach each board with screws and drilled the holes out on the drill press.
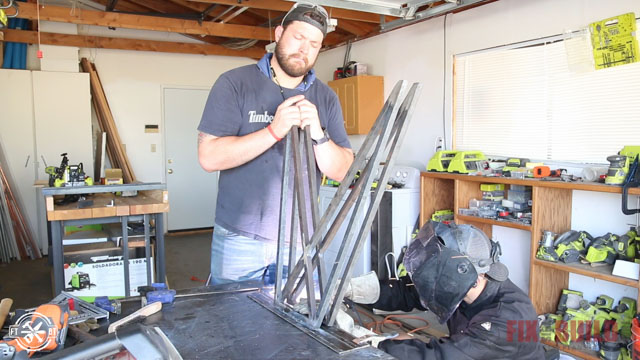
I wanted an outward splay on the legs to give it some added dimension. But after thinking of several jigs to get the job done, John and I just decided to wing it and use the man clamp to hold it in place while I tacked the leg to the flat bar. Then I filled in the gap in several places along the flat bar with full beads for a strong joint.
To match the angle of the first leg with the other side we just stacked them against each other and eyeballed the angle.
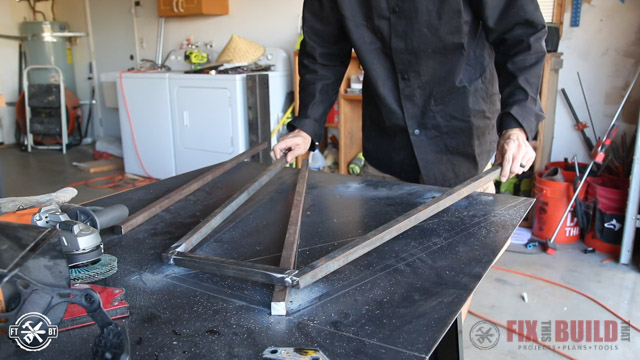
4. Connect the Legs to Complete the Table Base
After welding the outdoor table legs I needed to connect them with the long stretchers. I wanted to mirror the look of the legs and have a much flatter X shape going across the base.
We set the legs in place and screwed them down to some 2×4’s to hold them upright. Then Mike and I laid out a bar for the first stretcher and marked the angles.
I cut the bar to length on the cold saw then tacked and welded the stretcher in place.
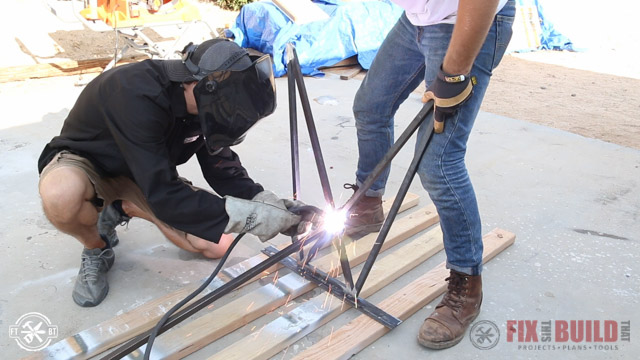
We laid in the second stretcher and marked the angles to cut the piece in half.

These angles are even harsher than the leg cuts were, so cutting them with the grinder and a cut off wheel worked best.
We took the parts back to the base and I used a Mike clamp to hold one end while I tacked the other into place. I found it easier to tack on the tight fitting smaller joints first here, just like the legs. Then going back and tacking and welding the long miter joint that was inherently a little sloppier next.

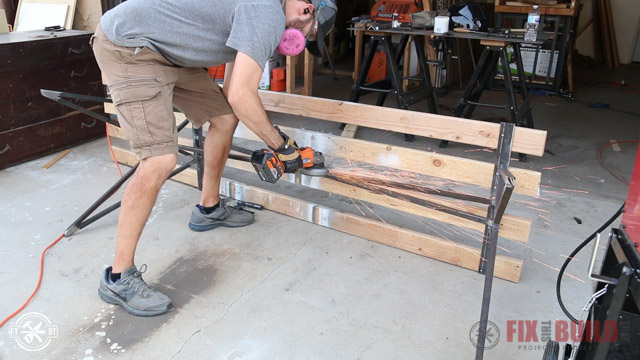
I buttoned up the welding on all the joints, but I didn’t do any welding on the inside on the long stretchers where they met. Mainly because I really just couldn’t get in there, but even if I did I wouldn’t be able to grind it down to look good. I did grind everything else flat though and the base was shaping up nicely.
5. Mill Wood for the Modern Outdoor Table Top
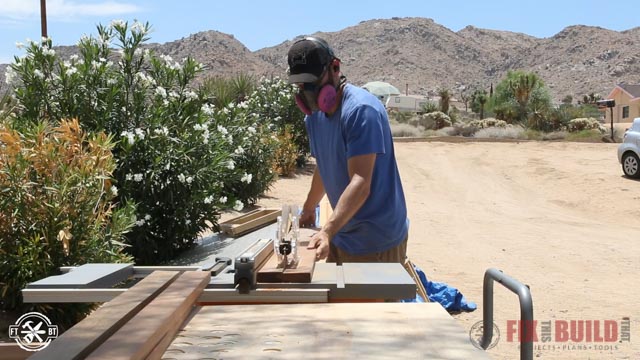
For the top of the outdoor table I used some tropical hardwood decking boards that Ben had on hand from another project. I cut the boards to length on the miter saw using three different species called garapa, cumuroo, and tigerwood, They are really dense and great for outdoor projects.
The boards were almost 6” wide and I wanted the strips to be thinner and lighter to match the base. So I ripped them down on the table saw to 2-½” wide each.
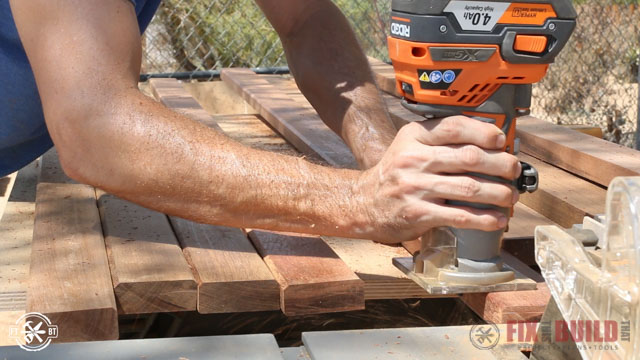
After the boards were ripped to length I put a chamfer around the top edges of all the boards using a 45 degree chamfer bit in the cordless a router.
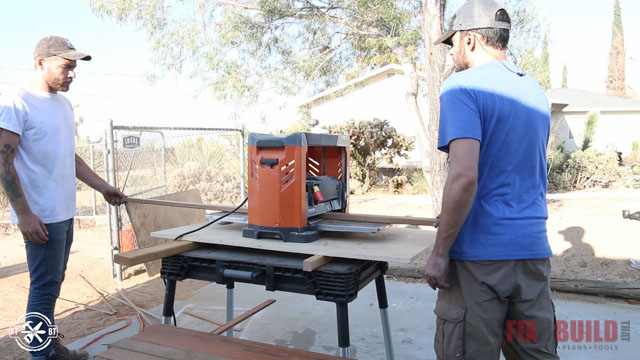
The boards seemed a little thick at this point at almost a full inch. So I took them to the planer and knocked them down to ¾” thick to match the legs.
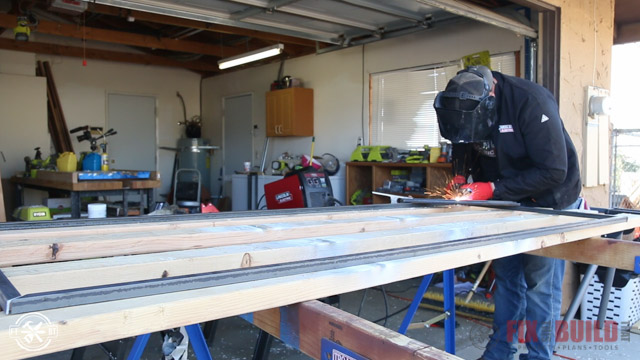
6. Weld the Metal Table Top Frame
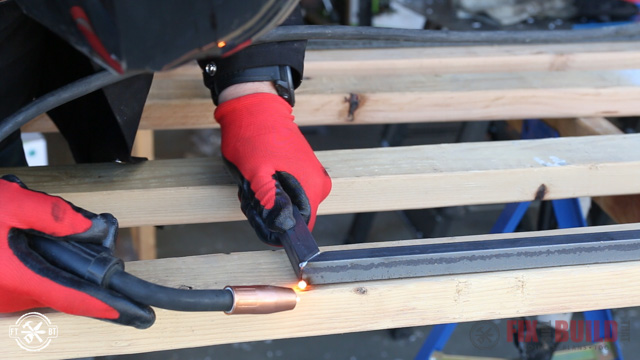
While Mike and I were running the boards John was welding up some steel for me. We decided to wrap the top of the DIY outdoor table with a ¾” angle iron frame. John cut the miters on the cold saw and welded then up alternating corners to keep the frame from warping. He also added a flat bar cross member to hold the boards in place.
7. Apply Finish to the Wood and Metal Base
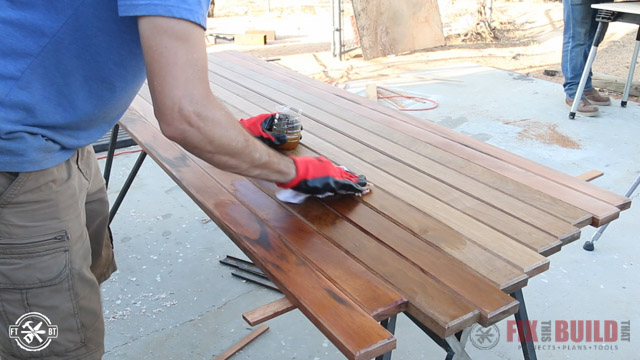
With the boards planed to size I called in Mike’s eye for design to help me layout the top of the outdoor table since these boards had some pretty strong contrast between them. I applied a penetrating oil to all the boards and it really gave them some awesome color.
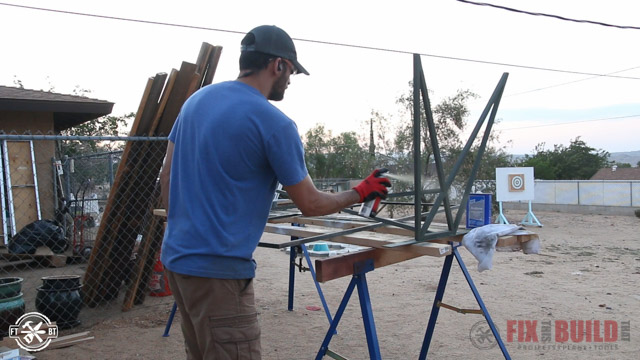
Then I moved onto finishing the base. I used self-etching primer then followed that up with a few coats of matte back paint.
8. Assemble the Modern Outdoor Table
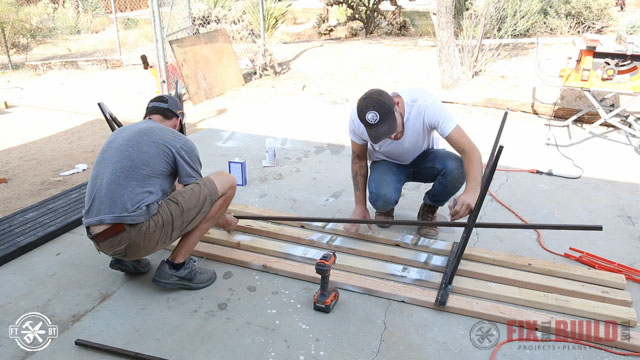
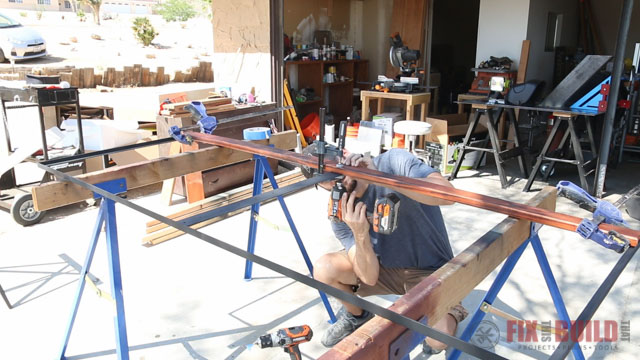
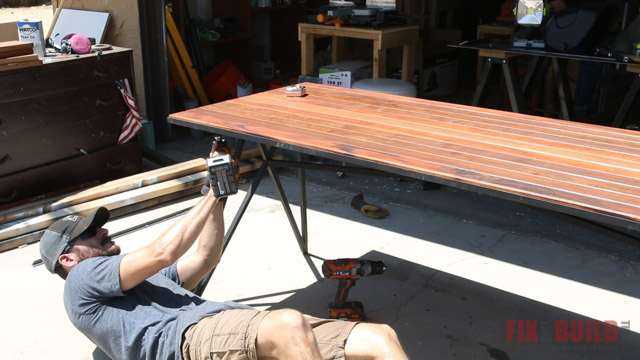
To assemble the top of the table we laid the metal frame on some saw horses then put one board in at a time and pre-drilled and screwed it to the center flat bar. I worked my way across the table from underneath until all the boards were in.
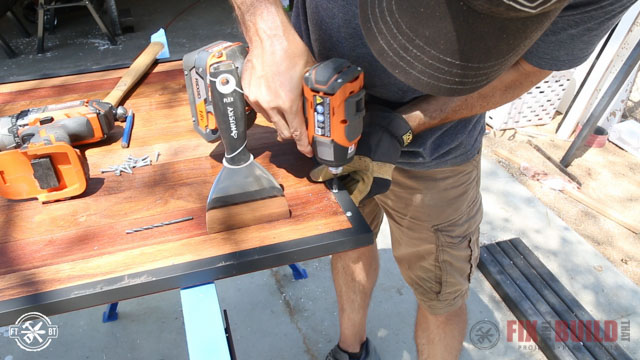
One thing I missed on the design was I should have had two cross members on either end offset by about 6”. Since I didn’t I had to drill into the angle iron frame to attach the boards. It wasn’t a huge deal, but the panhead screws are just a little more visible on the edge this way. I attach the boards with ⅝” screws and used the putty knife to establish a small gap between each board for water drainage when outside.
After that we flipped the top back over and put it on the base. I attached the top of the DIY outdoor table to each leg through the holes I’d drilled earlier to finish it off.
The angles on this modern outdoor table are awesome. I love how it takes on different shapes when viewed from the front, at and angle and from the ends. And the metal frame with the chamfered hardwood top adds some great warmth to it.
If you want to checkout some other outdoor projects head over to my Outdoor Projects page.
Lincoln Electric provided me with product and/or monetary compensation as a sponsor of this build. All opinions are my own and are not filtered by the sponsor.


