This post is sponsored by The Home Depot
Hey guys, today I’m going to show you how to upgrade your home with smart lighting. This is the second post in my series on Smart Home integration that I’m doing with The Home Depot. In the last post I showed you How to Install a Smart Thermostat and today I’m going to show you some cool upgrades I made to our lighting. You have a few different options when it comes to smart lighting and I’ll show you two of them and how I used them.
Tools Used
Materials/Supplies
Affiliate links are provided for your convenience. Purchasing through these links helps support my site AT NO COST TO YOU and lets me share more projects and plans!
Smart Lighting Upgrades
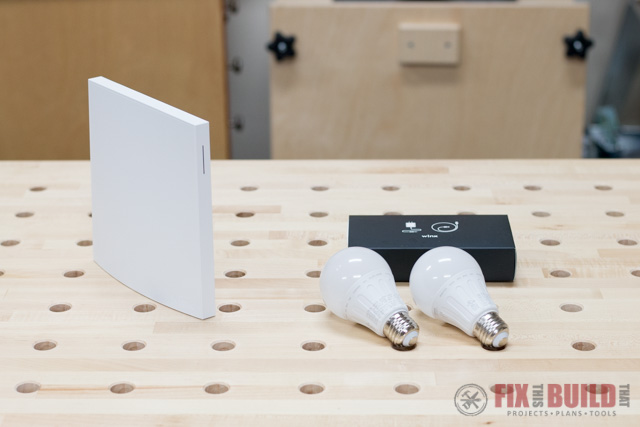
A key part of any smart home integration is the smart hub. I’m using the Wink Hub 2 for our house and it will be the focal point for running all the smart lighting in the house. The box comes with the hub itself and two smart LED light bulbs.
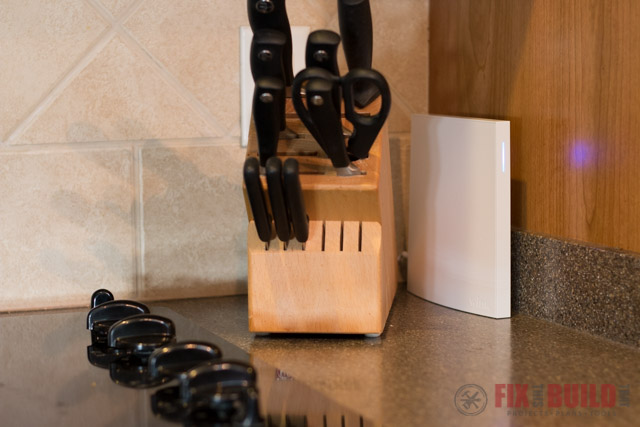
The setup is super simple, you just find a wall outlet in a central location of your house and then plug the hub in. You can hard wire the hub to a internet router or connect wirelessly which is what I did. I tucked it in right beside my knife block in the kitchen.
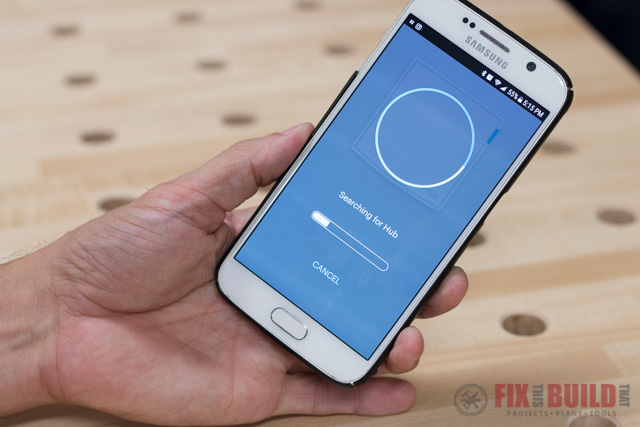
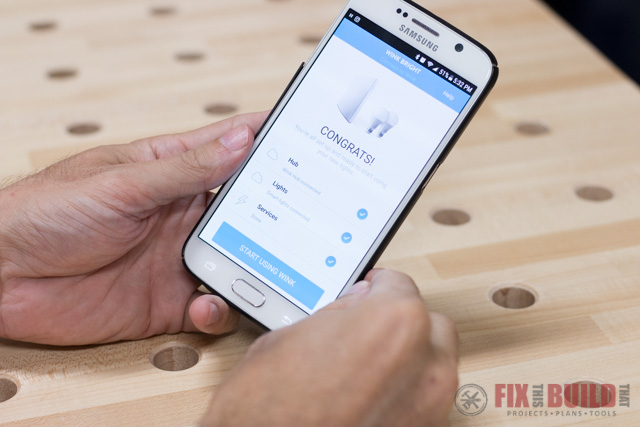
After powering on the hub you download the app for your cell phone and begin the setup. It starts by connecting the hub to your network.
After the Wink Hub 2 is connected all you have to do is literally screw in the two light bulbs and you can connect to them through the app.
So after getting those lights on the hub I wanted to do more! I have a back hall light that is always nice to have on at night but I don’t want to leave it on all day obviously. So I thought it would be perfect to install the bluetooth controlled switch and connect it to the hub!
Installing a Bluetooth Dimmer Switch
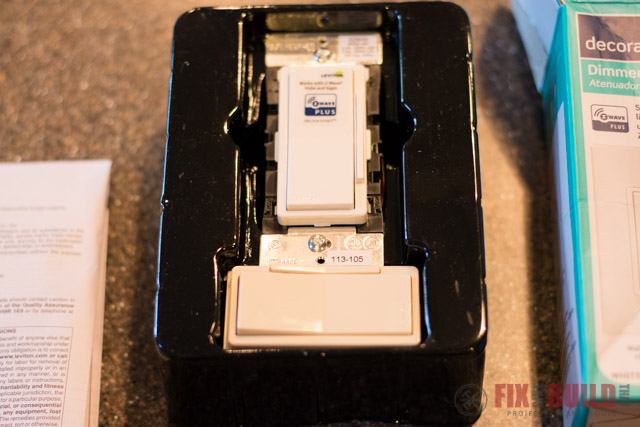
The light bulbs that came with the Wink Hub 2 are smart light bulbs and can turn any lamp or fixture into a smart fixture. The Leviton Bluetooth Dimmer Switch on the other hand will turn any fixture and light bulb into a smart fixture that you can also dim manually. The switch is one of the Decora paddle switches and it does come with both white and almond switch covers.
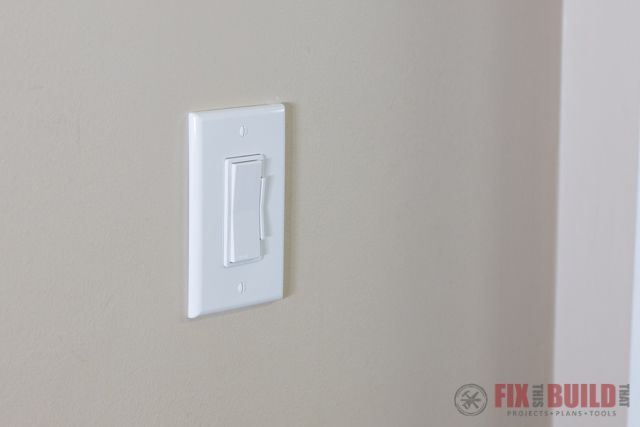
Here was the old switch for the back hall light. Just your regular old single pole switch, nothing fancy.

I shut off the power then removed the switch plate and used a voltage tester to make sure the wires didn’t have any power going to them. If you aren’t comfortable working with electricity then don’t do it! But the connections are pretty standard (though it does need a netural wire) and after removing the old switch I wired in the Leviton Bluetooth Dimmer.

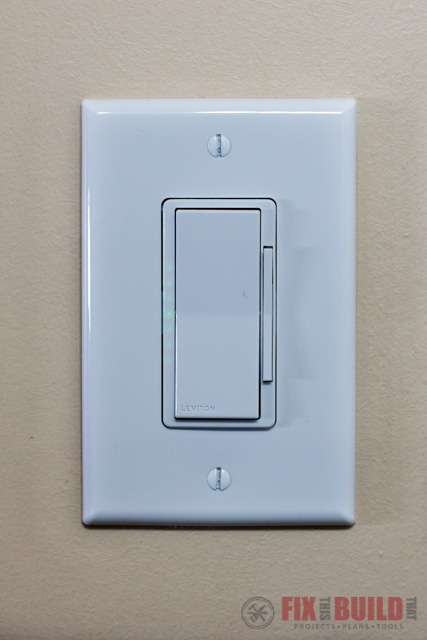
I put the switch back in and used a Decora Wall Plate to cover it up and it looked great.
The cool thing about this dimmer switch is you can set the dimmer based on 7 different levels each represented by a green LED dot on the left of the switch. You can select up and down through the settings with the small paddle to the right of the switch. Then whenever you turn the switch off and back on it will come back to the same setting.
Now that I had the bluetooth light switch installed I just needed to add it to the Wink Hub 2. There is a section to add lights to the app and since the Leviton Dimmers are a supported device they had their own screen already.
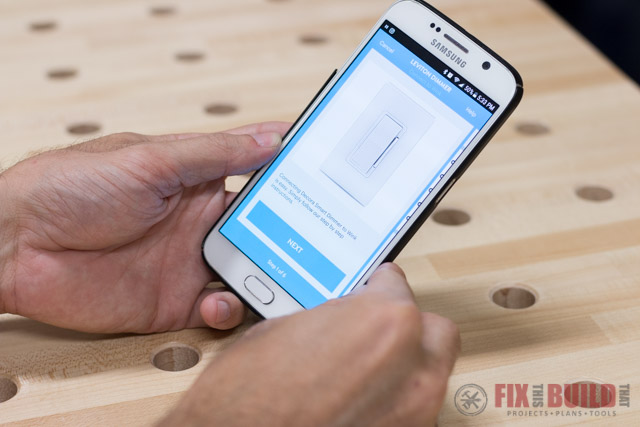
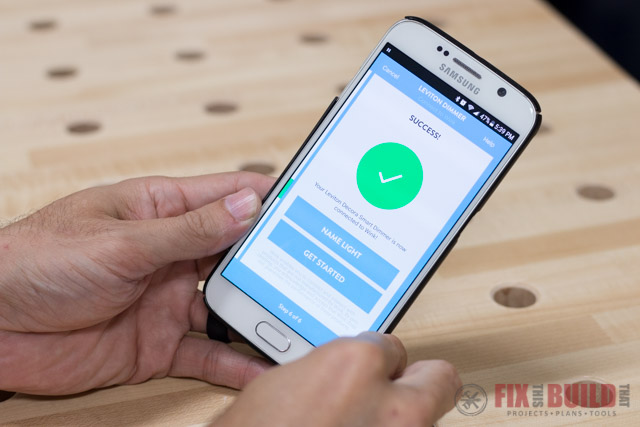
It was a similar process as before and after a few short clicks I had the dimmer attached to the hub.
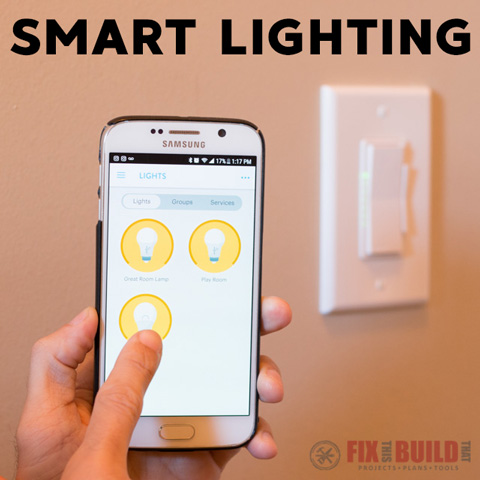
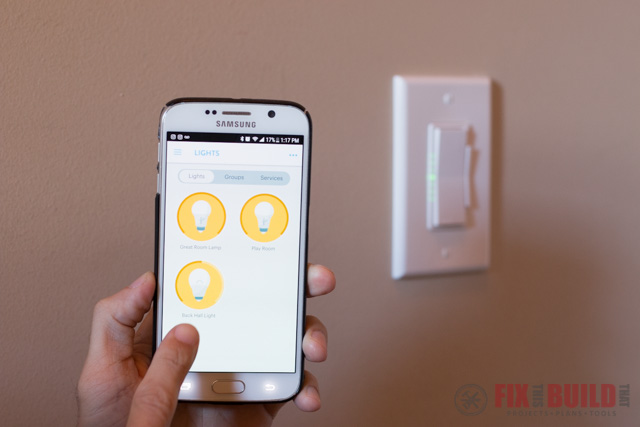
And that’s it! Now I have two options for smart lighting, two smart bulbs in different lamps around the house and the smart dimmer switch on the back hall light. I can control each of them from the app on demand or set schedules for them to go on and off at different times of the day. There are also some presets for a Home Sitter mode that will turn the lights on and off at random times to make it look like there is someone in the house. There is also a Moonlight mode which will turn the lights on when it gets dark outside.
With three small kids we’ll definitely be using the Moonlight mode. Our kids are always fighting over who has to go into the dark house first to surely meet their demise 🙂
As you can see, setting up smart lighting as part of a smart home integration is super easy and you have two options to do it. You can use smart bulbs like the ones included in the Wink Hub 2 (you can also buy them separately). Or you can use a bluetooth controlled switch like the Leviton Dimmer I used.
Either way you’ll be up and running quickly with your own smart lighting project.
If you want to see more projects around the home check out my Home DIY page.
I acknowledge that The Home Depot is partnering with me to participate in this Smart Home Program (the “Program”). As a part of the Program, I am receiving compensation in the form of products and services, for the purpose of promoting The Home Depot. All expressed opinions and experiences are my own words. My post complies with the Word Of Mouth Marketing Association (WOMMA) Ethics Code and applicable Federal Trade Commission guidelines.


