
*This project is sponsored by The Home Depot
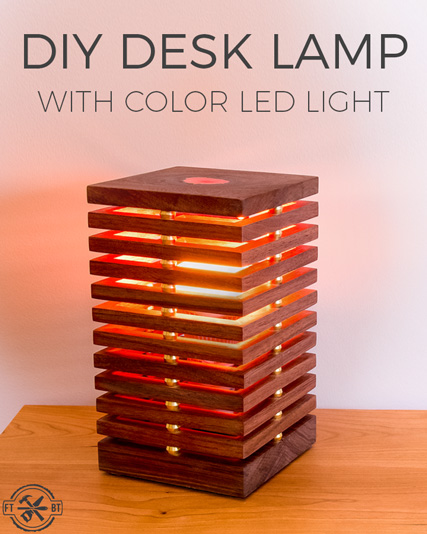
Today I’m going to show you how I made this modern DIY Desk Lamp with Color Changing LED Light. This DIY desk lamp has woodworking techniques to make walnut mitered frames that are spaced apart by brass sleeves. The top has a knot filled with gold epoxy resin for a little flair and translucence for the LED light to shine through. The LED light bulb I’ll be using is a smart home product that syncs with an app on your smartphone. This project is a part of the Smart Home series that I’m doing with The Home Depot. The mood lamp is a fun woodworking project and can be altered for an easy DIY project using store bought lumber.
Materials/Supplies
- Wiz 60W A19 Color LED Bulb
- Brass Sleeves
- 5/16” Dowels
- 5/16” Drill Bit
- Lamp wire
- Light toggle switch
- Porcelain socket
- 2:1 Epoxy
- Gold pigment
Affiliate links are used on this page. See my disclosure page for info on affiliate programs.
How to Make a DIY LED Desk Lamp
- Cut Strips for the Desk Lamp
- Glue Up the Frames for the Lamp
- Make the Top and Base
- Drill Holes for Assembly
- Wire the Light Socket
- Assemble the Desk Lamp
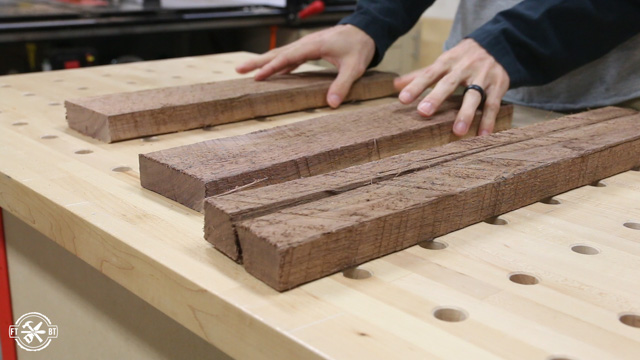
1. Cut Strips for the DIY Desk Lamp
I’m using walnut boards for the DIY Desk Lamp that are just over 1” thick. This allowed me to split them in half and get twice as many pieces.
Next I took my boards to my table saw to rip ½” strips.
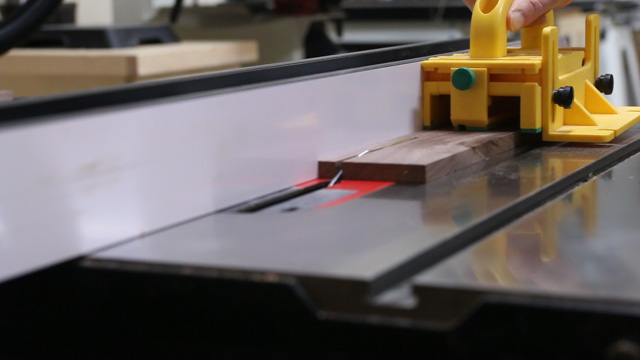
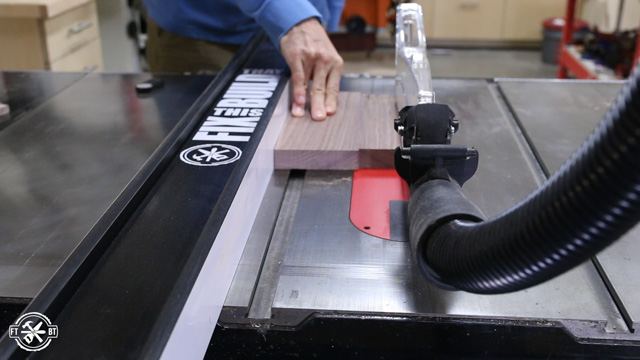
The DIY lamp is made up of a series of 10- 5” by 5” open mitered frames that sit between the base and the top. To make the mitered segments I set my miter gauge on my table saw to 45 degrees.
I made a 45 degree cut on the end of each strip. When holding the strips in place by hand, make sure to always keep your hands outside of the red throat plate area and to use caution.
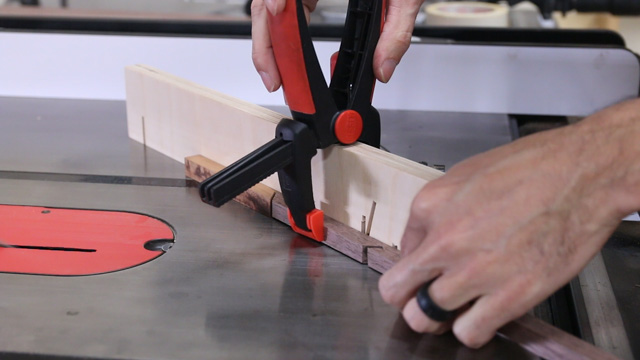
I decided to switch to the miter saw where I could more easily control the work. I used a fence on my saw with a stop block at 5” then I used a bowed strip as a hold down to keep my fingers away from the blade.
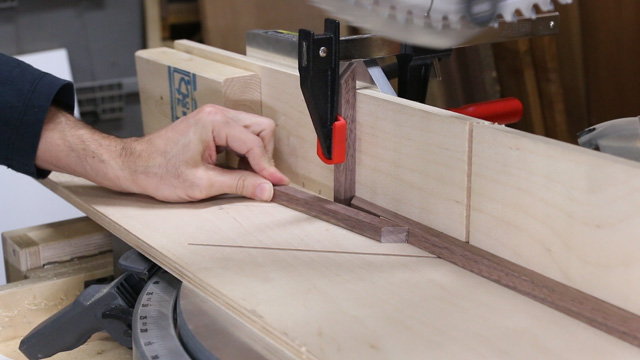
A 2×4 set against the far end of the fence let me push the hold down against the 2×4 and the strip to be cut to give it firm pressure against the fence.
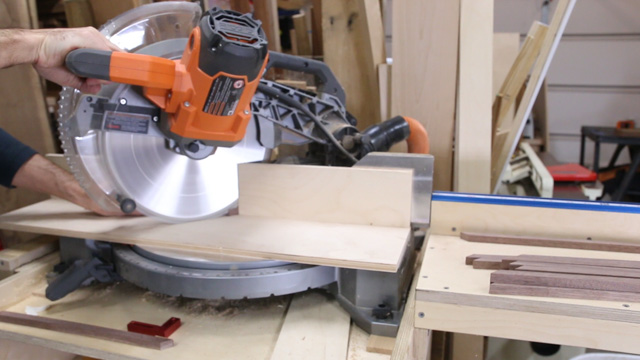
I cut a segment from each strip and went through the whole pile. Unfortunately the offcut end of the remaining strips weren’t clean cut. They had little nubs on the corner from the other side not being held tight.
So I made a new miter on each strip and repeated the process all over. After three rounds of this, I had enough segments to make all the frames I needed.
2. Glue the Frames and Base for the DIY Desk Lamp
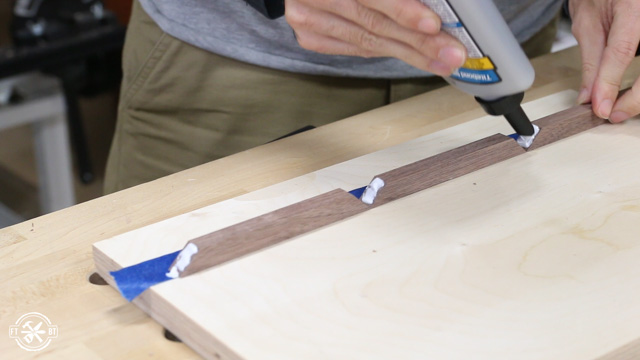
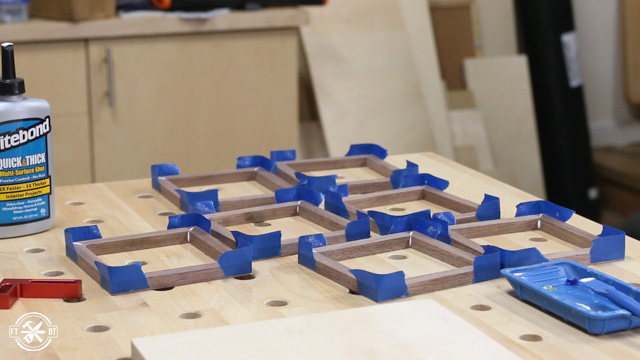
Next I moved on to gluing up the frames for the DIY Desk Lamp. To get a nice tight mitered corner I laid out painter’s tape and lined the miters up next to each other. The tape will hold the corner tight and not let it move and create a gap.
I skewed the tape to one side leaving the other side clean so I could sit it flush on a scrap of plywood for a flat glue up. To hold them together I used a thick clear drying glue which is perfect for this situation.
I didn’t put a whole ton of glue on the joints. And after the first couple frames I stopped even spreading it with my glue brush and just put dabs of the glue on one side of each joint. Again these are such small pieces they won’t be stressed and this glue will hold them just fine.
After all the frames were glued together I set them aside to dry.
While the frames were drying I moved to the base. I made a small glue up of two walnut boards that were the full 1” thick to make the 5×5 base.
3. Make the Top of the DIY Desk Lamp
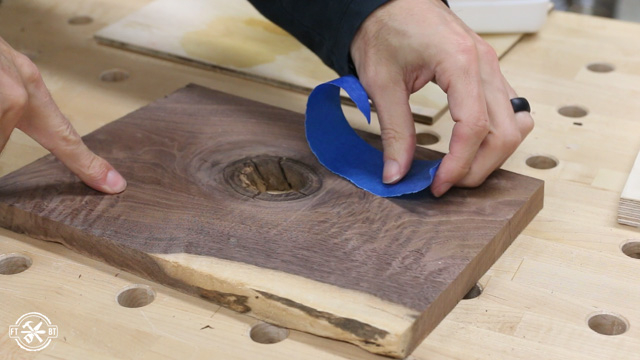
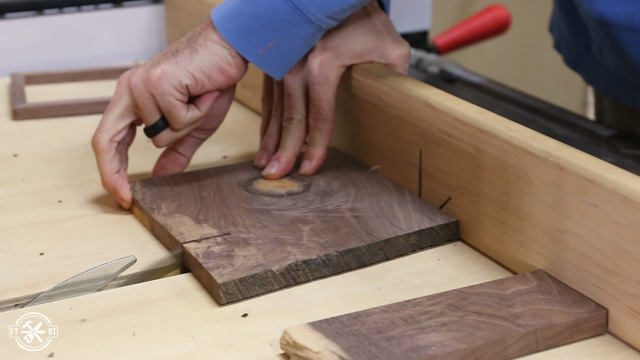
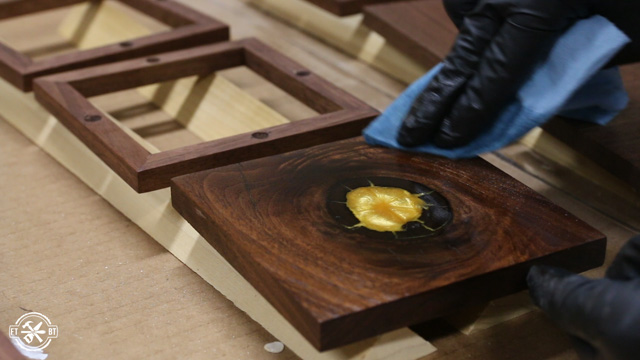
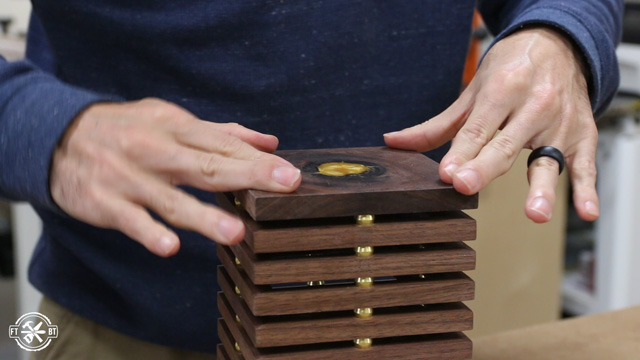
I just made a video Top 5 Uses for a Band Saw| How to Use a Bandsaw and cut a board with a big knot hole in it from a walnut log. The knot was the perfect place for some epoxy to let light shine through the top of the DIY Desk Lamp. So I taped off the back to fill it with epoxy.
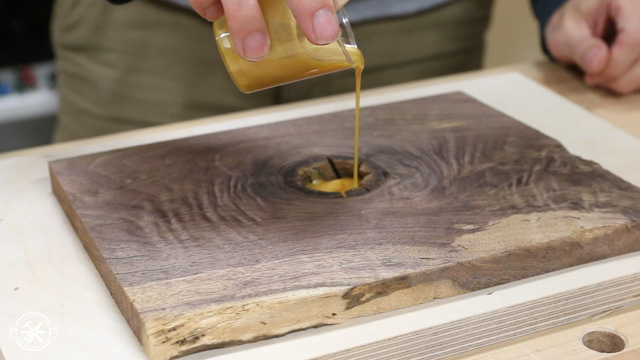
I mixed up a small cup of epoxy then added in the gold pigment and mixed it thoroughly to get a good cure. You always want to mix the epoxy well before and after adding the pigment to get the best results.
The holes and cracks got filled with the gold epoxy to make a nice solid top.
When the epoxy was cured I sent the top through the planer to flatten the board and get it to my final thickness.
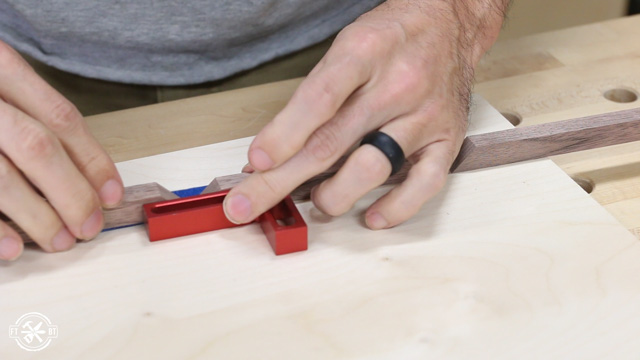
Next I ripped the base down to the same width as the mitered frames. I used one of the frames from the DIY Desk Lamp for reference to set the fence for an exact match.
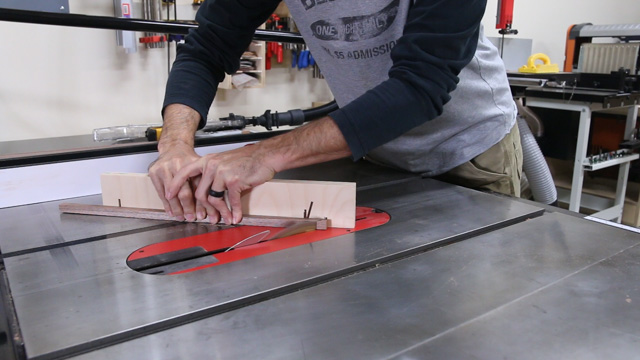
After that I pulled out my crosscut sled to cut the base and the top to final dimensions. Again I used one of the frames to line up my cuts. Using referential measurements is quicker and more accurate than transferring tape measure marks.
I repeated the same steps for the top and made all four cuts right on the table saw sled.
4. Drill the Holes for the Desk Lamp
Each frame of the DIY Desk Lamp needed four holes for the dowel rods that hold the light together. I clamped and screwed down some stop blocks onto a temporary plywood table on my drill press. This setup let me drill a hole in the same location on each side of every frame.
The top and the bottom get stopped holes instead of through holes. I used the depth stop on my drill press to get a consistent depth, but you could use blue tape wrapped around the bit to mark the desired depth too.
5. Wire the LED Light Socket
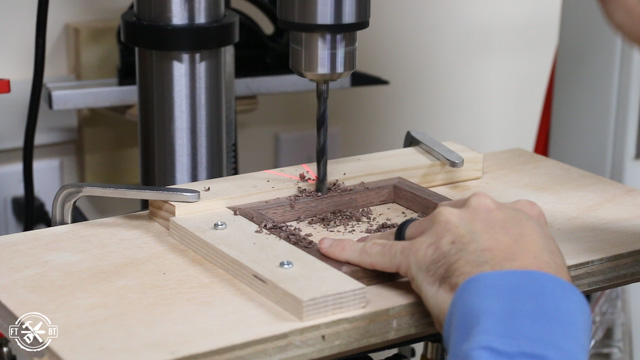
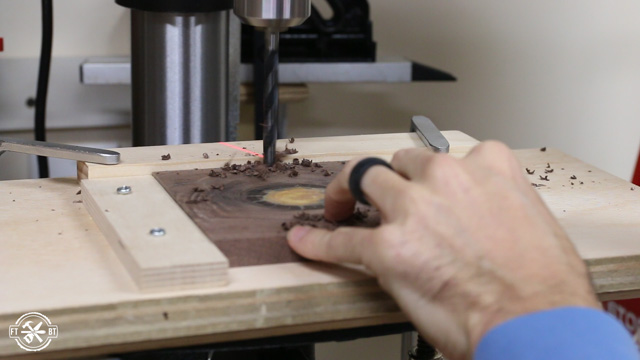
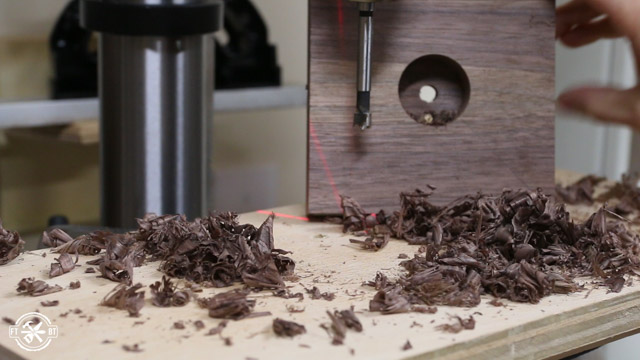
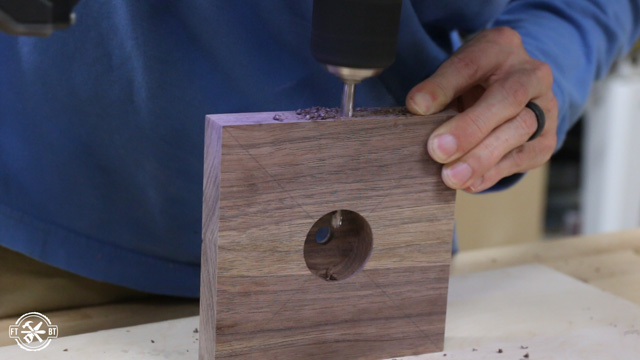
Finally I needed to mount the LED light and run the wires. I used a forstner bit to drill a 1-½” hole on the center of the bottom about ¾” deep. Then I switched over to a ⅜” bit and drilled a hole all the way through the base for the wiring and mounting hardware.
To feed the wire out the back of the light I marked for a hole just under where the dowel rod would stop. I drilled through the base and made a path for the wire to run from the center out the side.
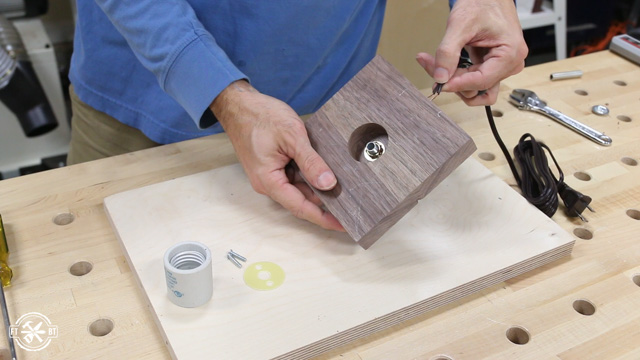
I’m using a porcelain socket with a thread on adapter to wire the lamp. The socket and adapter are held in place with a threaded nipple and some locking hardware.

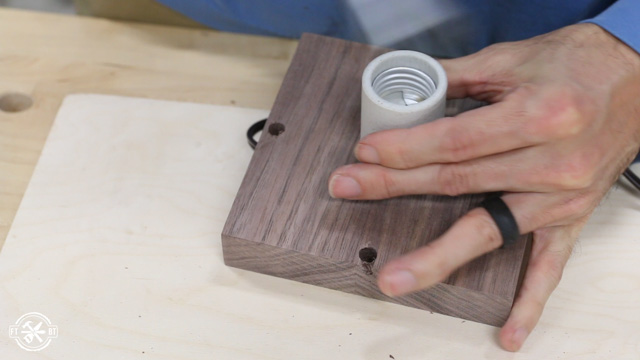
I set the lock washer and hardware onto the nipple and fed it through the base and into the adapter plate. The adapter plate has a small set screw that locks it in place on the threads. Then I used a wrench to tighten the nut and lock washer on the underside of the base for a snug fit.
I fed the lamp wire through the hole I drilled and pulled some extra through.
Attaching the socket wiring is fairly straightforward, follow the instructions and have a certified electrician do this if you aren’t comfortable. Then the socket can be put on the adapter and screwed down.
After securing the socket I tied a knot in the wire to keep it from getting pulled out. I attached a toggle switch to the lamp wire by separating the wires to run them through the switch and following the instructions on the package.
I screwed in the Wiz 60w color LED bulb to give it a test run, and it fired right up!
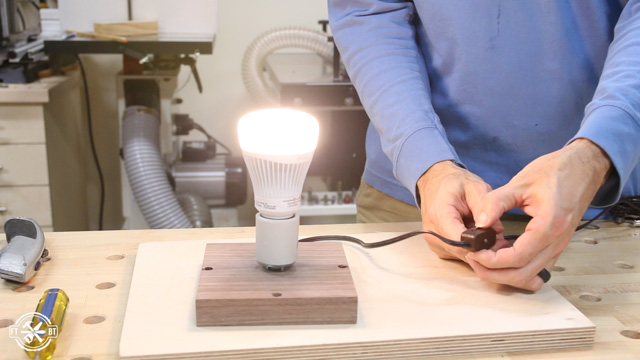
Home Depot sent me this 60W equivalent LED bulb from Wiz as part of the Smart Home campaign I’ve been doing this year. It connects to your phone over your wifi network and let’s you change the color temperature of white light or select a full range of colors.
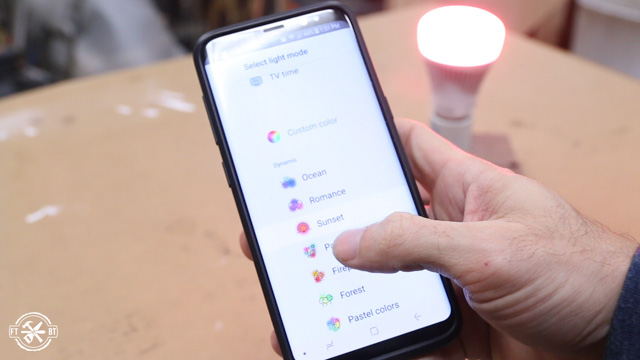 It’s a great plug and play way to add color and mood settings on this or any desk lamp. There’s a link in the description to learn more about it.
6. Assemble the DIY LED Desk Lamp
I sealed the walnut with a wipe-on oil-based polyurethane.
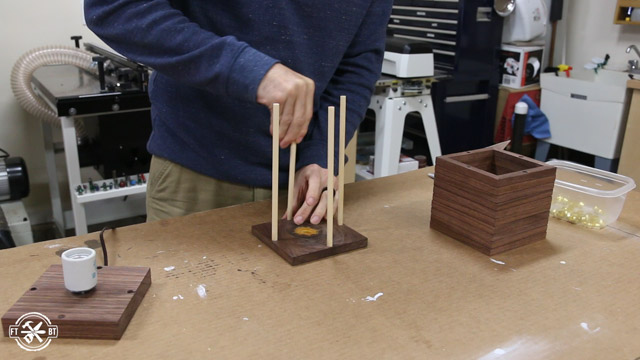
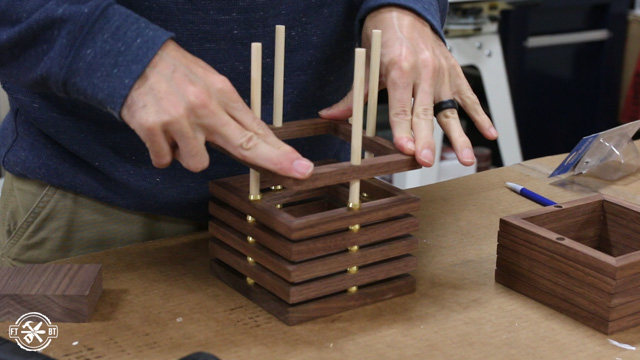
To assemble the lamp I used 5/16” dowels. I measured the stack of frames and then added in the length of the brass sleeves, and the recesses in the top and base.
Next I cut the dowels to length erring a bit on the long side. Any excess can be trimmed after assembly.
I started sliding the frames onto the dowels and it wasn’t easy going. So I pulled them back out and gave the dowels a good sanding to ease the fit. After that assembly was a lot smoother.
I turned the top upside down and put a brass sleeve over each dowel. These sleeves are just compression fittings for plumbing but they work great to cover the dowels and add some flair. I added frame after frame pushing them down together with brass sleeves between each one.
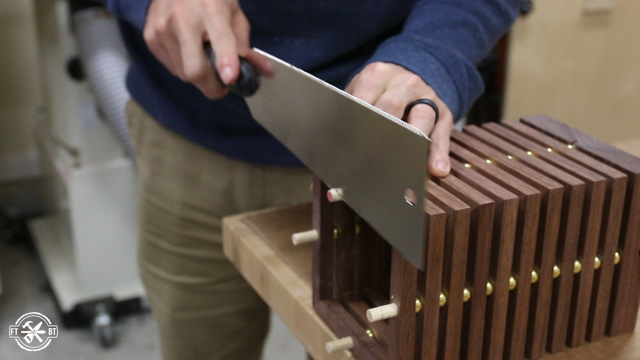
Originally I was going to glue the dowels to the base, but the fit was so tight I decided against it to make any repair that much easier. Instead I pushed all the pieces down to the base and marked the excess dowel showing after the top went on.
I used my pull saw to cut off the excess length of the dowel. Then I rounded over the ends of the dowels to make putting the top on a little easier.
I added some rubber feet for the bottom, installed the bulb and put the top back on and it was ready for primetime. This will be a fun lamp to have on the desk to add a little light but mainly I’ll have fun playing with the colors.
If you liked this project be sure to check out my other DIY Home Décor Projects.
I acknowledge that The Home Depot is partnering with me to participate in this Smart Home Program (the “Program”). As a part of the Program, I am receiving compensation in the form of products and services, for the purpose of promoting The Home Depot. All expressed opinions and experiences are my own words. My post complies with the Word Of Mouth Marketing Association (WOMMA) Ethics Code and applicable Federal Trade Commission guidelines.


Love it