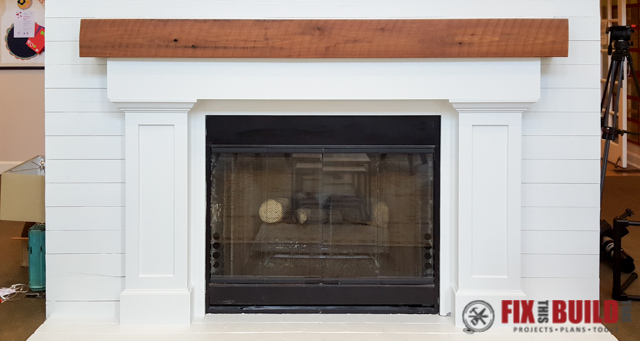
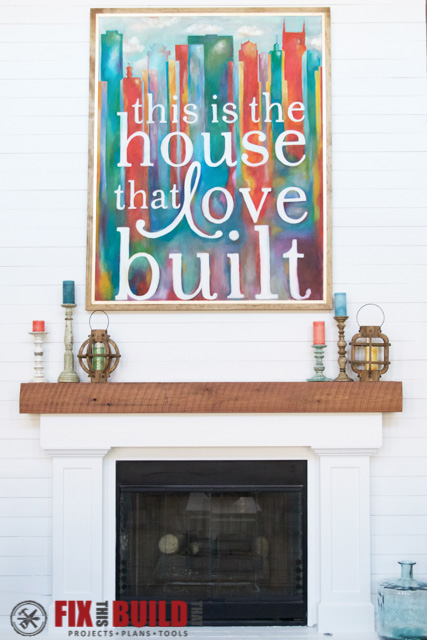
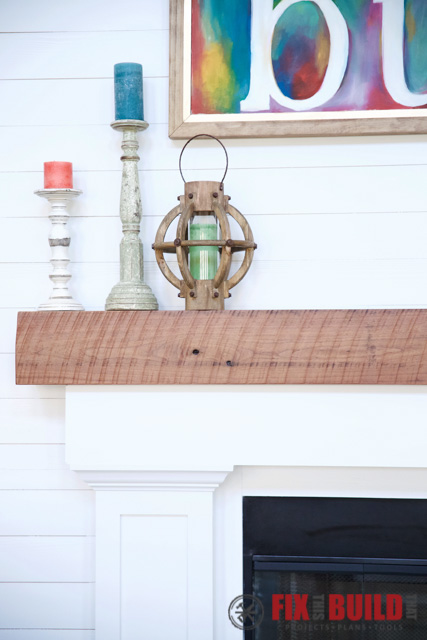
Today I’m going to show you how to build a DIY fireplace mantel and surround. This DIY project gives your space a focal point will upgrade your fireplace! My design has a classic, beefy look and I’ll show you exactly how to built it yourself.
The DIY mantel is made out of circular sawn walnut. The surround is made from 3/4″ MDF with pine trim. I used pocket hole joinery to make assembly a breeze and painted the surround white.
The DIY fireplace mantel has a very special home; the Nashville Ronald McDonald House. My friends Jamin and Ashley from The Hand Made Home were updating the space, and asked if I would help. Our goal was to make the space more inviting and comfortable for families going through some very hard times.
Now let me show you how to make your own DIY fireplace mantel!
Tools Used
- Pocket hole jig
- Kreg Face Clamp
- Tablesaw (or circular saw)
- Miter saw
- Random Orbital Sander
- Cordless Drill
- Brad Nailer
- Kreg Right Angle Clamp
Materials/Supplies
- (1) 8′ x 4′ 3/4″ MDF
- (1) 2′ x 2′ 1/2″ MDF
- (2) 8′ 1×3 pine boards (milled to 1/2″)
- (1) 10′ 1×4 pine boards
- (1) 8′ 1×3 pine furring strip
- (1) 10′ x 6″x 3/4″ walnut
- (2) 8′ x 8″x 3/4″ walnut
- 1-1/4″ Pocket Hole Screws
Affiliate links are used on this page. See my disclosure page for info on affiliate programs.
Designing the DIY Fireplace Mantel and Surround
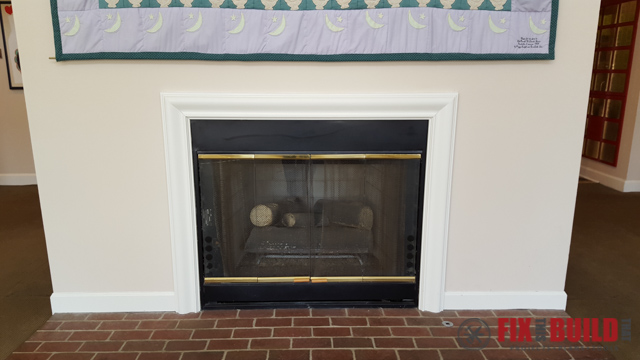
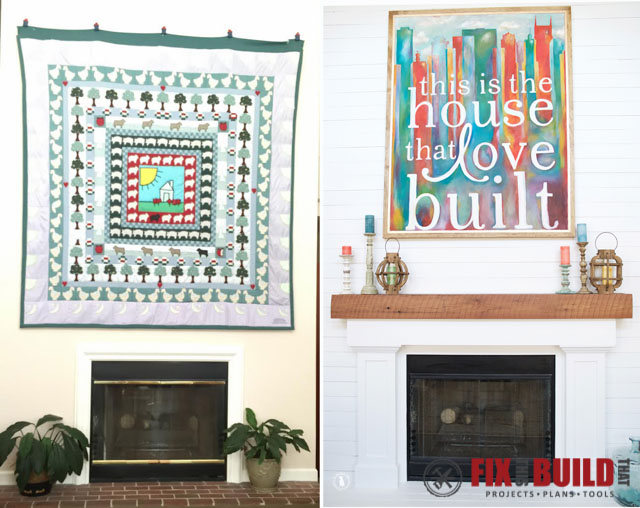
This is what we started with; a basic fireplace that was lost on a wall. There was no mantel or fireplace surround to help it stand out.
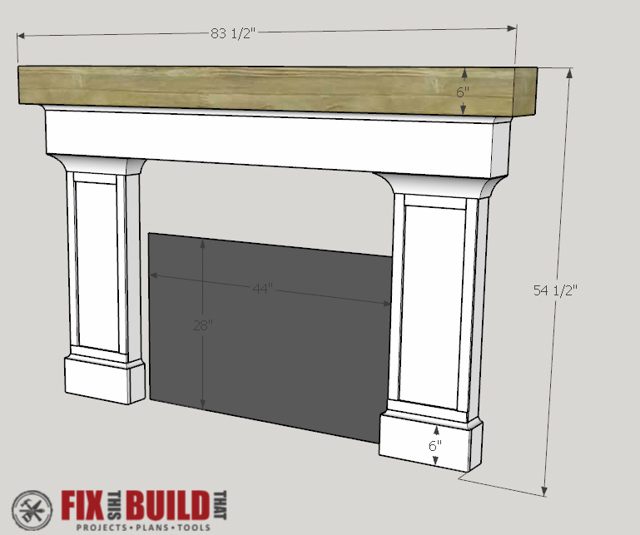
Next, I drew up my idea for the DIY fireplace mantle and surround. Jamin and Ashley loved it and we were off to the races!
How to Build a DIY Fireplace Mantel and Surround
We’ll start by building the DIY fireplace surround. Then I’ll show you how I build the DIY Fireplace Mantel. This is an easy project that anyone can do!
How to Build a Fireplace Surround
- Build the pillars for the fireplace surround
- Trim out the fireplace surround pillars
- Build the fireplace surround box beam header
How to Build a Fireplace Mantel
- Choose and prepare the wood for the fireplace mantel
- Cut and join the miters for the mantel
- Attach the top and bottom to the fireplace mantel
- Apply finish to the wooden mantel
**Obviously your build will need to modified to your space, so use my measurements for reference and adjust as needed.**
The DIY fireplace surround is made of two pillar supports and a MDF box beam header. The box beam header will support the reclaimed box beam fireplace mantel. The fireplace surround is finished with pine face trim along with cove and crown molding for some added detail.
1. Build the Pillars for the DIY Fireplace Surround
Start by cutting the front and sides for the pillars out of 3/4″ MDF. Next drill pocket holes on the back sides of the front piece. Then connect the sides with 1-1/4″ pocket screws and wood glue.
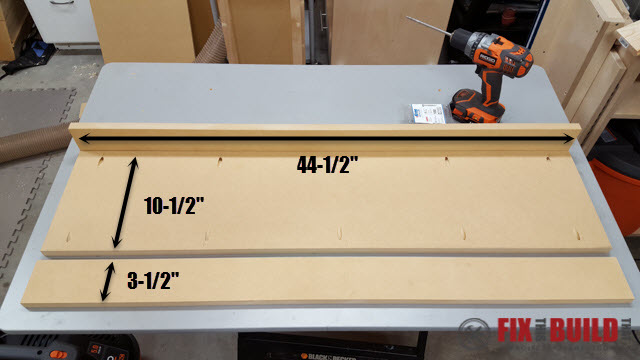
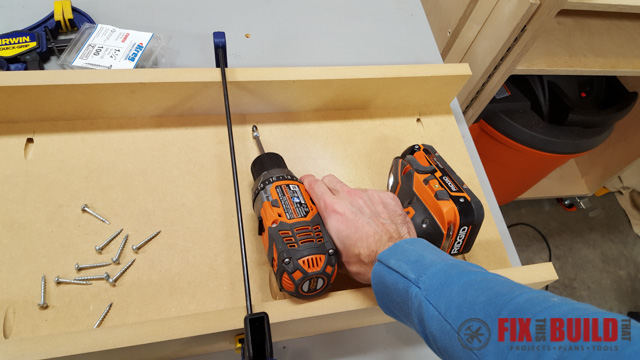
Next cut 3 inner pillar supports out of 1×3 furring strips. Then use a pocket hole jig to drill pocket holes in the ends of the supports. Attach one at the top and bottom, and one in the middle. The top support will later be used to secure the MDF box beam to the pillars of your DIY fireplace surround.
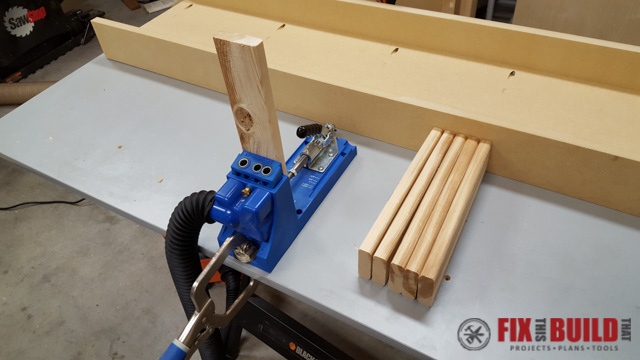
2. Trim out the DIY fireplace surround pillars
Cut a 12″ long 6-1/2″ wide piece of 1/2″ MDF or plywood and secure it to the bottom of the front piece. This will be the base of the trim and will give a place to connect the other pieces.
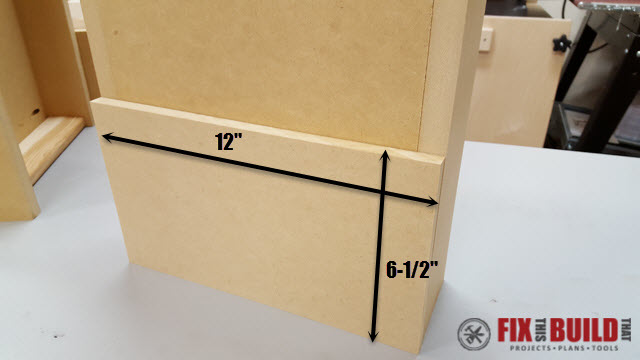
Use 6″ wide strips out of 3/4″ MDF to trim out the bottom of the pillar. Cut miters on the pieces to wrap around the edges and attach with glue and brad nails. Cove molding will cover the 1/2″ MDF sticking up in the front later and give your DIY fireplace surround a nice classy look.
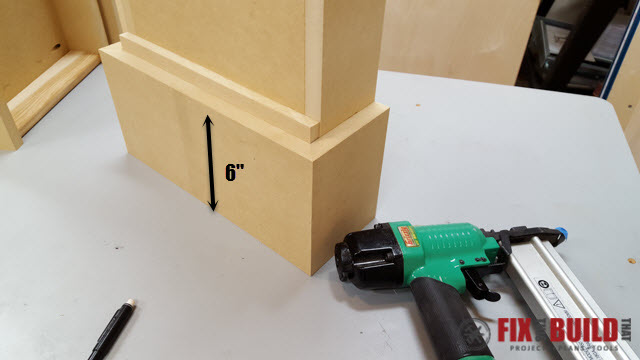
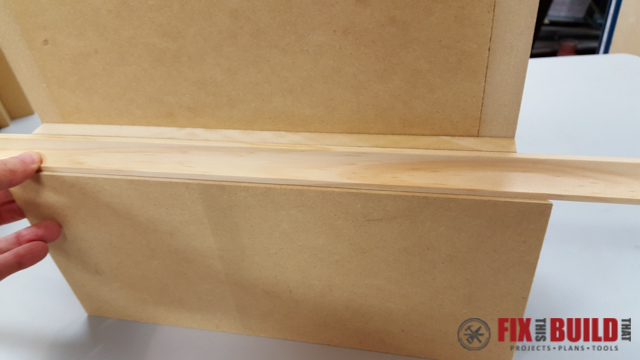
Next cut the trim pieces for the front of the pillars. I planed down 1×3 pine boards to 1/2″ thick but you could also use 1/2″ MDF if you don’t have access to a planer or 1/2″ pine. Attach with glue and brad nails. This will give your DIY fireplace surround a classic shaker look. If you want more detail you can add a routed profile to the trim.
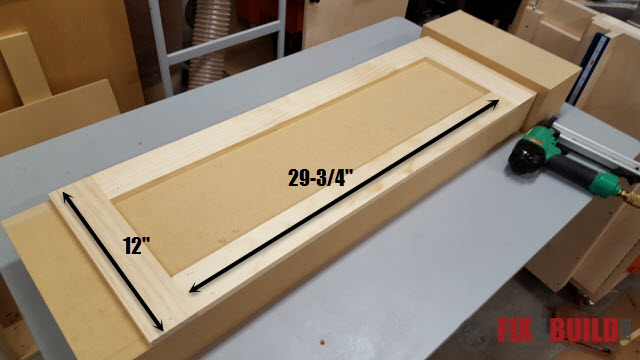
This should leave a 3″ gap at the top. Fill this spot with a piece of 1/2″ MDF. The crown molding will cover this portion later. Note, if your crown molding is something other than 3″ tall when installed then you’ll need to adjust the trim and this piece.
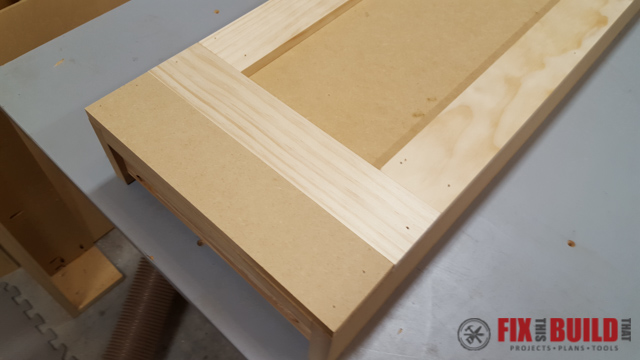
Fill all the brad nail holes with wood putty and sand flush. The cove and crown molding will be installed once your fireplace surround DIY project is in the install phase to account for any wall variations.
3. Build the DIY fireplace surround box beam header
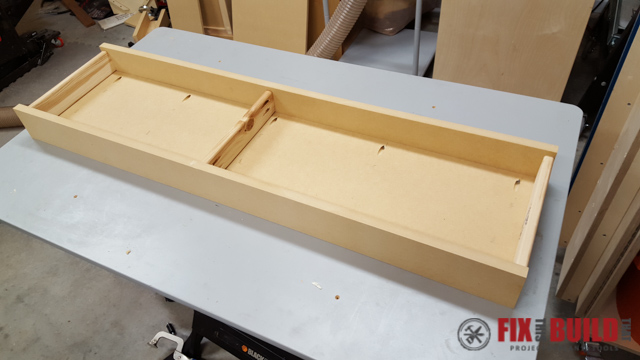
The MDF box beam is made from 3/4″ MDF and 1×4 pine supports and has a solid front and bottom with an open back and top. Cut the front, bottom, and sides to size and attach them with glue and 1-1/4″ pocket hole screws.
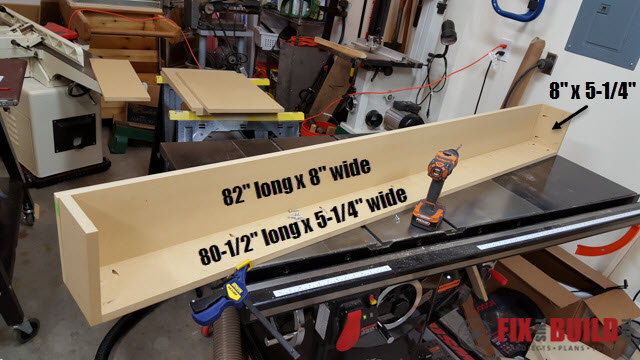
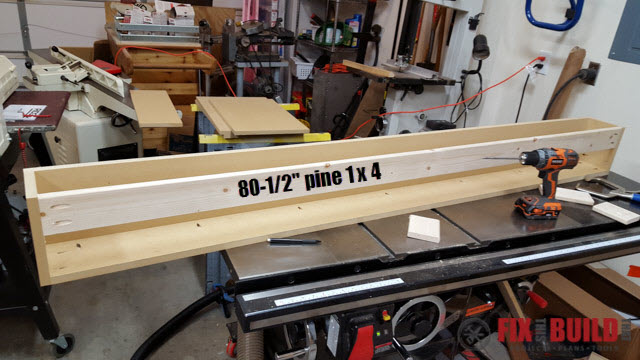
The back support is made from a pine 1×4. Connect it to the sides with pocket hole joinery. When installing the DIY fireplace surround you will drive 3″ screws through the back support into the wall.
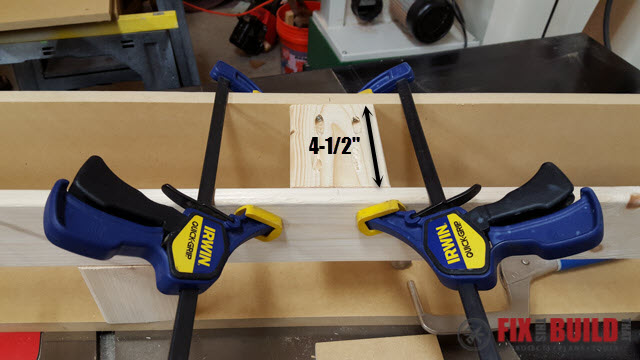
Cut 4 top support pieces to fit between the back support and the front. Attach the pieces with 1-1/4″ pocket hole screws evenly spaced along the beam. Add a small 3-3/4″ brace between the bottom and back support piece and attach with pocket screws.
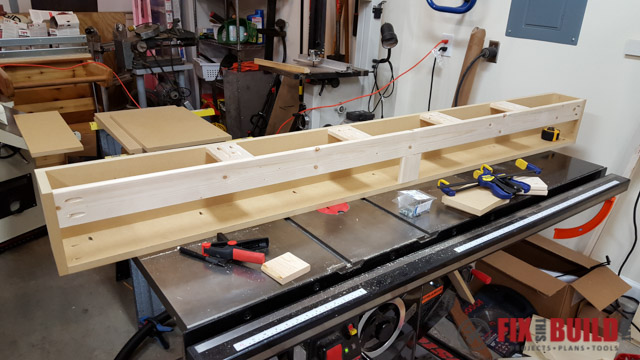
You now have the main assembly of the DIY fireplace surround complete! Now let’s move on to how to build a mantel.
How to Build a Fireplace Mantel
- Choose and prepare the wood for the fireplace mantel
- Cut and join the miters for the mantel
- Attach the top and bottom to the fireplace mantel
- Apply finish to the wooden mantel
Building a mantel starts with the wood selection. Using wood with some texture gives your fireplace mantel a lot of character. And using miters you can get a great looking box beam mantel that is a fraction of the weight (and cost) of getting a true full sized solid beam.
1. Prepare the wood for the fireplace mantel
My mantel is 6″ tall and 8″ deep and built from some old circular sawn walnut. We call this “barn fresh”, just don’t ask what those stains are from because I don’t know and I surely don’t want to find out 🙂
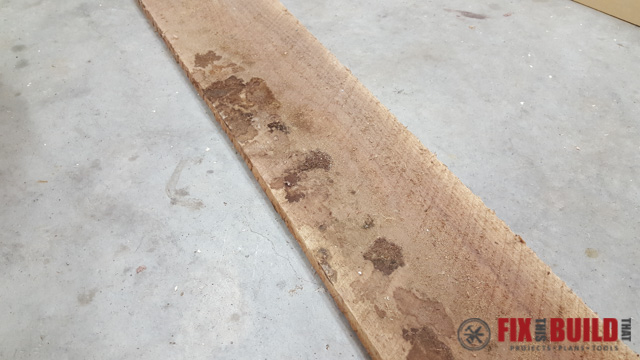
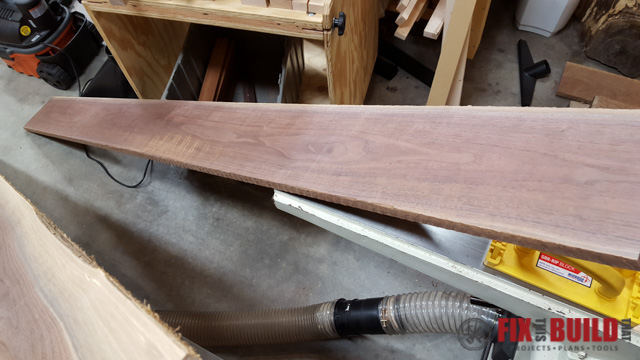
To keep the character of the boards but be able to join them securely, you need to flatten the underside of the boards and get straight edges. I did this using a combination of my jointer and planer.
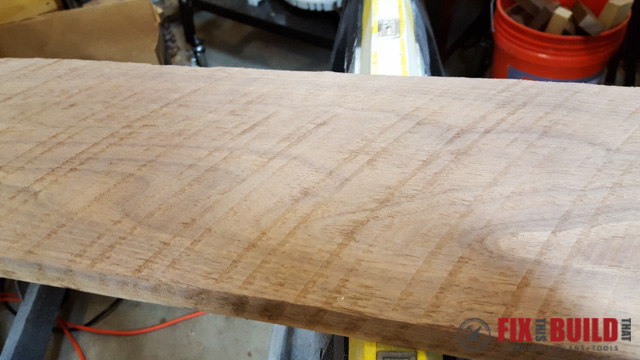
On the show side of the board, use 80 girt sandpaper in a random orbital sander to knock down the roughness but keep the grooves. You can get pretty aggressive with 80 grit and not remove the saw marks. Come back with 150 grit to smooth everything out and you’re done sanding.
2. Cut and join the miters for the fireplace mantel
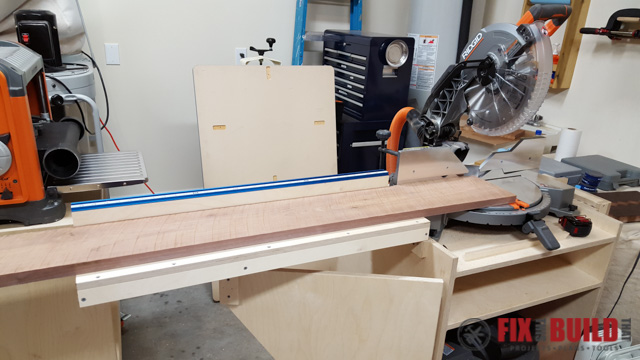
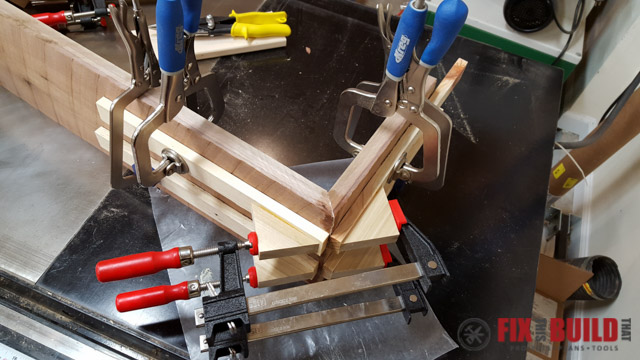
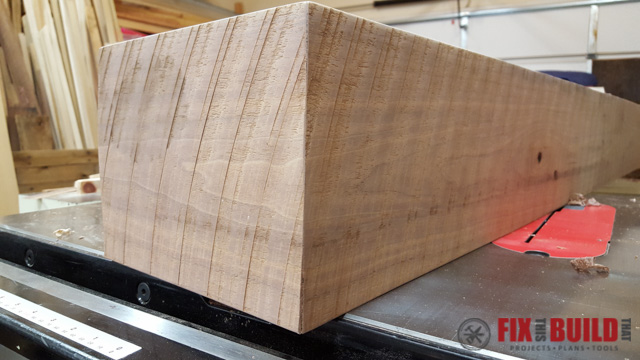
When building a mantel you can get a continuous look on the corners by cutting the sides and the front with complimentary miters. I squared up the ends of my walnut using my Mobile Miter Saw Station then cut the miters by tilting the saw 45 degrees to the left and then 45 to the right for the complimentary angle.
The mitered front and sides are held together with just glue. I used some homemade 45 degree clamping cauls to make this glue up a breeze. Do yourself a favor and make 8 of these to help you glue this joint.
3. Attach the top and bottom to the fireplace mantel
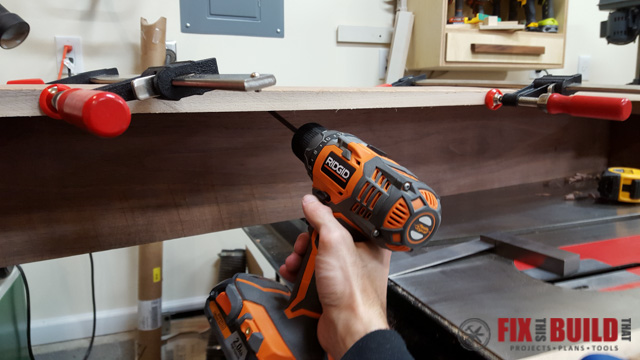
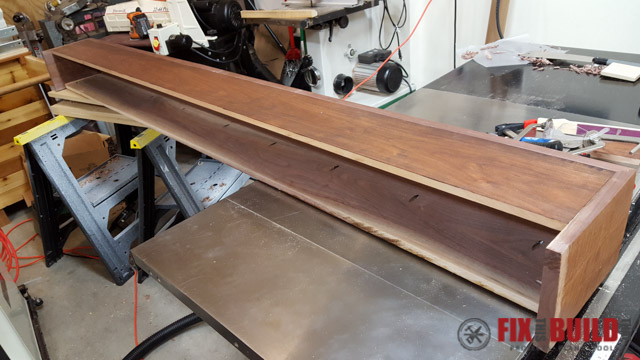
After the front and sides are glued up you can add the top and bottom. They are joined to the front and sides with 1-1/4 pocket hole screws.
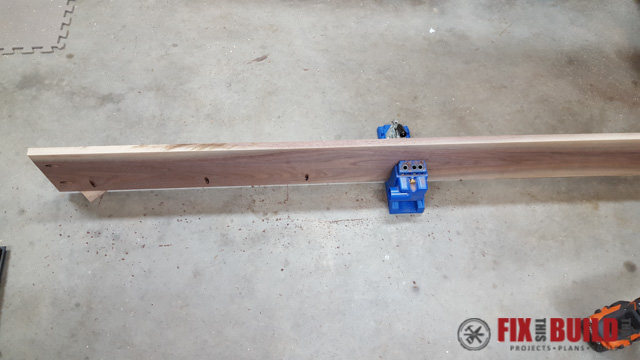
Use clamps to hold the top and bottom in place and work your way down the entire fireplace mantel securing them in place.
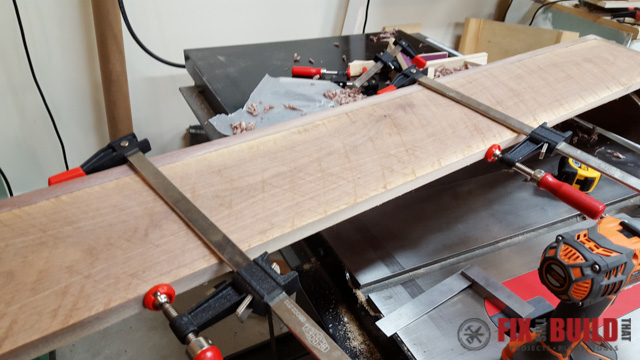
I came back later and cut the sides flush with the top and back with a handsaw.
4. Apply finish to the wooden mantel
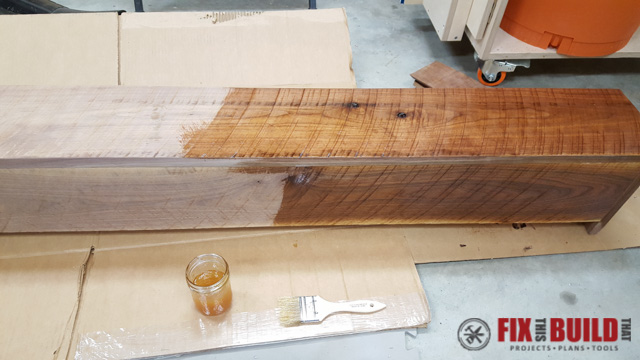
The final step for how to build a fireplace mantel is also the most rewarding…applying the finish! Sand the entire mantel to 220 grit and make sure that any glue squeeze out from the assembly is gone. I finished the walnut with satin General Finishes Arm-R-Seal using a brush and it turned out amazing!
Installing the DIY Fireplace Surround and Mantel
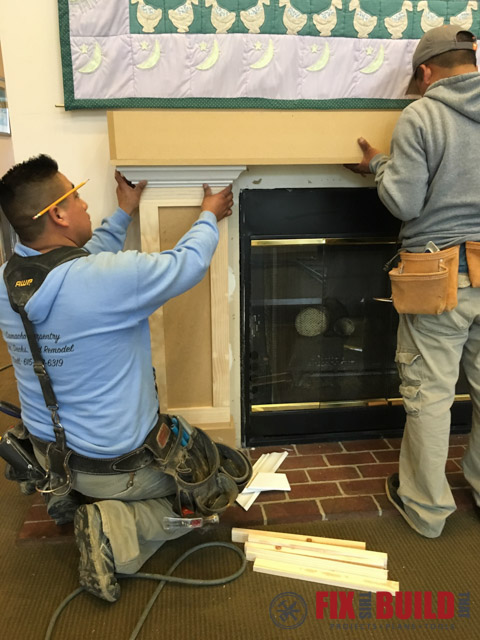
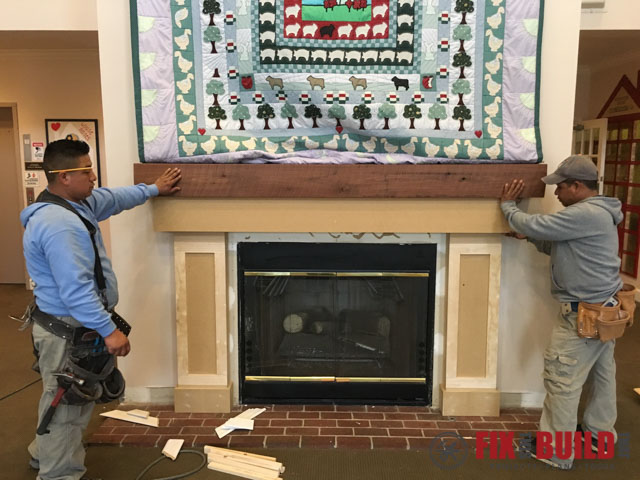
Since the install was at the Ronald McDonald house where work was already going on, the contractors there asked to install the fireplace surround and mantel because they would be painting it while painting the shiplap. I’ll give you a few tips though on how it was installed even though I don’t have great pics.
The pillars were attached to the wall by first screwing a 2×4 to the wall vertically then placing the pillar over it and driving a screw through the side of the pillar into the 2×4. The MDF box beam is then screwed down to the pillars and into the wall. Finally, the walnut mantel rests on the MDF box beam and screws through the back of the top secure it to a 2×4 that is attached to the wall studs.
Here are a couple pics from the install.
After the paint and the shiplap install it looked amazing. Here is a before and after…I’ll take the after!
Now you know how to build a DIY fireplace surround and how to build a fireplace mantel! If you want some other great home decor projects then check out the Home Decor section of my site.


