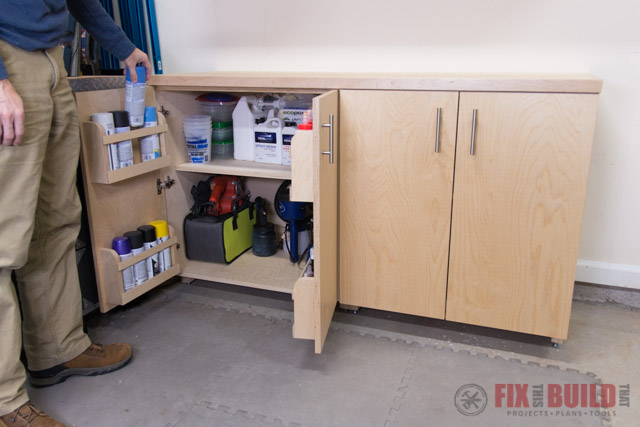
I’m continuing my shop storage overhaul with these DIY Garage Cabinets today. I designed these shop base cabinets to be able to mix and match the storage options inside to meet your needs. They have a small profile to save space in your small garage or shop. These are part of my whole Modular DIY Garage Cabinet system and they work amazingly well. Make sure to check out the plans so you can build your own!
A big thanks to Kreg Tool, the sponsor of this project. I use a lot of Kreg products when I’m building storage for the shop so having them on board for this project was a natural fit.
Materials/Supplies
- (3) 4’x8′ 3/4″ Plywood
- (1) 4’x8′ 1/4″ Plywood
- (1) 1”x4” 6’ Maple
- (2) 18” Drawer Slides
- (10) European Hinges
- (4) Door handles
- 1-1/4″ Pocket Hole Screws
- Water Based Polycrylic
Affiliate links are used on this page. See my disclosure page for info on affiliate programs.


How To Build DIY Garage Cabinets
- Build Frame
- Make a Pull-Out Tray
- Attach Doors and Adjustable Feet
- Build Cubbies
- Attach Cubbies and Apply Finish
- Build and Attach Top
After building my DIY Wall Cabinets with 5 Storage Options a couple months ago it was time to make the some DIY Garage Cabinets to match. I’m using baltic birch plywood like I do in all of my shop projects. I love how stable and solid it is. I’ll be building two cabinets with different storage options in each one.
1. Build Frame for the DIY Garage Cabinets
First I cut the sides for both DIY Garage Cabinets from ¾” plywood. Then I made a mark for the toe kick.
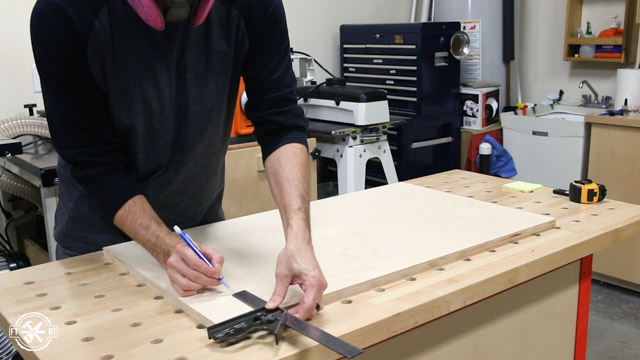
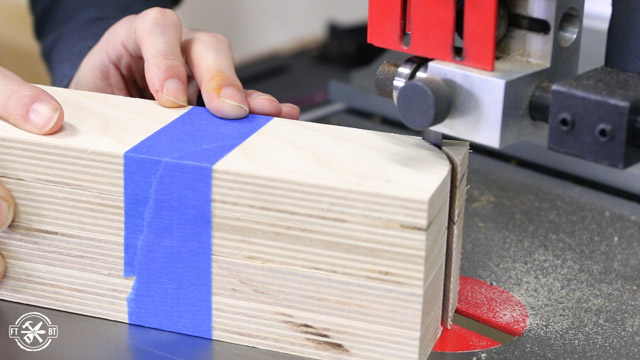
Each side gets the same cuts so I laid out the measurement on one piece. Then I flipped through the other sides marking the location of the notch on each one. Next I used a fence on a bandsaw to make the cuts.

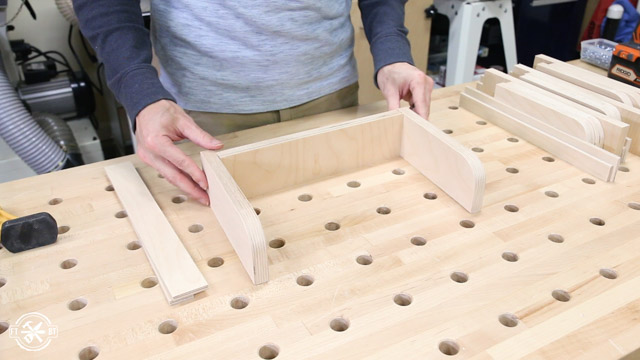
Then I cut the parts to connect the sides of the DIY Garage Cabinets together. Each cabinet will have a full bottom piece, two small top supports and two supports on the back.
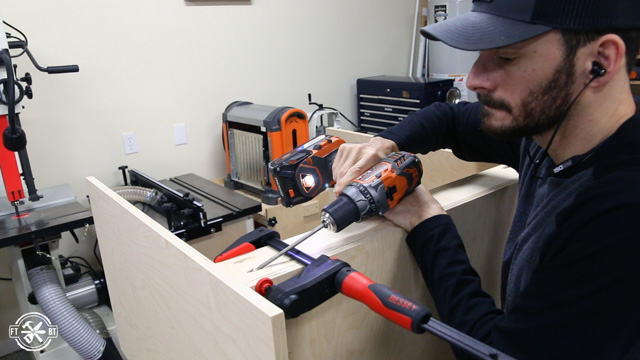
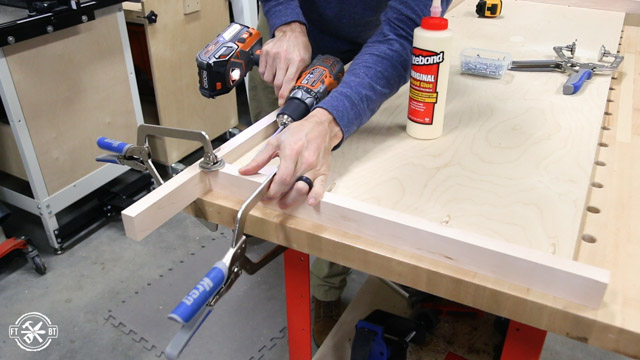
I used my Kreg K4 Pocket Hole Jig to drill holes in all the connecting pieces for joinery.
 To help hold the parts together I’m using the Kreg corner clamp. You can hold everything tight and still drive in the screw without needing to move the clamp.
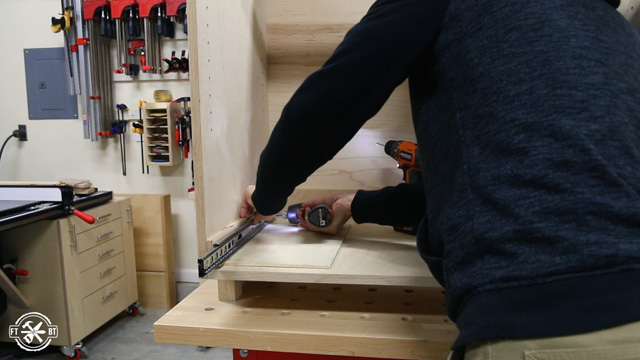
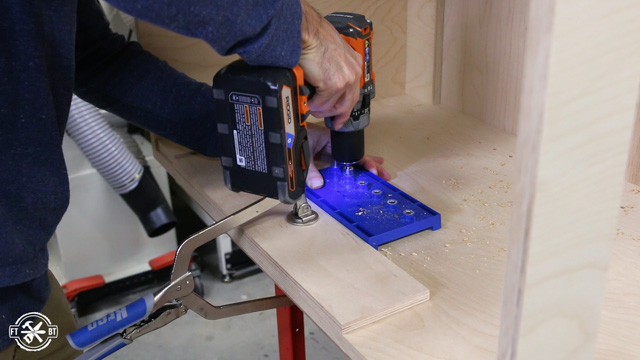
This DIY Garage Cabinet is going to have a full size adjustable shelf above and a pull out tray on the bottom. Drilling the holes for the shelf pins is easy using this Kreg Cabinet Hardware Jig. 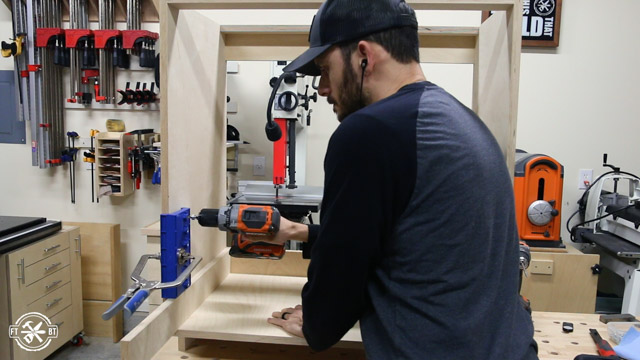
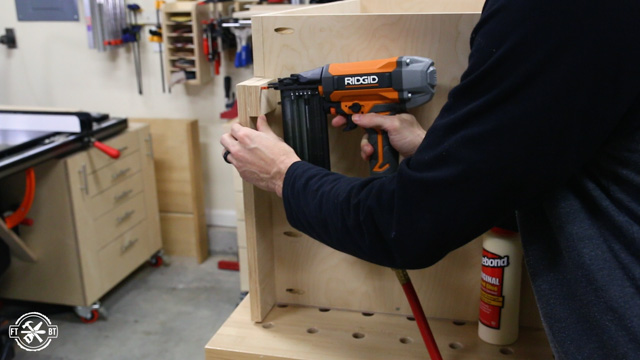
I’m using 110 degree European hinges for the doors. However they don’t swing fully out of the way of the sides when open. I needed to install some ½” spacers to keep the tray’s drawer slides from hitting the doors. I glued and brad nailed the shims on each side using a piece of ¼” plywood to raise them off the base.
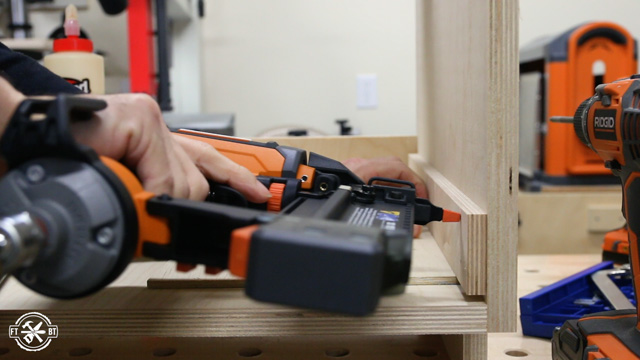
Finally I measured and cut a back for the DIY Garage Cabinets out of ¼” plywood. The back can be installed with brad nails or staples and will help keep the cabinet from shifting out of square.
2. Make a Pull-Out Tray for the DIY Garage Cabinets
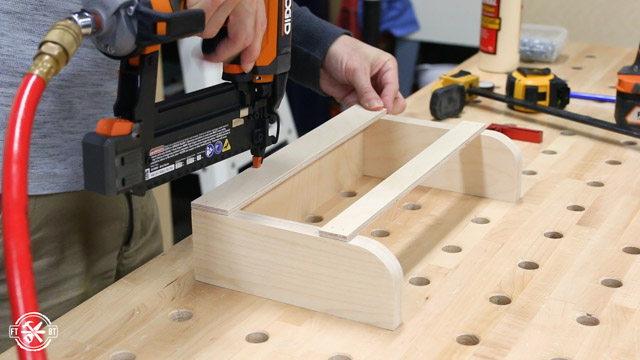
Next I went back to the table saw to cut the parts for the pull out tray. The tray is very basic with just four short sides. They are cut to fit in the cabinet with a ¼” plywood bottom.
I didn’t do anything special here for the joinery, just glue and brad nails. You can get away with this using baltic birch since the edges have so much long grain. However if you use lesser quality plywood, some screws can quickly strengthen the connections.
 Then the bottom is attached with glue and staples. This really locks the whole tray together and makes it a solid assembly. To hide the plywood bottom from being seen from the front or sides I used a chamfer bit in my router to bevel it back. When you’re done you can’t tell the difference between this and a floating bottom panel in a groove. And this glued on panel is very strong since it basically becomes one piece.
 To mount the pull-out tray I used full extension drawer slides. I attached the slides to the shims I installed earlier with small mounting screws, pre-drilling the holes first.
Then I used the ¼” plywood scrap to hold the tray off the bottom. This helped me to put the tray between the slides. A few screws on each side hold the tray in place.
3. Make and Attach Doors and Adjustable Feet to DIY Garage Cabinets
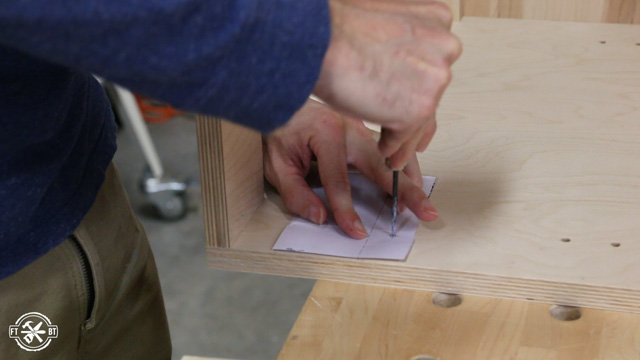
To attach the doors, I put the DIY Garage Cabinet on its side to position and install the hinges. I marked layout lines for the center of each hinge. Then I transferred the mark onto some blue tape to reference my jig. I used a concealed hinge jig that makes drilling out the cups pretty foolproof.
For the cabinet side of the hinges I used the template included in the packaging to mark and drill the holes. The install is pretty easy. The only trick I used here is to put a scrap of ¼” plywood under the door to raise it up.
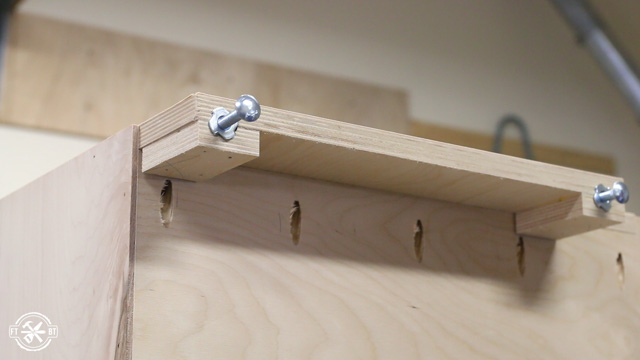
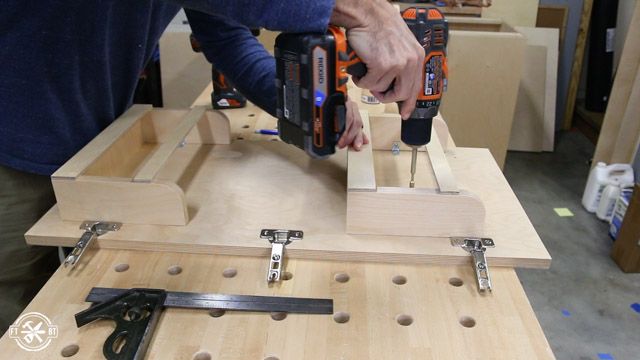
I’m installing these DIY Garage Cabinets along the side wall of my garage shop. From one end of the run to the other there is about a 1” drop to deal with. Because of this, having adjustable feet is a must. To make and attach the adjustable feet, I started by cutting and attaching blocks at the bottom corners. The blocks I glued on give the edge a little more meat to drill into.
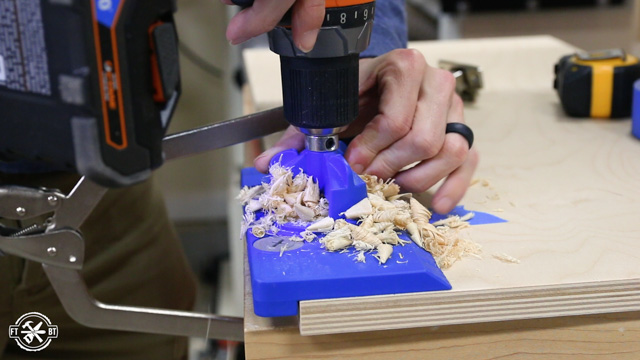
I used a ⅜” drill bit and marked it with tape to drill deep enough for the full bolt. After drilling out the hole, the 5/16” tee nut insert gets hammered in and then the 2” carriage bolt is screwed in. This is a quick and easy leveler foot you can make on the cheap.
4. Build Cubbies for DIY Garage Cabinet
The second DIY Garage Cabinet carcass is made exactly the same way as the first until we get to the internal storage. This cabinet is going to have a narrower adjustable shelf that will leave room for storage on the doors. That means I need to push the front shelf pin holes back further into the cabinet. I clamped a scrap of plywood to the front edge and used it as a reference for the jig.
To account for the extra weight of the storage on the doors I decided to use three hinges versus two for this cabinet. I installed them the same way as before and just added the extra hinge right in the middle of the door. If you’re unsure about the weight your hinges can hold check the manufacturer’s website for weight ratings.
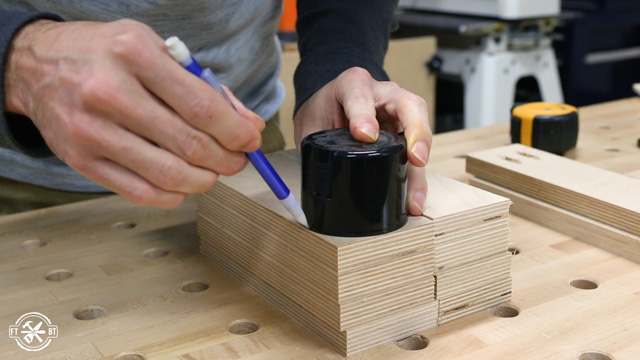
The cubbies for the doors are really basic as well. I’m using ¾” plywood for the bottom and sides and ¼” plywood for the front strips. I cut two different sizes, one for glue bottles and one for spray paint. They ended up being 2-¾” and 2-½”.
I liked the look of the cubbies from my DIY Wall Cabinets with 5 Storage Options so I made these the same way with a rounded corner on the top.
A group of sides can all be cut at the same time on the bandsaw by wrapping them together with tape.
After cutting both stacks I smoothed the rough edges on my oscillating belt sander. However you could easily do this with an orbital sander as well.
5. Attach Cubbies and Apply Finish to DIY Garage Cabinets
Next the cubby bottoms are connected to the sides with pocket screws. The lower rail goes on flush with the bottom of the cubby.
Then I measured up and made a reference line for the top rail. I secured it with brad nails.
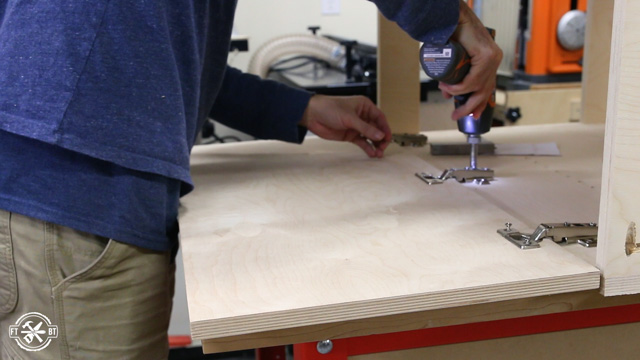
The cubbies are attached to the doors with small angle brackets. I positioned and pre-drilled the holes then secured them to the sides to prep for install.
Before installing them I wanted to drill for the door hardware and put some finish on the cabinets. I drilled the holes for the handles with the Kreg Cabinet Hardware Jig.
I applied two coats of water based polyurethane to the cabinet doors and sides for protection against wear and tear.
When the finish was dry I removed the doors from the second DIY Garage Cabinet. Then I pre-drillled and attached the cubbies. It’s important to make sure they’re mounted far enough away from the edge of the door. If not, they could hit the other door when swinging open. I sized these so they could butt up against the hinges and still clear the doors.
After installing the cubbies I put the doors back on. Then I attached the door hardware which are simple modern bar pulls I love.
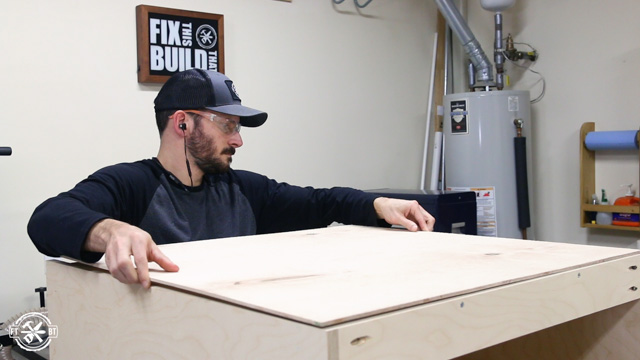
6. Build and Attach Tops To The DIY Garage Cabinets
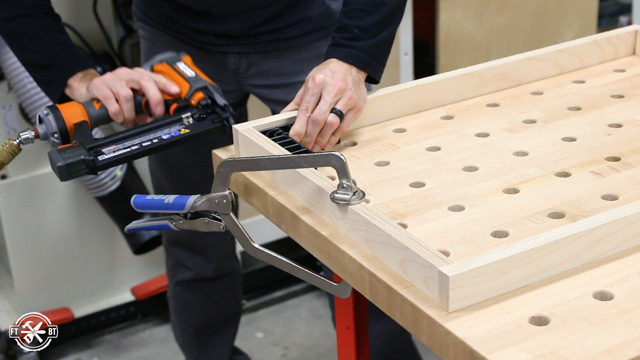
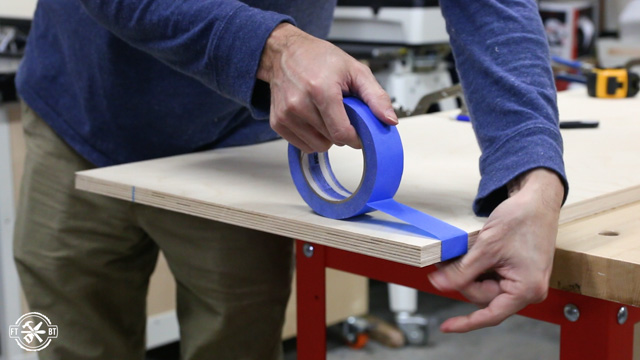
I wanted to build a top with baltic birch trimmed in maple. After ripping the top panel to width on the table saw I cut it to length. I used my circular saw and Kreg Accu-Cut guide for the cut. To prevent tear out I wrapped the cut line in blue tape.
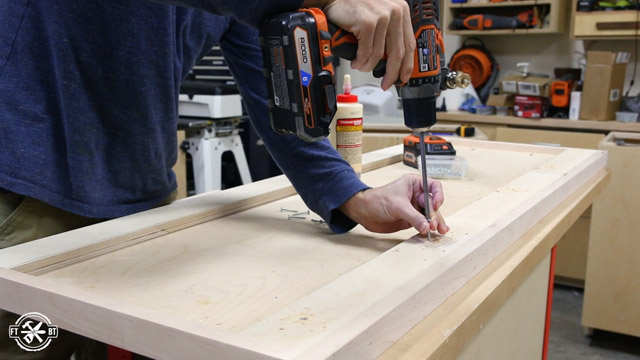
I drilled pocket holes in the panel to hold the trim tight while the glue dried. The trim I’m using is a 1×2 maple.

I ran a bead of glue on the front trim and secured it with screws through the panel leaving the front piece long on both ends.

Then I glued and butted the side trim against the front and screwed it in place.
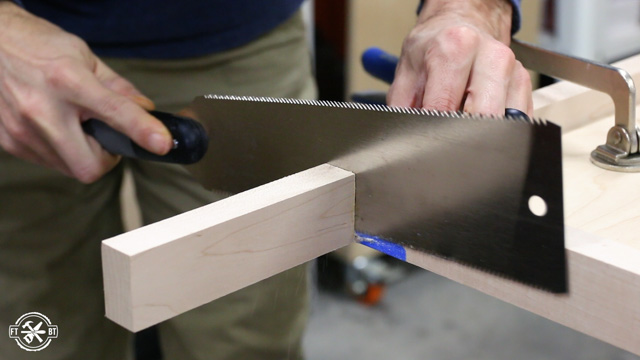
 With the trim locked in place I could cut the overhanging pieces flush for a nice tight butt joint at the corners. I used a piece of painters tape to protect the side trim and cut the front trim flush with my pull saw. Then I did the same thing on the overhanging side pieces at the back.
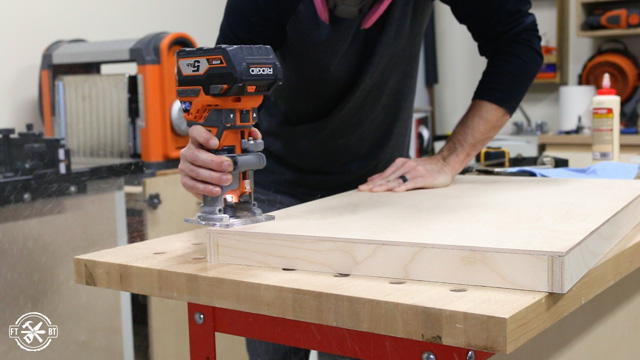
Next I cut some long strips from scrap plywood to fill out the perimeter of the underside. This will give a solid place to rest on top of the cabinets and to secure it with screws.
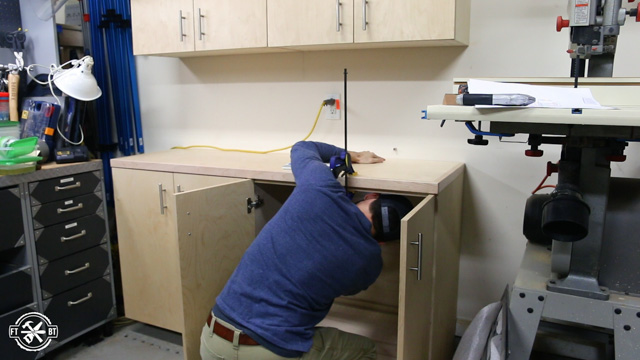
I applied two coats of poly to the top then started mounting the cabinets.
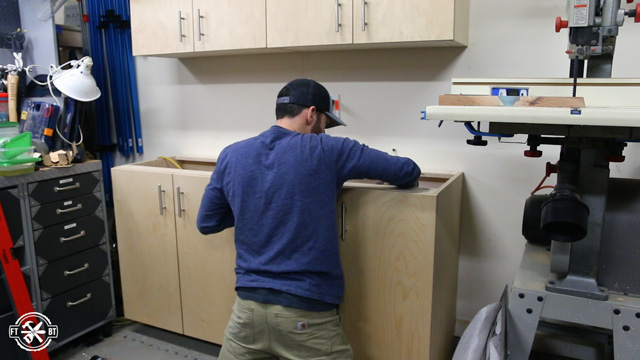
Finally I added the top and screwed it down from underneath.
 And with that I was done! If you liked this project and are looking for more ideas, check out my whole Modular DIY Garage Cabinet System or my other base cabinet project How to Build a Base Cabinet with Drawers.
Kreg Tool provided me with product and/or monetary compensation as a sponsor of this build. All opinions are my own and are not filtered by the sponsor.


