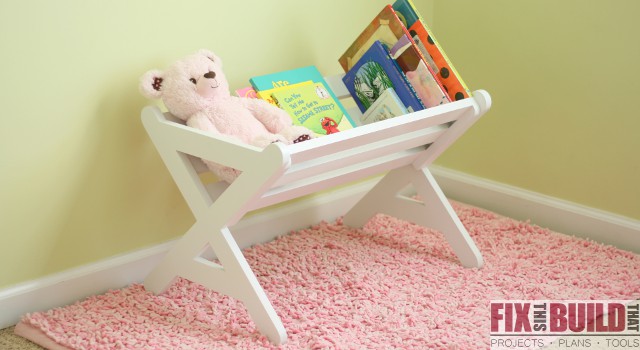
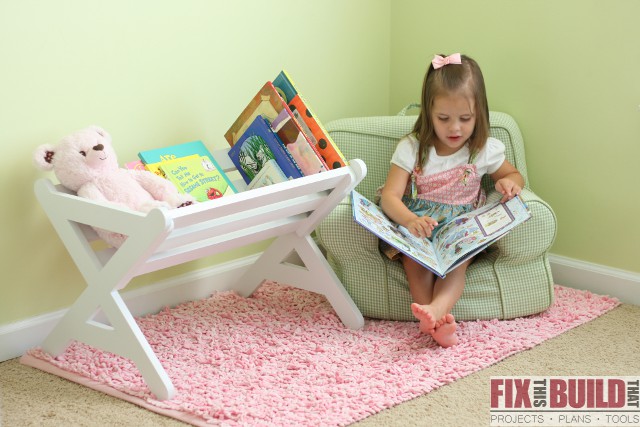
Have kid’s books strewn around the four corners of your house? I sure as heck do! This DIY Kids Bookshelf tames your tike’s books and looks great doing it. Plus it’s made from a single 8 foot 1×8 board!! Seriously, you can make this whole thing with just one board.
I got the design from browsing the Land of Nod’s catalog and saw what they call the Good Reads Book Caddy. I made a few modifications to get it out of just one board, but if you wanted to add a lower shelf like the one on the original you could definitely do that…if you wanted to cheat and use two boards. Oh, and the one from Land of Nod is $150. I got my board, some screws, and spray paint for under $20. YAHTZEE!
This project is part of a Blogger One Board Challenge setup by my friend Jen Woodhouse from The House of Wood. There were quite a few up for the challenge and we have 17 awesome bloggers in all. They came up with some great ideas too, so make sure you read to the bottom and I’ll have links to all their projects. Alright, now to the good stuff. Let’s build a bookshelf!
Here is what I used to build the DIY Kids Bookshelf:
Affiliate links are used on this page. See my disclosure page for info on affiliate programs.
Tools
- Kreg Jig K4 Master System
- Kreg Face Clamp
- Tablesaw (or circular saw)
- Bandsaw (or jig saw)
- Miter saw
- Random Orbital Sander
- Ridgid Cordless Drill
- Ryobi Cordless 18ga Brad Nailer
Materials/Supplies
- (1) 8′ 1×8 common pine board
- Wood Putty
- 1-1/4″ Pocket Hole Screws
- Rust-Oleum White Semi-Gloss Spray Paint
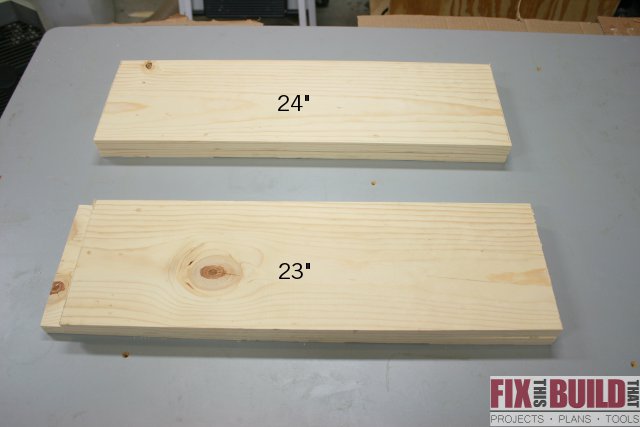
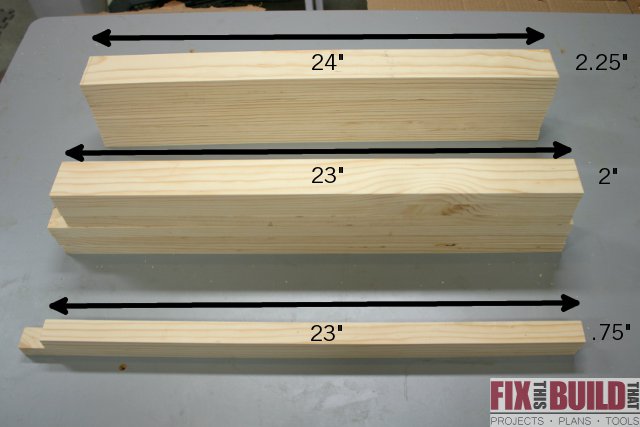
To get started all you need is one lone piece of wood, an 8 foot 1×8! The first thing to do is to cut the board into 4 pieces. (2) at 24″ long and (1) at 23″ long. This will leave another piece at around 23-1/2″ (the one under the 23″ piece) and you can cut it to length later.
Next you need to rip the pieces to width to make some parts. Each 24″ board is ripped into (3) pieces 2-1/4″ wide for a total of 6. These will be the stretchers that hold the books.
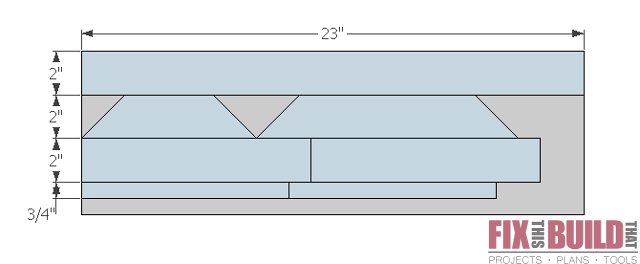
The other two boards are each will make up one of the ends of the DIY Kitds Bookshelf. Rip (3) pieces 2″ wide and (1) piece 3/4″ wide out of each board.
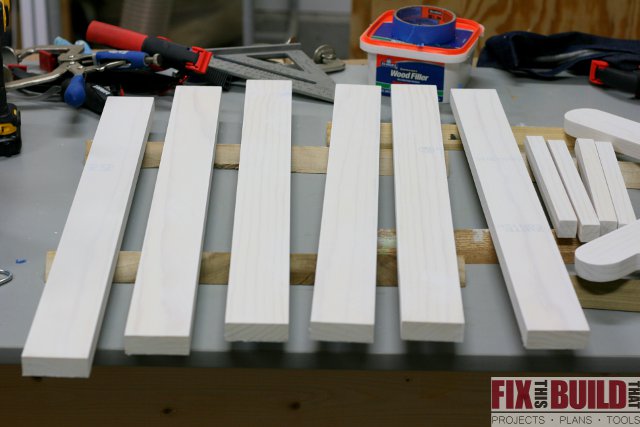
Here are the pieces that will end up coming out of each of the 23″ boards. Don’t worry, I’ll show you dimensions in just a minute.
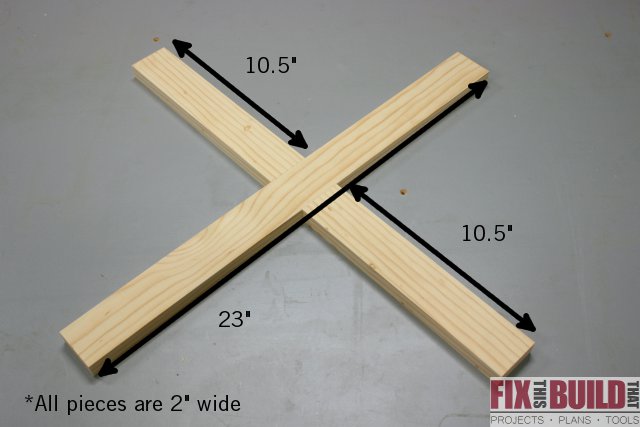
From the 2″ pieces you just cut, you’ll need to cut (2) of them into (4) 10-1/2″ pieces. Each side x-brace will be make out of (2) 10-1/2″ pieces and (1) 23″ piece like below.
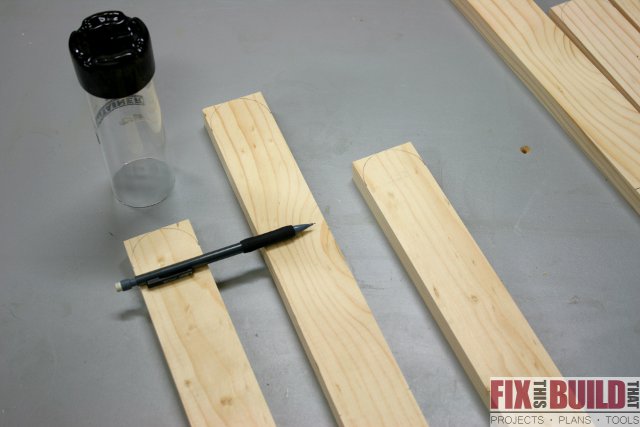
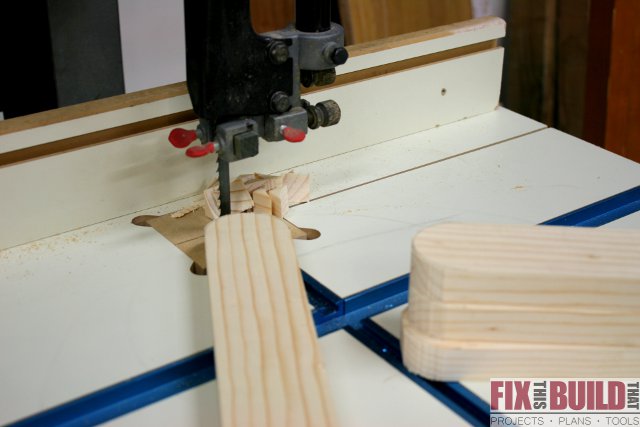
Now is a great time to round over the ends of each of the boards. I used a little container that had a 2″ diameter and traced it out on the end of each board.
Using a bandsaw or jigsaw, rough cut the curves on the end of each board. Then clean up the cuts with a sander to get to your desired shape. I have a Ridgid Oscillating Spindle Sander and it makes sanding curves sooooooo easy. Seriously, I can’t recommend that tool highly enough…I love it!
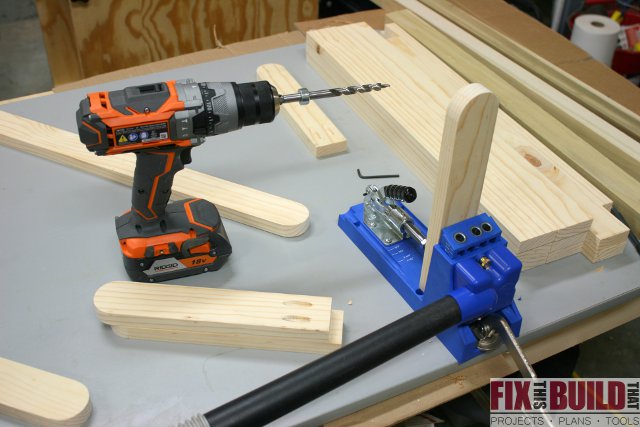
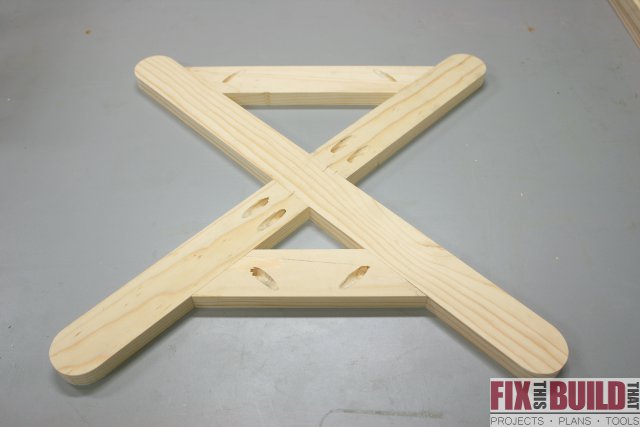
Now you need to drill pocket holes in each of the short pieces to join them to the long piece and make the X. I use a Kreg K4, but any pockethole jig will do (I used a Kreg Mini for a long time with great success and it’s inexpensive to get started). Drill (2) holes in each short piece on the flat end…don’t do it on the curved end, that would be bad.
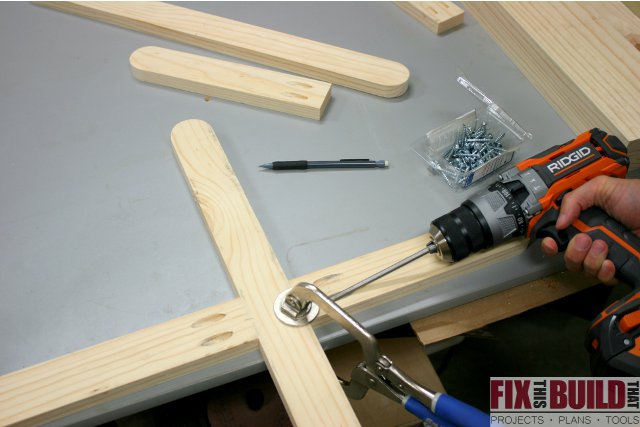
Now you can assemble the X’s using 1-1/4″ pocket hole screws. To get perfect alignment mark the center points of the boards you’ll be joining and line them up before you screw them in. You can use a face clamp to make sure the boards stay nice and flush.
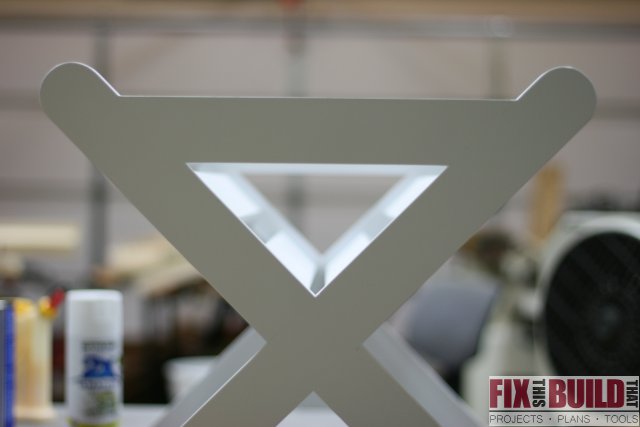
Congratulations, you’ve just made two big X’s!
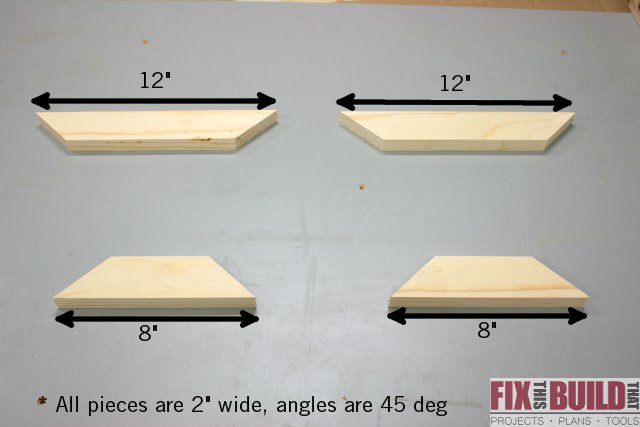
These pieces aren’t super sturdy alone, so they need some bracing. Using (2) of the 2″ wide 23″long pieces, cut a pair of 8″ and 12″ braces with 45 degree angles on each side. The lengths are from the long edges of the boards.
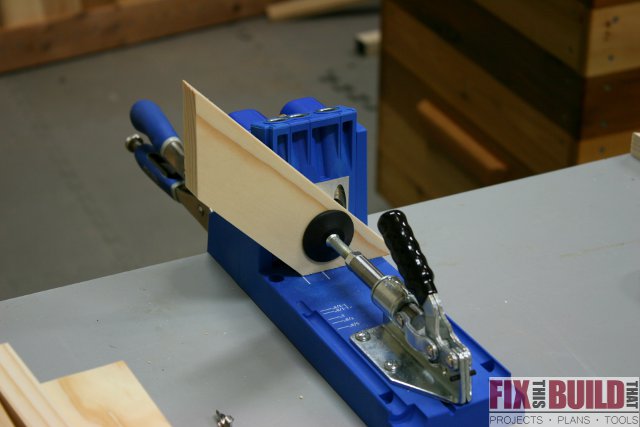
These piece will also be joined with pocket hole screws. You will need to set your pocket hole jig depth to 5/8″ instead of 3/4″ and will also need to adjust the collar on the drill bit to 5/8″. This will allow you to squeeze the pocket hole onto the piece.
You’ll see what I mean when you try it, but here is how my setup looked when drilling. You can see from the picture the issue with the drill guide on the right.
After drilling your pocket holes, the alignment and installation is easy since the pieces will fit snug and flush with the X. I just used hand pressure to hold it and screw the pieces in.
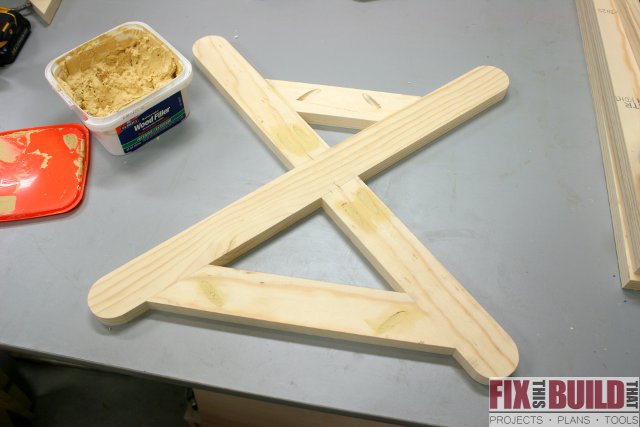
Now that you have your assembled end pieces, go ahead and fill those pocket holes with wood filler. After you sand and paint it the holes won’t even be noticeable.
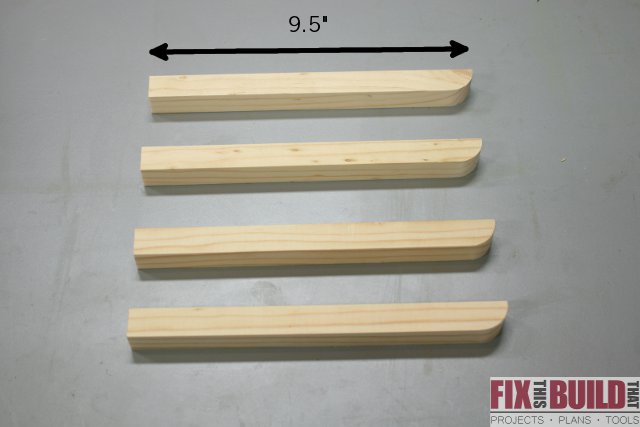
The last pieces to make are the ledgers that hold connect the bookshelf stretchers with the sides. Use the 3/4″ pieces and cut them into (4) 9-1/2″ pieces. I added a radius to each piece to match the look of the legs.
At this point you have all the parts ready and it’s best to go ahead and do some pre-finishing. Sand everything to 150 grit and prime all the pieces with your choice of primer.
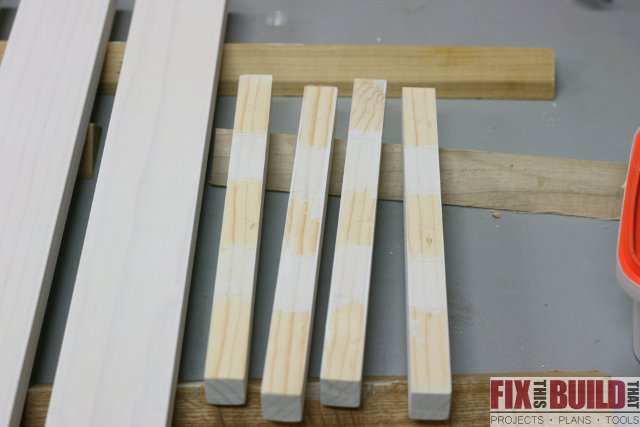
Leave the wood raw on the pieces that will be glued together later. I masked the little ledger pieces to keep the primer off them as well as the last 3/4″ of the stretchers on one side (that side is facing down in the pic above…oops).
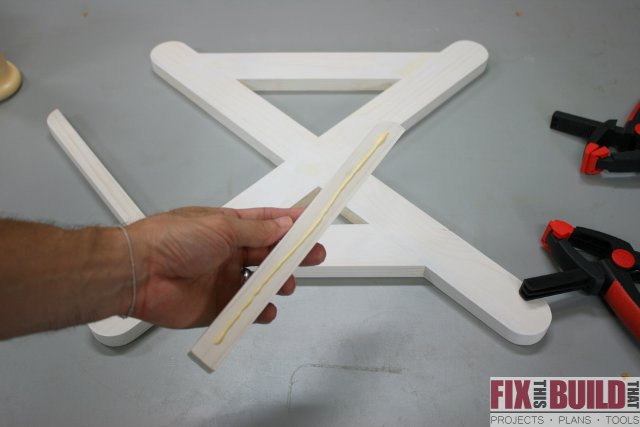
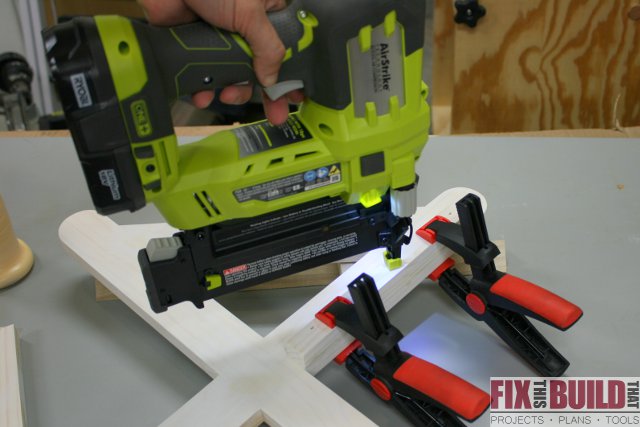
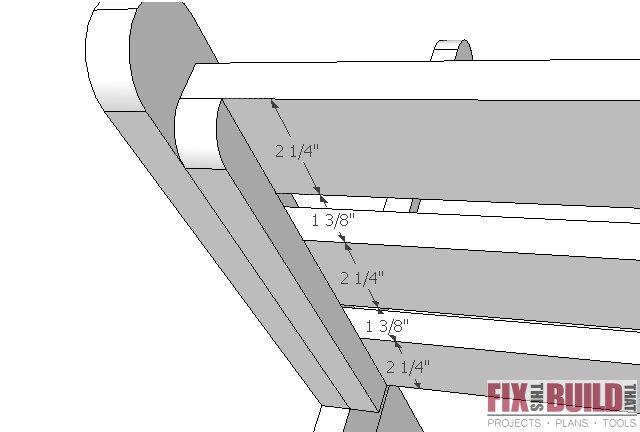
Next you can attach the little ledger boards to the sides. Use glue and 18ga brad nails for this. Align the ledger as seen in the picture. The bottom should be flush with the piece you are nailing it to. There should be 1″ between the top of the rounded ledger and the top of the rounded side piece. (See SketchUp pic below for more detail)
Before assembling I went ahead and did two coats of spray paint on the end pieces and the stretchers. It was much easier to spray everything when I could turn it and get in all the nooks and crannies.
After the paint was dry I assembled the end pieces and the stretchers. Use wood glue on each piece to get a strong bond. Each stretcher is 1-3/8″ apart and flush with the end of the ledgers.
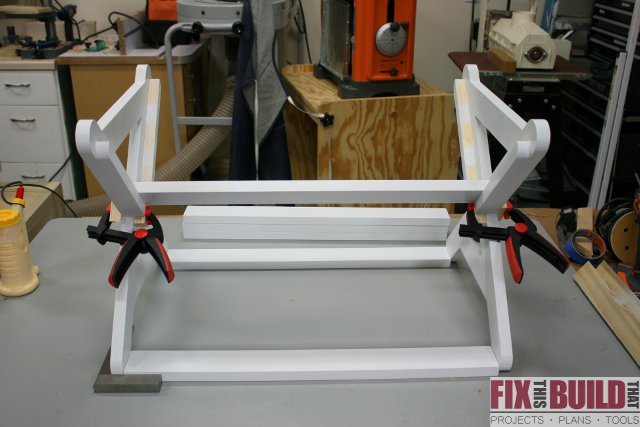
It helps here to have some clamps to hold things in place while you are nailing the stretchers down. I used two stretchers to get the right spacing between the sides before I started assembly. You can see them in the picture sitting at the base of each leg.
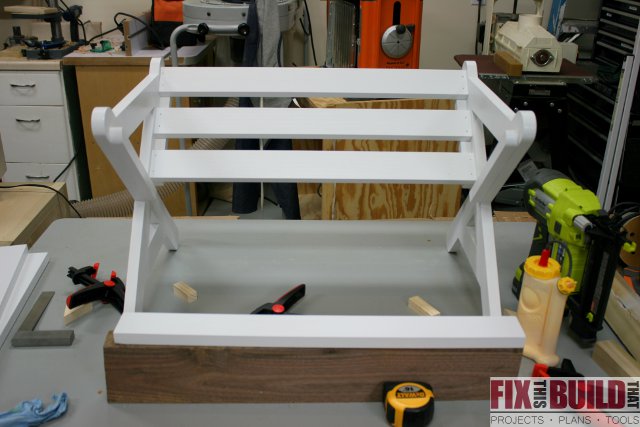
After one side is complete turn it around and do the other side.
After assembling both sides of stretchers, let the glue dry then come back and spackle the holes from the nail gun. Give everything a light sanding with 320 grit and then apply a final coat of spray paint.
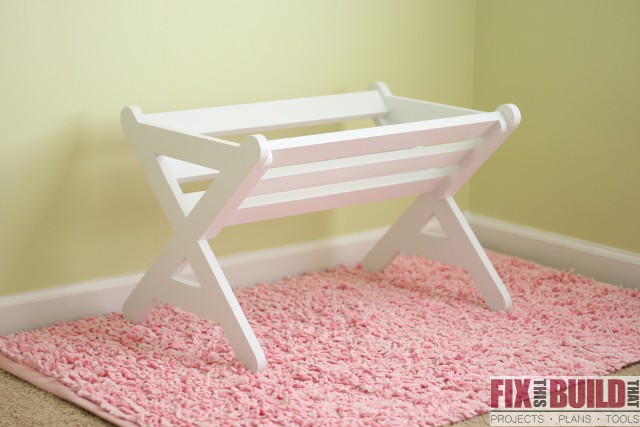
Now you have an awesome DIY Kids Bookshelf and only used one board! Load it up with books and let your little ones enjoy it.
Don’t stop reading yet! Go check out the other bloggers who also took the One Board Challenge. They have some amazing projects and I know you’ll like them! Click on their site names for a link to their project.
- Jen at The House of Wood
- Katie at Addicted 2 DIY
- Jaime at That’s My Letter
- Sandra at Sawdust Girl
- Brittany at Pretty Handy Girl
- Jenn at Build-Basic
- Mindi at My Love 2 Create
- Amy at Her Toolbelt
- Pauline at My Altered State
- Bethany at Sawdust & Embryos
- Kim at The Kim Six Fix
- Sarah at The Ugly Duckling House
- Elisha at Pneumatic Addict Furniture
- Jessica at Decor Adventures
- Karah at The Space Between
- Emily at Merrypad





Awesome Brad! It is perfect for daughter’s books, she is so cute! I love the bookshelf and especially that you used the word…Yahtzee?! lol!
Thanks, Mindi! My girl definitely loves it…and of course…YAHTZEE!
Super cute idea Brad! I love this for a kids’ room. I bet it would double as a cradle for a doll too ;-).
This is great Brad! I love the design.
Thanks, Pauline! I got the idea from Land of Nod and made some minor Nodifications 🙂
Clever! Great job.
Thanks, Sarah! Sorry we never got the chance to talk at Haven, we’ll have to settle for online I guess 🙂