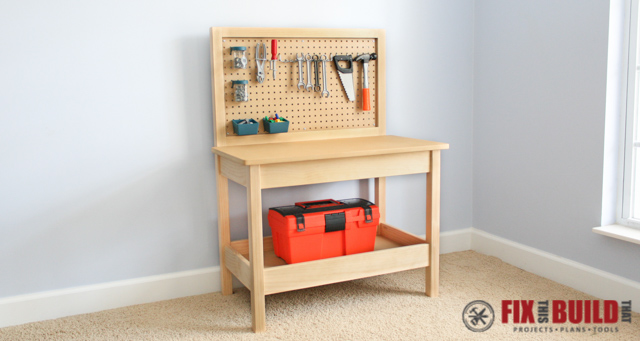
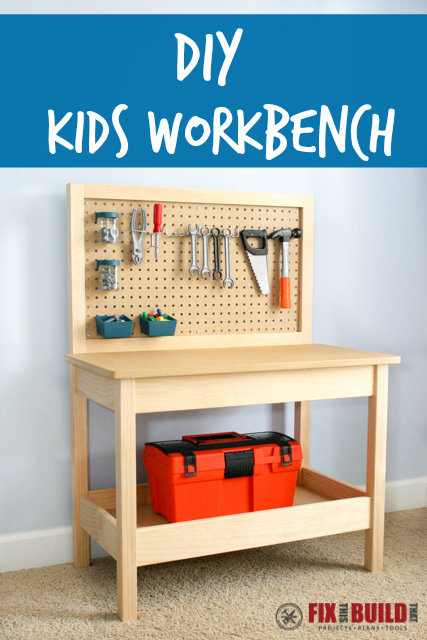
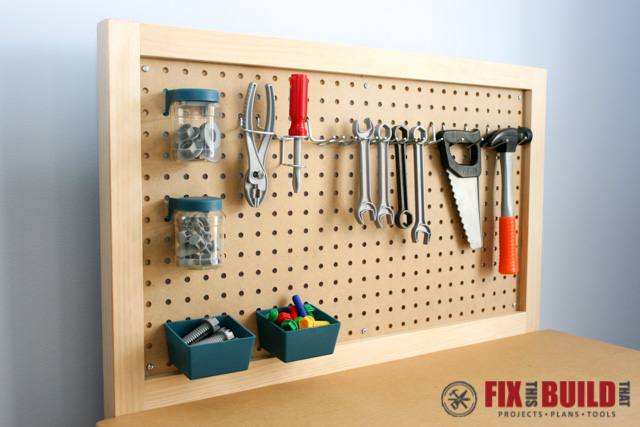
Today I’m sharing how to make a DIY Kids Workbench that would be a perfect present for your future woodworkers and DIYers. This workstation can be a fully functional work bench you put in the shop with you and let the little tikes build along with you. It could also be used inside as a play area with plastic tools if the thought of your kid with a real hammer is a bit scary.
The kids workbench stands 24″ high at the work surface, fitting for a broad range of ages. The shelf under the kids workbench will hold all the loose odds and ends and the integrated lip will keep everything contained. A grid of pegboard on the back will let your little builder store all their tools in easy to reach spots and help keep everything tidy when it’s time to clean up. Hidden pocket hole joinery makes this build quick and attractive. You can easily knock this project out in a short weekend!
I built the kids workbench with support from BuildSomething.com and have posted the project there as well. They have some really good projects on there and you can even submit your own builds. Check it out and see what you think.
Tools
- Kreg Jig K4
- Kreg Face Clamp
- Tablesaw (or circular saw)
- Miter saw
- Random Orbital Sander
- Cordless Drill
- Jigsaw
- Brad Nailer (optional)
Materials/Supplies
- (2) 8′ 1×4 select pine boards
- (2) 8′ 2×2 select pine boards
- (1) 2′ x 4′ 1/4″ Pegboard
- (2) 8′ 1×1 select pine boards
- (1) 2′ x 4′ 1/2″ MDF
- (1) 2′ x 4′ 3/4″ MDF
- 2″ Pocket Hole Screws
- 1-1/4″ Pocket Hole Screws
- 3/4″ Pocket Hole Screws
Affiliate links are used on this page. See my disclosure page for info on affiliate programs.


Making the Kids Workbench Back
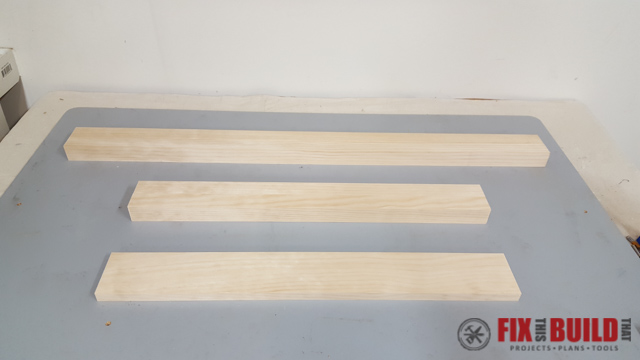
You’ll make the kids workbench in two sub assemblies and then connect them and add the table top and shelf for the full workbench. First cut the back legs and pegboard stretchers from 2×2’s and the back stretcher from a 1×4.
Drill pocket holes in the pegboard stretchers on the backside of the pieces. I use a Kreg K4 to drill my pocket holes. If this jig is out of your price range, Kreg has the cheaper R3 and Mini which give you the same holes but just take a little longer.
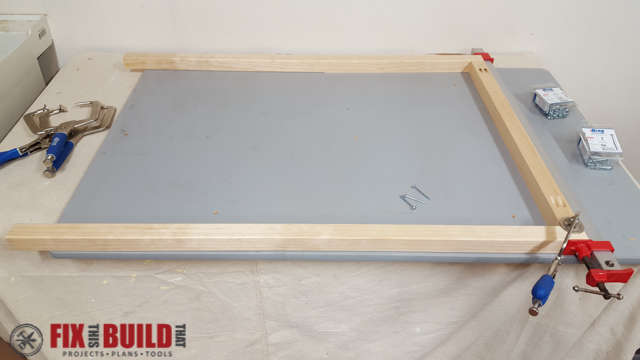
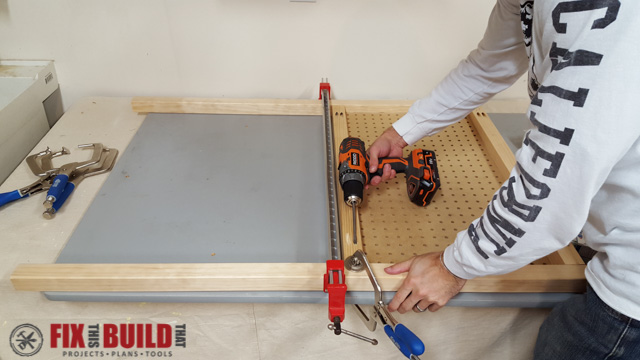
To make the back assembly, connect the pegboard stretchers to the back legs using 2″ pocket hole screws. First attach the top pegboard stretcher. Then cut a piece of pegboard to fit. Now use this piece of pegboard to position the bottom pegboard stretcher right where you need it.
Cut 4 pieces of 1×1 to use as cleats for mounting the pegboard. Attach them flush with the back of the 2x2s using glue and a brad nailer.
The back shelf stretcher is attached for support. Layout lines for reference and attach the back shelf stretcher with 1-1/4″ pocket hole screws. A right angle clamp will help immensely here.
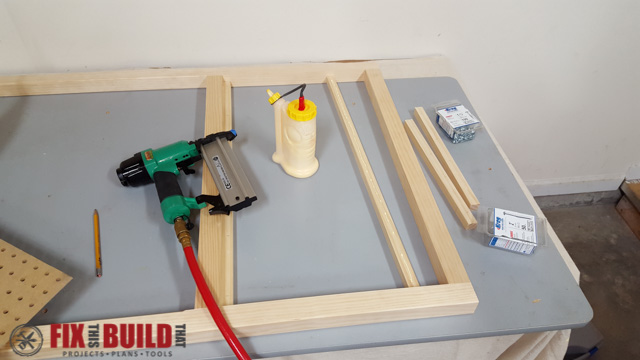
Making the Kids Workbench Front
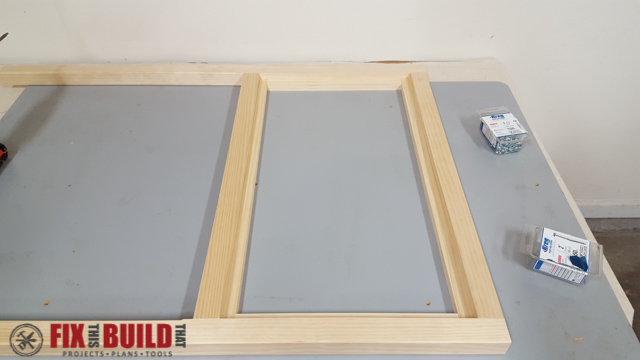
Next is the front assembly of the kids workbench. Cut the front legs from 2×2’s and the stretchers from 1×4’s. Attach the stretchers with 1-1/4″ pocket hole screws. The stretchers should be 3/8″ inset and centered on the width of the legs. Drill vertical pocket holes in the top front stretcher for attaching the top. Secure the front bottom stretcher to the legs.
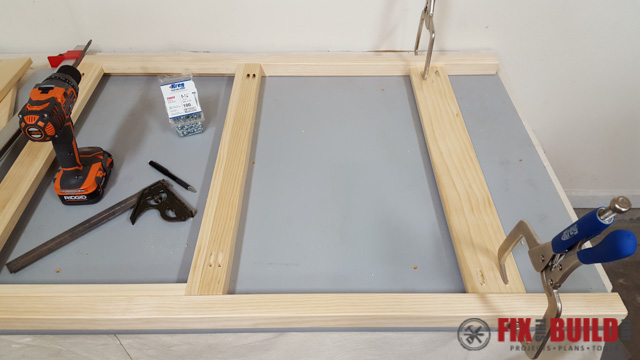
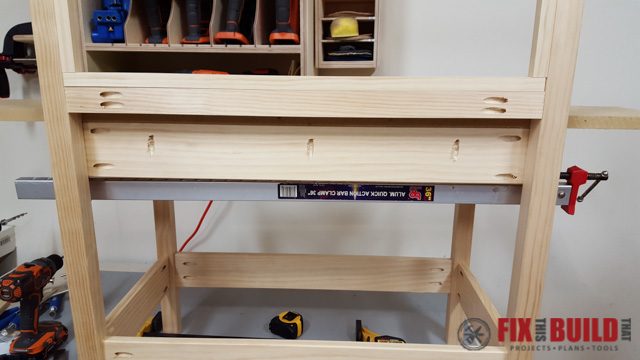
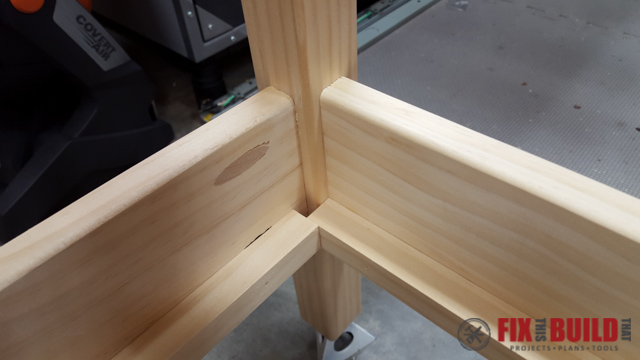
Now use four side rails to connect the front assembly and back assembly. Then line the side rails up with the stretchers on assemblies. The top rails should have vertical pocket holes for attaching the top.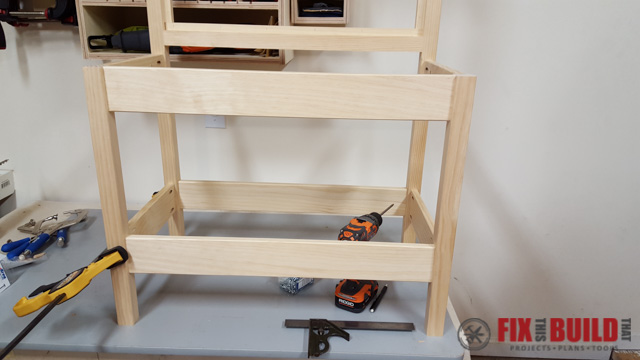 Cut the back top stretcher to fit between the side rails flush with the back legs. After that, attach it into the side rails with 1-1/4″ pocket hole screws.
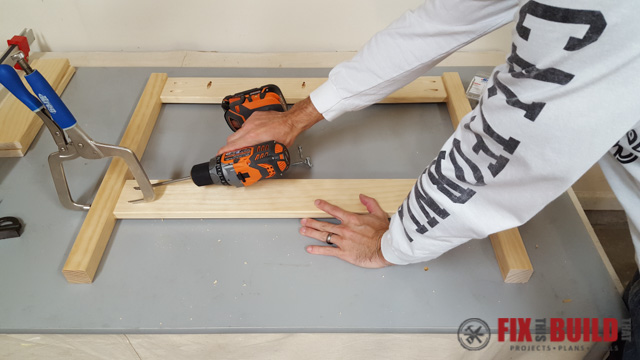
Preparing for the Workbench Shelf
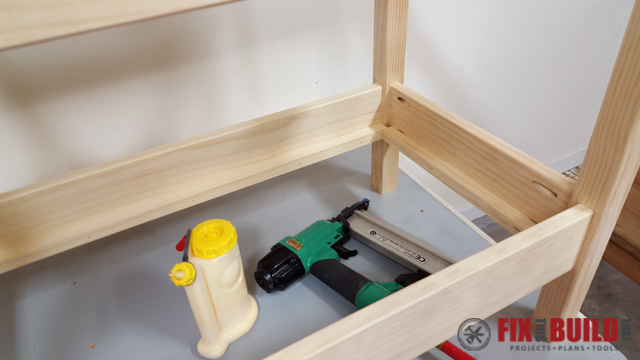
Using pieces of 3/4″ x 3/4″ stock cut shelf cleats to support the shelf. Next secure the shelf cleats with glue and brad nails flush with bottom rails and stretchers.
Use wood pocket hole plugs to fill the exposed pocket holes in the side rails. Then apply glue and seat them in the pocket hole.

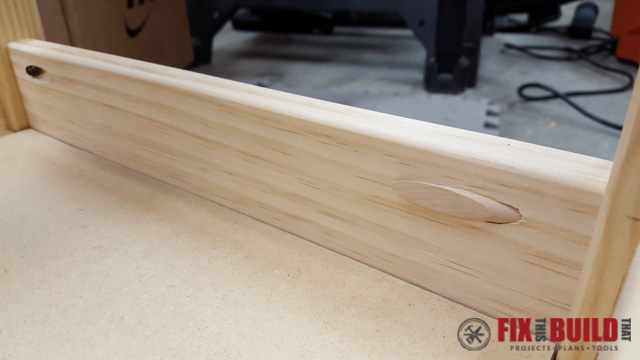
After the glue is dry, come back and cut them flush with a flush trim saw or sand them flush.

Installing the Kids Workbench Top and Shelf
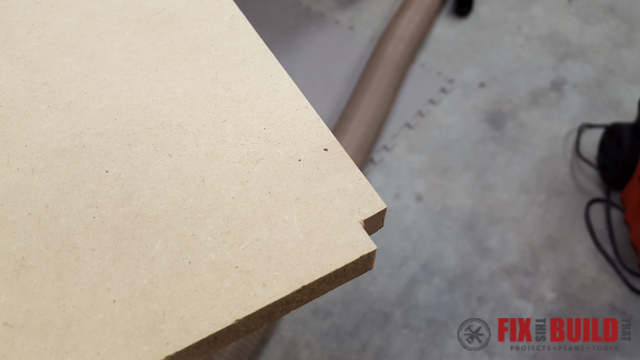
From 1/2″ MDF, cut a shelf to size. Cut 3/8″ square notches in each corner to account for the legs.
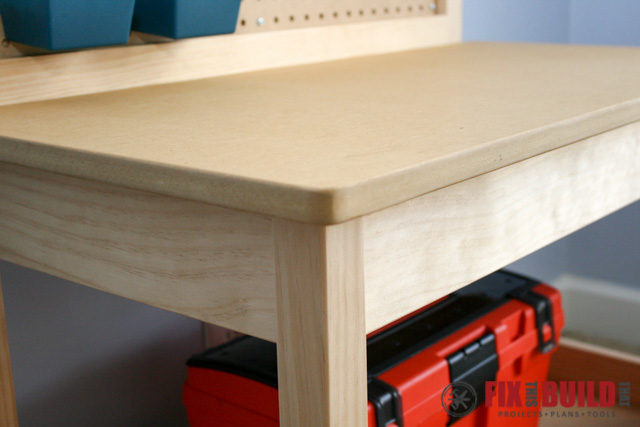
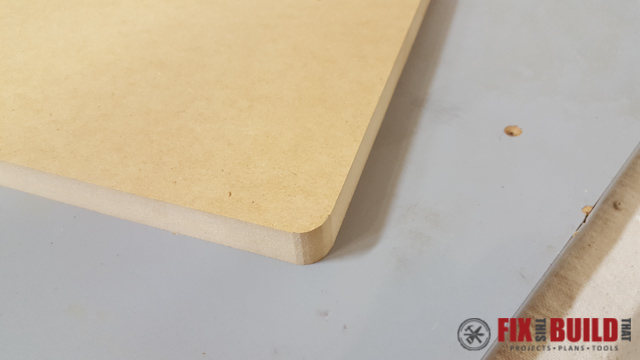
Next cut a top from MDF and round the corners. Then roundover the top and bottom edges that will be exposed.
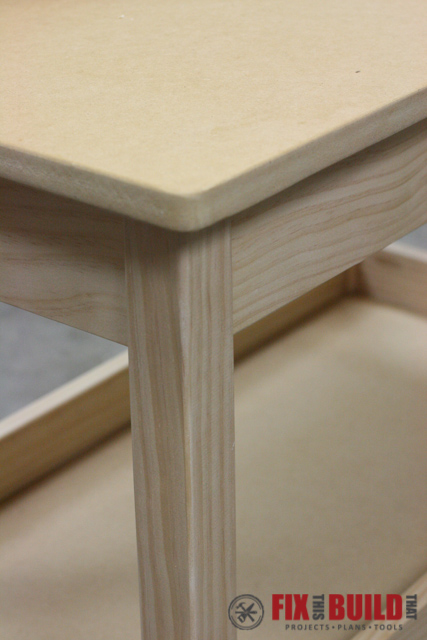
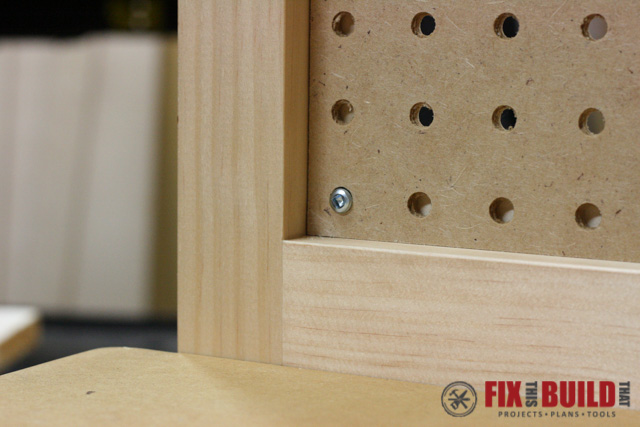
Roundover all sharp edges and sand everything to 150 or 220 grit and then finish with waterbased polyurethane. Install the pegboard with 3/4″ pocket screws through the holes and into the cleats. Install the top with 1-1/4″ pocket screws. Drop the shelf into place, no need to secure with screws.
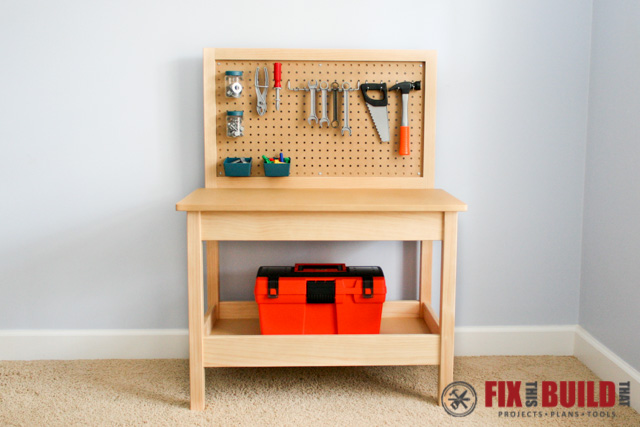
Now load it up with some pegboard organizers and tools and your little builder is ready to enjoy their new kids workbench! Download the plan below and go checkout my other builds on my Projects Page.
BuildSomething.com provided me with product and/or monetary compensation as a sponsor of this build. All opinions are my own and are not filtered by the sponsor.


Great plans and instructions. With the current school closures I’ve decided to include woodworking in my 4 and 9 year old’s education, so we started building this for them today. Had to adjust measurements a little to account for the scrap wood I have available since not supposed to go to the store. They built the back today, had a blast and it already looks great.
Love it, that’s awesome!
Looking forward to getting started on this – I’m super-beginner – what need do I have for a Miter Saw on this project vs. just a Circular Saw?
Thanks for this great work plan. They yielded a nice workbench with less need to work through measurements and details.