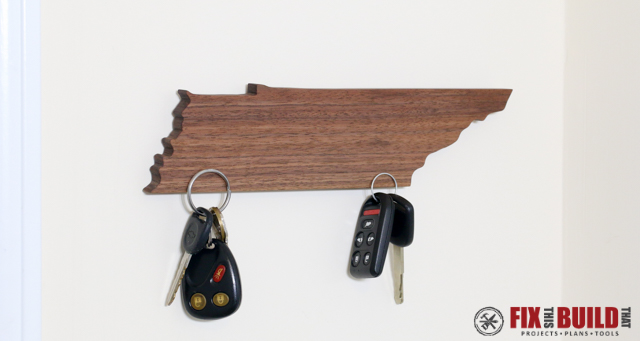
Today I’m going to help you solve the mystery of the missing keys with this DIY Magnetic Key Holder. And as an added bonus you can show some state pride by shaping this wooden keyholder into your favorite state. It’s a super easy woodworking project you can make in just a few short hours.
The key to the project (see what I did there 🙂 ) is the set of rare earth magnets that you’ll hide in the wooden key holder. And if shaping it like a state isn’t your thing then don’t worry, you can use the process to mount the magnets and shape it like whatever tickles your fancy. Or you could always buy one off the shelf from www.arohmade.com who I recently found out was the one I got this idea from. But if you want the gratification of making your own then keep reading and you’ll be one step closer to never losing your keys in your house again!

Tools Used
Materials/Supplies
- Any wood of your choosing
- (3) Rare Earth Magnets
- Keyhole hangers
- Boiled Linseed Oil
- Sanding sticks
Affiliate links are used on this page. See my disclosure page for info on affiliate programs.
How to Make a DIY Magnetic Key Holder
- Shape the wood (state shape optional)
- Mount the magnets on the key holder
- Finish the wood and mount hardware
1. Shape the Wood (state shape optional)
To make my magnetic key holder I used a nice piece of hardwood walnut. If you watch the video above you’ll see that I took it from rough form to a piece that was 1/2″ thick. I’ll save you all those processing steps and just get to the good stuff. But here is what I started with.
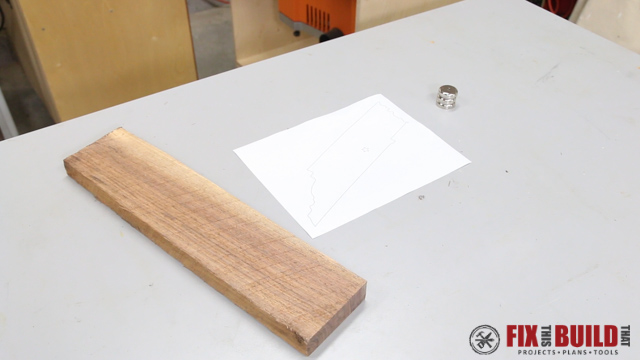
I picked a piece of wood for my magnetic key holder that would fit my state shape. I got the state shape from ColoringCastle.com, which is actually a site for kids…but the shapes are great because they soften some of the crazy details of the states. Here is the Tennessee shape I started with.
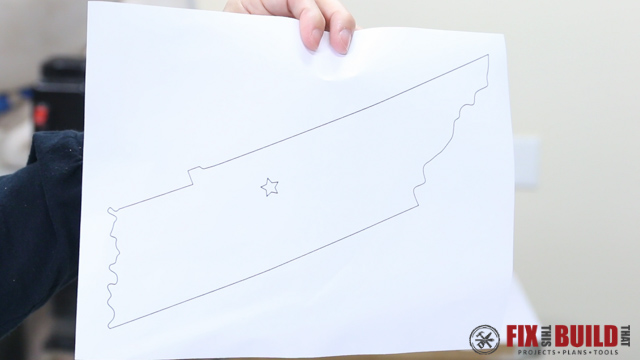
I actually pasted the state shape picture into PowerPoint and scaled and rotated it to get it as large as possible. You can bigger and print on multiple pages if needed.
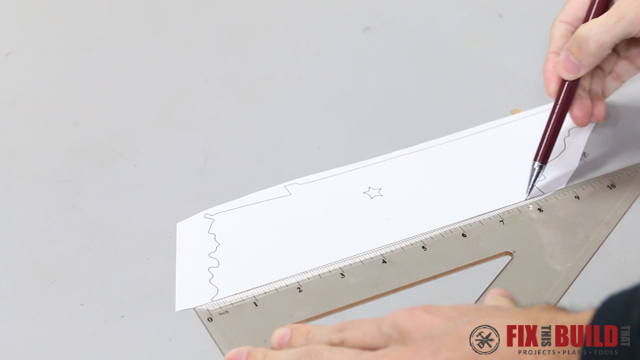
I noticed that the north and south borders of my state shape were curved. So I redrew the lines straight just for aesthetics. When I did my Ohio state shape sign I cut on entire peninsula off the state. Soften and change the edges as you see fit, nobody will notice 🙂
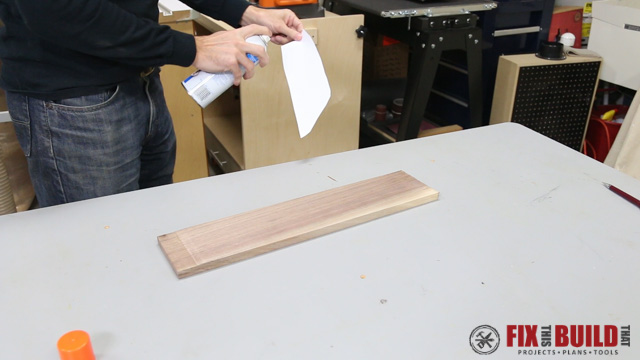
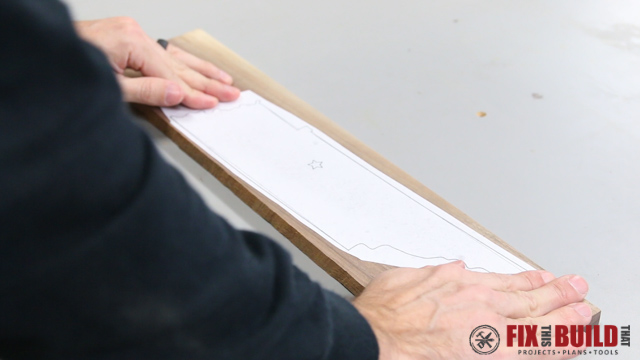
I roughly cut around the state leaving a little bit of buffer around the edges. Then I put a coat of spray adhesive on the paper template and stuck it to the wood. You only need enough to keep it there so don’t go over board and it will be easy to peel off later.
I cut out the shape using my bandsaw, but you can just as easily do this with a jigsaw or scroll saw. The key here is to take it slow and not to go over the lines. If you dip into the lines you can recover but it will just be a lot of sanding.

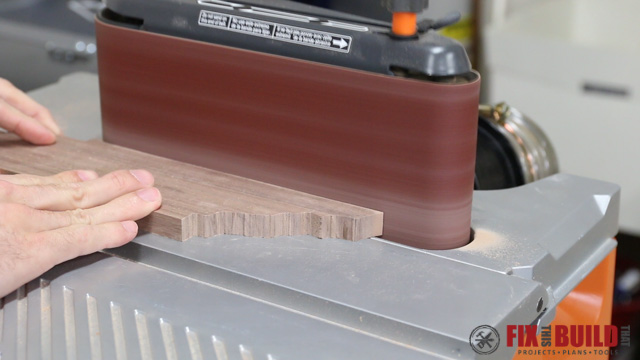
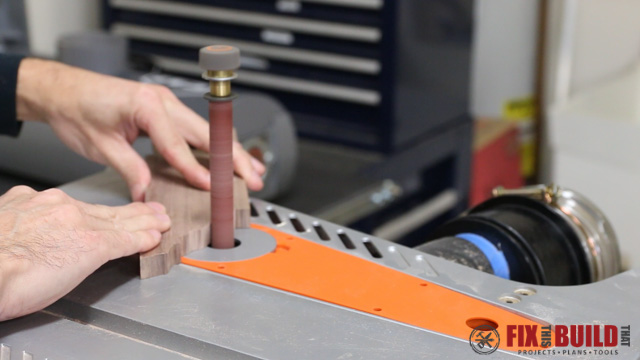
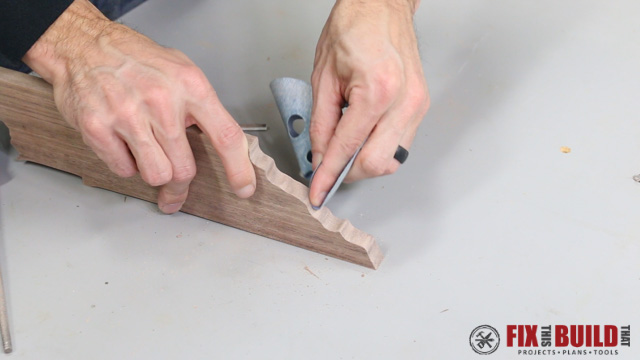
I peeled off the template and now the fun part…sanding. Actually this part is not fun. I used a combination of my oscillating sander for the flat parts and the spindle attachment for the softer curves.
And for the small details I used files, sanding sticks and just regular sandpaper.
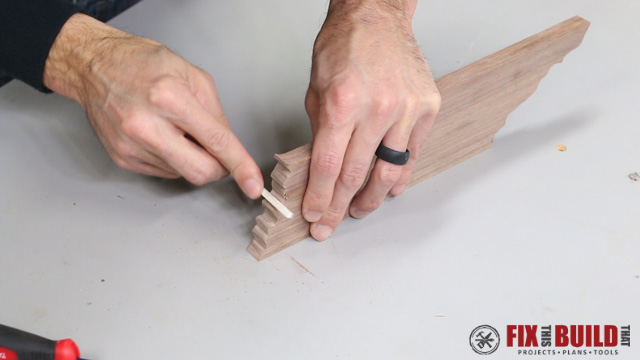
 I sanded the whole piece to 220 grit then moved to the next step.
2. Mount the Magnets on the Key Holder
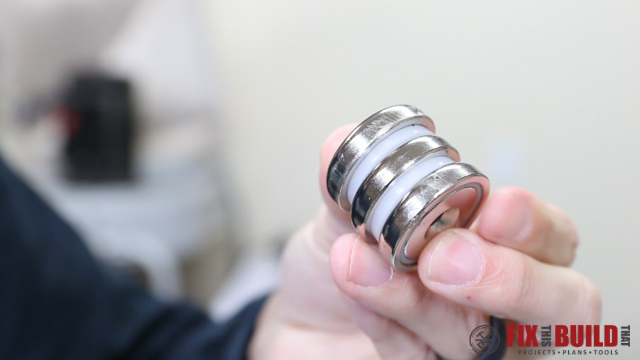
The heart of the DIY magnetic key holder is the magnets. The ones I’m using are rare earth magnets that are sold in a 3 pack. They are super strong and are actually made to be screwed to the wall and hold heavy items. Here is how they come out of the box. The magnet is actually in a metal cup with a plastic spacer around it and I left it all together.
I laid out the position for the magnets on the wooden key holder piece and set the spacing by eye. Setting the bottom of the magnets 3/16″ from the lower edge of the key holder will let your keys hang off the bottom by the keyring.
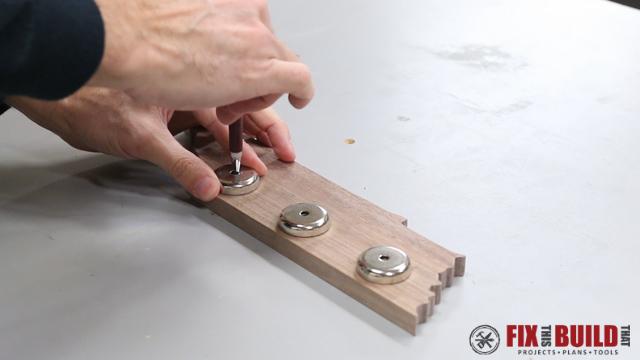
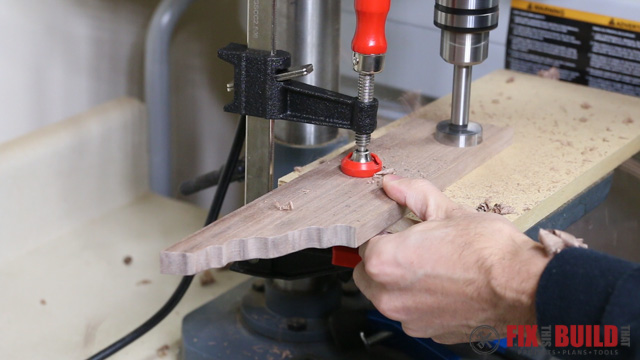
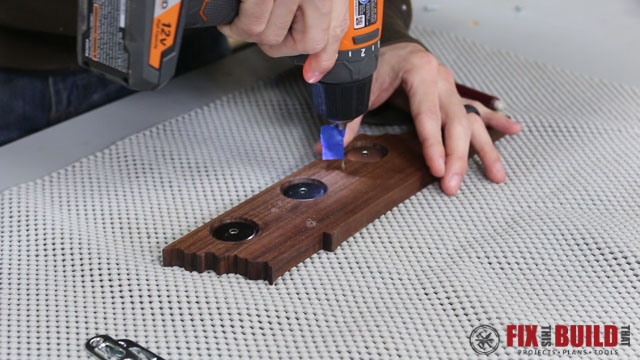
I used a 1-1/4″ forstner bit to drill the holes for the magnets. I set the depth stop so the point of the bit would bottom out just above the drill press table. This will leave about 1/8″ of material between the magnets and the face of the magnetic key holder. And please be sure you drill on the backside of the wood!!!
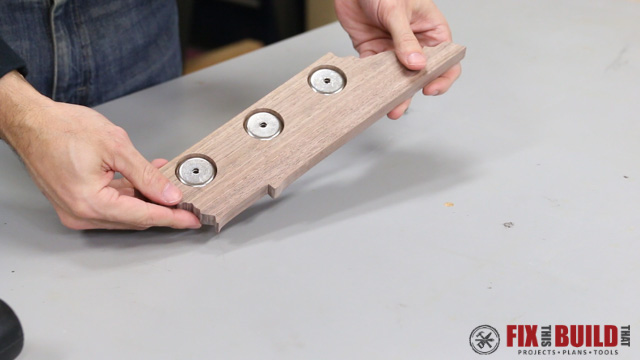
 The diameter of the magnets with the cup is 1.26″, so before mounting the magnets I sanded the edges to take off just a little material. Then I pressed the rare earth magnets into the holes with a mallet and a punch. The rounded cup on the magnet will be facing out the back when assembled properly.

3. Finish the wood and mount hardware
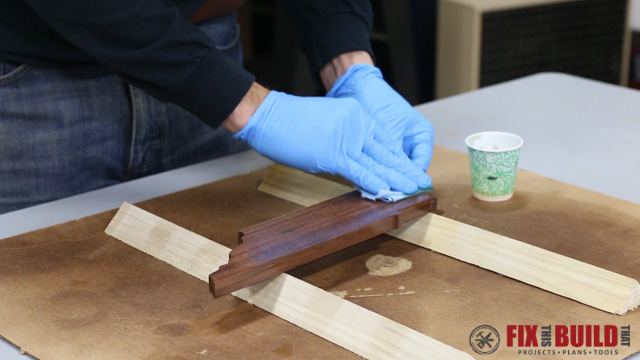
To finish the DIY magnetic key holder I applied a boiled linseed oil to the entire piece. The application is super easy, you just wipe it on, wipe off the excess and let it dry. I figure it’s going to get scratched up no matter what and this finish will be very easy to refresh.
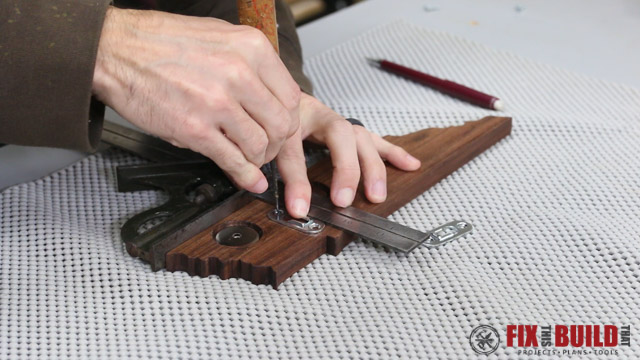
I used keyhole hangers on the back for the mounting. My magnetic keyholder is pretty small but I had room to fit the hangers right in between the magnets. I did have to nip the ends off the 5/8″ screws included with the hangers since my wood was only 1/2″ thick.

Now all that’s left it to hang it somewhere in your house using the hardware and keep track of all your keys.

If you want to see some more projects head over to the Home Decor Projects page.


