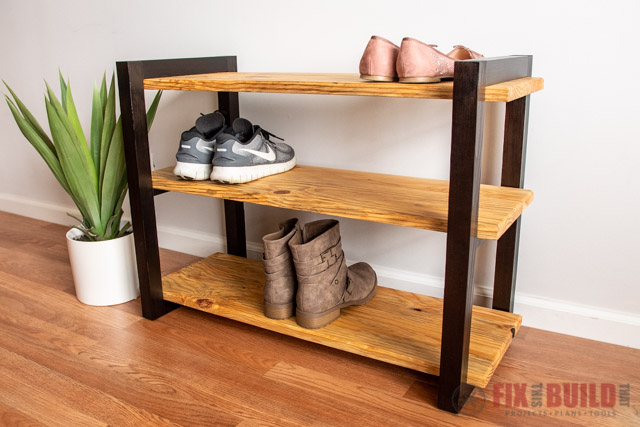
Today I’m making a DIY Shoe Rack with a Shou Shugi Ban finish. What is a Shou Shugi Ban finish you ask? Fire. Literally, it’s when you use fire to finish wood. And yes, it’s as fun and cool as it sounds.
But before we start setting wood on fire, you may be wondering why I need a shoe rack to begin with. After all, I built the DIY Shoe Storage Bench years ago to organize our shoes by the front door. Rest easy friends, the DIY shoe rack bench is still going strong. But I had a new line of attack in the shoe organization battle… my boots.
We don’t wear our shoes in the house. So when I come in from the shop (which is in my garage) I tend to take off my boots, and leave them… wherever. This is not ideal because someone ahem… my wife regularly trips over them. Ever heard people say, happy wife happy life? It was time for a shoe rack.
Thanks to Jet Tools for sponsoring this project. I used their machines to mill the wood that I use in the DIY Shoe Rack. I really enjoy milling my own wood, but don’t worry if you aren’t set up to mill your own wood. You can easily make your own shoe rack using dimensional lumber.
Before we get started, make sure to follow me on YouTube, Facebook and Instagram to keep up with all my latest builds! Affiliate links are used on this page. See my disclosure page for info on affiliate programs.
Here is what you’ll need for the project:
Tools Used
- 13” Planer JET (or Hand Sander)
- 8” Jointer JET (Optional)
- Parallel Clamps JET
- Tablesaw Sled
- Kreg K4
- Miter Saw Stand
- ISOtunes Bluetooth Earbuds (10% off code: FTBT)
Materials/Supplies
- (3) 8 ft long 1x6s
- (2) 8 ft long 2x2s
- No-mar Countersink Bit
- Jointer Pushblocks
- Trigger Torch
- 2-1/4″ Pocket Hole Screws
- 1-1/4″ Pocket Hole Screws
- 3/4″ Pocket Hole Screws

To make this easy diy project go even faster you can opt to build this project with dimensional lumber. I have free plans for this build using off the shelf lumber and a cut list you can modify if you choose.
I used rough lumber to make my version of the DIY shoe rack. If you want to see the process I went through to mill my rough lumber, make sure to check out the full video tutorial.
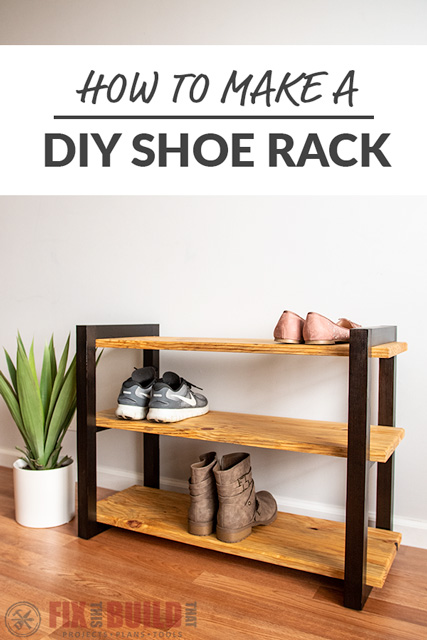
How to Make a DIY Shoe Rack
- Cut shelves to length
- Cut wood for the sides
- Apply finish to sides
- Cut chamfer on shelves and apply finish
- Assemble the shoe rack
1. Cut Shelves to Length
Cutting Shelves with Dimensional Lumber
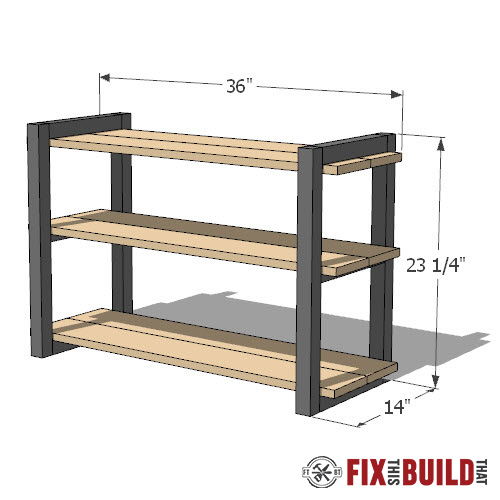
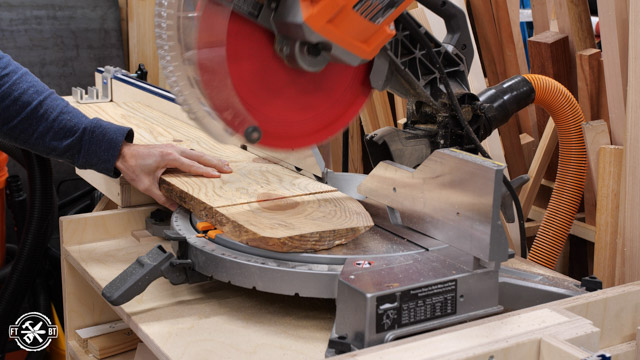
Begin by cutting the your 1x6s to length, these will be used to make the shelves. You can reference the cut list and dimensions in the free plans, or modify them by adjusting length depending on your needs. Make sure to think about how many pairs of shoes you’re trying to fit on each shoe shelf.
Once you’ve determined the length of your shoe shelf, use a miter saw to cut your boards to length. Then you’ll be ready to rip those boards down and glue them up.
Rip the Boards and Glue Up
Next I ripped the boards to width with my table saw. Each shelf will be made of a wider piece and a narrower one. Then I laid out the pieces and matched them together for the best look.
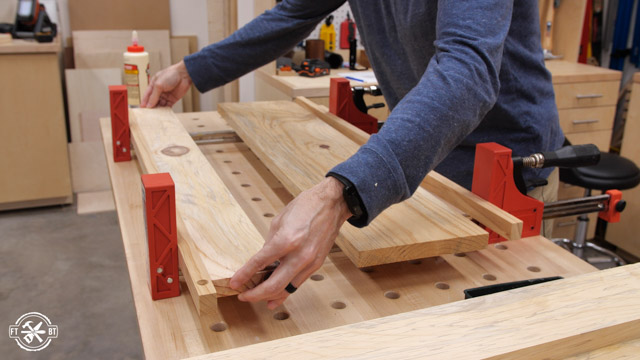
The glue up isn’t much to speak of with only two pieces per panel. One thing to watch out for though with soft woods like pine is denting the boards with the clamps. I used offcuts between the panels and the clamp jaws to even the pressure along the edge and avoid dents.
2. Cut Wood for Sides
Cutting the 2×2’s for the Sides
Next I cut off one side of each 2×2 on the miter saw to establish a square end. Then I used the freshly cut side against the stop block on my miter saw to cut the four tall legs to size. These will be connected with some short pieces to make the sides.
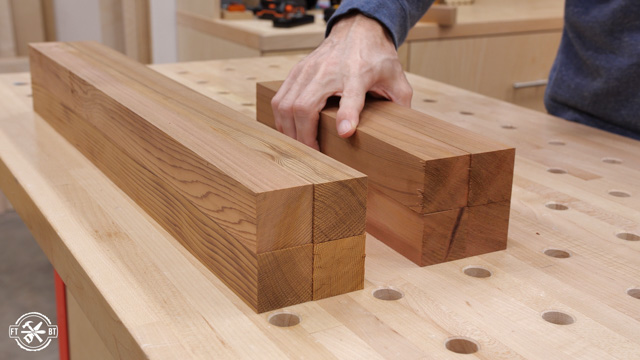
And since my stop block only goes down to 13” I set it 10” longer than what I needed and used a 10” spacer to offset the cut. This is an easy little trick to get repeatable cuts under 12” with a stop block system.
Joining the Sides of the Shoe Rack
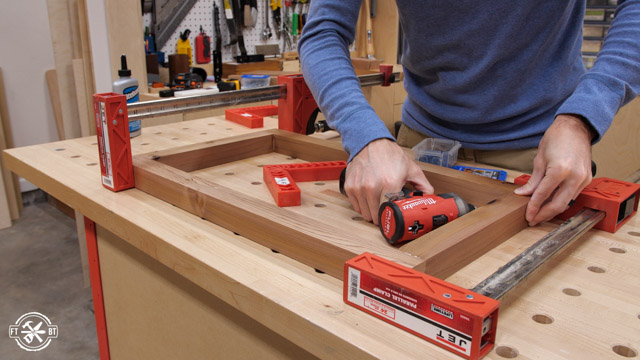
I’m using my Kreg K4 to add pocket holes so I can join the side frames. Once it’s assembled all the holes will be hidden, but if you prefer you could use miters or dowels here for the connections.
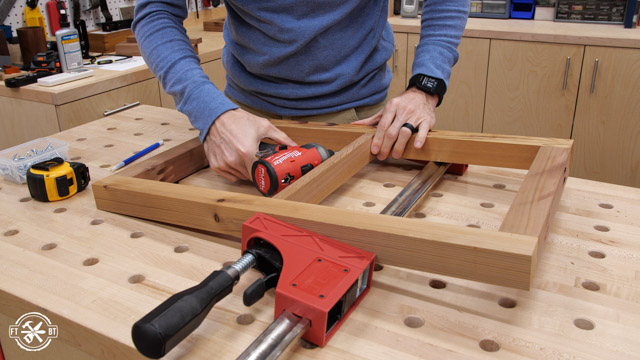
Next I assembled the frames with 2-½” pocket screws and glue. Normally I wouldn’t use glue on an end grain to long grain joint like this, since it isn’t very effective. But with the heat from the shou shugi ban burning coming up, I figured any extra hold would be good to help keep the frames from warping.
The center shelf is held in place by two small supports in the middle. I ripped an extra short support in half on my table saw to make the two parts. Next I measured and marked to give 10” of clearance on the bottom shelf and 8” for the middle shelf. I sized these to fit our shoes and my boots will go down low, but you can adjust this to fit your needs.
3. Apply Finish to the Sides
Finally it was time to go outside and try my hand at shou sugi ban. I’m using a MAP/PRO gas torch, but a propane burner like what you use for soldering works fine as well.
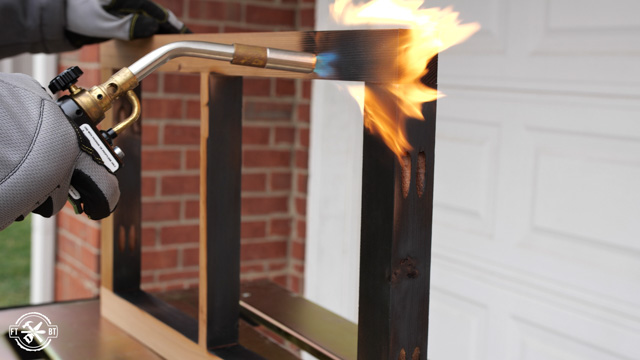
I used some scrap cedar and started torching the wood to try different techniques. Basically you can go from lightly burning the wood, to charring it. After burning it you’ll want to scrape the soot off. Honestly just try it yourself and you’ll get the hang of it really quickly.
I threw the frames on my welding table and started charring them nice and crispy. Make sure to use caution here and do this outside. You’ll also want to have some water nearby in case you need to put out any flames.
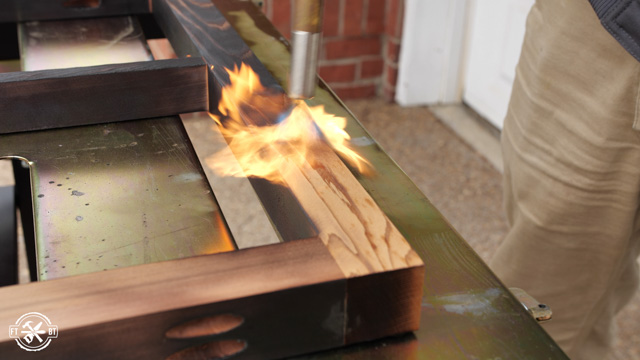
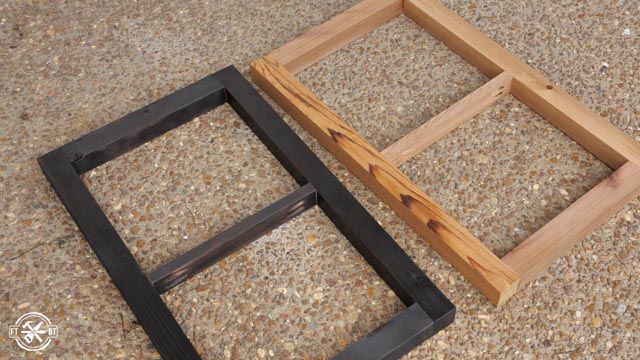
As I mentioned, I was a little nervous the heat was going to mess with the joints but it didn’t at all. The only real issue I had was trying to burn into the corners. It left a thin line where the pieces met that wouldn’t char for me. And instead of really sorching the wood I just left it be. You can see how different the wood looks now.
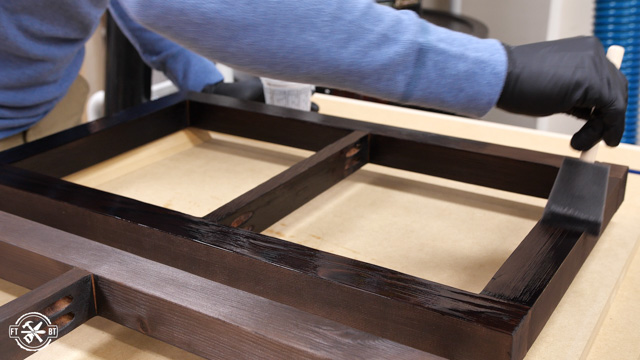
Right as I was about to start scraping I also had a change of heart. I was really digging this super dark look so I decided to see what it would look like if I just wiped off the soot vs brushing it. So I rubbed the rest of the soot off the frames then took them inside for finish.
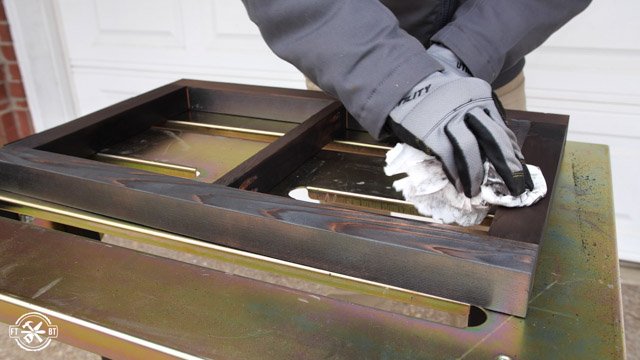
Finally I put on a coat of water based polyurethane to seal in the char and deepen the color.
4. Cut Chamfer on Shelves and Apply Finish
Since the shelves were less than 13” wide I ran them through my planer for a few light passes to smooth everything out. If you don’t have a planer you could use a hand sander instead.
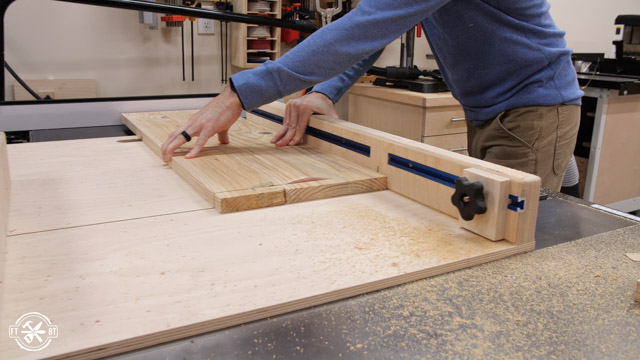
After that I took them over to the table saw and pulled out fred the sled to cut them to their final size. Next I squared one side of each shelf for a good reference surface. Then I clamped a stop block on my fence and set it to the final shelf length. This let me safely and easily cut the three shelves to the same length.
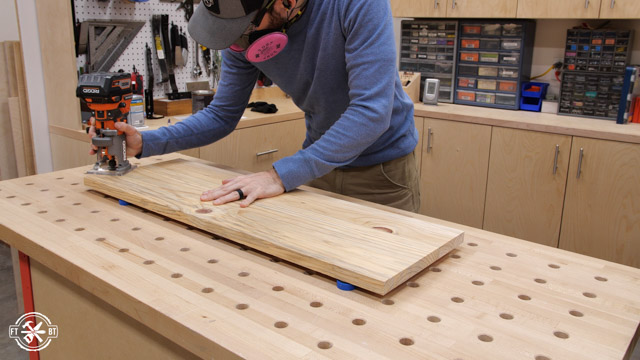
To soften the edges I put a chamfer on the top side of all the shelves with my router.
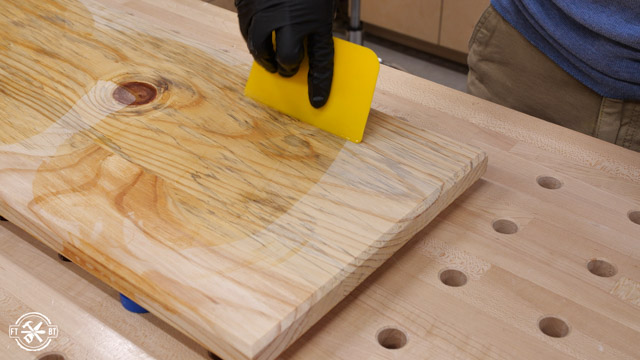
After sanding the shelves I put on some finish and it really brought out the character in the wood. I usually hate pine with just I clear coat, but I was loving how this looked and after a second coat the legs looked amazing too.
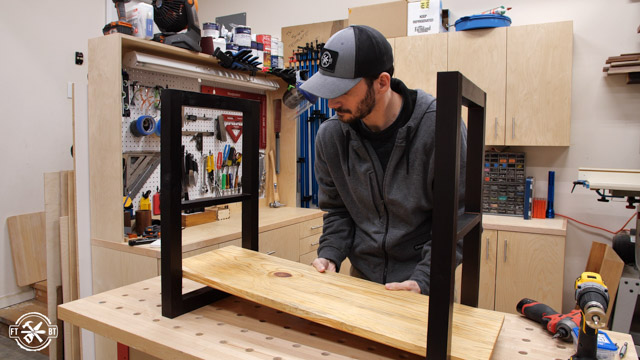
5. Assemble the DIY Shoe Rack
To assemble the shoe rack I flipped the sides upside down and started with the top shelf. I just used 2″ screws to attach this shelf, predrilling the holes first. I spaced the legs in from the end of the shelves and the overhang really makes the contrast between the pine and burnt cedar stand out.
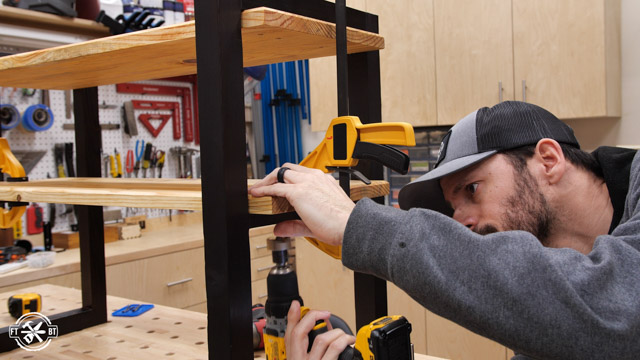
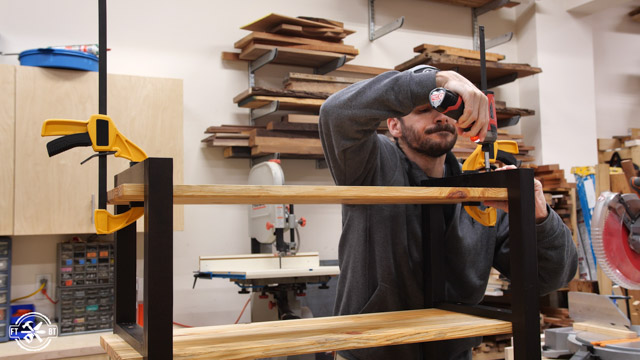
Next I clamped the center shelf in place and attached it with screws. I had to use 1-¼” screws here due to the thinner center support.
Finally, for the bottom shelf I flipped it back over yet again, clamped it in place and secured the screws from the underside using the longer 2” screws here as well.
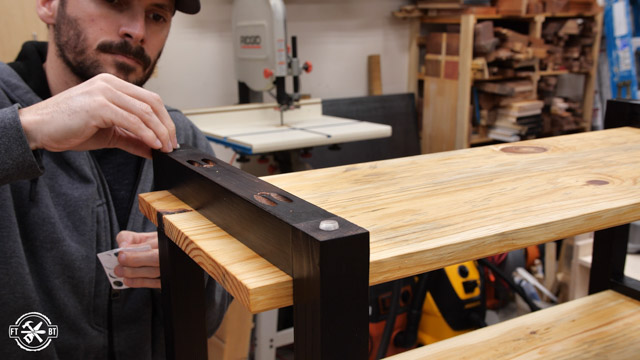
And while I had it upside down I drilled some small recesses in the feet and put rubber foot pads on it to keep the wood off the ground and help keep it level.
I really love how the DIY Shoe Rack turned out. It’s always fun to try new techniques and the shou sugi ban did not disappoint. And best of all, my boots now have a good home, and I have a happy wife. If you liked this project check out my other Furniture Projects, and get out there and build something awesome!

Jet Tools provided me with product and/or monetary compensation as a sponsor of this build. All opinions are my own and are not filtered by the sponsor.


