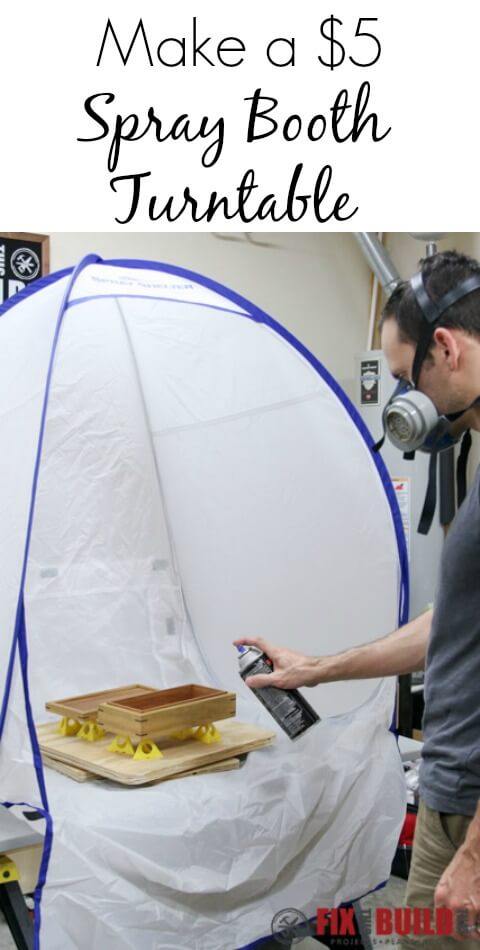
Hey, guys! If you’ve ever spray painted anything this post is for you. Today I’m going to show you how to make a DIY spray booth turntable, or some might call it a spray finishing lazy susan. It’s a very simple and easy to make project, but makes a world of difference when spraying finish (paint, clear coat, polyurethane, etc.) on your projects. And all you need is $5 in hardware and some scrap plywood.
You set your project on the turntable and you can spin it freely 360 degrees. Instead of moving all around your project trying to get in all the nooks, you simply stand in one spot and rotate the lazy susan base. The cool thing is this idea can be scaled to whatever size you need and it’ll make spraying your projects a breeze.
For this post I partnered up with HomeRight to use their Spray Shelters in conjunction with my spray booth turntable. I’ll show you how I used them after I walk through the assembly of the lazy susan and how convenient they are. And funny enough, my friend Katie from Addicted2DIY had the exact same idea as I did. She’s sharing her version as part of her DIY Outdoor Chalkboard build. You can go check out Katie’s version for another approach to this project.

Tools Used
Materials/Supplies
- 24″ x 24″ 3/4″ plywood
- 6″ lazy susan hardware
- Painter’s Pyramid
- 1-1/4″ Pocket Hole Screws
- 5/8″ Pan Head Screws
Affiliate links are used on this page. See my disclosure page for info on affiliate programs.
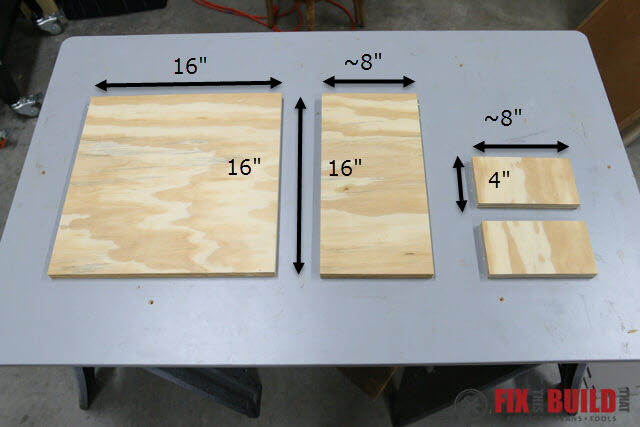
I told you this is a super simple project and I won’t disappoint. The whole thing is made from one 24″x24″ 3/4″ plywood project panel. It’s a great use for leftover scrap or you can buy one at the big box for very cheap. My lazy susan is 16″ square, but you can use this some method for almost any size.
Assembling the Spray Booth Turntable Base
From the 24″ project panel cut a 16″ x 16″ square. One of the offcuts will be a strip 16″ long and just under 8″ wide, this will be your main base piece. The other offcut should be 24″ long and just under 8″. Cut 2 pieces off the strip at 4″ x ~8″ each. You’ll be left with these pieces.
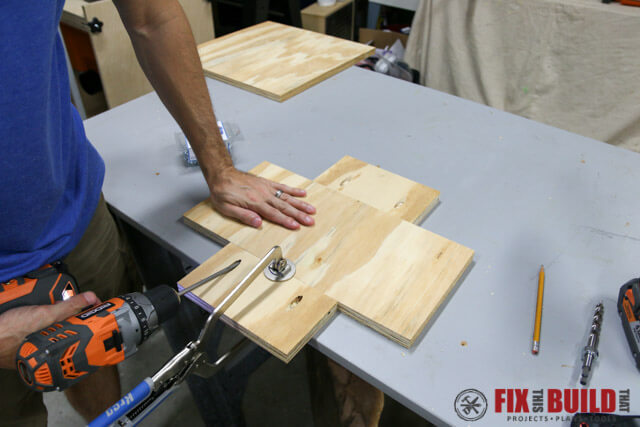
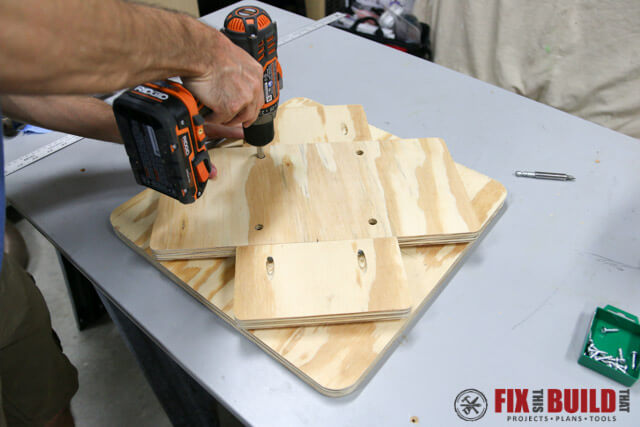
Use a pocket hole jig to drill 2 pocket holes in one long side of each of the 4″ x 8″ pieces.

Center and attach the pieces to the main base with 1-1/4″ pocket screws.
Round Corners and Mount Lazy Susan Hardware
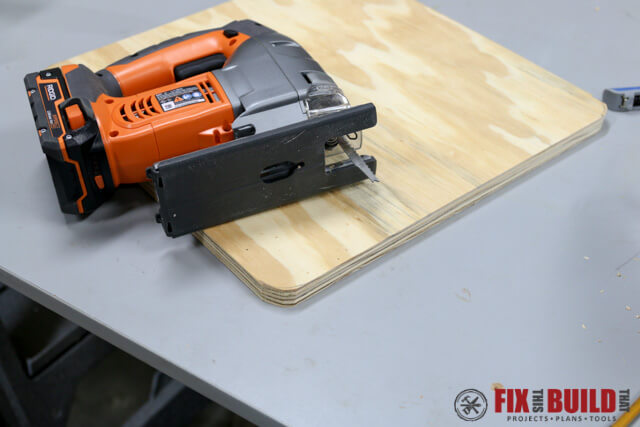
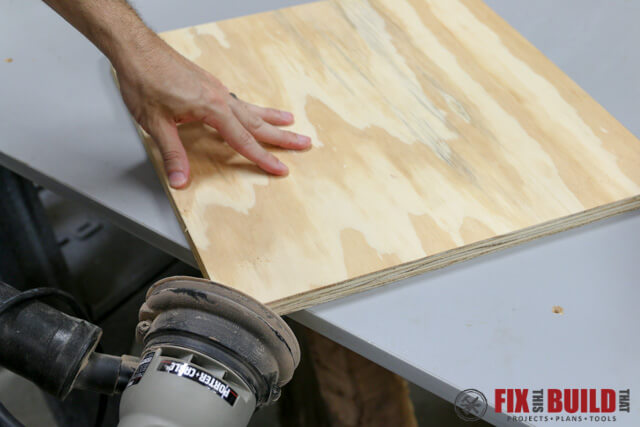
To keep from bumping into any sharp edges, round the corners of the spraying platform as well as the base. I used a cup to outline the curves on the platform, cut them with a jigsaw and then sanded flush with a sander.
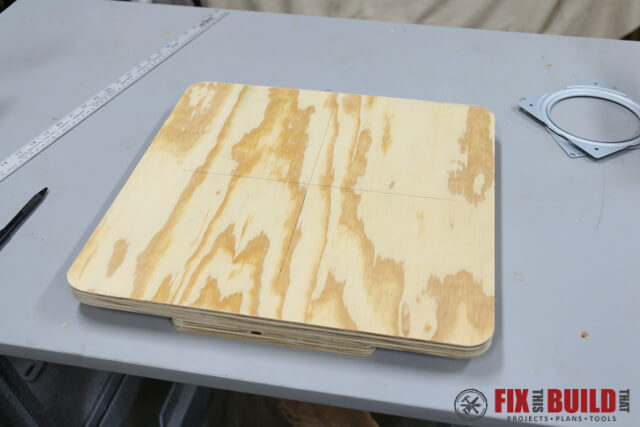
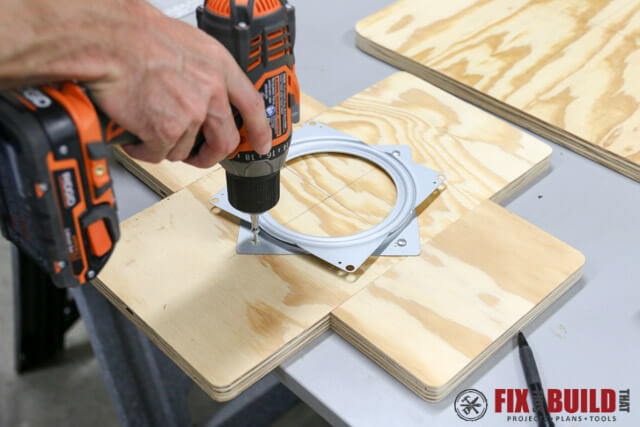
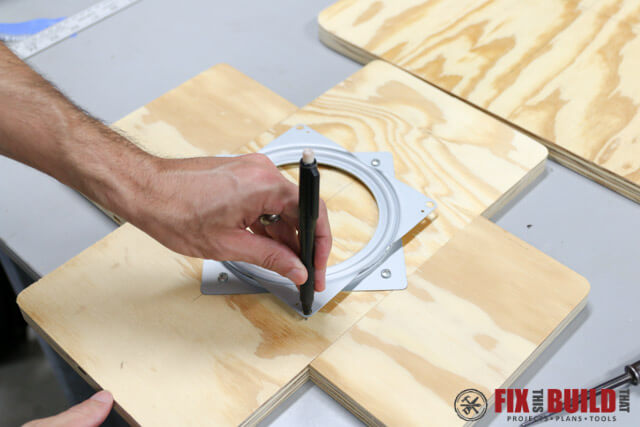
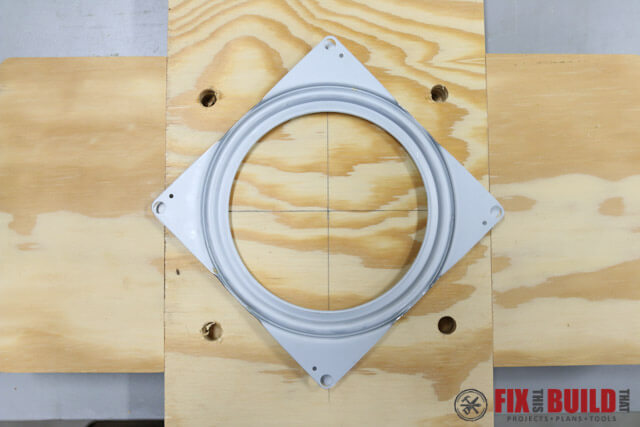
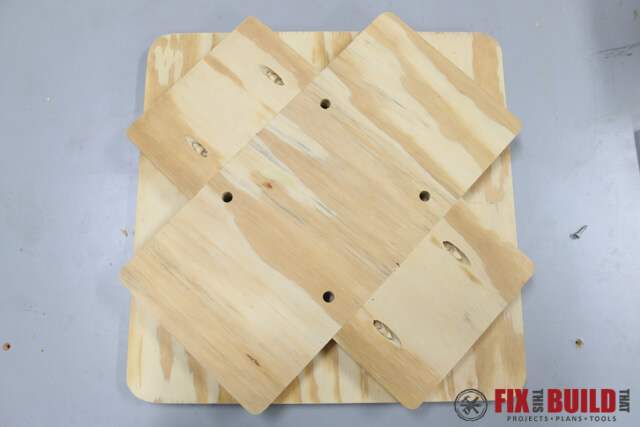
The hardware I’m using is 6″ lazy susan hardware. It’s only $5 so it’s not the best one in the world, but perfect for this application. To mount the hardware start by drawing lines down the center of each side of the base and platform to form plus signs. Line up the holes in the base so the lines pass under the center of each hole.

Secure the hardware to the base with 5/8″ pan head screws.
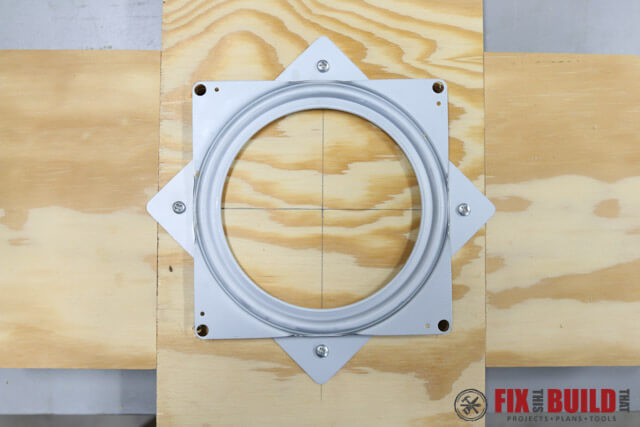
Next rotate the top portion of the hardware 45 degrees so it forms an 8 point star. Use a pencil to mark the location of the large holes onto the wood base.
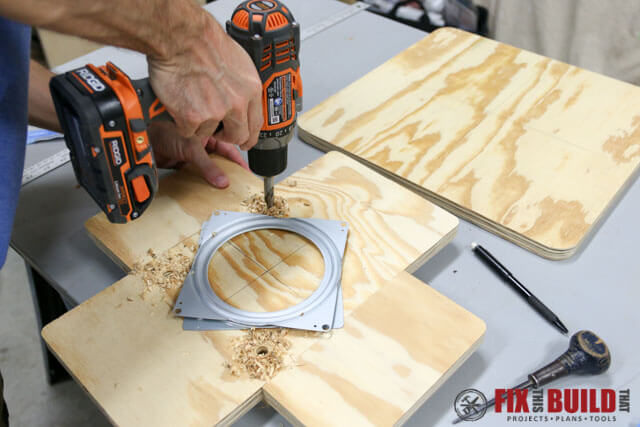
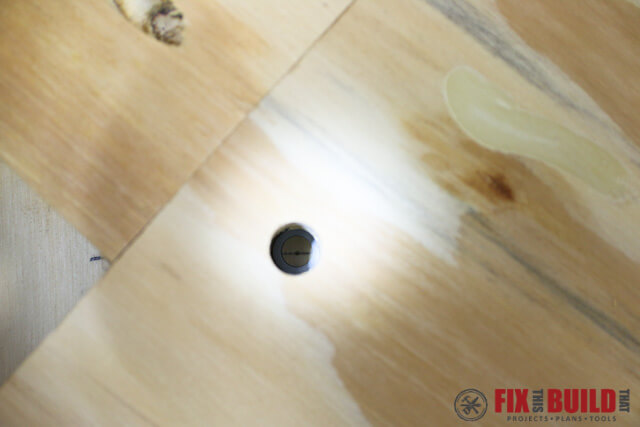
Move the hardware back out of the way and use a 1/2″ drill bit to drill through the base in the locations you just marked. You’ll use these holes to mount the hardware to the top piece in a moment.
Pick up the base and rotate the lazy susan hardware so you can see the mounting holes on the top portion through the access holes you just drilled. Put the base upside down on the top and line the up the mounting holes so they overlap the pencil lines you just drew like before.
Use 5/8″ pan head screws to secure the base to the top through the mounting holes.
And that’s it! Like I said, very simple.
Spraying Small Items with the Turntable
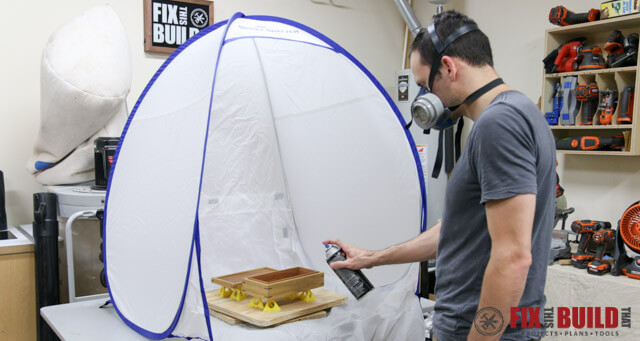
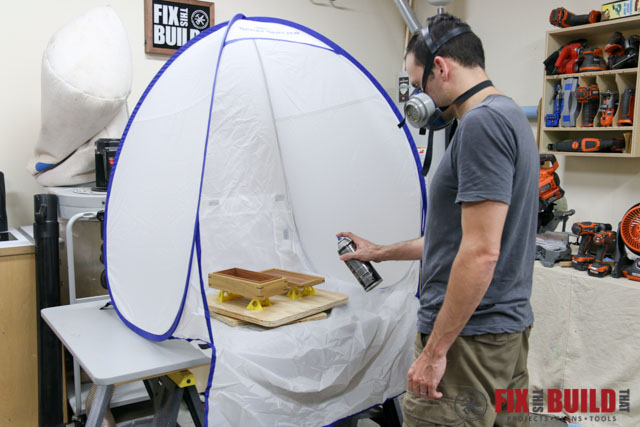
The awesome thing about the DIY spray booth turntable is that you can use it for small and large applications. I specifically made this size to work with the new small spray shelter from HomeRight. It’s a collapsible spray booth you can setup in seconds and it keeps overspray from blowing around your shop. Here is what it looks like right out of the bag.
 When you take the strap off it instantly pops up and give you a spray booth right in your shop that you can put on a flat surface. It worked great on this small worktop I have on my sawhorses.

I put the lazy susan inside the spray shelter and used some of these painter’s pyramids to raise the workpiece off the surface. This lets me spray on all sides except the bottom without having to touch the piece.
Just rotate the spray booth turntable as you spray and when you’re done you can let it dry in the spray shelter which also helps shield it from dust.
Spraying Large Projects with the Turntable
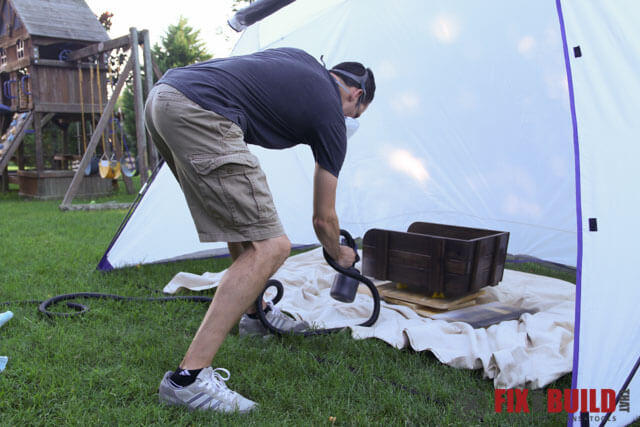
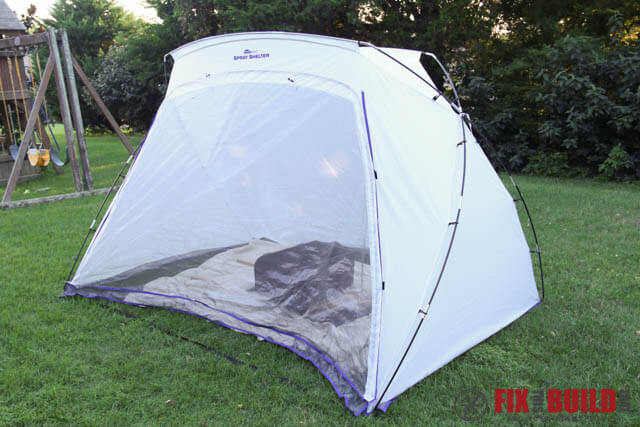
The small spray shelter will hold a decent size item, but if you need to do something larger like a cabinet or larger table you can use the turntable for that as well. HomeRight also sent me their large spray shelter that I use outside. It does take a little bit to setup. It took me about 15 minutes the first time but only about 10 minutes the second time.
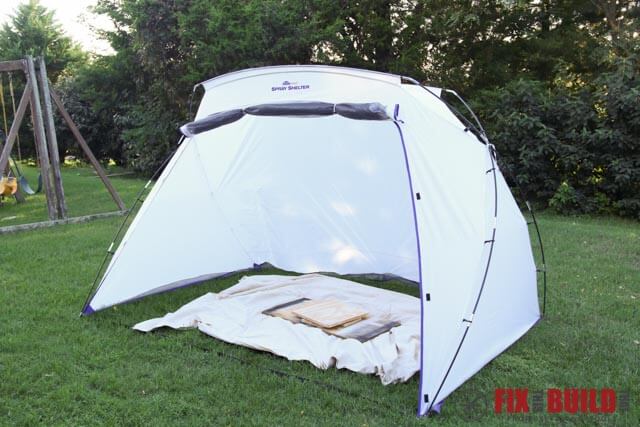
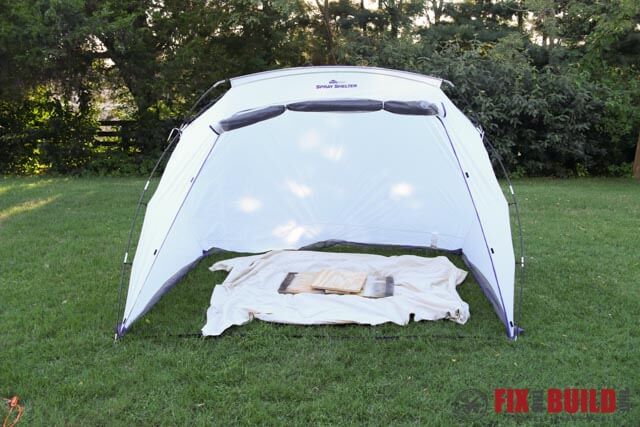
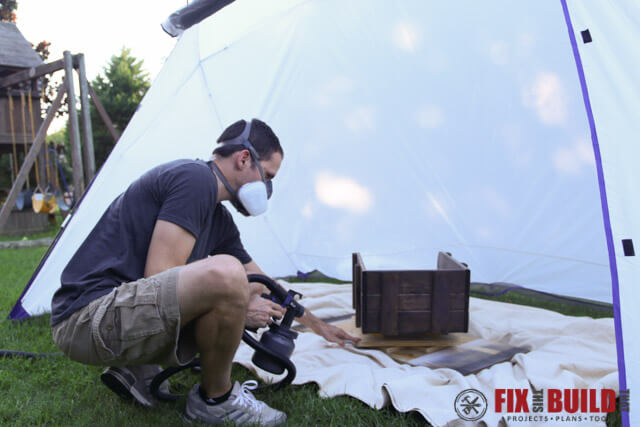
Once it’s setup you can actually stand inside the spray shelter while you are spraying. If you need use the spray booth turntable with larger pieces you can build a bigger turntable or just put a large scrap board on top of the unit held in place with double sided tape.
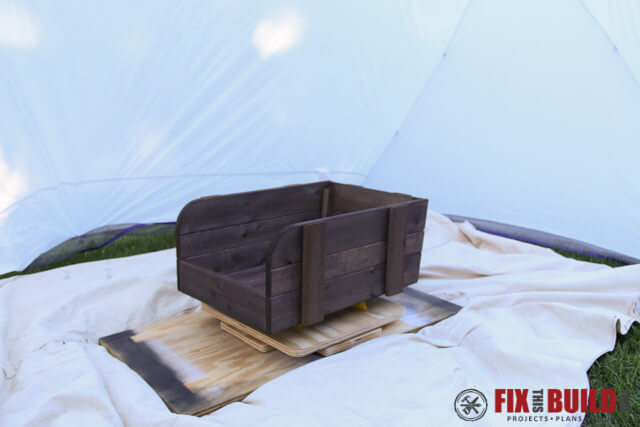
It worked great when I sprayed these rustic wheelbarrow parts and I was able to make short work of the job.
And I think one of the coolest features about the spray shelter is the mesh screen on the front. After you spray a coat you can pull down the mesh screen and the combination of the tent and the mesh will keep out all the leaves and bugs while you finish is drying. This is a really awesome feature and the main reason I use the tent.
Alright, that’s it for this post! Now you know how to build your own DIY spray booth turntable and I hope this will help you finish projects faster. For other great shop builds go over to my Shop Projects page.
HomeRight provided me with product and/or monetary compensation as a sponsor of this build. All opinions are my own and are not filtered by the sponsor.


