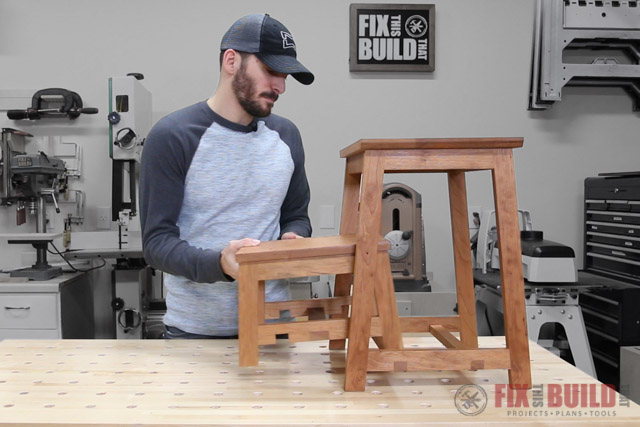
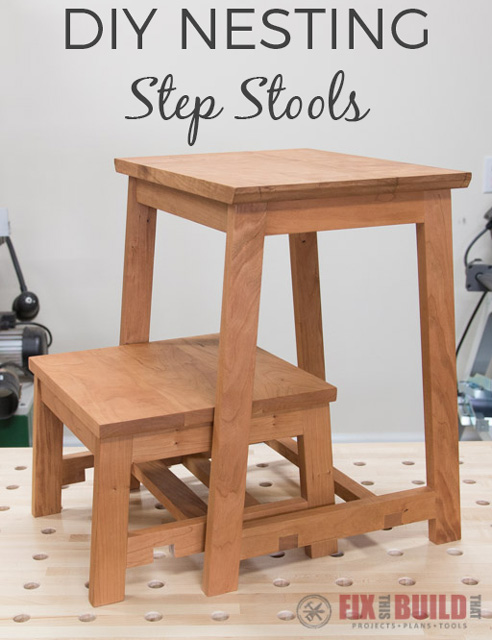
Today I’m going to show you how to build a DIY Step Stool with a cool 3-in-1 nesting feature. This step stool is going in our kitchen to help the kids get to those out of reach cabinets and appliances. No more climbing on the counters or standing in the fridge. I’m partnering with Maytag on this build to help make our kitchen more functional for a family of five.
This DIY step stool can be used several different ways but only takes up the space of one small kitchen stool. I have plans available for this build if you want to make one of your own. Check out the video below and read the full tutorial for more details.
Materials/Supplies
- (1) Hardwood 8′ 1×6
- (2) Hardwood 6′ 1×4
- 3/8″ dowels
- Dowel center points
- 1-1/4″ Pocket Hole Screws
Affiliate links are used on this page. See my disclosure page for info on affiliate programs.
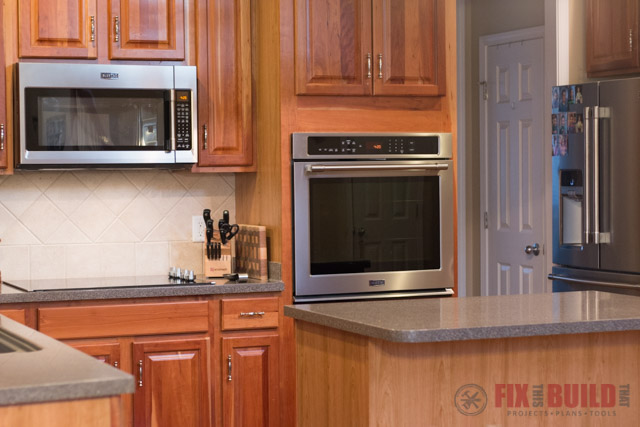
We recently traded out our old kitchen appliances for these beautiful appliances from Maytag. The fingerprint resistant stainless steel finish has made cleaning up kid hand prints on the refrigerator a breeze. With just some water and a paper towel they come right off.
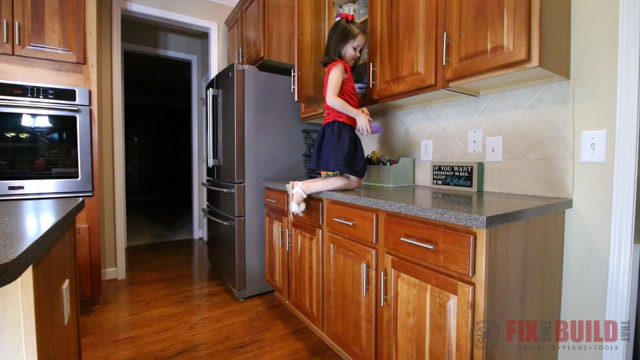
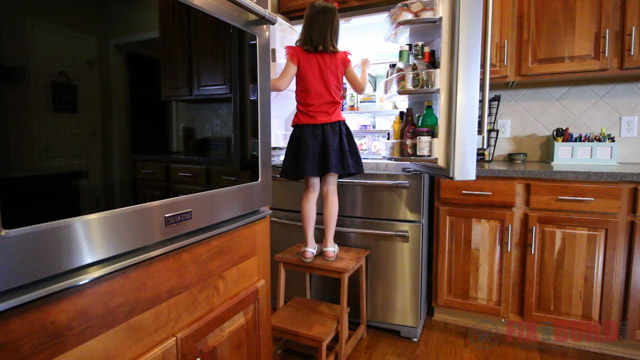
But we have three small kids and in our kitchen sights like the below aren’t uncommon. When they need a bowl for some snacks, not being tall enough isn’t going to stop them from getting it! So I figured I may as well take the kids’ knee and footprints on the counters out of the equation too with this build.

I’ll show you how to build a step stool using cherry boards and mostly dowel joinery. But the plans I have available will let you build it with dimensional lumber like select pine or anything else you want to use. And if you don’t have a dowel jig you could always use pocket hole joinery with plugged holes as well.
How to Build a DIY Step Stool with Nesting Feature
- Build the step stool tops
- Cut the parts for the sides
- Make the joinery for the sides
- Glue up the step stool sides
- Assemble the stool base
- Sand and finish the step stool
- Attach the step stool top
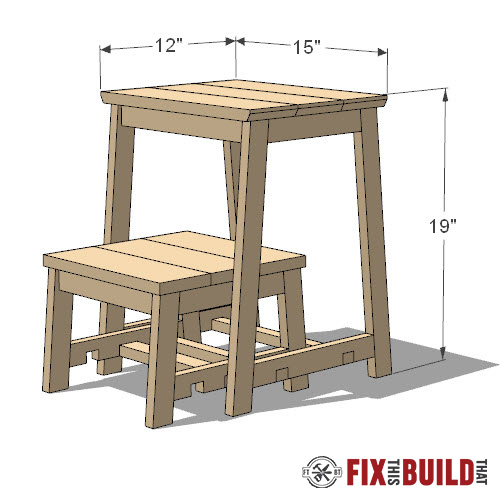
The DIY Step Stool combo is made of a small stool and a large stool that nest together via the lower stretchers. I started off by making the tops for the stools.
1. Build the DIY Step Stool Tops
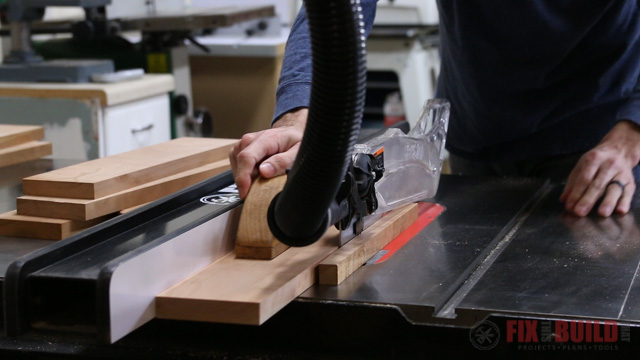
Each top is made from a 3 board glue up. I ripped the parts for the tops down to size on my table saw.

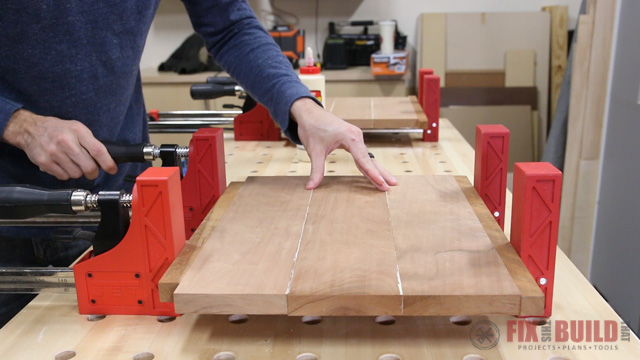
The glue up for the step stool tops is pretty simple, I just use yellow PVA glue on the edges. You don’t need a ton, just enough for a little squeeze out. I didn’t use any alignment aids like biscuits or dominos, I just clamped the pieces together using some of the offcuts from the table saw to protect the edges. I put a nice squeeze on them then set the glue ups aside to dry.

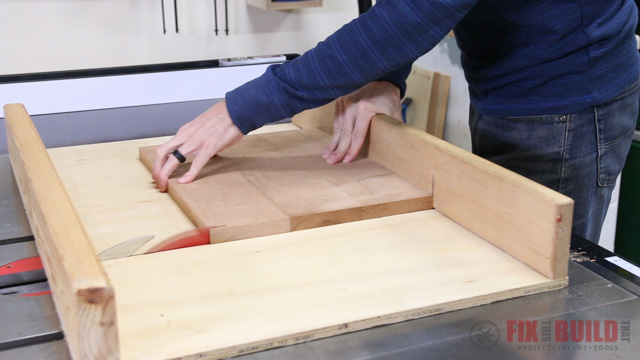
Once the tops are dry I pulled them out of the clamps and cleaned them up with a card scraper and drum sander. You can use a planer or just a regular sander to smooth them out as well. The tops were still a little oversized so I pulled out the crosscut sled and cut them both to size for a small reveal around the top.

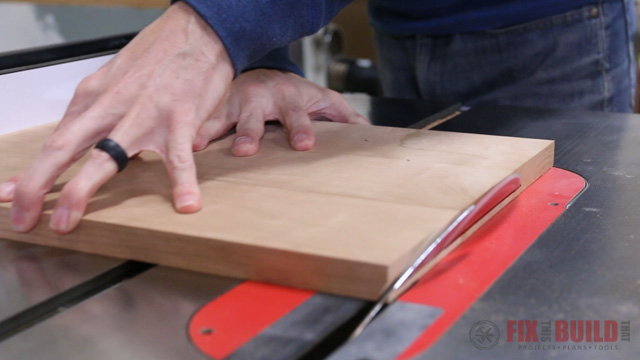
After I looked at the top I decided I wanted a little detail on it. I set my blade to 30 degrees and made a bevel cut on the underside of both ends of the large stool top. The smaller top was too narrow to do this with though.
2. Cut the Parts for the DIY Step Stool Sides
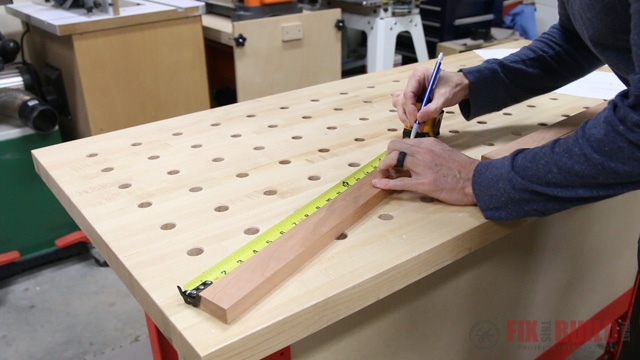
I moved on to the DIY step stool bases and started with the sides. The legs on the stools have a 5 degree splay on the front and back. First I cut a bevel on one end of each of the long legs. Then I laid out where I wanted the next cut for the stool height I drew up.

Working with angles makes the height calculation a little tricky, but once you tune it in on your miter saw you can set a stop block and make four repeated cuts. I used my Mobile Miter Saw Stand with the fence track and stop and it worked great.
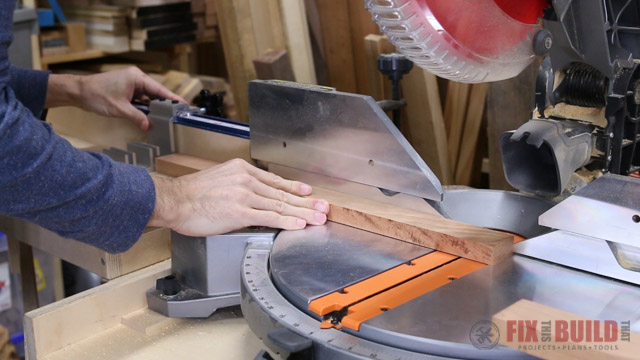

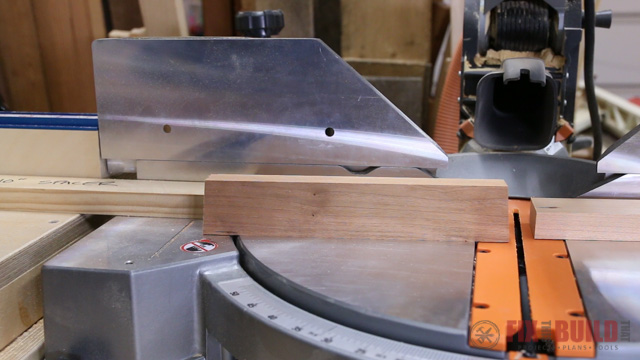
Next I cut the upper rails that will connect the legs. These get matching bevels that mate with the bevels on the legs.

I find it easier on these angled projects to layout and mark the lower rail instead of trying to hit a measurement. I clamped the legs together then measured up from the bottom where I wanted the lower rail. I marked where the cut needed to be made then made a couple cuts on the miter saw to get there. Don’t try to nail it in one shot or you’re likely to over shoot it.
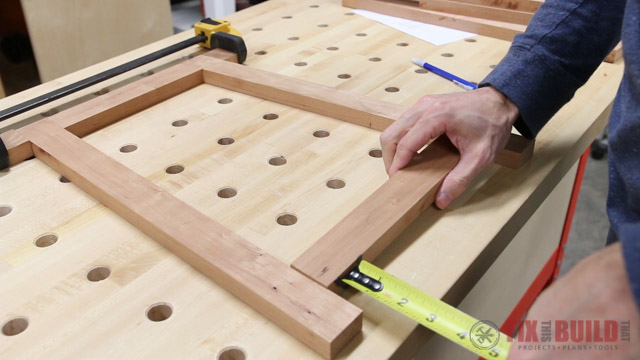

I repeated these steps for the small stool and then was ready to make some joinery.
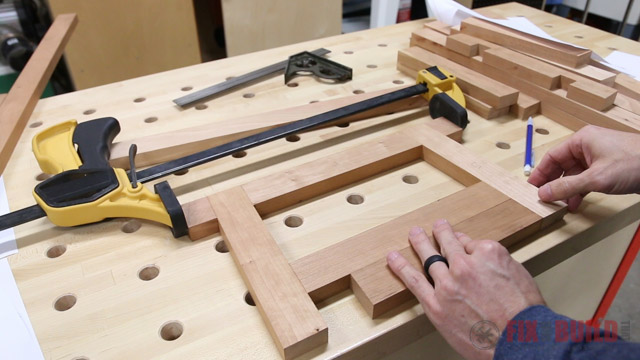
3. Make the Joinery for the DIY Step Stool Sides
I’ll be cutting dados in the lower rails to hold the bottom stretchers so I switched out my regular blade for a dado blade and set it to the height of the thickness of my stock. I laid out the dados for the lower stretchers in pencil.
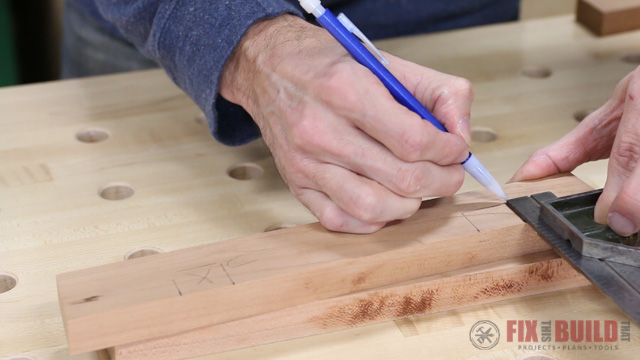

To make sure the dados for the stretchers would be aligned I taped the two lower rails together with double sided tape. Then I went to my table saw and took at the material where I had made my marks.
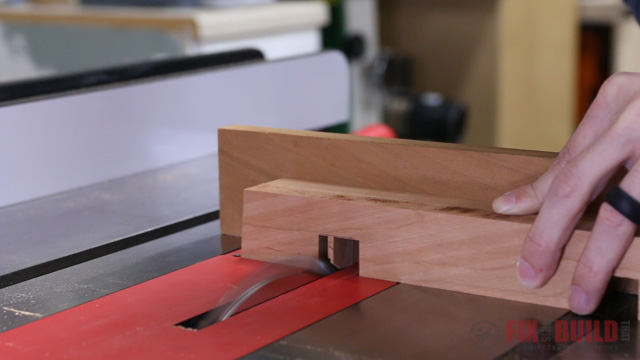

The smaller stool nests into the larger stool by notches that fit over the lower stretchers. To get the mating dado notches on the lower rails of the small stool I used the ones I’d already cut as reference. I lined the parts up on center then transferred the marks on the rails. I’ll cut these on the outside of the line to give it that little bit of extra clearance it needs.
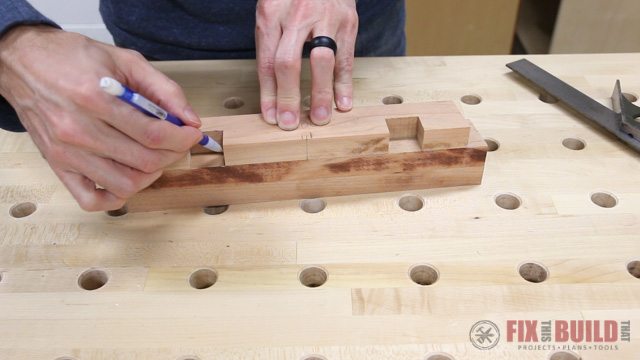

I cut these notches out the same way as I did for the large step stool with the dado blade.
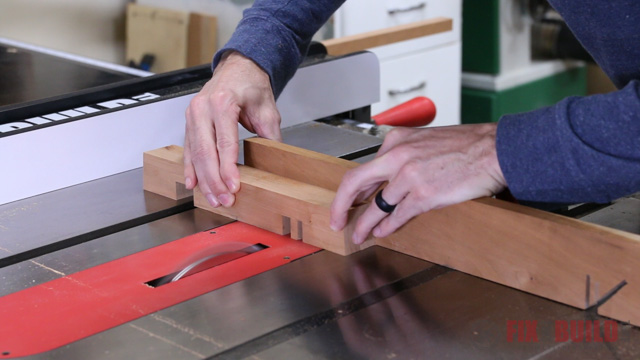

Next I needed to make the cut out for the lower stretcher that will actually hold the smaller stool together. I used a single stretcher which gets centered on the rail. I laid out the notch then went back to the tablesaw for the final time to cut out the waste.
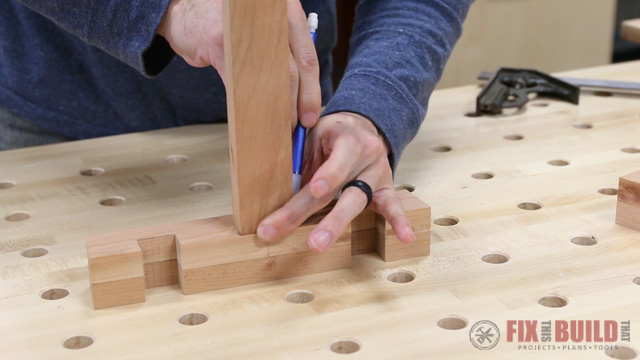

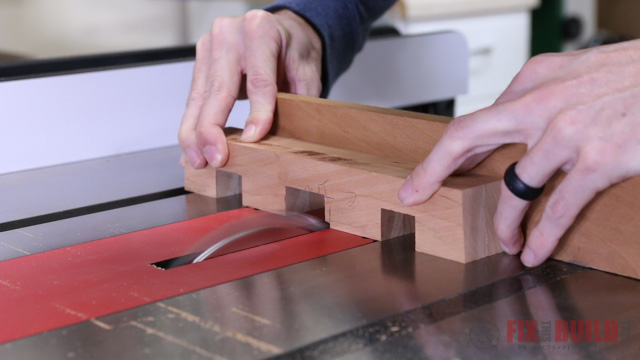

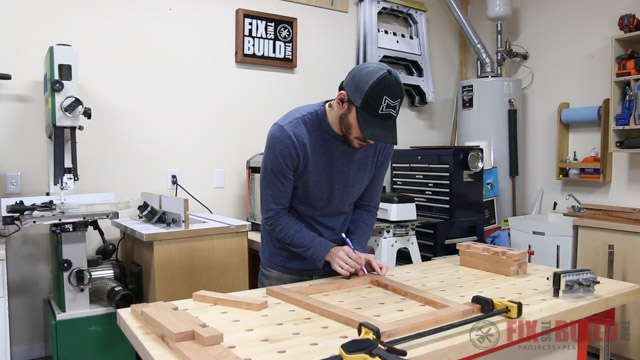
Next I moved on to the joinery for the actual sides. I’m using dowel joinery for the step stool sides so I made two marks at each joint for the dowel holes. Pocket holes would be another alternative here especially if you will be painting your pieces.
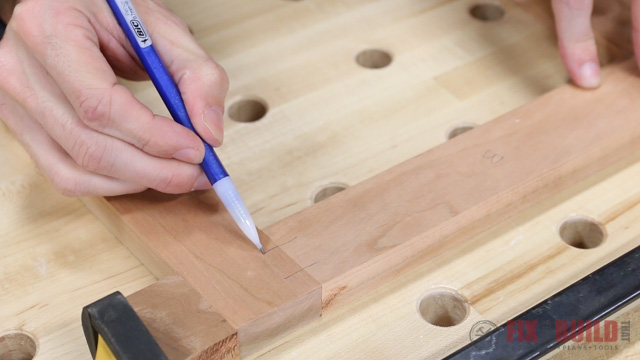

I repeated this step for each of the four side assemblies marking each joint.

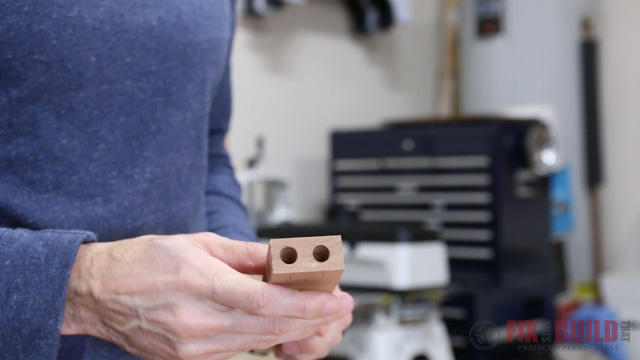
I’m using a self-centering dowel jig and ⅜” dowels. I put some blue tape on my ⅜” brad point bit to drill to the right depth for my dowels. The doweling jig has several alignment marks (one for each different dowel size) and I just line up the mark for the ⅜” hole with the marks I made on the joints, clamp down the jig and drill the holes.
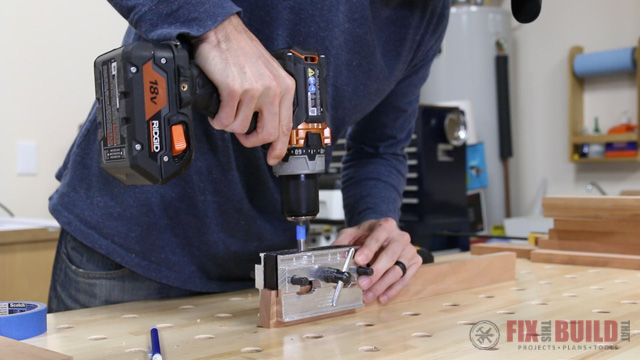

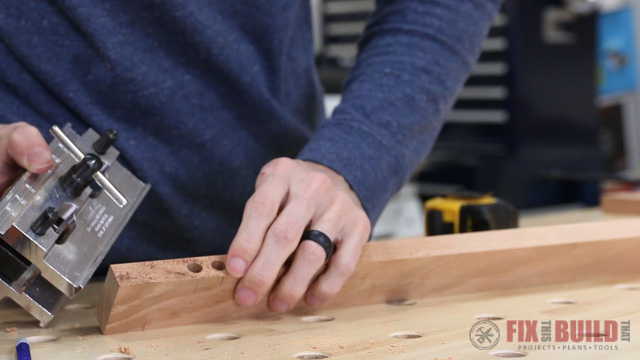

I did the same thing on the ends of the upper and lower step stool rails and this gives you aligned holes for the dowels to go into and reinforce the joints.
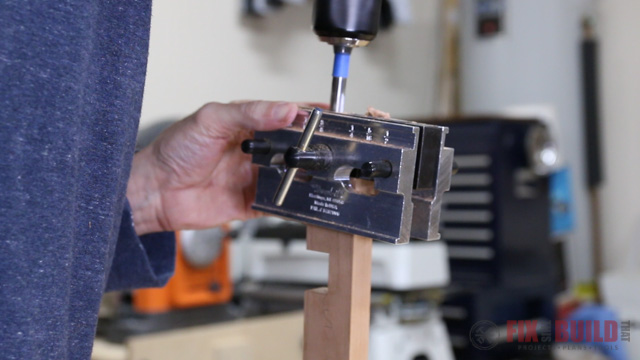


4. Glue up the DIY Step Stool Sides
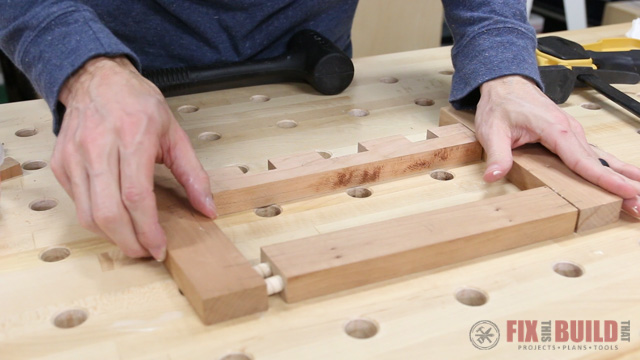
Assembling the DIY step stool sides is pretty straight forward since the dowels do a great job of aligning everything. I dip the dowels into the glue then put them in the legs. Once you get the glue on them you want to drive them home as soon as possible because they start swelling from the water in the glue and can make assembly difficult. But if you have a tight joint just use some clamps or a mallet to gently persuade it into place.
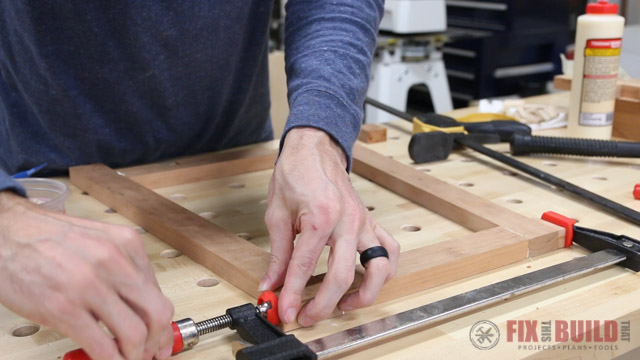

Because the sides are angled I grabbed some offcuts that had one straight side and one 5 degree side. This let me clamp the joints together without the clamps sliding. I assembled the two large sides then repeated the same process for the small sides.

5. Assemble the DIY Step Stool Base
To assemble the base and join the two sides for each step stool I cut aprons that will connect the sides for both stools. These don’t have any angles on them and are cut at 90 degrees. I started with the small step stoop and drilled two dowel holes in each end of the aprons.
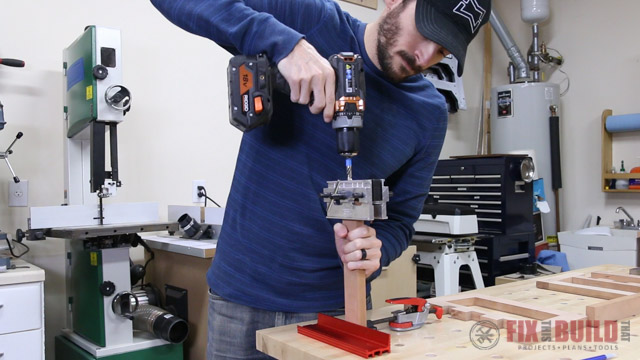

Then I put these metal dowel center points into the dowel holes.
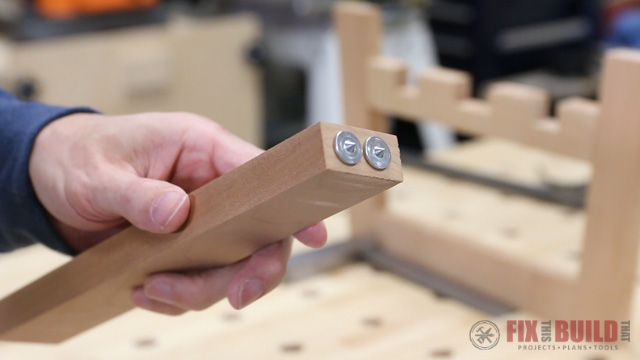

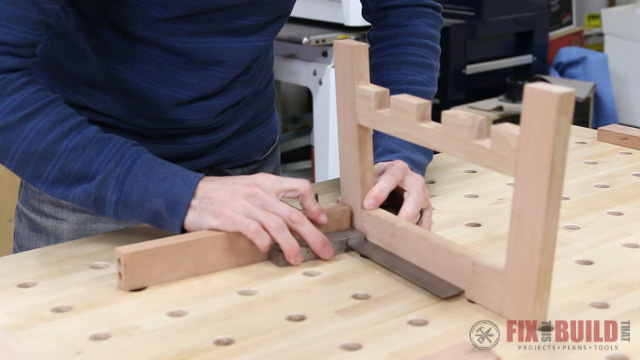
I lined up the apron where I wanted it to join the side, making sure it was at 90 degrees and then pushed the points into the side to make indentations where the mating dowel holes need to go.

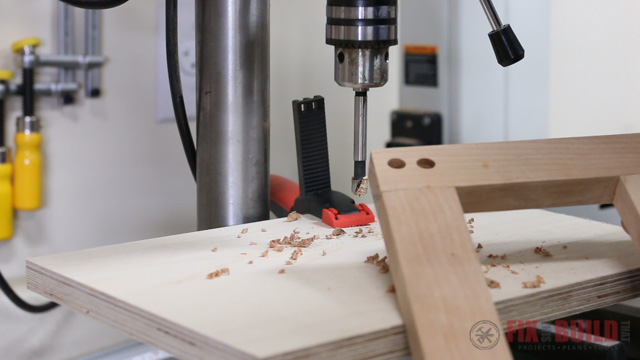
I took the side over to the drill press and drilled the dowel holes with a forstner bit. You can do it with a hand drill, just make sure you holes are straight.

From there I worked my way around the step stool transferring the position of the dowels with the dowel points and drilling them. Just make sure you are keeping the aprons at a right angle to the sides as you are transferring the marks so you don’t put any racking into the assembly.
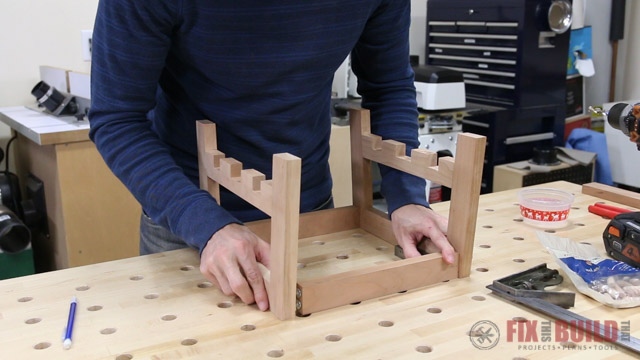

The glue up goes pretty much like the dry fit and I used right angle blocks clamped in opposite corners to square up the stool. When it was all clamped up I dry fit the lower stretcher and it fit right in there so I felt good about the alignment of the lower rails.
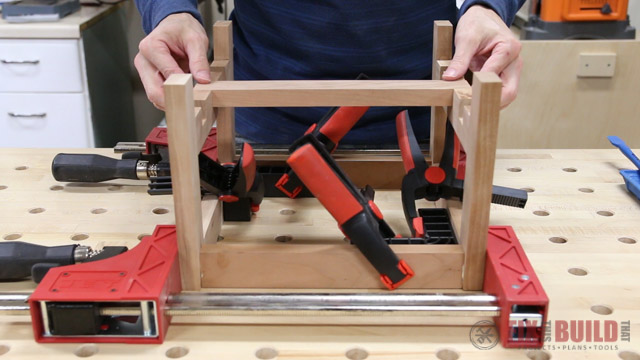

For the large step stool I had some alignment issues on the side glue ups and decided to assemble the top aprons with pocket screws. This is a much quicker method and I likely would just do this for the smaller one next time. But to make sure everything lined up I attached the lower stretchers first with some counter sunk wood screws.
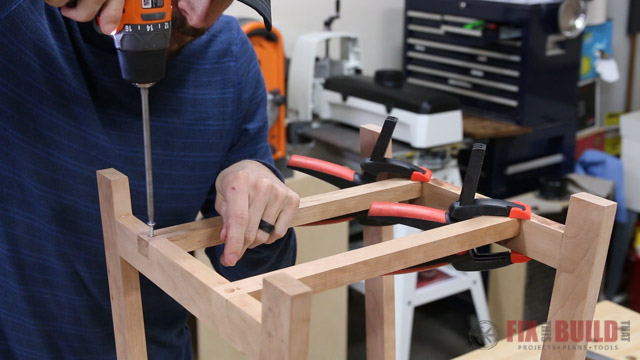

Then I drilled two pocket holes on each end of the aprons. I made sure the aprons were at 90 degrees to the sides and installed them using fine thread screws. This approach worked really well and maintained the look of the piece as the pocket holes out totally hidden.
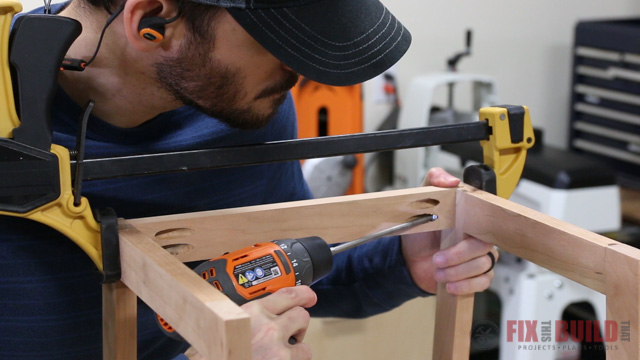

When the dowel joints on the small stool were dry I attached the lower stretcher with screws from underneath just like the large one.
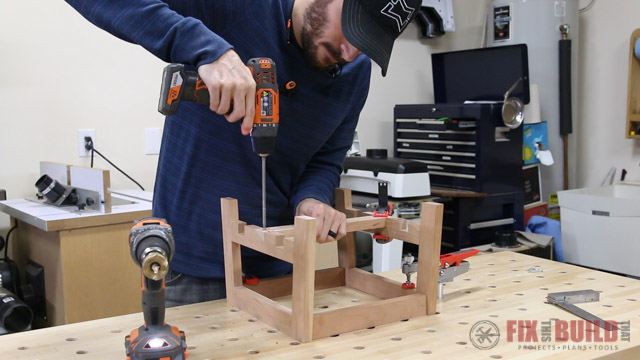

6. Sand and Finish the DIY Step Stool
I prepped the DIY Step Stool for finish by sanding everything up through 220 grit. Before assembly I had already sanded everything up to 150 grit, so this went really fast. For the finish I applied 4 or 5 coats of oil-based wiping varnish. I love how the oil finish deepens the tone of the cherry and really brings the figure out.
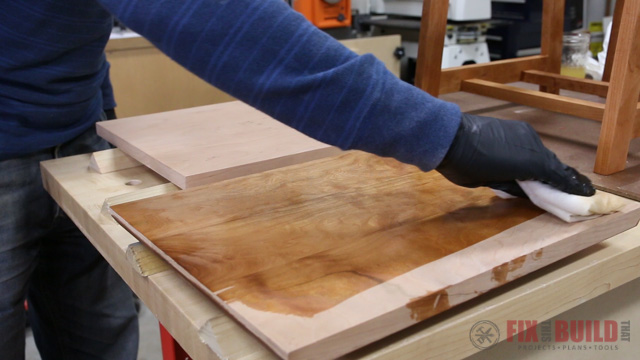

7. Attach the DIY Step Stool Top
To attach the top to the bases I used some figure eight fasteners. These will let the top expand and contract with humidity. The figure eights will basically pivot and move with the top enough to keep it from cracking. I used a forstner bit to flush mount the fasteners to the base.
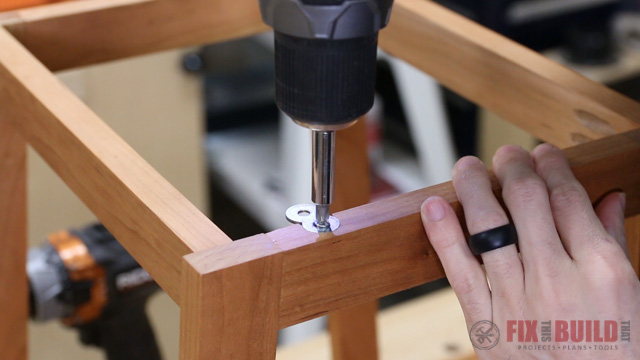

Then turned the base upside down and predrilled and attached the top with the included screws.
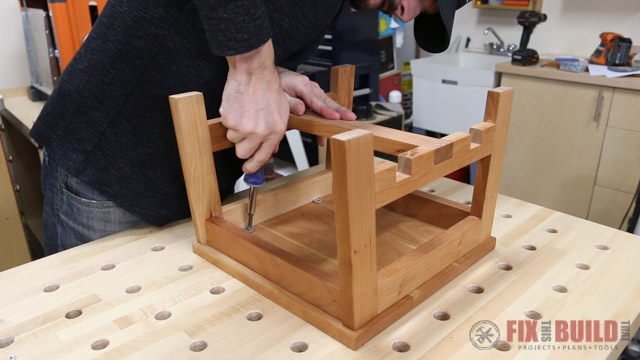

These nesting step stools are really going to help out in the kitchen. We can hopefully put an end to climbing the cabinets to get the bowls down.
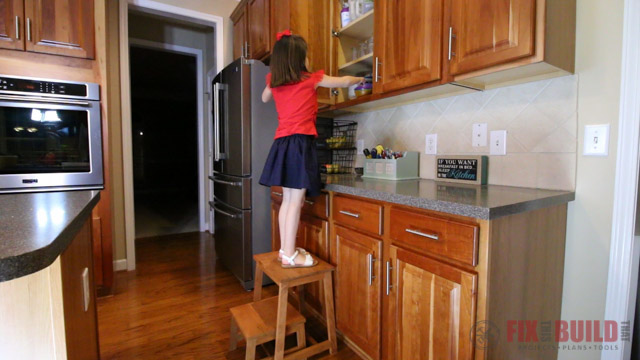

Our refrigerator’s fingerprint resistant finish has been good at deflecting any reaching hands, but the stool works great with helping them reach the top shelf. Now the kids can even set the kitchen timer on the oven for their reading time after school.

There is a link below to plans for your own DIY Step Stool with the nesting feature. Stay tuned for my final project in my series with Maytag as I go back to the laundry room. Until then you can head over to my Home DIY projects page to check out some other great ideas.
Maytag® provided me with product and/or monetary compensation as a sponsor of this build. All opinions are my own and are not filtered by the sponsor.




Hey Brad – nice little project and thanks for the great instructions. I’m really enjoying following your projects. I’d love to try this, but unfortunately the link at the bottom of the page doesn’t seem to go anywhere – it doesn’t download the plans. I’d really like to have the dimensions so I can get to work on this or something similar.