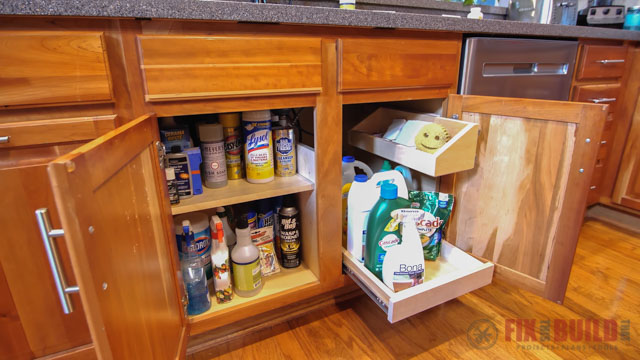
If you’re like us, your under sink storage has seen better days. We can never find what we need, we’ve got too much of what we don’t need, and pipes and a garbage disposal make organizing a pain. But I’m gonna fix that with my DIY Under Sink Storage!
Tools Used
Materials/Supplies
- ¾” plywood
- 1-1/4″ Pocket Screws
- Birch Edge Banding
- Woodriver Socket Chisels
- 18” Full Ext. Drawer Slides
- Combination Square
- Water Based Poly
Affiliate links are used on this page. See my disclosure page for info on affiliate programs.
How to make DIY Under Sink Storage
- Prep the under sink area
- Make and attach stationary shelves
- Build full width pull out tray
- Make small pull out tray
- Mount pull out trays
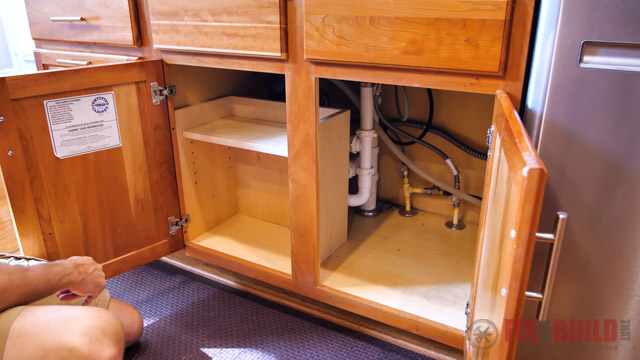
1. Prep the Under Sink Area
Clean Out Space
The first step we took when organizing under our kitchen sink was clearing everything out. We pulled everything out, got rid of the items we never used, and cleaned out the space.
Measure the Space
With the area cleaned out we were ready to get some important measurements:
- The width of the door opening for each cabinet
- The usable depth we had before we hit any pipes or the garbage disposal.
My left cabinet only had about 10 usable inches before hitting the disposal. That doesn’t leave a ton of room, so I decided to build an easy shelving solution for this spot. Because the right cabinet has more depth we decided to use pull out trays there.
2. Make and Attach Stationary Shelves
I used ¾” plywood for this project which I cut into manageable pieces before going any farther. The easiest way to break down plywood is to place it on top of rigid foam insulation and then cut it with a track saw.

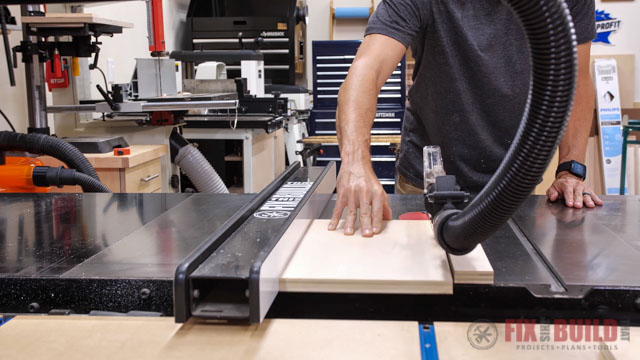
Cut Pieces for Stationary Shelves
This shelving solution only takes four pieces of wood. It’s as simple as it gets with just two sides, a back and an adjustable shelf sized to my usable area. I cut the pieces to size using my table saw. If you don’t have a table saw you could easily use a circular saw and a guide, so don’t let that hold you back.
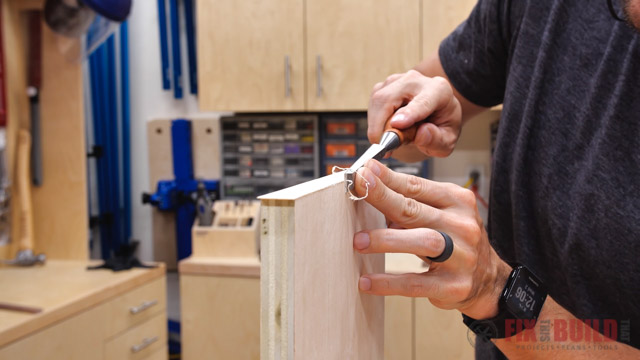
Add Edge Banding
I added birch edge banding anywhere you’d see the exposed plys to pretty them up; it makes a world of difference. A sharp chisel does a good job to trim the edge banding, but you can also use a razor blade. Your big box store also has specialized tools for trimming edge banding which makes it a lot faster.
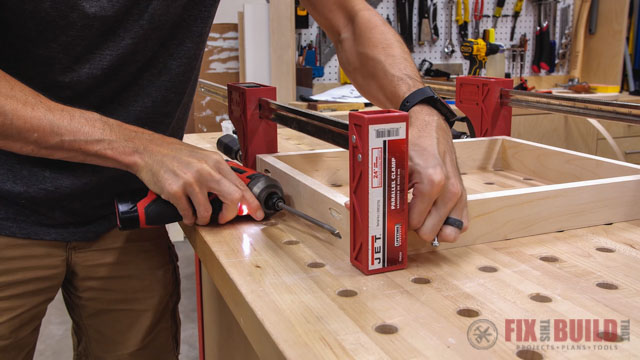
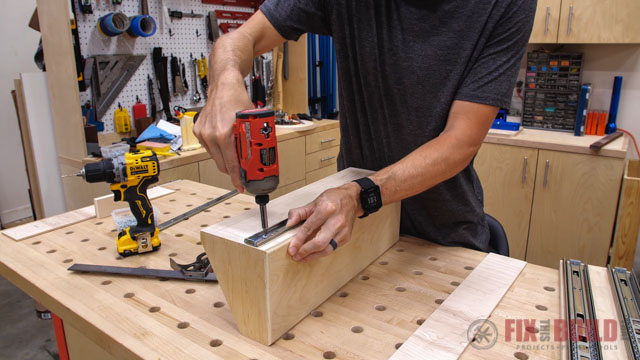
Build Shelves
Instead of making a fixed shelf I drilled holes for shelf pins for more flexibility.
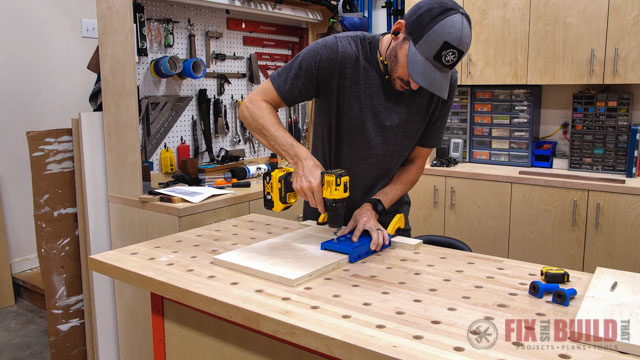
I’m using pocket holes for the assembly for a quick and easy connection. I drilled a few holes across each side then used a clamp to hold the parts together while I secured them with 1-¼” pocket screws.
Finally after seeing how much offset I needed for the shelf pins, I cut the adjustable shelf to final size.
Attach Stationary Shelves in Cabinet
Once I placed the stationary shelf in the cabinet you can see how I sized it. The left side hides behind the cabinet’s face frame and gets attached to the side of the cabinet. The right side butts up against the cabinet’s center divider. I used a L-bracket to secure the right side of the shelf to the base.
Adding in the adjustable shelving doubles the storage, and the back will keep everything from spilling into the black hole, in theory of course.
3. Make Full Width Pull Out Tray
In the right cabinet I’m making a full width pull out tray on the bottom and a smaller pull out tray for the top.
Mounting Insert
I decided to make a mounting insert for the lower pull out tray. Using a mounting insert means the pull out tray can be secured to the bottom of the cabinet instead of needing to be attached to the sides.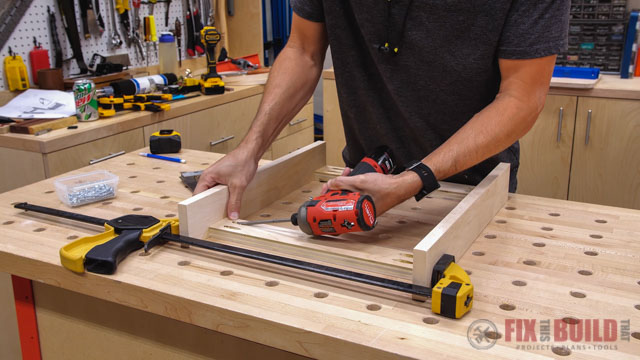
The mounting insert is pretty simple. It’s just two sides for mounting the drawer slides which are connected by two spacers sized to fit the drawer opening.
I cut all the parts for both trays and the insert. Then I edge banded the sides of the insert before assembly.
Make Large Pull Out Tray
I used a couple pieces of the plywood against my stop block to represent the sides of the drawer. Which meant I could just set the stop block at the total drawer width and make my cuts.
This might seem complicated and tricky, but once you’ve got it figured out it’s a breeze to size your drawers and trays perfectly. And these came out exactly at 13-½” just like I needed them.
Next I drilled pocket holes in the front and the back to join the drawer. Then I edge banded all four parts before assembly.
And with a few quick steps the body of the pull out tray is done and ready for a bottom.
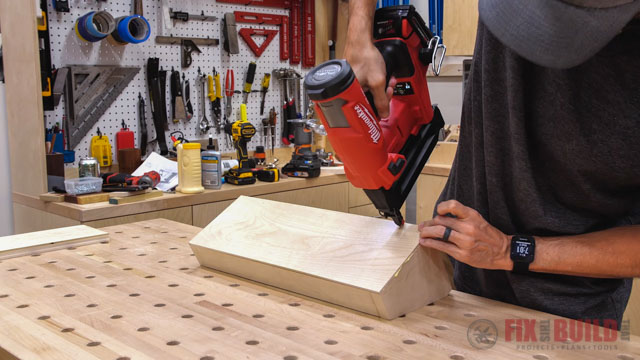
I’m using ¼” plywood for the bottom which I cut to the exact size of the drawer.
Then I attached the panel with glue and 1” brad nails. I made sure to keep the brad nails ⅜” from the edge.
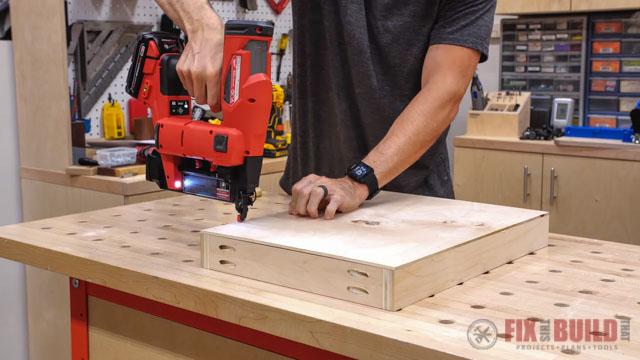
Leaving them away from the edge lets me put a chamfer on the bottom with a handheld router. This hides the bottom panel from sight and gives you a great looking and sturdy tray.
4. Make Small Pull Out Tray
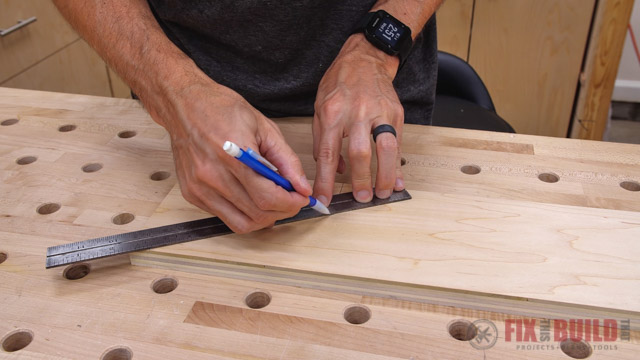
Next I switched over to the small pull out tray next and started laying out the ends. The side against the cabinet is 5” tall to allow for two drawer slides. But the other side goes down to 2” tall for easy access.
I started by using my combination square to layout the lines.
The angled cut on the ends can be made several ways.
- You could go with a jigsaw, but it’ll leave a jagged edge that needs sanding.
- If you’re comfortable using a miter saw you can use it for the cut. This isn’t necessarily a dangerous cut to make, but with the part being so small there’s a certain pucker factor involved. So just make sure you have it held firmly and keep your fingers safely out of the way of the blade.
The miter saw leaves a nice clean cut that can easily be edge banded. And you can even run the banding right over that transition with a little patience.
I didn’t want any exposed fasteners so I put the small tray together with just glue and clamps which worked fine.
Then I cut and attached a bottom and gave it the same edge treatment as the large tray.
5. Mount Pull Out Trays
The great thing about these setups is you can mount all the slides before you even go to the kitchen. I just rested the slides on the mounting insert and put them on. 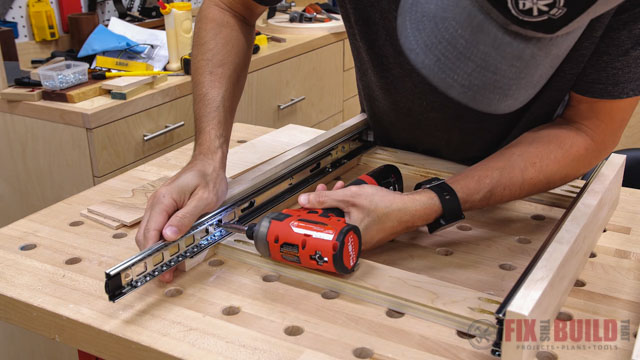
Next I installed the lower tray and added a solid maple drawer front. You could use an edge banded piece of plywood instead.
To layout the small tray slides I used a 3” wide strip of the ¼” plywood to draw lines on the mounting block. I attached the slides to the block then I used the strip to drawer lines on the side of the small tray.
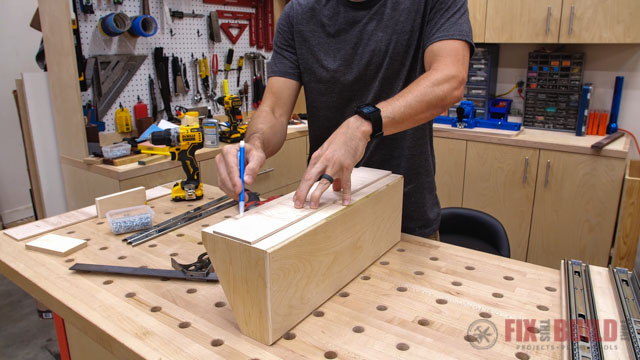
Doing it this way avoids a lot of the headache of trying to get that spacing exactly right.
I finished everything with a couple coats of water based poly then went inside.
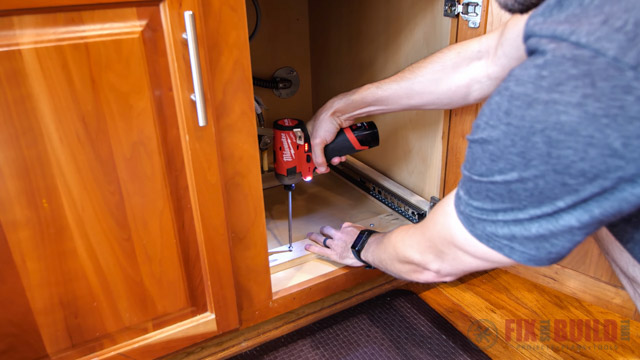
Put Pull Out Trays in Cabinet
All I had to do to install the pull out tray was shim it level and screw the mounting insert to the bottom of the cabinet.
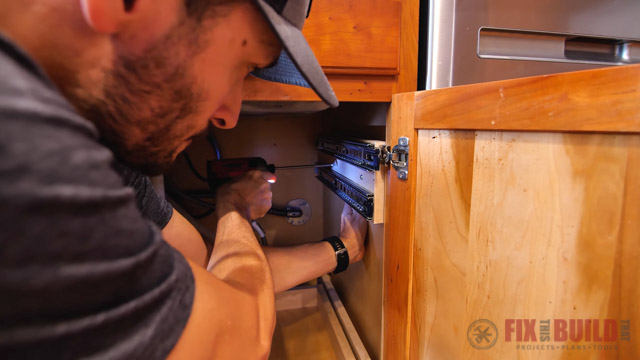
I used the tallest bottle I’d be putting in the bottom tray to figure out how high to mount the upper tray. Then I secured the drawer slides to the side of the cabinet and slid the drawer in.
And that’s how I made my own DIY Under Sink Storage. Our under sink storage cabinet is so organized now, it’s easy to find exactly what we need. The best part about this project is that you can customize your own shelves and pull out trays to fit your space. The DIY Under Sink Storage can be used for under bathroom sink storage or for under kitchen sink storage.
Looking for more ways to get your kitchen organized? Check out all of my Kitchen Organization Projects for more great ideas.


