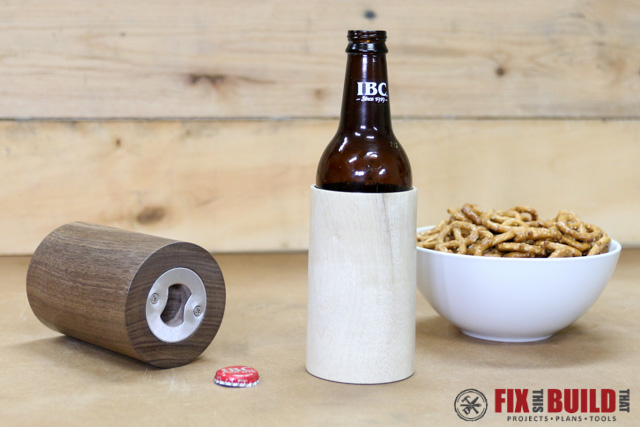
Today I’m going to have a little fun and show you how to make a DIY Wooden Beer Koozie complete with it’s own built-in bottle opener. You may ask yourself, “Why do I need a wooden koozie to hold my drink cans when I got this sweet neon orange foam one from Panama City Beach?”. Well, it’s time to put some class in your can holding game, that’s why!
I’m a novice woodturner still trying to figure things out, and I’d never turned a hollow form before this project. I saw this cool bottle opener hardware from Rockler Woodworking & Hardware (who happen to be sponsoring this post) and thought making a wooden beer koozie sounded like a fun project to try something new. I’m not an expert by any means here, this is just how I did it…and obviously, guys, don’t ever mix drinking alcohol and using power tools.
Affiliate links are used on this page. See my disclosure page for info on affiliate programs.
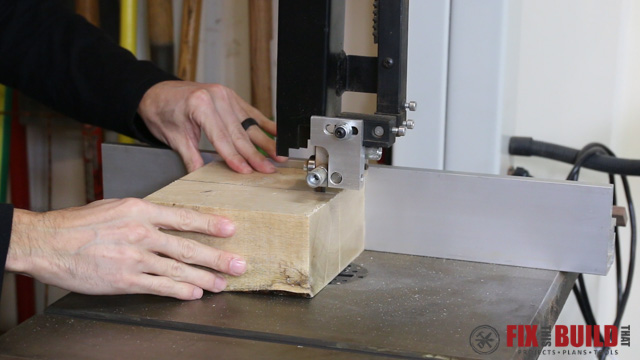
I started out with a 6″x6″x3″ maple turning blank and I cut it in half to two ~6″x3″x3″ blanks. This gave me the largest cylinder from the blank to fit an aluminum can which is 2-⅝” in diameter.
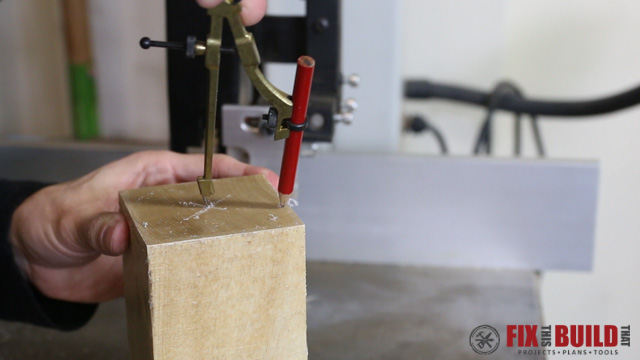
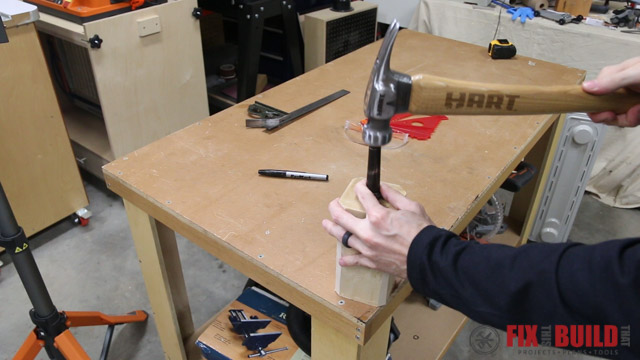
I used a center finder to mark the center of the blank on both sides then used a compass to layout a 3″ circle.
I cut the corners off the wooden koozie blank to make rough turning a little easier but next time I’ll probably do this on the tablesaw or make a dedicated jig for more stability during the cut.

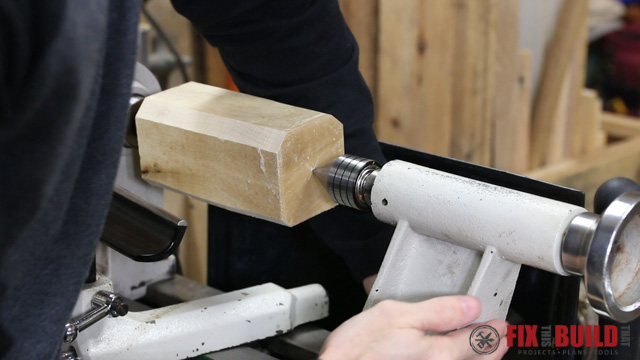
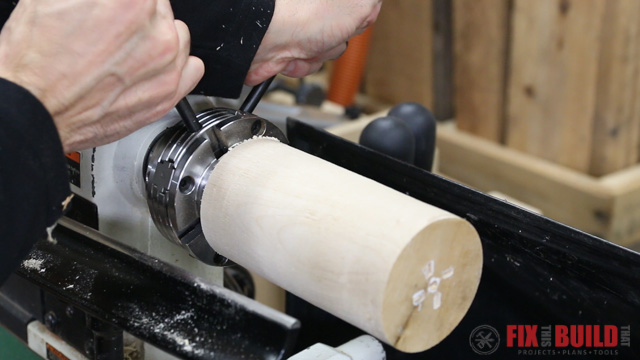
I used the center point to mount the drive spur on one end.
The spur goes into the headstock of the lathe and spins the blank.
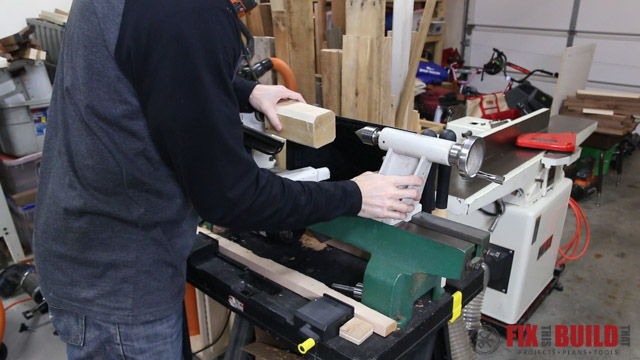
And I used a live center in the tailstock to support the other end and let it spin freely.
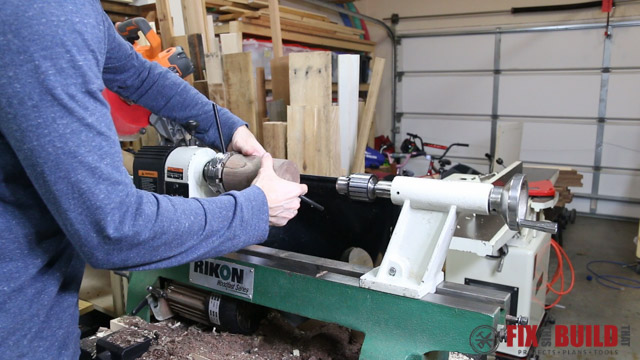
I mentioned I’m still a newbie at turning and I’ve mainly used carbide turning tools so far. I’ll be using a combination of square, square radiused, and round carbide tool tips from Rockler while shaping the blank.

I started off by roughing the blank to a smooth cylinder with the square cutter. I found the easiest way is to start with a series of plunge cuts working your way across the blank, then as you get closer to a smooth surface switch over to left to right sweeps.

While the wood is spinning you can’t really see how much is left to go. A little tip I picked up to check for round is to rest the bar of the tool on top of the blank while it’s spinning. If the tool hops up and down then it’s hitting uneven surfaces and the blank isn’t round yet.
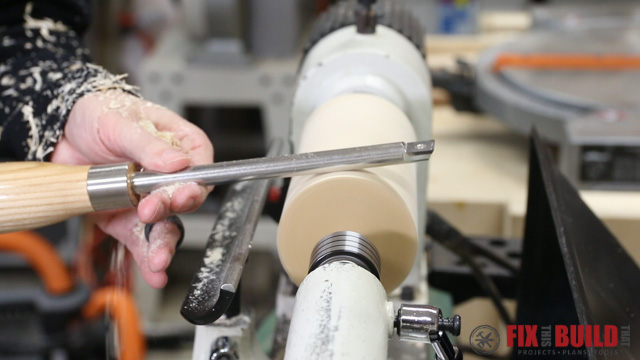
When I got down close to a cylinder I switched over to the round tool for a few finishing passes to clean up the surface.
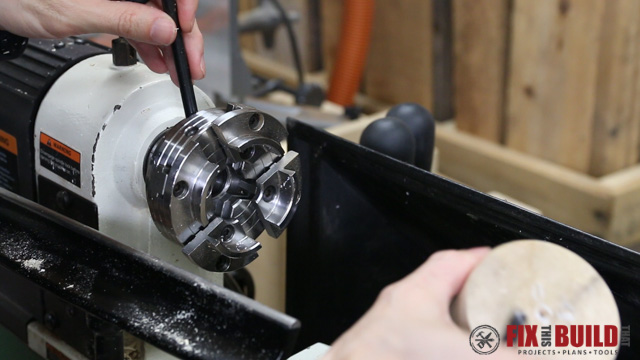
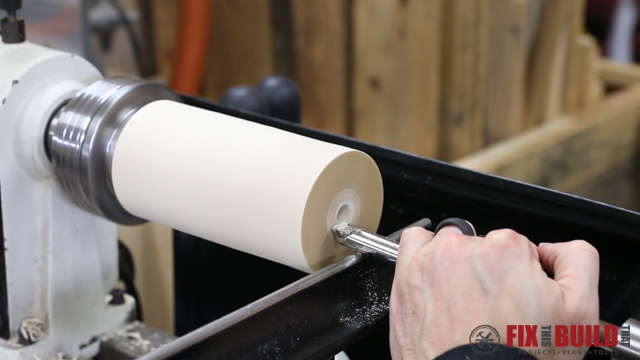
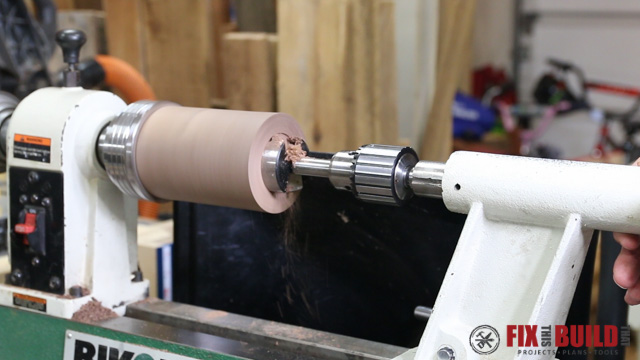
To hollow out the blank it needs to be mounted it in a chuck. So I cut a tenon on the end of the blank with the square tool and then under cut it into a dovetail to match the chuck.
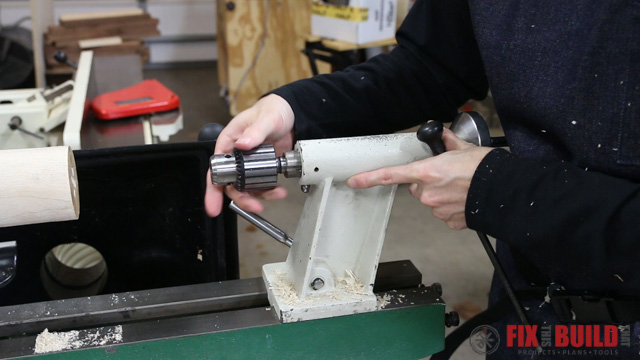
I took the blank off the lathe and installed the chuck on the headstock and put the dovetailed tenon into the chuck and locked it down.
Then I installed a jacobs chuck in the tailstock to hole the drill and forstner bits.
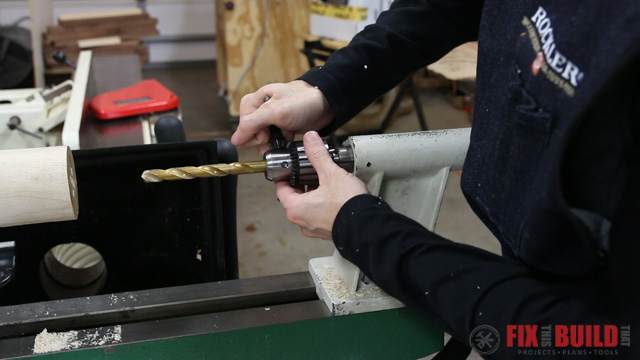
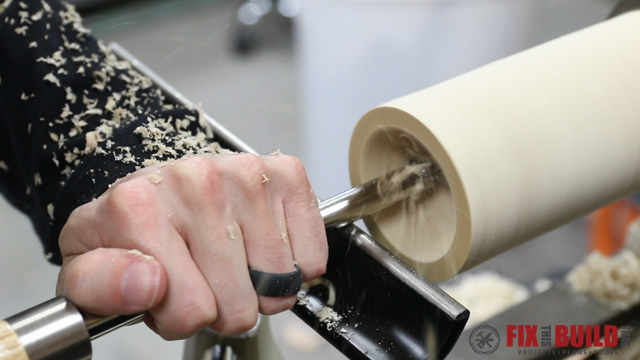
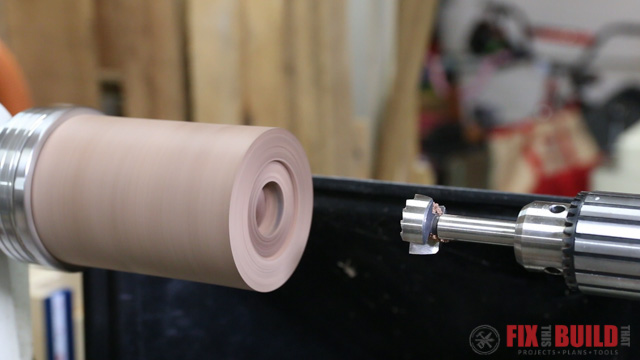
The next few steps were my first go at hollowing a cylinder and I could have been much more efficient. I’ll go through these steps then show you a better way on the second one I made. I started by using a 1/2″ drill bit to drill a hole 4″ deep.
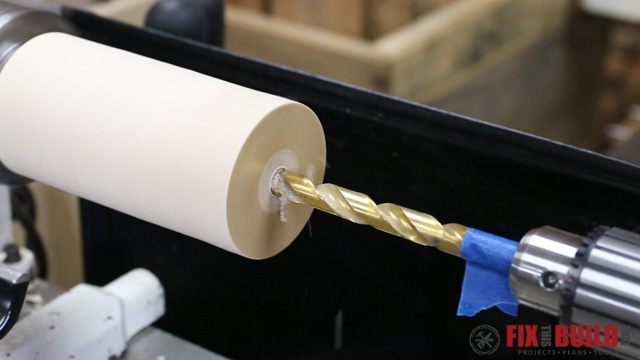
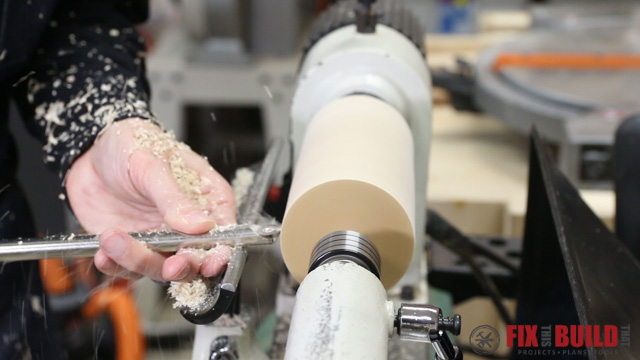
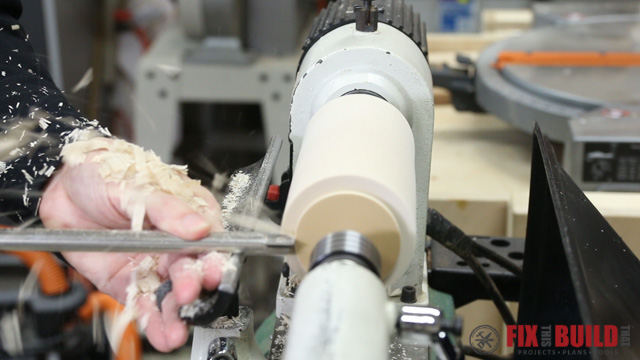
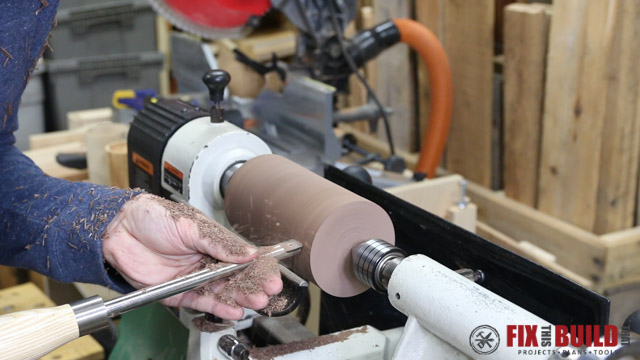
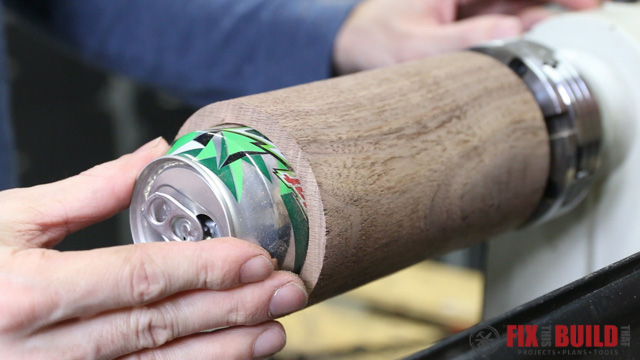
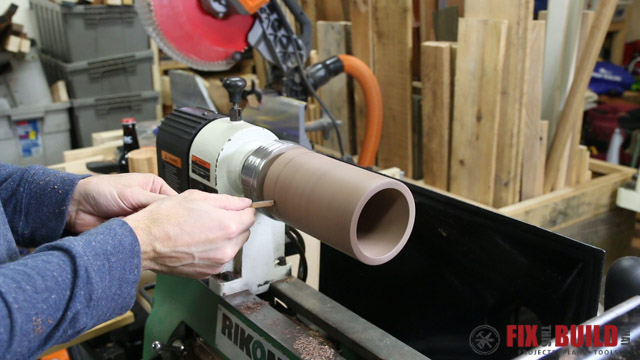
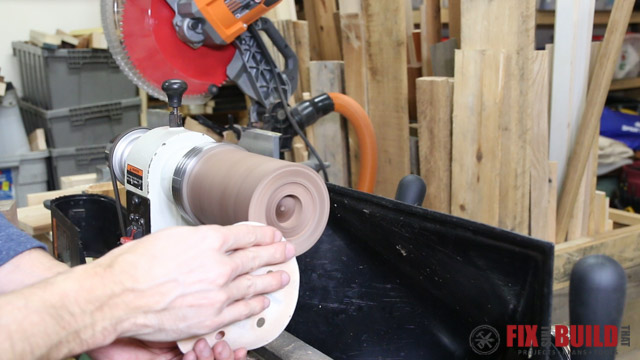
Then I came back and cleared out the waste with my round cutter. This took a while as I crept on the size opening I needed for the can.
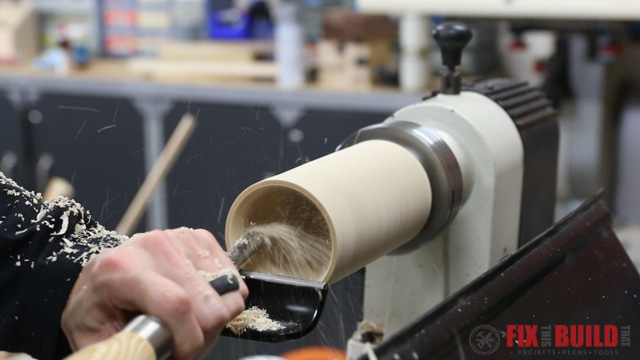
After the can was a fit I just worked my way down the blank removing the material and matching the opening at the front. By the time I was done the walls were pretty thin, but the can fit…for now.
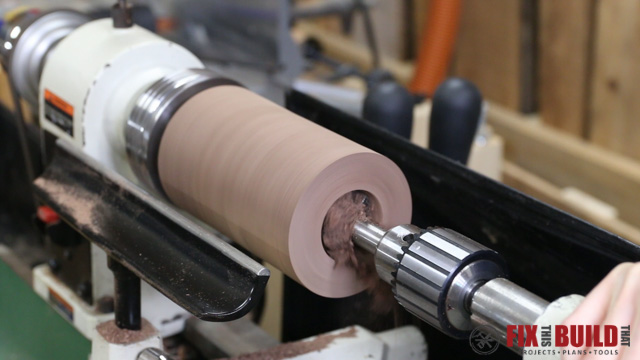
This blank was sealed with wax so it still had a high moisture content. The next day I can back and it had shrunk substantially as it dried.
Basically 3″x3″ blanks will work for bottles (which I thought about later) but it wasn’t enough material for cans. So I switched over to a 3.5″ square walnut blank I had that would give me plenty of material to work with.
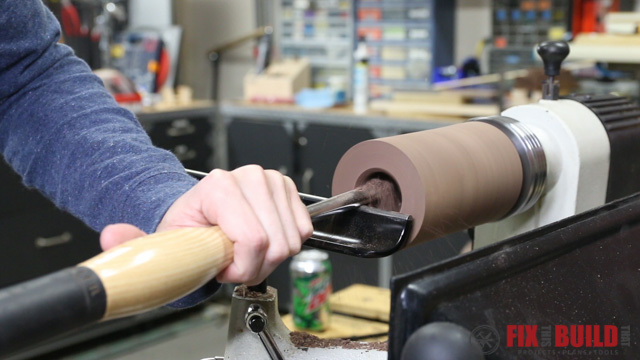
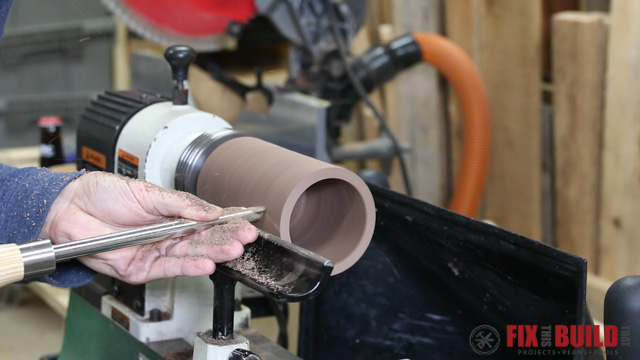
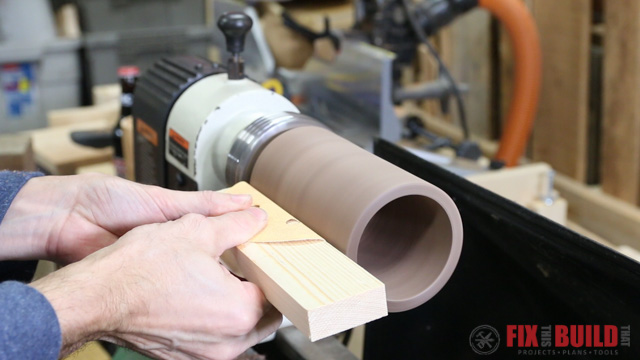
This time I used some advice from Instagram and cleared out the majority of the waste with a forstner bit.
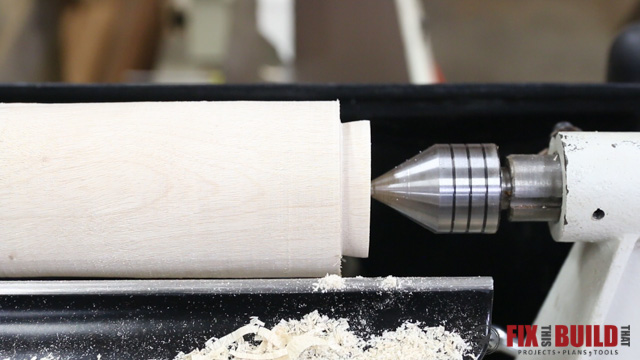
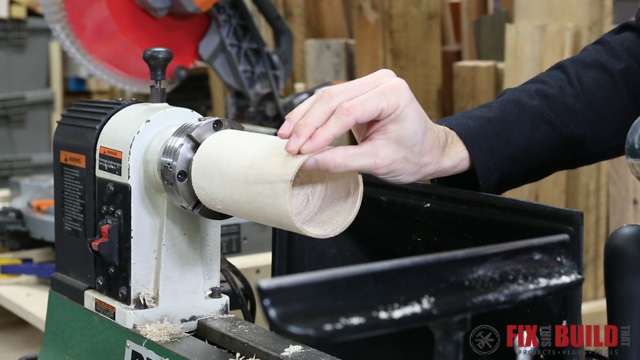
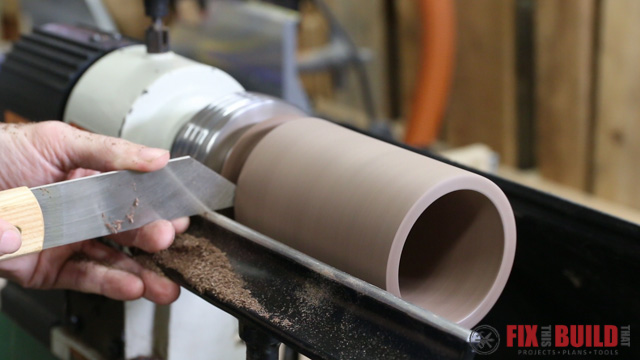
With a larger consistent starting point it was much easier to hollow out the blank. I used a combination of the round and square radiused tools to work the edges until I had the right fit for my can.
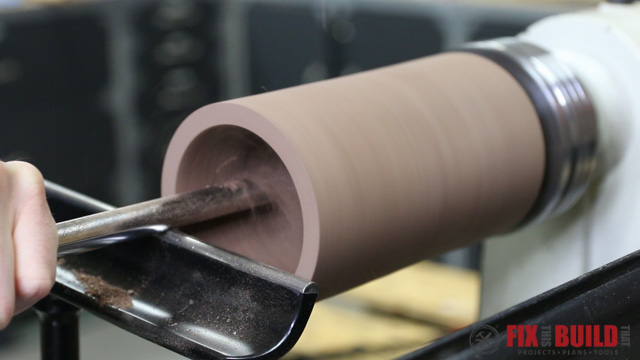
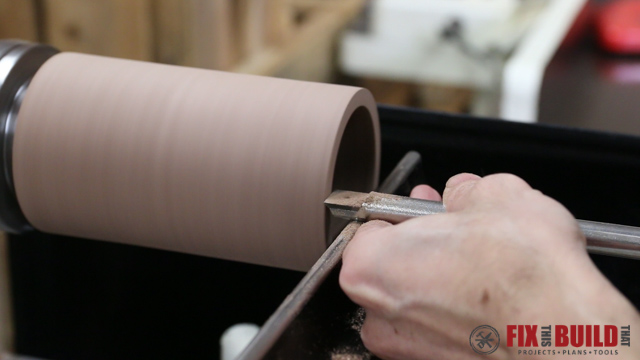
After that I took a few more finishing passes on the outside of the blank and then trued of the lip of the koozie as it wasn’t cut perfectly square.
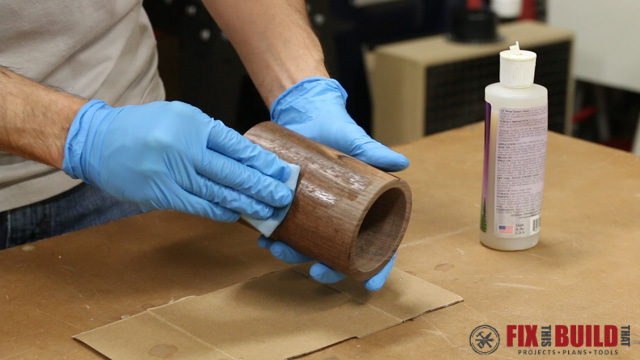
With my shape ready I started sanding. I started with 120 grit and when I sanded the outside of the koozie I used a block of wood to get a nice straight surface. Then I worked my way up in grits by hand all the way to 600 grit.
Now it was time to cut the koozie to size. I marked a pencil line at 5″ from the lip and used a detailer and 1/16″ parting tool to establish that line and cut away the wood down to where I had about a 3/4″ piece holding the koozie on to the rest of the blank.
Then I stopped the lathe and cut it all the way off with a pull saw.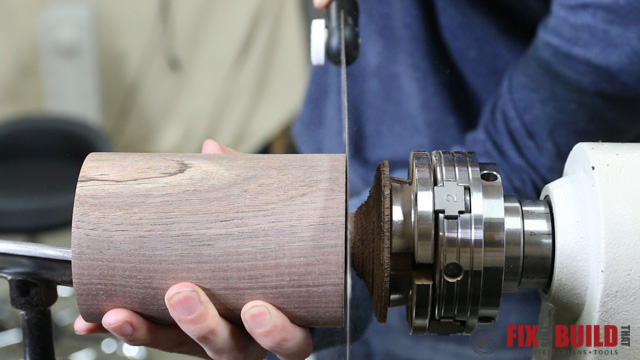
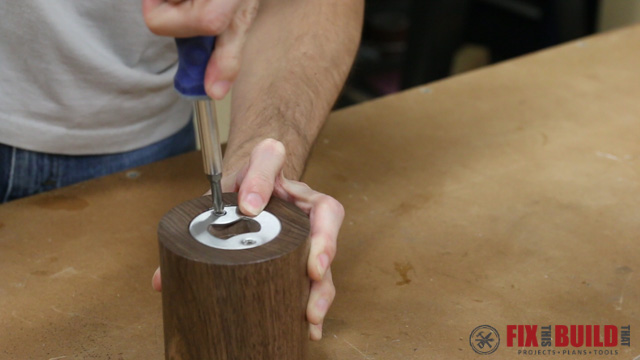
I wanted the koozie to serve double duty, so I decided to mount this inset bottle opener from Rockler into the bottom.
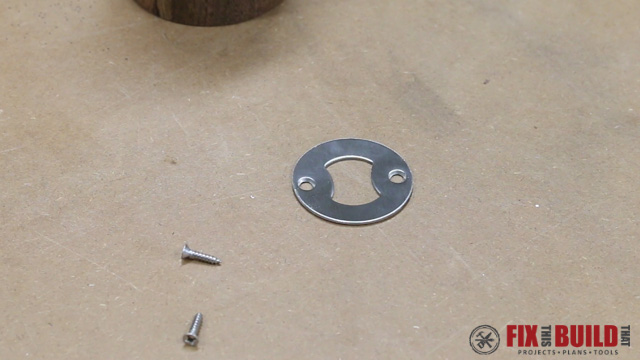
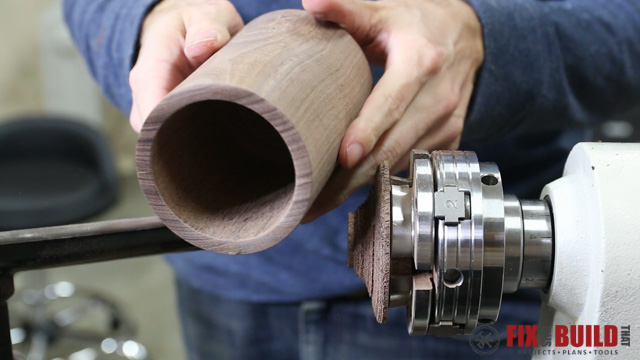
The insert needs a couple recesses drilled into the wood to make it work and be flush mounted. So I flipped the koozie around and mounted it back in the chuck this time expanding the jaws into the mouth of the koozie.
 I used forstner bits again here and drilled a 2″ wide recess to flush mount the insert.
I also needed to bore a 1-1/8″ diameter hole 1/2″ deep to give the bottle cap room to get into the opener.
With everything how I needed it I did some final sanding on the end of the koozie. Then I took it off the chuck and did some sanding on the inside and I was ready for finish.
For the finish I’m using a water based wood turner’s finish I’ve had a lot of success with. You can wipe it on in thin coats and it dries in about 30 minutes. I ended up putting on about 5 coats sanding with 1000 grit paper in between each one.
The last piece was to install the insert. It’s stainless steel with 2 screws so there shouldn’t be any issues with rusting from moisture.
And back to the maple piece from the beginning, I realized it was the perfect size for a bottle of IBR Root Beer so I finished that one too. Cans are a consistent size, but I found bottles are all over the place. So you’ll need to custom fit your bottle koozie to your favorite brew.
I learned a ton on this project as I turned my first hollow form and I hope you got some tips from watching what I did. I want to give a special thanks Rockler Woodworking & Hardware for supporting Fix This Build That!
If you want to see more lathe projects you can find them on my Woodturning Projects page. And if you want to buy your own koozie instead of making it you can find them at Anchor @ Home where I got the inspiration for using the inset bottle opener.
Rockler Woodworking & Hardware provided me with product and/or monetary compensation as a sponsor of this build. All opinions are my own and are not filtered by the sponsor.


Wish I could upload pictures, I don’t have a “Page” anywhere. I don’t do much with Facebook either. I have done this, but with Mesquite wood, I have one that holds a 24 or 25 ounce can with a handle. You have done well sir, well indeed if this was a first attempt at cylinders. Forstner bits are the ticket, just keep’em sharp.