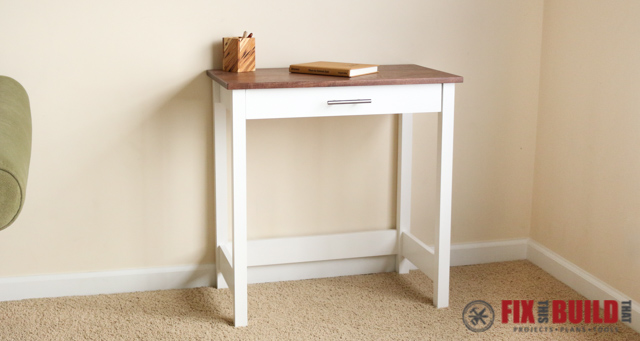
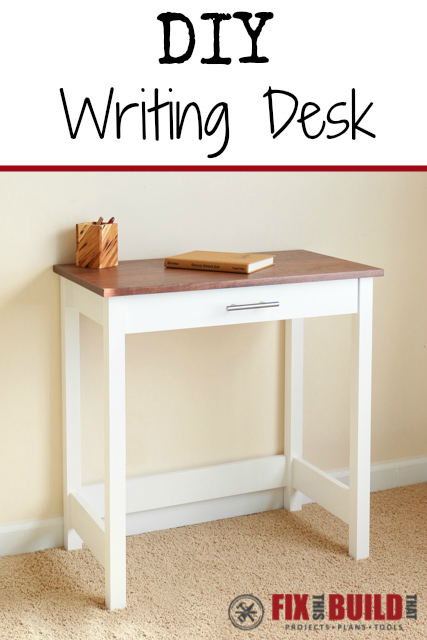
Today I’m sharing a small DIY Writing Desk that I built for a local doctor’s office. They needed a desk to sit down and fill out their charts at and something that would fit a specific space. Instead of just making a utilitarian piece with a formica top, I used a walnut top to add a touch of class and beauty to the office. The full extension pull out drawer gives a nice storage spot for essential office supplies. This piece would make a great writing or laptop desk with a small footprint.
The finished writing desk is 30″ tall, 29″ wide and 16″ deep. The base and drawer are made from 2×2 and 1×4 select pine and the top is 3/4″ walnut but 1x pine could also be used for the top.
Before we get started, make sure to follow me on Instagram, YouTube, Facebook and Pinterest to keep up with all my latest builds and free projects!
Here is what you’ll need for the project:
Tools
- Kreg Jig K4
- Kreg Face Clamp
- Tablesaw (or circular saw)
- Miter saw
- Random Orbital Sander
- Cordless Drill
Materials/Supplies
- (2) 8′ 1×4 select pine boards
- (2) 8′ 2×2 select pine boards
- (1) 8′ 1×6 walnut board
- (2) pairs of full extension 12″ drawer slides
- (1) drawer pull
- 1 bag table top fasteners
- 1-1/4″ Pocket Hole Screws
Affiliate links are used on this page. See my disclosure page for info on affiliate programs.
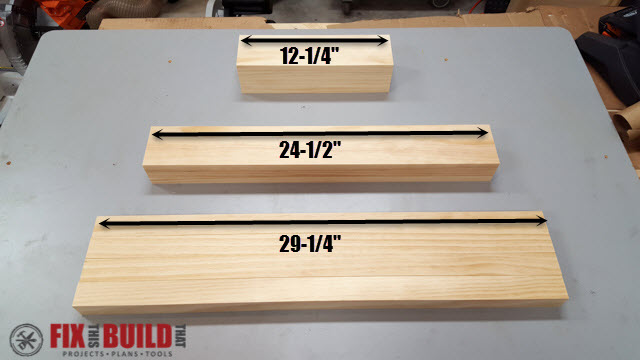
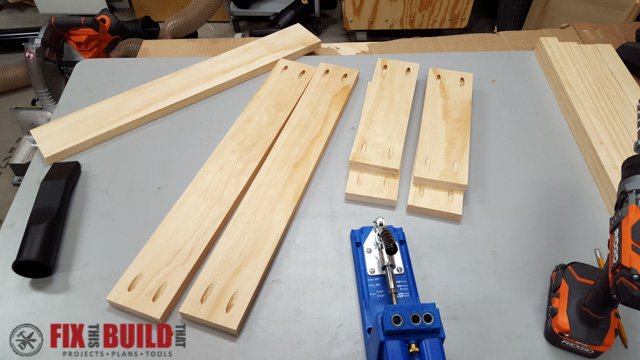
Start by cutting the writing desk base pieces to size. You will need (4) 29-1/4″ 2×2 legs, (2) 24-1/2″ 1×4 back stretchers, and (4) 12-1/4″ 1×4 side stretchers.
Drill pocket holes at the ends of all the 1×4 stretchers to connect the legs. I use a Kreg K4 to drill my pocket holes. If this jig is out of your price range, Kreg has the cheaper R3 and Mini which give you the same holes but just take a little longer.
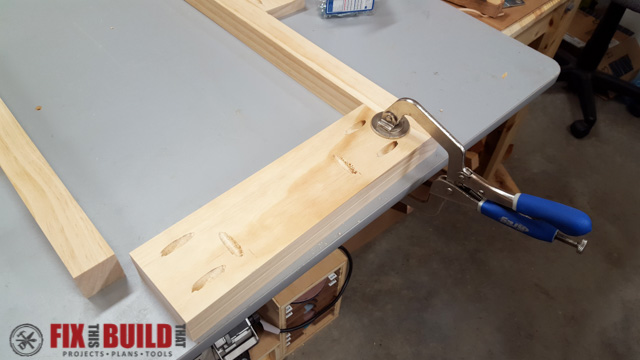
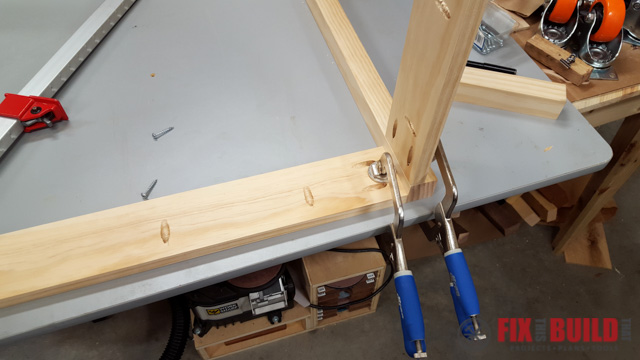
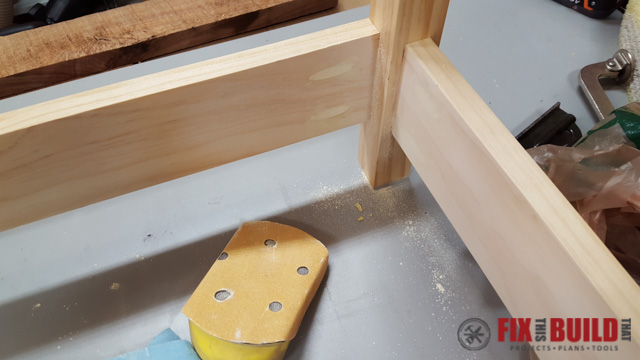
Begin assembling one side of the writing desk. First attach the top side stretcher flush to the inside of a leg. Stack the top stretcher on the bottom side stretcher as a spacer. This puts it exactly at the right height without a lot of fuss. Clamp the pieces in place and use 1-1/4″ pocket hole screws to attach the legs.
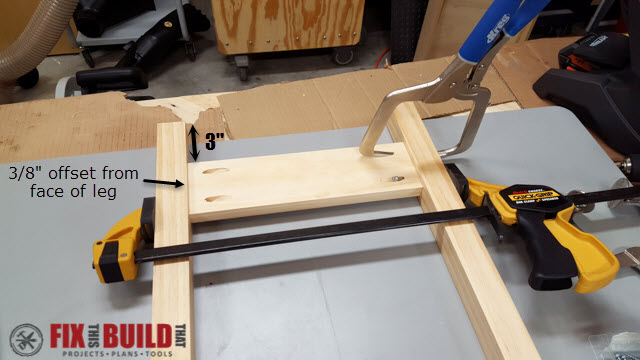
Attach the bottom side stretcher 3″ up from the floor and 3/8″ offset from the sides of the leg. Clamp it in place and attach with 1-1/4″ pocket hole screws. Using a combination of Right Angle clamps and quick clamps will keep the piece firmly in place while attaching.
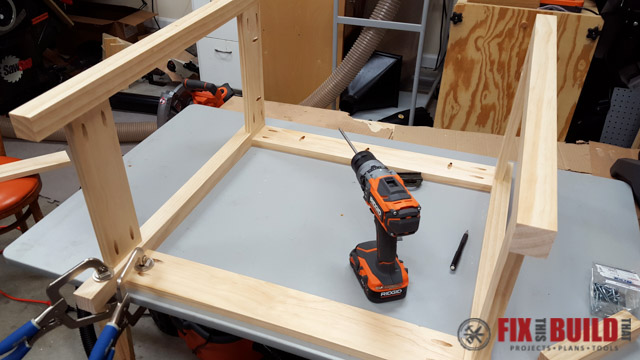
Repeat this process for the other side and you will have both sides of the DIY writing desk done.
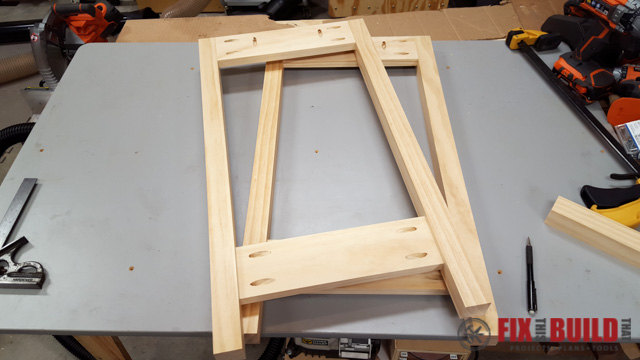
Now connect the sides using the back stretchers. The stretchers are set flush to the back of the legs to allow for attaching to the wall if needed (this is what the doc’s office wanted to do). Boom, the base is done!

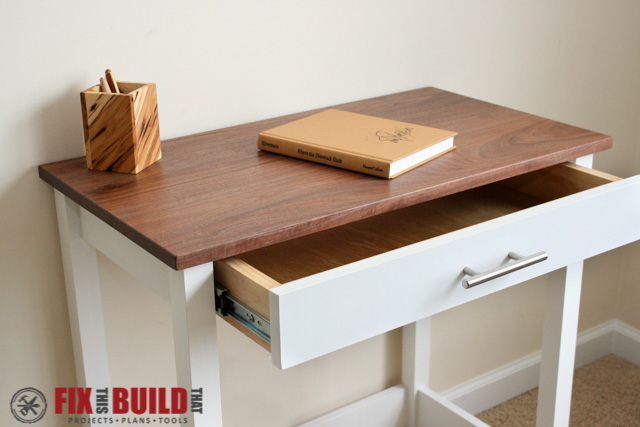
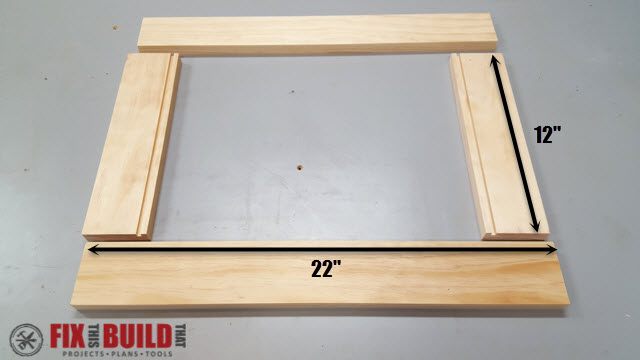
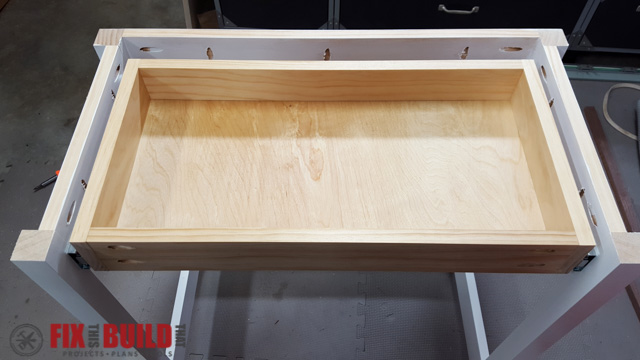
Next you’ll build the drawer. I’m using 12″ full extension slides so the drawer should be 24″ wide and 12″ deep. Size your drawer to your slide type.
Cut (2) 22″ front/back pieces and (2) 12″ side pieces from a 1×4. Rip the pieces down to 3″ in width on the tablesaw or use a 1×3 and have a slightly shallower drawer. Cut a 24-3/8″ false drawer front from a 1×4 and leave it full width.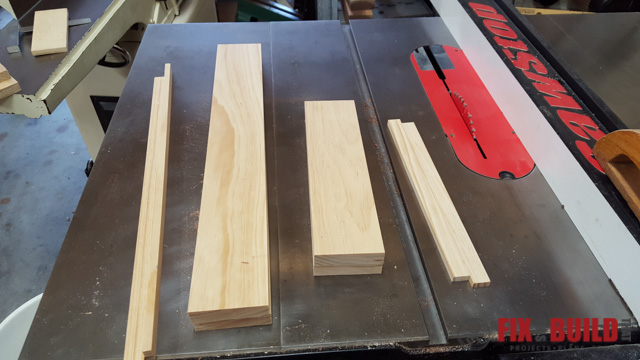
Cut a groove in the sides and front for the drawer bottom. The groove is 1/4″ deep, 1/4″ up from the bottom, and the width is sized to your specific plywood (typically 3/16″). This can be done in 2 passes on the tablesaw. Here is a shot of the first pass on the bottom and the second pass on the top. Cut the first pass on all 3 boards before moving to the second pass.
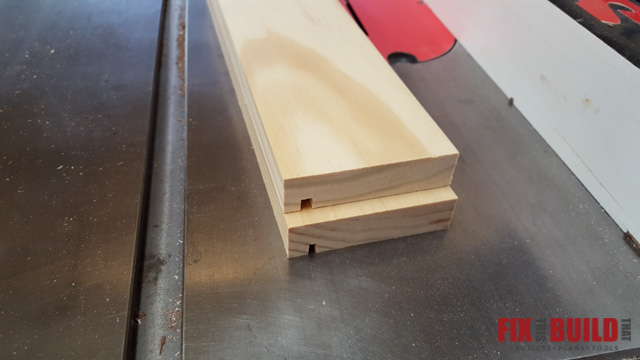
For the back piece, instead of a 1/4″ deep groove, raise the blade up and cut all the way through the piece. This will give you an ~2.5″ wide piece which will allow you to slide in the bottom panel from the back.
Drill pocket holes into the outside of the front and back pieces. Assemble the drawer with 1-1/4″ pocket hole screws lining up the grooves where the side and front pieces meet. Place the drawer upside down when attaching the back so the top edges of the box will all be flush.
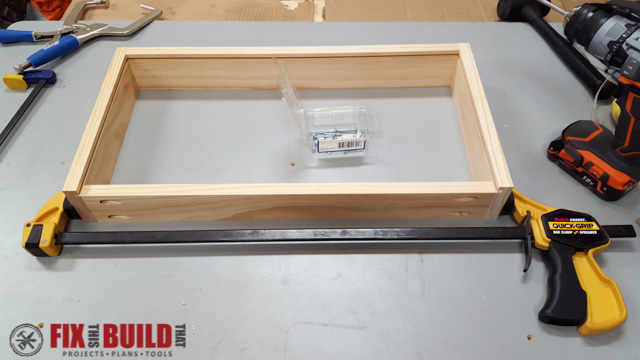
Cut a 1/4″ piece of plywood to 22-1/2″ x 12-1/4″ to fit in the drawer bottom. Slide the bottom in and secure it with 2 screws into the bottom side of the drawer back.
Prime and paint the base and false drawer front before moving to the drawer slide installation. I filled all the pocket holes in the lower stretchers with wood putty and sanded them smooth before painting for a seamless look.
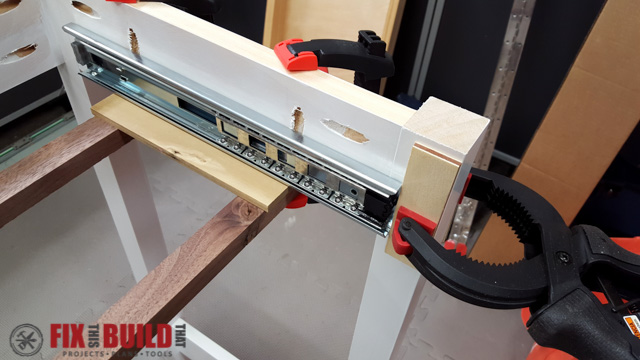
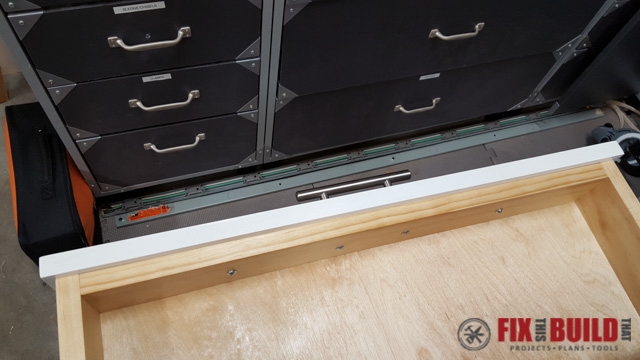
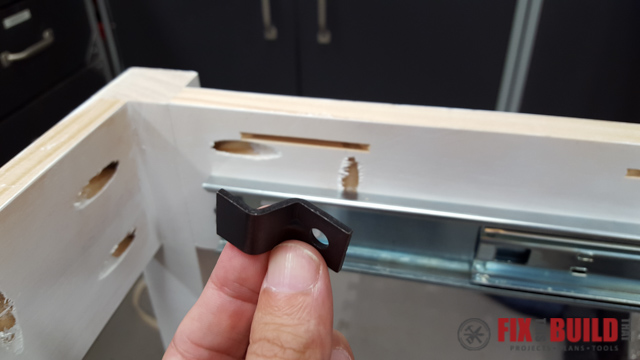
For the drawer slide hardware I used 12″ full extension slides. I set them so the drawer front would be 3/8″ back from the leg fronts. Reference your specific slide hardware for installation methods.
I clamped two scraps to the bottom of the writing desk to help with installation and used spacers for reference points. Take your time with this because it can be tricky since you are working with an open front. You’ll likely need to manhandle…err, gently coerce the front legs to get it square. Here are a few pictures of my installation.

Attach the false drawer front to the drawer by clamping it in place and securing with 1-1/4″ screws from the back side.
Install your drawer pull hardware with spacing and instructions from your manufacturer. I used a satin nickel bar pull. Seemed like it had a nice contemporary/medical feel to it.
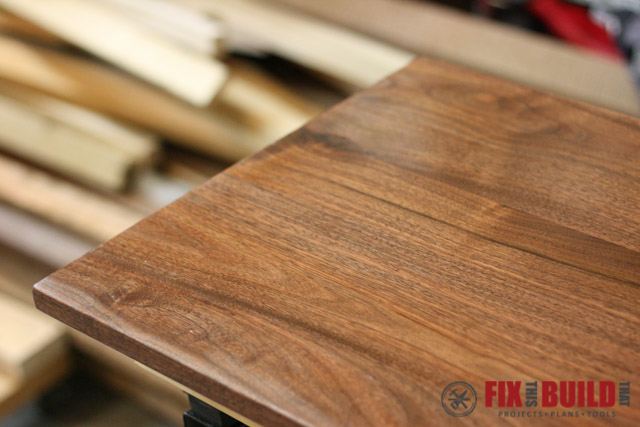
The last piece of the writing desk is the top. I used walnut to make a 29″x16″ top. If you’re stuck with dimensional lumber then use a 8′ 1×6 cut into 3 sections to make the top. I attached the top with s-shaped table top fasteners, but pocket holes could also be used.
Stain and seal the top with your finish de jour. I went with a natural Arm-R-Seal urethane finish on the walnut…did I mention that I love walnut??
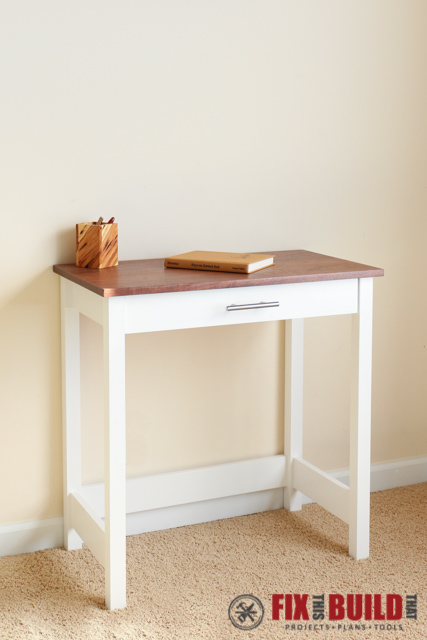
This is a shot of the DIY Writing Desk in my house. Once at the Doc’s office I will attach it to the wall with 2-1/2″ screws into the metal studs.


Love the project! How wide do you think this could be and still be stable?