This post is sponsored by The Home Depot Home Services
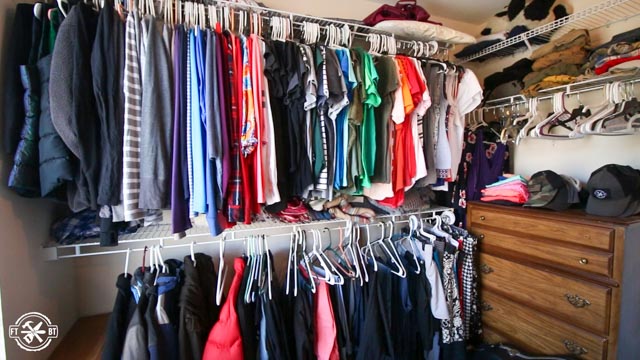
Is your closet full of ugly wire shelves? Do you have wasted space and no organization? I feel your pain! Our master closet was ugly, unorganized and in short, a dumping ground. We needed smart storage, we needed to ditch the wire shelves, we needed a closet makeover!
We knew we needed to redo our closet but I kept putting it off because of two issues:
- Size: Our closet is big and we have a lot of stuff in there. Planning and laying out the best storage on our own was overwhelming.
- Time: After building a DIY Closet Organizer for my son’s (much smaller) closet, I knew I could build our closet too. But it would have been a huge, time-consuming job. And our clothes would have been scattered around the house the entire time.
So I did what any smart person would do, I procrastinated. Everything changed when The Home Depot approached me about sponsoring a closet organization installation project. It was a perfect fit and my get-out-of-jail-free ticket.
See the full video of the process below!
Start with an In-Home Consultation
*Note: This whole project was done in early March 2020 before Covid took off. The Home Depot has adjusted their procedures and now use many safety precautions before entering you home including usage of face masks, hand sanitizer, disenfectant and more. You can read about what they are doing to keep you and their associates safe at homedepot.com/hscovidsafety. They also offer virtual consultations now as another option.
The first step to get our dream closet was an in-home consultation with The Home Depot Home Services team. The closet designers came out to our house and met with us to analyze our master closet and measure the space.
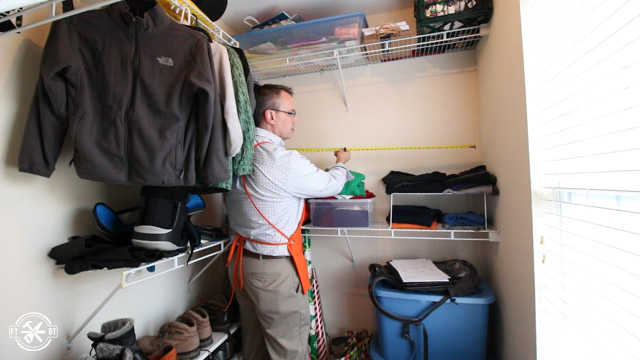
They also asked us questions designed to help them understand how we used our closet and what our needs are.
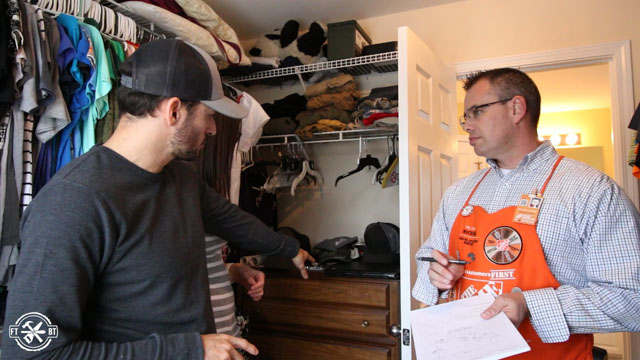
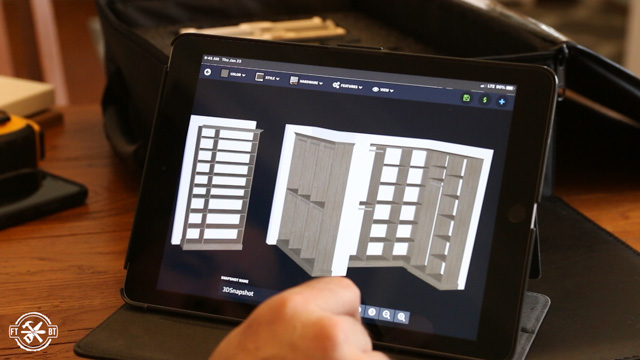
After that they huddled downstairs and came up with a design which they built on the fly using their design software.
 We went over the layout with them thinking through the plan together. They adjusted the design repeatedly as we worked together to fine tune the layout. It was really nice to be able to see a 3D rendering of the space in real time.
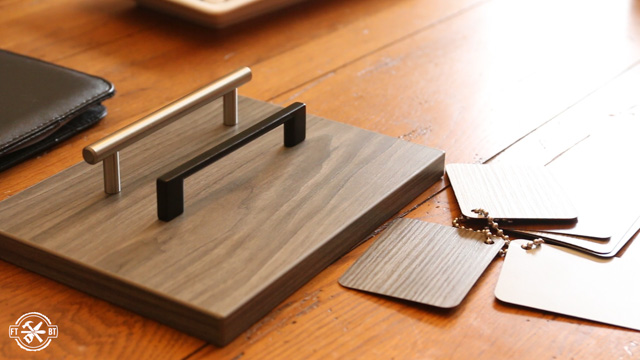
After we finished tweaking the layout of the closet we began to decide on the cabinet style and hardware. There are a variety of cabinet styles to choose from ranging from wall hanging to floor standing and a host of finishes and hardware options to choose from to fit your budget. We really wanted this to be our dream closet so we went on the upper end of the selections and after a few rounds of revisions we had everything locked in.
If you want a free in-home consultation, you can set one up and get a quote for your own closet makeover with no obligation to buy. Just head over to the Home Organization Services page on HomeDepot.com.
Prepping the Closet
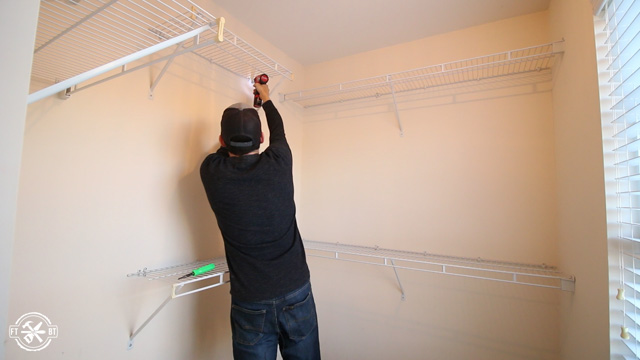
The weekend before our new closet was scheduled to be installed, we started getting our space ready. We took all of the clothes out of the closet, carefully removed the ugly wire shelving and painted the walls. If you’re looking for the best way to remove wire shelving make sure to watch the video where I go over the process step-by-step.
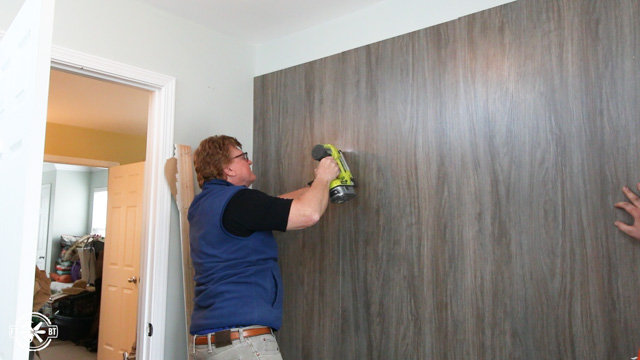
We designed our closet system to have back panels instead of the wall showing through. It was a custom look that we loved for our dream closet. The back panels also made prepping for the closet easier. We didn’t have to patch or paint the walls wherever the panels would be attached, and that was a lot of wall space.
If your closet system doesn’t have back panels or is a hanging system, you’ll need to patch and paint all over because the walls will be visible. But it’s worth the effort, and painting your closet when all of the shelving is removed is so much easier than when it’s installed.
Installation Day!
* Note: You can read all about the safety precautions the Home Depot Home Services install teams are using at homedepot.com/hscovidsafety.
On our scheduled install date Oliver, the professional installer, showed up with all the parts on his truck. Oliver started by removing the baseboards on the first wall. If you go with a hanging style cabinet then the baseboards would stay intact.
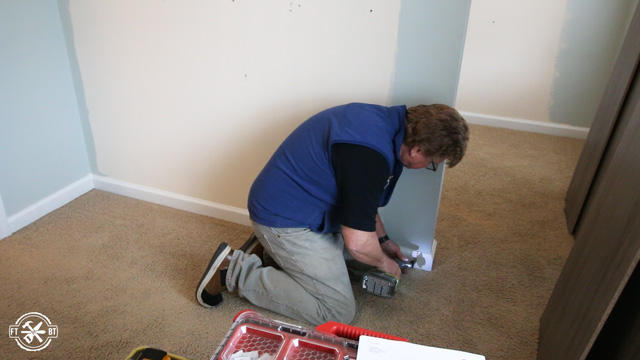
With the baseboard removed the back pieces got tacked to the wall to be temporarily held in place. The back panels are sized so the seam between them will be covered by the vertical frames.
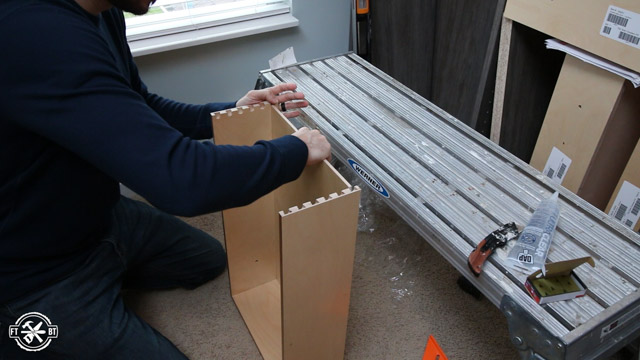
The cabinet frames for these cabinets go together with knockdown style connectors. The tall side panels get metal posts in them and these engage with a locking piece on the tops and bottoms. Twisting the connectors in the top and bottom pieces lock the parts in place for a solid connection.
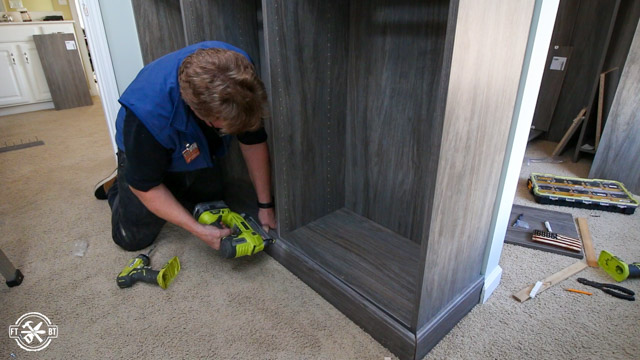
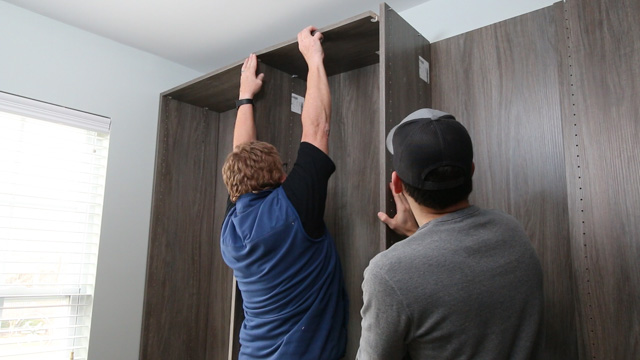 The cabinets need to be attached securely to the wall, so he found the studs along the wall above the frames. Then he attached L-brackets to the top of the frames and into the studs to hold them firmly to the wall.
One section of our closet included full extension soft-close drawers. They’re built well with half-blind dovetails and a captured bottom panel.
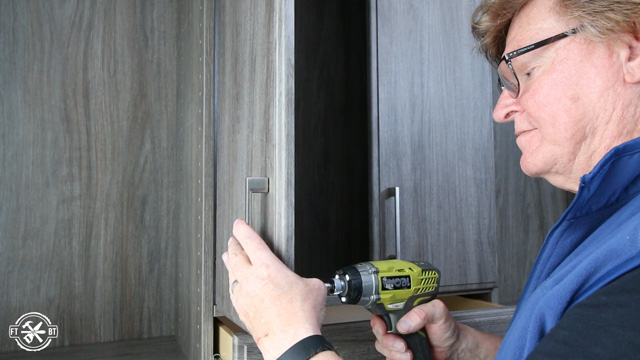
 Once all of the drawers were installed Oliver added the face fronts and drawer handles we selected.
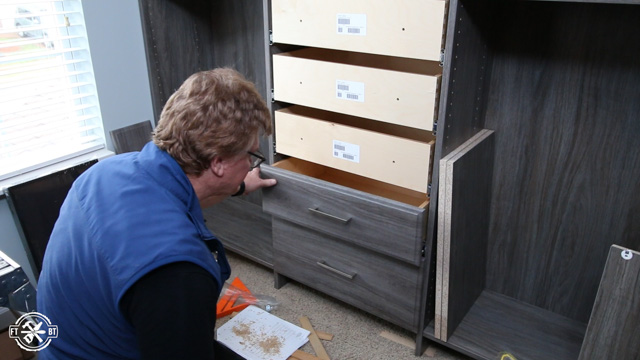
Above the drawers is a cabinet with shelves. The doors also have a soft-close feature and they closed like butter.
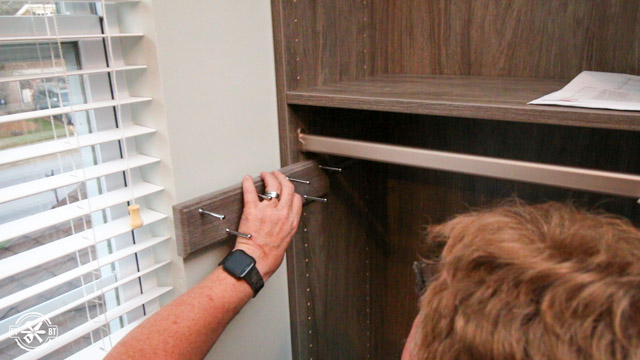
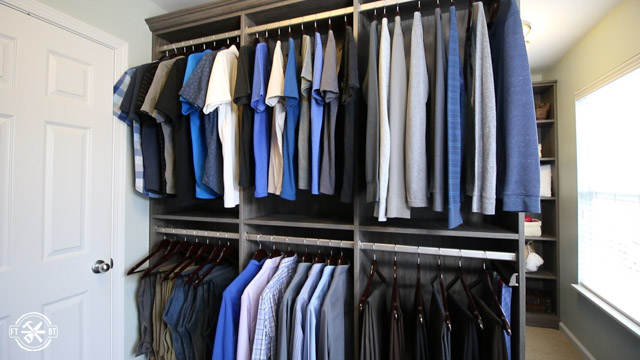
We selected tall hanging rods that are a little more elegant than the standard round ones. Oliver cut these to size on site and installed them.

The Closet Upgrades
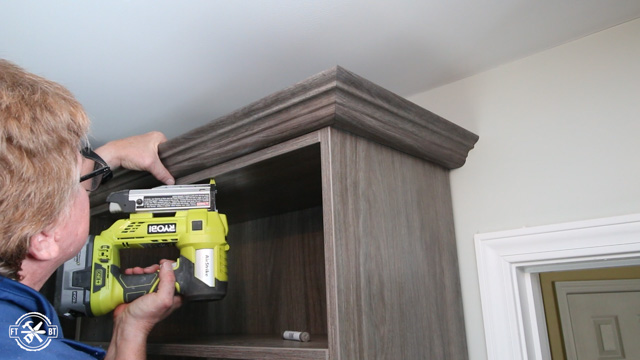
Along with the functional upgrades like the soft-close hinges and the different rods, we also had some visual ones. The most noticeable was crown molding for the cabinets in the front of the closet. The trim goes right on top of the cabinets and has a large bottom lip that gets silicone caulk and pin nails from below to hold it in place. It really gives the cabinets a custom look.
The bottom of the cabinets get a toe trim to cover the bottom opening. It also really looks nice and gives the cabinets that custom finished look and feel.
We also added a few small accessories like a pull out scarf or belt holder and a jewelry tray for Susan.

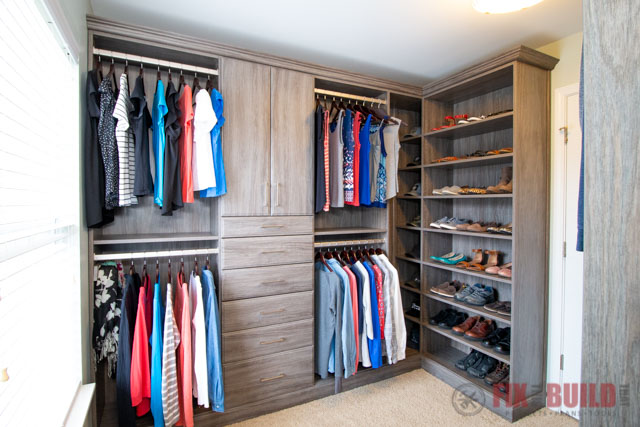
The Recap
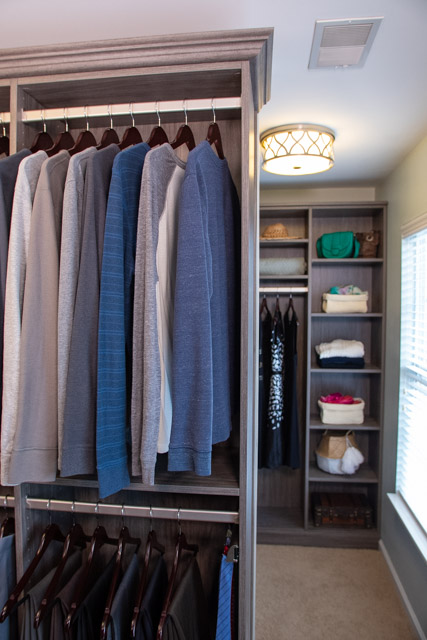
This really is our dream closet now. It’s going to be something that we enjoy our entire time in the house and will be a nice selling feature whenever we move down the road.
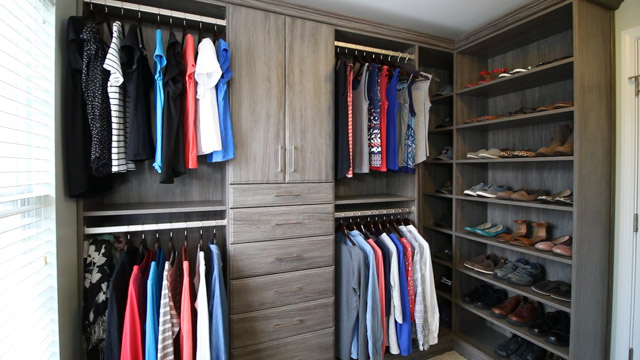
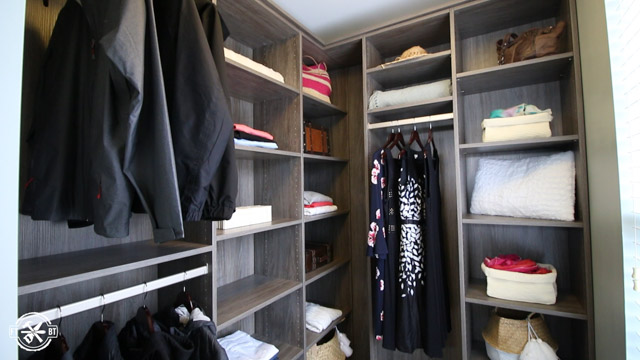
Susan has a lot of room for her folded clothes now in both drawers and shelves. And we have a spot for our most used shoes in the front of the closet as well as a little nook for my hats.
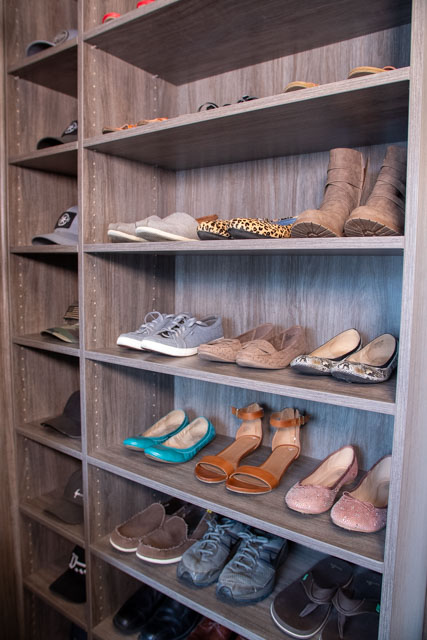
But the back of the closet is what really transformed and gives us a ton of space for off season items like coats and long dresses. These shelves are so much more functional and at least doubles the amount of usable storage we have.
We’re so excited about our new closet and a big thank you to The Home Depot for making our vision of the closet come true! The process was easy to go through and it saved me a ton of time by not having to plan it all out and manage it myself. And the end result is just what we wanted.
If you want to check out some Home DIY Projects I’ve built myself head over to my projects page.
The Home Depot provided me with product and/or monetary compensation as a sponsor of this build. All opinions are my own and are not filtered by the sponsor.


