This post is sponsored by The Home Depot
In the latest installment of the Smart Home series that I’m doing with Home Depot, I’m installing an Ecobee4 my parents…4 my parent…get it 🙂 I installed an Ecobee4 Smart Thermostat in their house with Alexa integration. As a result, they’ll be able to manage their heating and cooling better, and they’ll also be setup to integrate future home automation through the Alexa functionality.
Installing an Ecobee4 is a quick and simple process. I’ll show you how I did it and some of my favorite features.
Tools Used
Materials/Supplies
- Mounting Hardware (included)
Affiliate links are used on this page. See my disclosure page for info on affiliate programs.
How to Install an Ecobee Smart Thermostat
- Check the Wiring on old thermostat
- Turn off power to HVAC
- Label wires from old thermostat
- Install Ecobee
- Setup Ecobee
- Setup Alexia Integration
1. Check the Wiring on Old Thermostat
My parents have a one-story ranch with a small bonus room built into the attic. The main floor is controlled by this thermostat in their living room. It’s a decent programmable thermostat however it doesn’t have any of the connectivity of a smart thermostat.
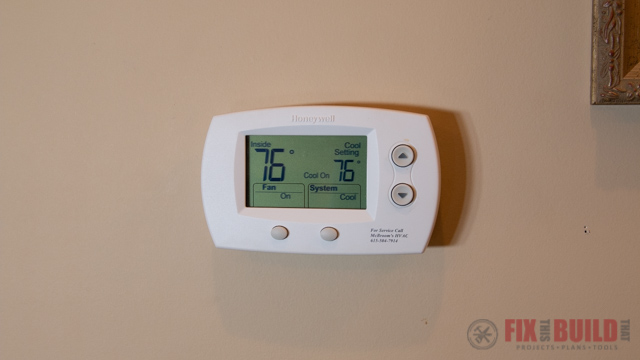
The Ecobee4 install starts by removing the cover from the old thermostat to see what you’re working with. Typically you can just pull the cover and it will come right off or you may need to press a tab.
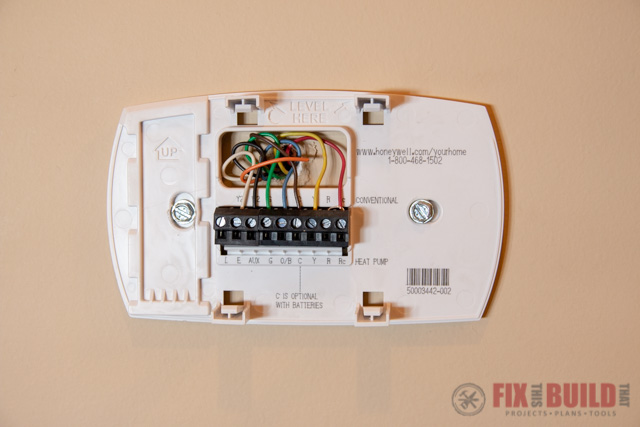
When I looked at the wiring I realized I was in luck. Their thermostat had a powered “C” wire on it meaning I could do the normal install and not have to deal with the Power Extender Kit. If you need to install the power extender kit I walked through that process when I did my own install last year.
2. Turn Off Power to HVAC
Before I started removing wires I went outside and turned off the power to the HVAC units. Make sure your power is off to avoid any chances for electrical shock.
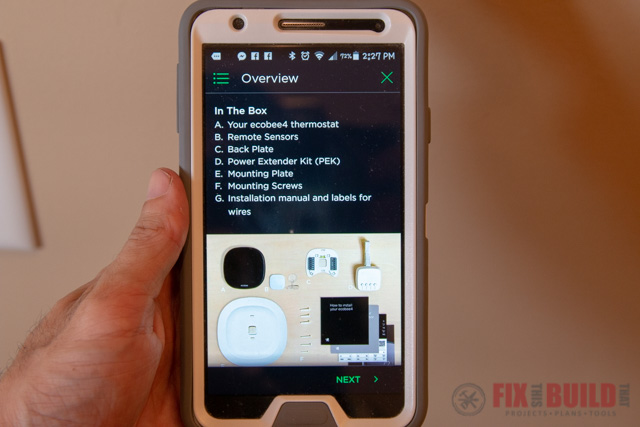
One of the things I love about the Ecobee4 is the thoroughness of the instructions and packaging. Even more impressive however is their amazing instructions on the Ecobee app that you can download.
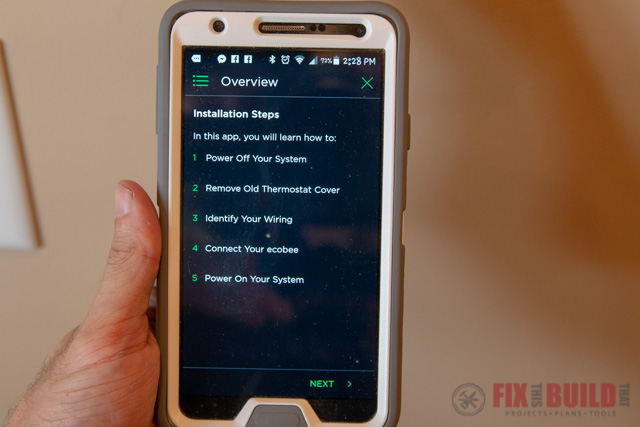
After telling you what all is in the box they have a full step by step instruction with included videos. As a result, it really holds your hand the whole way.
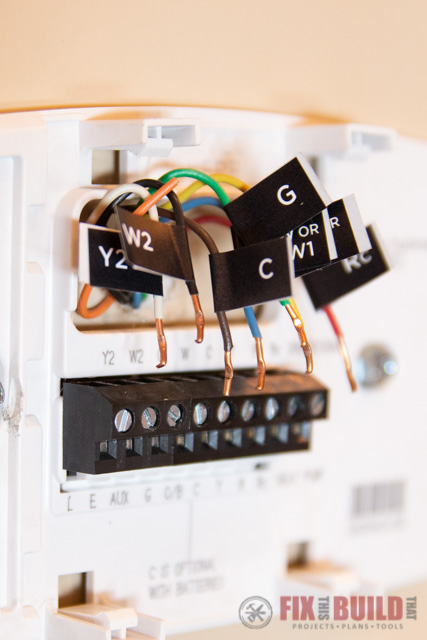
3. Label Wires from Old Thermostat
To help with the changeover they include little stickers to put on the wires as you remove them from your old thermostat. I labeled each one as I removed it so I could put them back in the right places.
4. Install Ecobee
I installed the Ecobee4 mounting plate (using the sweet bubble level) and then used the wiring stickers to put the wires back in the right locations.

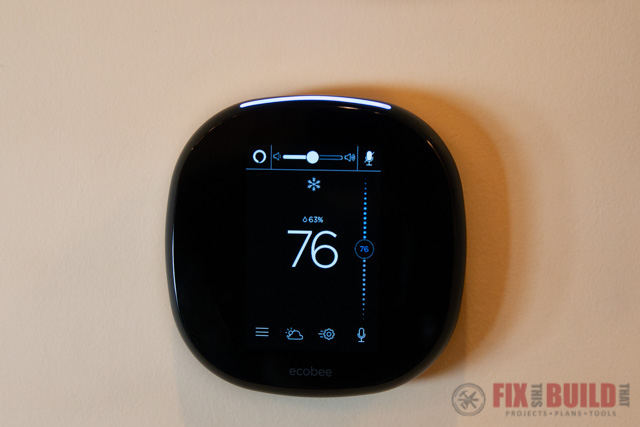
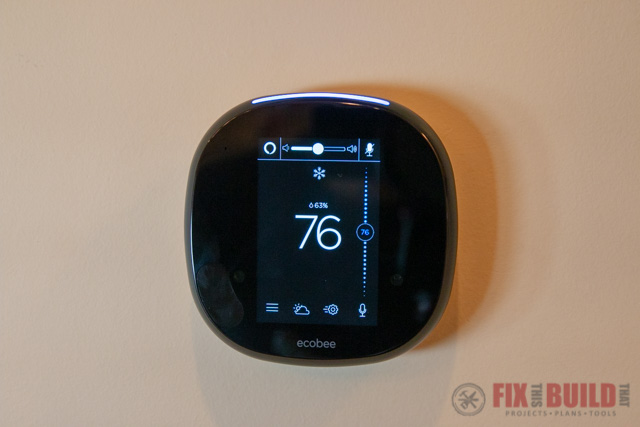
With a quick snap the Ecobee4 thermostat installs onto the mounting plate. After turning the electricity back on I was in the setup mode.
5. Setup the Ecobee
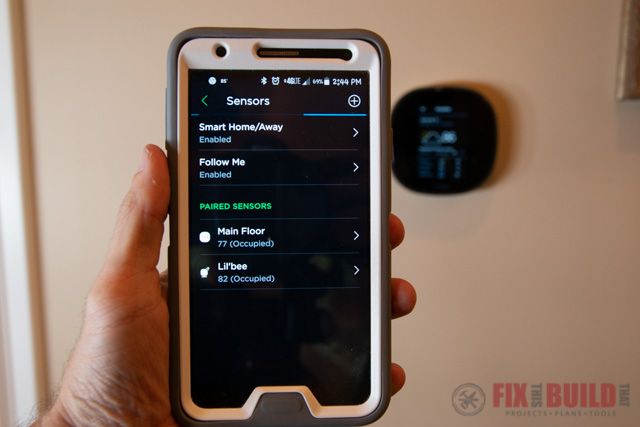
After going through the setup and getting the wifi connected we setup the separate room monitor. This is a little sensor that you can put in a room you spend a lot of time that might not get the same cooling or heating as the rest of the house.
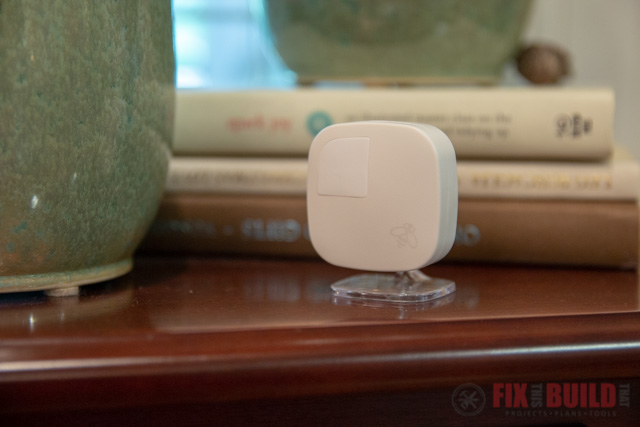
We paired the sensor then put it in a room my parents spend a lot of time, but is usually a bit warmer than the rest of the house. As a result, they can now see the temperature where the main unit is and where the sensor is. If they use the Smart Home/Away and Follow Me features, the Ecobee4 will sense where they are by using the motion sensors in the base unit and remote sensor. In response, it will cool or heat that area to the desired temperature. All in all, this is a pretty cool feature.
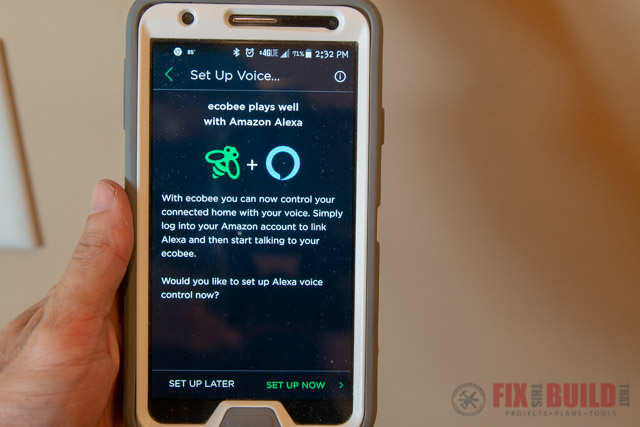
6. Setup Alexia Integration
Finally, I wanted to setup the Alexa integration for them. Again the Ecobee4 has a very easy to follow setup to link the Alexa unit. As a result, we just followed the onscreen prompts and got it connected to their Amazon account.
Now they can use all the functionality of Alexa right from the thermostat without the need for a separate Amazon home automation product. Obviously I had to test it out and decided to play my favorite podcast (wink, wink…it’s my podcast Made for Profit where we talk business in the shop and how to monetize as a Maker).
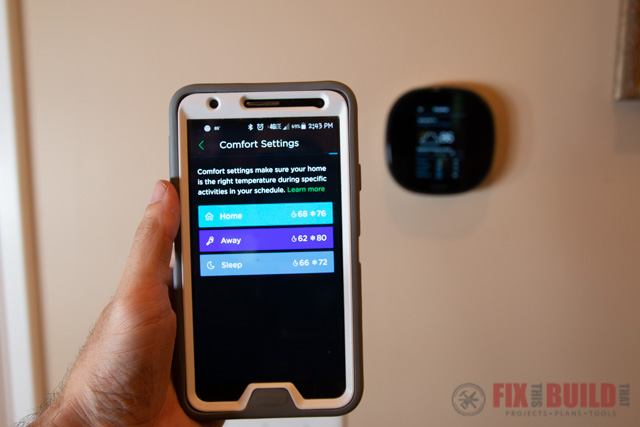
My parents are all setup now and and have great functions of the Ecobee4 like the Smart Home/Away and Alexa that I’ve showed you. Along with weather reports, infinite scheduling, and of course the ability to change the thermostat while away from home if they forget to turn it down before leaving town.
Stay tuned for more of my Smart Home engagements with Home Depot to make your house work smarter and better for you. In the mean time you can see my more projects at my Home DIY projects page.
I acknowledge that The Home Depot is partnering with me to participate in this Smart Home Program (the “Program”). As a part of the Program, I am receiving compensation in the form of products and services, for the purpose of promoting The Home Depot. All expressed opinions and experiences are my own words. My post complies with the Word Of Mouth Marketing Association (WOMMA) Ethics Code and applicable Federal Trade Commission guidelines.


