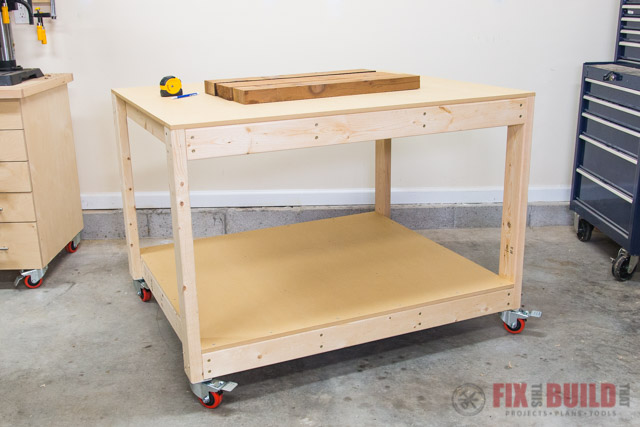
Today I’m going to show you how to build a DIY Work Table. My goal was to build a big, strong, mobile work table as cheaply and easily as possible.
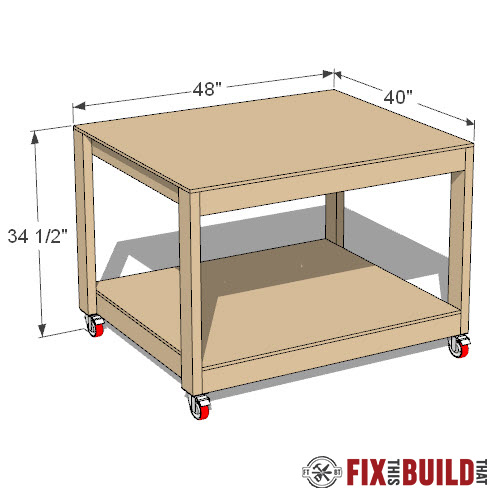
The table has a 48”x40” top, and only uses 8 2×4’s and a full sheet of MDF. It’s a great project for beginners and is easy to build with construction screws and butt joints. This DIY Work Table is easily a one day project, just grab your circular saw and drill get building!
Tools Used
Materials/Supplies
- (8) 2×4’s
- (1) 4′ x 8′ 1/2″ MDF
- #10 3” screws
- 3” locking casters
- 3’ Metal Ruler
- Water Based Poly
Affiliate links are used on this page. See my disclosure page for info on affiliate programs.

How To Build a DIY Work Table
- Choose Lumber and Prep Assembly Area
- Build the Work Table Frames
- Attach Legs to the Frames
- Cut and Attach the Work Surfaces
1. Choose Lumber and Prep Assembly Area
Pick 2×4’s for the DIY Work Table
First you need to find straight material to use, which is the biggest challenge when working with 2×4’s. What you really want to stay away from are boards with twist in them. In that case, neither the faces nor edges are flat. An easy way to check for twist is to press down on the edges of a board. If the 2×4 rocks then it’s got twist, and twist is bad.
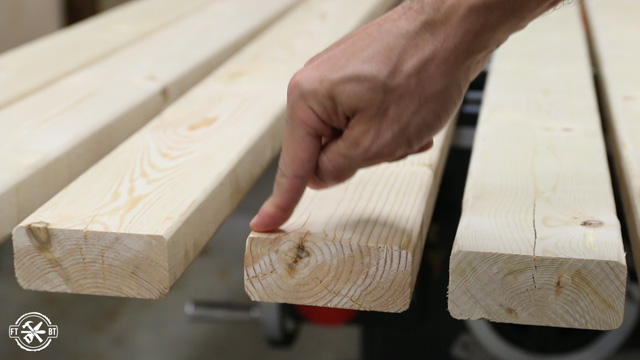
Another way to check the edges for straightness is to pull the boards together. Any gaps mean one or both of those boards aren’t straight.
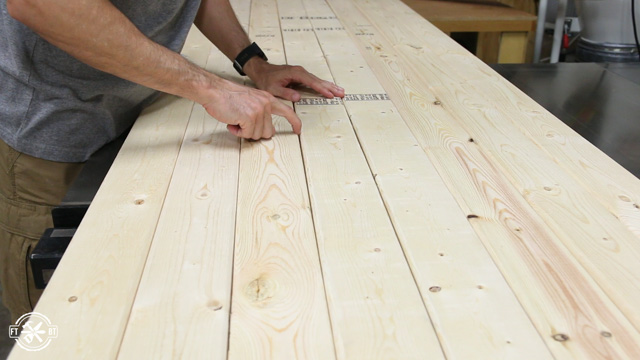 Set aside the straightest boards for the exterior of the work table top and bottom. Use 2×4’s with straight edges but a little bow for bracing or the legs.
Make Cuts for the Table Frames
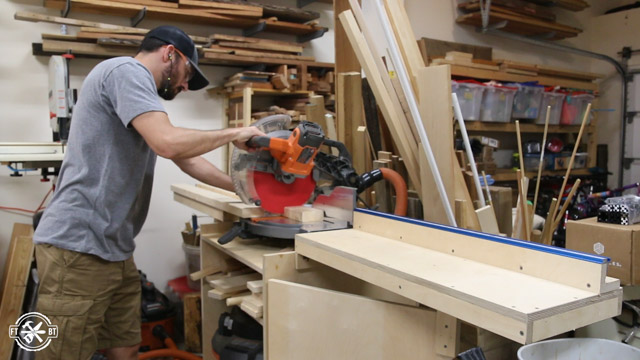
I set a stop block on my miter saw to easily cut parts for the table. Next I cut parts for the frame pieces for the top and bottom shelf at the same time. Since the frames are the same size, this makes it easy to get all the cuts done at once.
Prep Assembly area for DIY Work Table
The 48×40 top is bigger than any of my current work surfaces, so I had to build the frames on the floor. If you have to build your table on the floor too, start by grabbing a straight edge or level and check your floor.
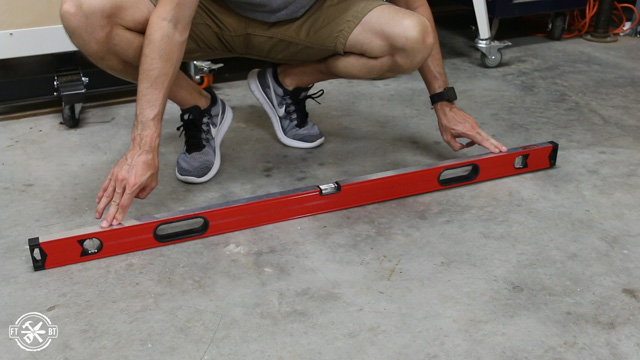
You want to find the most level and flat part and that’s where you’ll build. Then vacuum up all the dust and debris off the floor.
Make sure to get your FREE PLANS for this project! The plans include detailed instructions and a complete list of tools and materials you’ll need to make your own DIY Work Table.
2. Build the DIY Work Table Frames
I laid out the long font and back boards for my frame and checked them against the floor. Once I decided which side of the lumber was flattest, I marked it as the top. This will allow me to have the best chance a building a flat table.

Next I brought the sides and two inner braces in and repeated the process for each 2×4. After marking the best edges I turned them down towards the floor to reference the flat surface.
I made marks on the edge where I wanted my screws to be centered on the front and back. Then I grabbed a carpenter’s square and marked the locations of the screws.
To attach the boards, I started on the near corner and used a scrap block to flush up the outside board. A 90 degree clamping square and a couple small clamps lined everything up while I drove in my first screws.
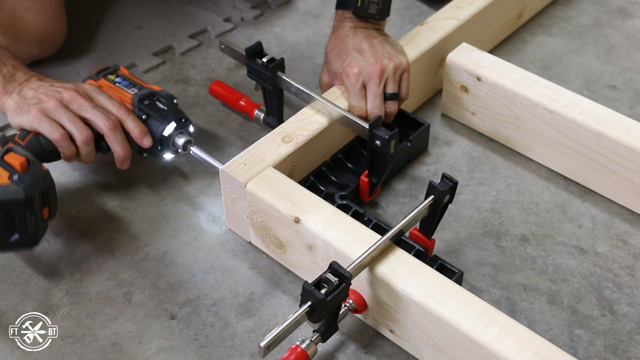
The screws I’m using are #10 3” screws. I plan on having a lot of weight on the top of the table and these are a lot stronger than drywall screws.
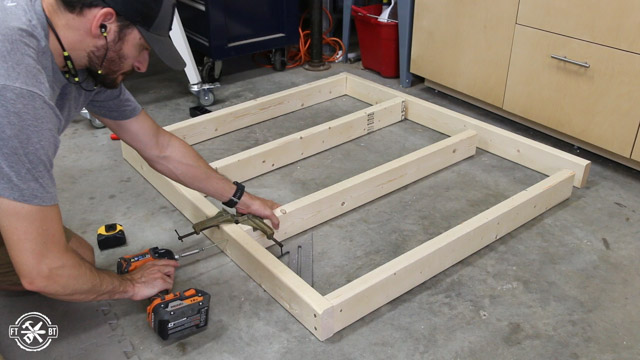
I worked my way down the front, lined up the braces on my layout lines and screwed them all in. The back of the frame goes on exactly the same way. And within just a few minutes you have a completed top frame.
I brought in the boards for the other frame and repeated the assembly. However this time I used a cheap right angle clamp. This one was my granddad’s, but you can pick one up for really cheap. It actually went faster using this one than the two clamps and clamping block.
3. Attach Legs to the Frames
Next I cut four legs to length to connect the frames. I’m using 30” legs which paired with my casters and ½” MDF top will give me a 34.5” table height.
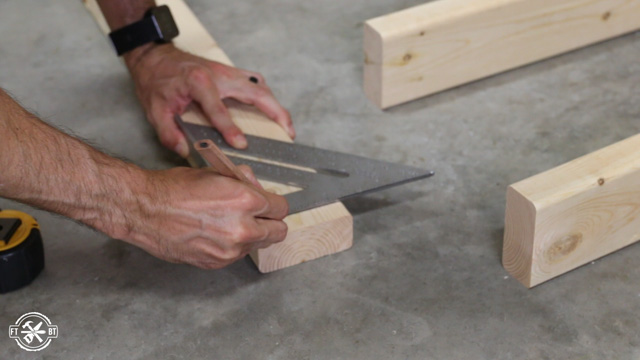
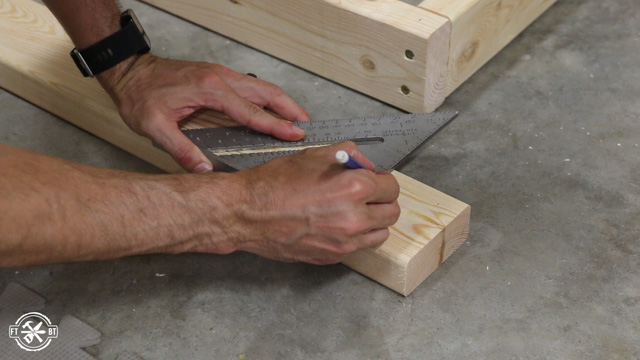
Each leg is connected to the frames with three screws. I laid out marks on each board for two screws going into the long grain of the side. Then I marked the last screw that will go into the end grain of the front or back.
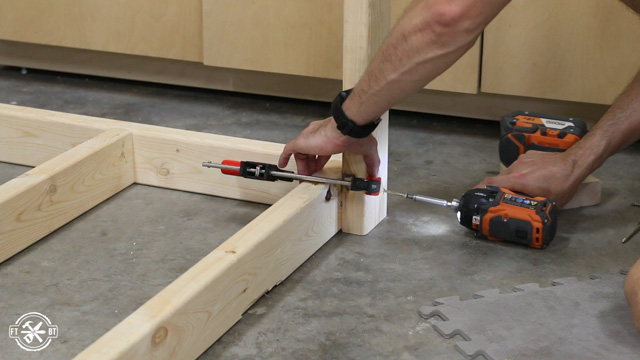
Next I used a scrap block to position the leg flush with the front and clamped it in place. I checked that the leg was at 90 degrees to the floor. Then I attached it at the screw locations I’d laid out.
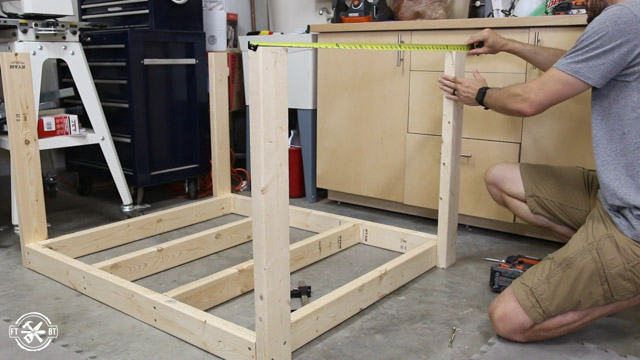
When attaching the second leg on the same side you can really fine tune in the angle of them if needed. You want the legs to be square and parallel to each other. To check this, measure the distance between the legs at the bottom and the top. If the measurements are the same, they are parallel. If you’re off here, just unscrew two of the screws on a leg, nudge it in place and reseat the screws.
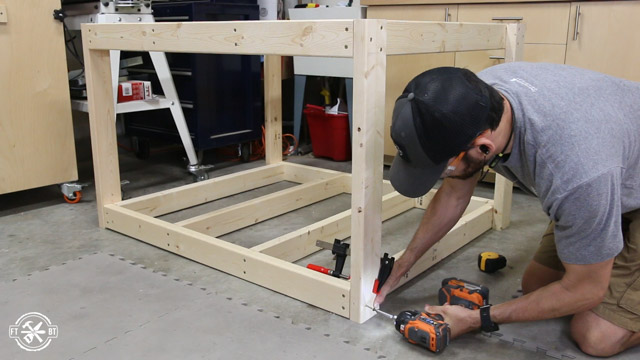
Adding the bottom frame goes really quickly if you’ve got the legs mounted correctly. I flipped over the assembly and flushed up the front and back legs with the frame. I used a clamp to hold everything in place. Then I attached the first two screws and finished up with the third one.
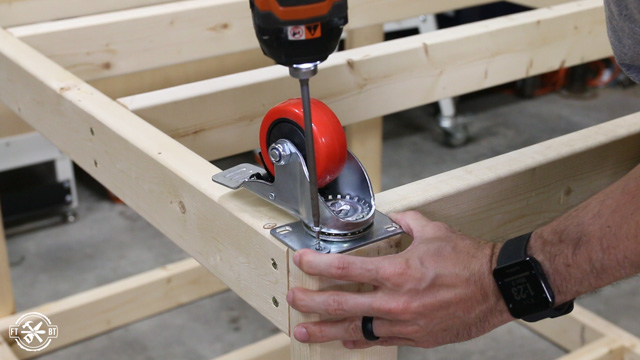
When I finished up the base I took a few quick measurements just to confirm nothing got out of square during assembly. Everything looked great so I went ahead and mounted the casters before flipping it over.
4. Cut and Attach the Work Surfaces
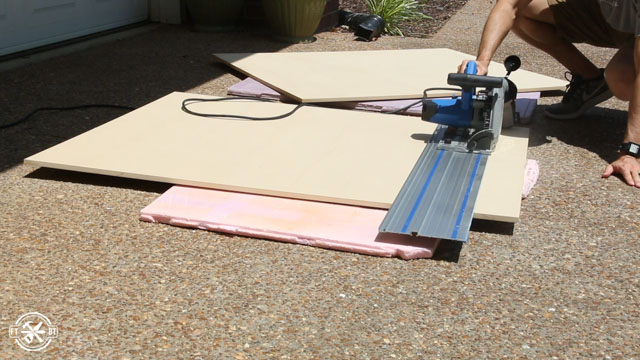
I’m cutting the top and shelf of the work table from ½” MDF with a Kreg Track Saw. The top is 48×40, but the shelf is 45×40 since it goes between the legs instead of on top of them.
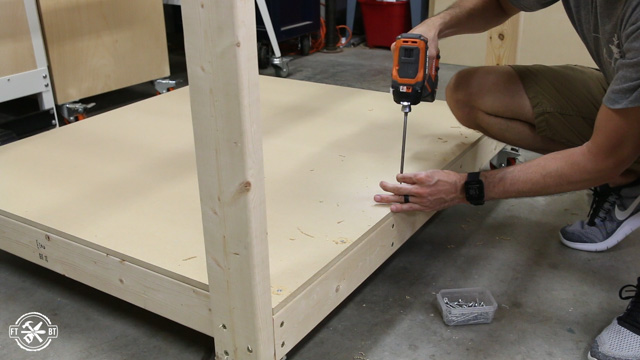
I slid the bottom shelf into place and screwed it down along the perimeter. I added a couple screws along the bracing to keep it from bouncing with any vibration.
The top of the work table lines up with the corners and will be flush on the front, but has a small overhang on the sides. I plan to use that overhang for something later, but you could put another 2×4 in there if you wanted it flush.
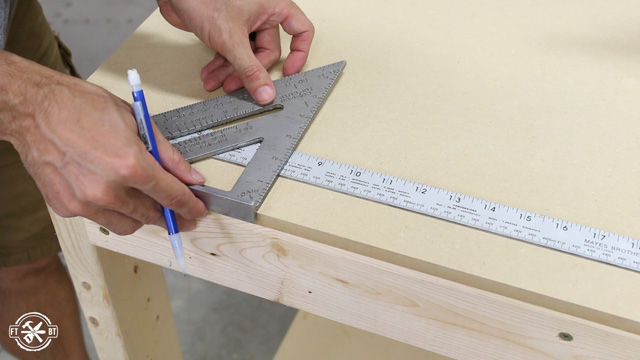
I used a combo of a metal ruler and carpenter’s square to quickly layout my screws. The ruler is lined up flush on the side. Then I overlaid the square every 8” and made a mark at ¾” to center the screw on the 2×4.
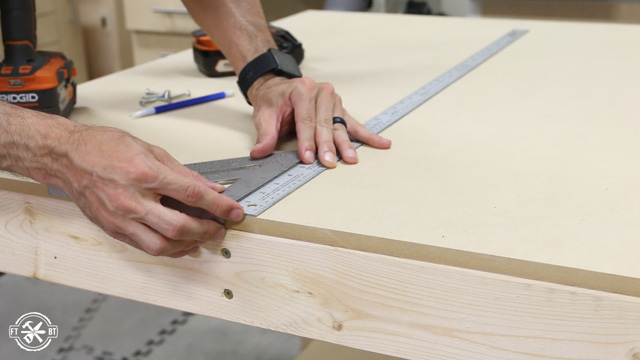
To get the screws locations for the inner bracing, I visually lined up the square with the screws on the front and laid the ruler up against it. Then I made a mark every 10” along both braces.
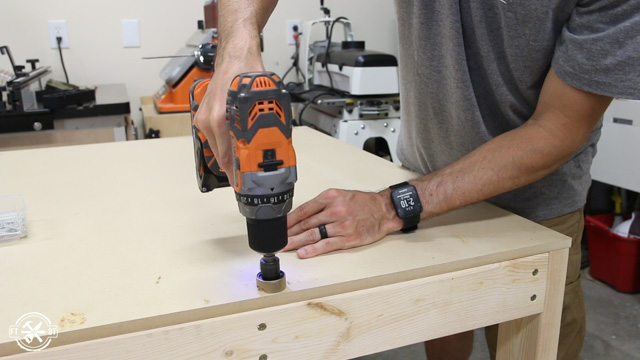
I used a countersink bit with a non-marring depth stop. This gives a consistent depth and you won’t have any screws sticking above the surface.
You can secure the first few screws and then one on the opposite corner. This will help to keep the top from moving around while you do the others.

Finishing the DIY Work Table
After the top was down I rounded the corners to match the curve of the 2×4 edges. This will keep me from snagging anything on them.
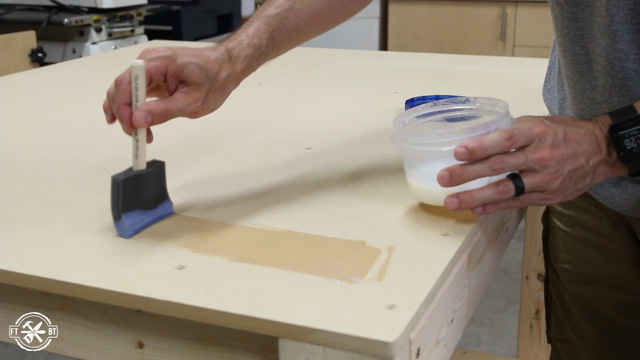
Then I applied a couple coats of polyurethane to protect the surface. Using a water based poly dries fast but will rough up the surface a little bit. But a quick sanding between coats gets rid of that.
And then we’re done! The DIY Work Table is big and sturdy and you can make it quickly for not a lot of money. It’s perfect to be used as an assembly table, an outfeed table, or to be used as a DIY Workbench. With this classic, simple design you have plenty of room for tool storage below and open work space above.

If you want to build more shop storage, check out my Shop Projects. I have everything from workbench projects which are perfect for a garage or basement to DIY Base Cabinets and Clamp Racks.


Thanks for the table design. Simple and functional as well as relatively inexpensive. By adding power outlets to the corners along with cord hooks it is more convenient for me. The flexible plan required little altering to find a happy medium with the function of the simplicity of design. Again, I thank you.
You’re welcome!
I built this work table in an afternoon this weekend to replace the one I was using which was a 36X48″ piece of 3/4 plywood on a Dewalt 30″ portable work table. This is a really solid work table. There’s enough room underneath to get my shopvac and air compressor off the floor too. I did mount a power strip to the top side rail so I don’t have power cords running all over the floor.
Great addition, you can’t never have enough outlets around the work table!
Thank you again for your easy to follow instructions. You have assisted me with building my work table and starting my DIY adventure.