
Today I’m going to show you how to build a Table Saw Outfeed Table. My goal was to build a simple and inexpensive outfeed table that could also function as an assembly table.
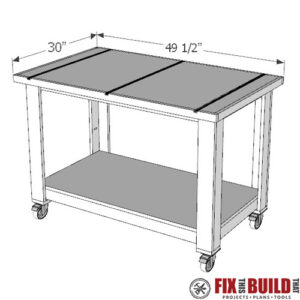
The table has a 49-1/2”x30” top, and can be built with only 1 full sheet of plywood and a 1×4. This table saw outfeed table is an easy one day project and will give you another work table in the shop too. Check out the video and free plans below to build your own!
Thanks to JET Tools and Woodcraft for sponsoring this post.
Tools Used
- Table saw
- Kreg Track Saw (or circ saw)
- 12” Miter Saw & Miter Saw Stand
- ISOtunes Bluetooth Earbuds
- JET Bandsaw & Planer (optional)
- Router (Optional)
Materials/Supplies
- (1) 4′ x 8′ 3/4″ Plywood
- (1) 8′ Solid Wood 1×4 -or- (2) 8′ Solid Wood 1x2s
- 3” locking casters
- 1-1/4″ Pocket Screws
- Water Based Poly
- Kreg Mini T-Track (optional)
Affiliate links are used on this page. See my disclosure page for info on affiliate programs.

How To Build a Table Saw Outfeed Table
- Build the Outfeed Table Frames
- Make the Table Legs
- Attach Legs to the Frames
- Cut and Attach the Work Surfaces
- Add Trim to Work Top
- Add T-Track to Outfeed Table
I’ve been using the same table saw outfeed table for over a decade and it’s served me well. But it’s taken a beating over the years and was starting to have issues with stability. I knew it was time to build my upgraded outfeed table, and I wanted to use scrap wood to build it.
This is a great project to use scrap ¾” plywood because most of the pieces are pretty narrow and under 30” long. Or you can easily build this outfeed table with (1) full sheet of ¾” plywood and (1) 1×4 or (2) 1x2s.
1. Build the Outfeed Table Frames
First I cut the parts for both the top and bottom frames. Each frame has two long sides and four short supports that connect them to hold the top and the lower shelf.
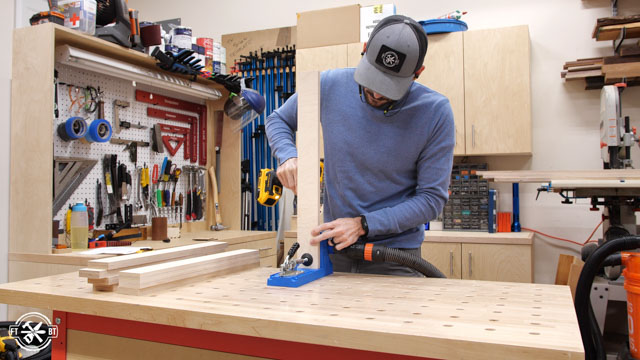
I started by using a stop block on my miter saw stand to easily make the repetitive cuts I needed. This also makes it easy to cut pieces that are exactly the same size. Like most of my shop furniture I’m using pocket holes for joinery. I drilled two holes using my Kreg K4 on each end of the short supports.
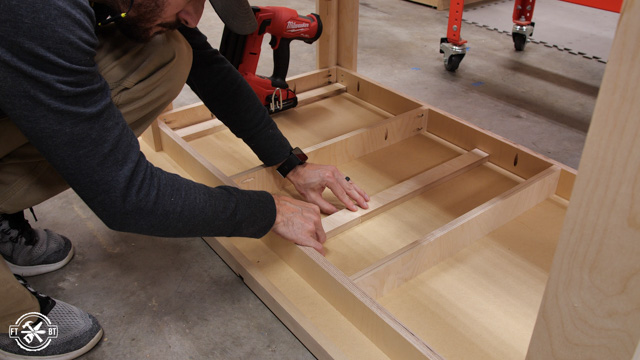
Assembly of the lower frame is straight forward since the inner supports are all the same length.
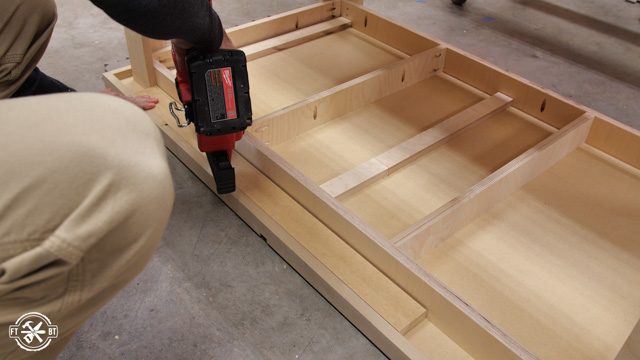
Having the pocket screws angling outward on the ends isn’t the most ideal since you typically want to go away from the ends and not towards them. But the frames will be glued and screwed in place which will provide plenty of support. I evenly spaced the inner supports and secured them in place to finish off the frame.
The upper frame is the exact same as the lower except I put a few vertical pocket holes along all the pieces as well. These will be used to attach the top to the frame while the shelf will be held in place by the legs and a few screws from above. Make sure you have the vertical pocket holes all facing the same direction so you don’t have a surprise later.
Brad’s Tip:
When drilling holes on the ends of the inner supports it’s better to have them spaced a little closer together using the A and B holes vs. the A and C holes on your Kreg Jig. This gives your drill a little more space off the bench when securing the lower screws during assembly.
2. Make Table Legs for Outfeed Table
Next I moved to the table legs. I grabbed some more plywood offcuts from the stack and setup for the first cut. I cut four parts at 3.5” wide, then moved the fence in to 2-¾” for the next four.
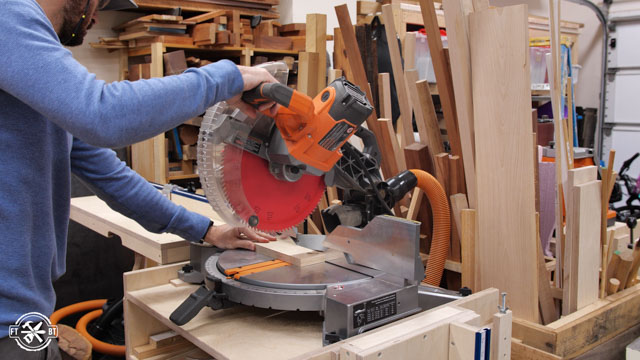
Then I cut all the pieces to the same length on my miter saw and moved on to the joinery.
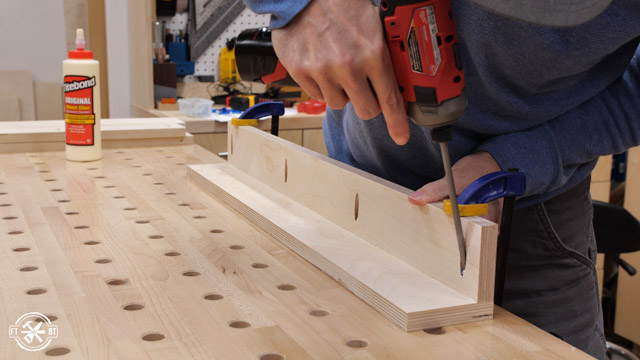
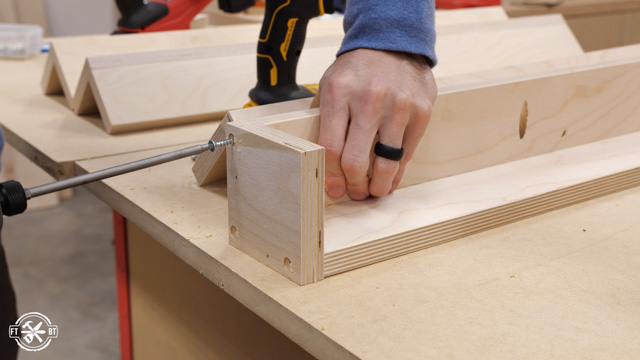
To build each table leg, a 2-¾” part is butted on top of the wider 3.5” part. Then they are connected with pocket screws and glue to form a strong L-shaped leg that’s 3.5” on each side. I also spaced the pocket holes evenly on each of the 2-¾” boards because they will be visible if you look under the table.
To secure the pieces together I used clamps to hold the boards down on the edge of the bench before using wood glue and screws to connect them. Make sure the ends are flush so there won’t be any mismatch with the top.
I love the flexibility of having mobile workstations so the outfeed table will get casters as well. To give the wheels a mounting spot I cut some 3.5” square blocks out of leftover plywood.
Before attaching the wheel blocks make sure to pair up the legs how you want them to look…if you’re a stickler for details like me. And if you don’t care then just keep your mismatched legs to yourself.
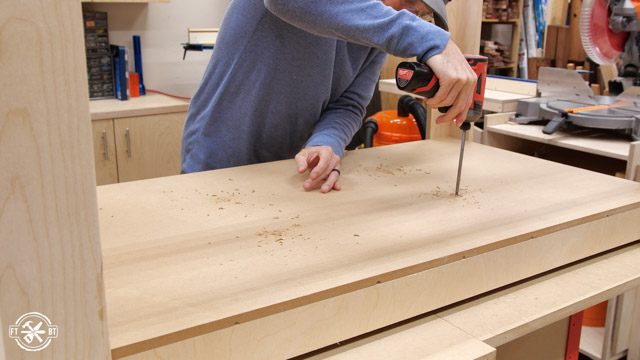
I used glue and two brad nails to temporarily secure each block. Then I came back with a countersink bit and secured them with 1-¼” screws.
I repeated this on all the other legs to finish them off. And make sure you do predrill the leg ends or you’ll likely split the plywood going into the edge like this.
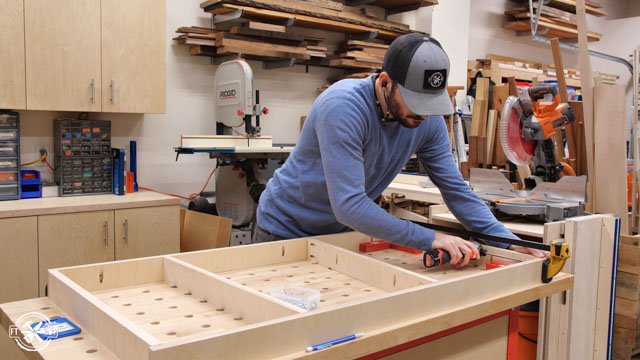
3. Attach Legs to the Frames
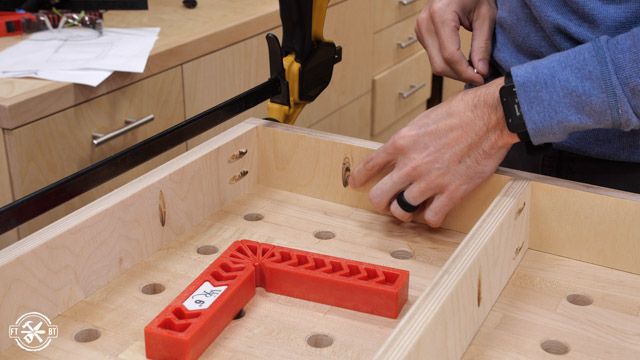
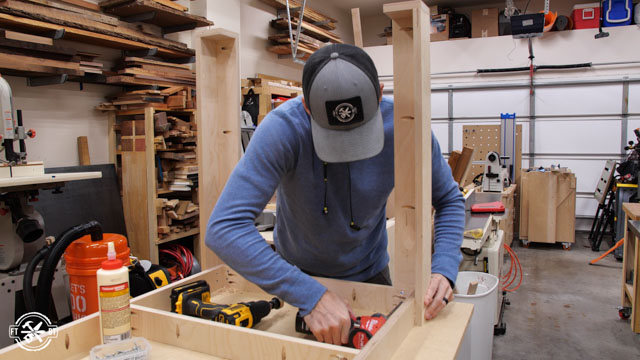
With all my base parts ready I brought over the top frame first. Then I laid it upside down to reference the flat surface of the workbench. Each leg gets joined to the frame with glue and two screws per side. I didn’t need to clamp anything in place here since the screws pull the legs in tight to the corner.
Brad’s Tip:
Make sure both the leg and frame are flush to the table when attaching them together. Any dust or debris raising them up will translate through to an uneven top surface.
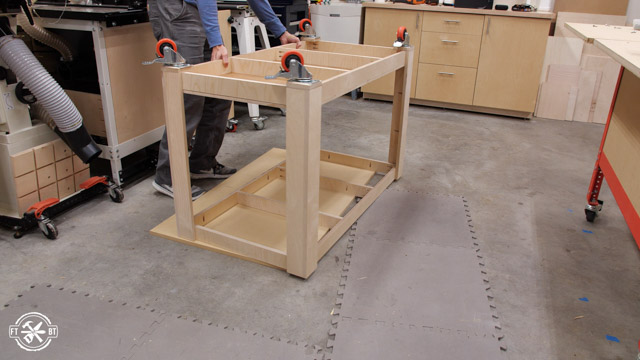
Next I flipped the table base upright and put the lower frame into place. It should slide right in and rest on the caster blocks at the bottom of the legs.
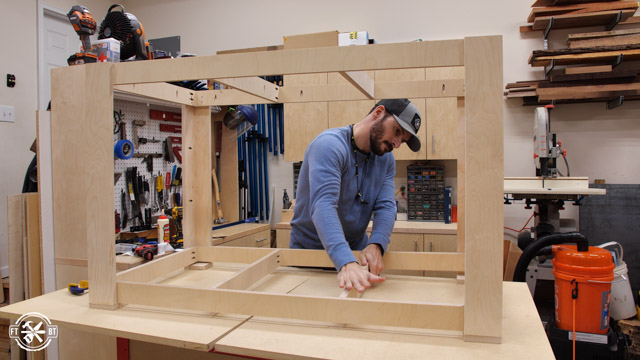
I didn’t add any glue to these joints since it would’ve made a mess sliding in and the blocks are glued and screwed on for good support.
4. Cut and Attach the Work Surfaces
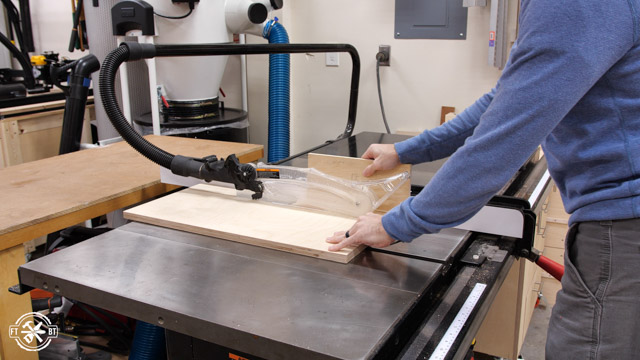
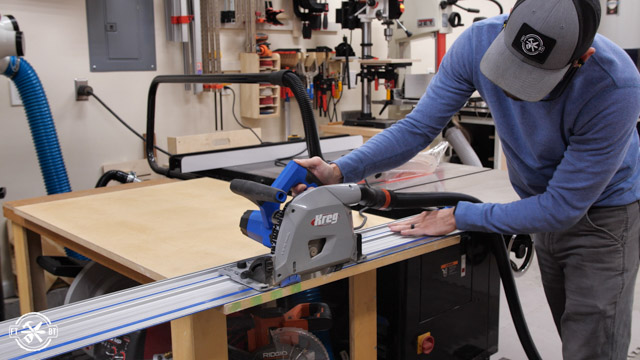
I’m making the top for the table from extra MDF I had on hand. First I ripped the MDF to width and then cut it to length with my Kreg Track Saw.
And since MDF doesn’t have durable edges I decided to trim the edges with yet some more offcuts. I picked out a thick piece of poplar that I could mill down to 1-½” wide & ¾” thick trim stock.
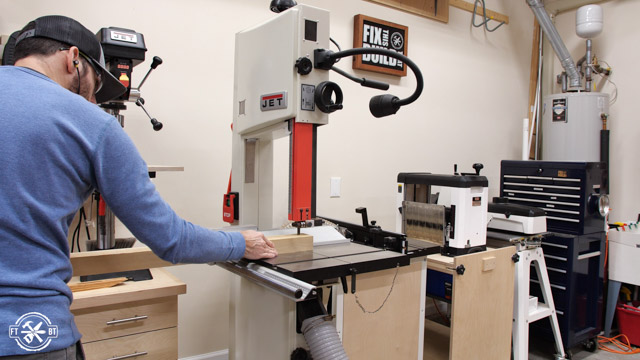
This also shows why I keep so many odd offcuts. With a bandsaw, planer, jointer and table saw you can turn large pieces of wood into whatever size you need.
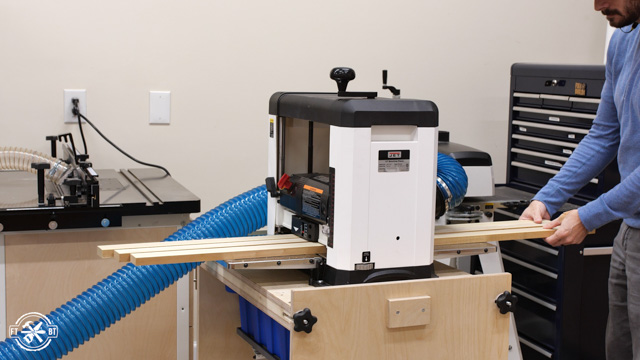
But if you aren’t setup to mill your own lumber there is an easier way. You can always buy (1) pre-milled 1×4 and rip it down to (2) 1x2s or you can just buy (2) 1x2s ready to go.
Now that I was done using my table saw I could remove the top from the old outfeed table and use it for the lower shelf. I cut it to length with my Kreg Track Saw then cut it to width on the table saw to fit the opening. And even though the top was really beat up, I just flipped it over and the underside was clean as a whistle.
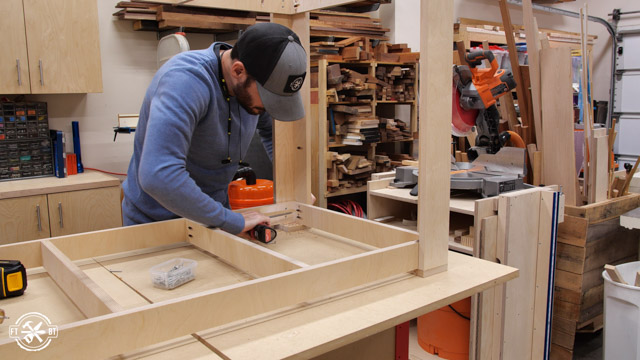
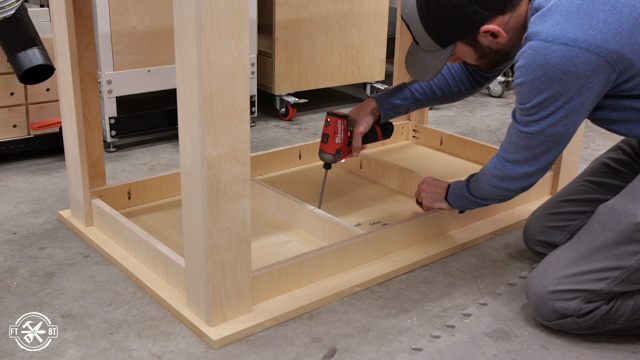
I slid the lower shelf into place on the frame and secured it to the cross supports with a few screws. Then I went back to salvage some more parts from the old table.
Next I flipped the old table over and removed the 3” casters and disassembled the rest of the table.
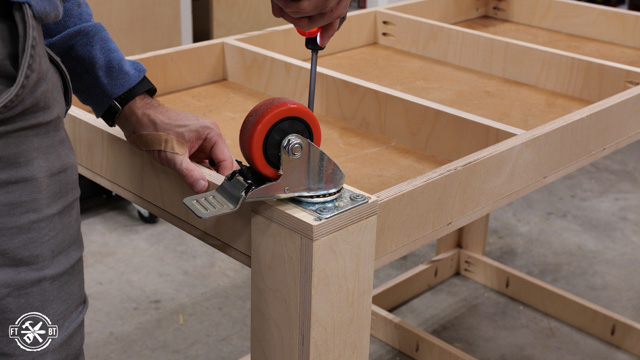
Then I moved the new table to the floor and installed the casters on the bottom of the legs. Three of the corners get full 1-¼” screws and the inside corner gets a ⅝” screw.
Brad’s Tip:
Instead of crawling under the outfeed table frame to attach the work surface from below, there is a much easier way. While the outfeed table frame is still upside down, put the work surface face down on the floor next to it. Then just slide the outfeed frame onto the work surface and attach it from above.
5. Add Trim to Worktop
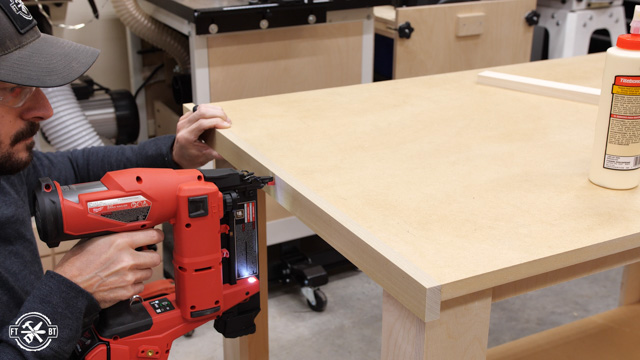
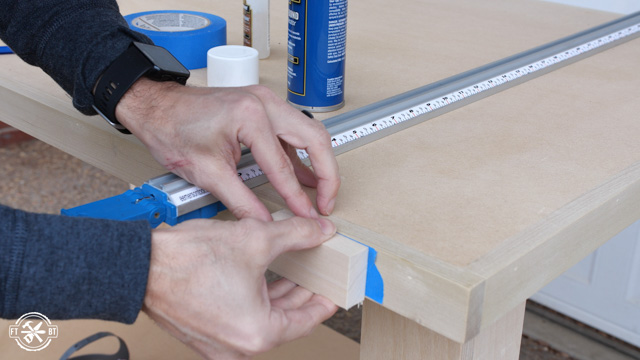
With the top secured I started attaching the poplar trim. First I started with the short sides, set one end flush with the edge of the top and made a mark about an inch long on the other end.
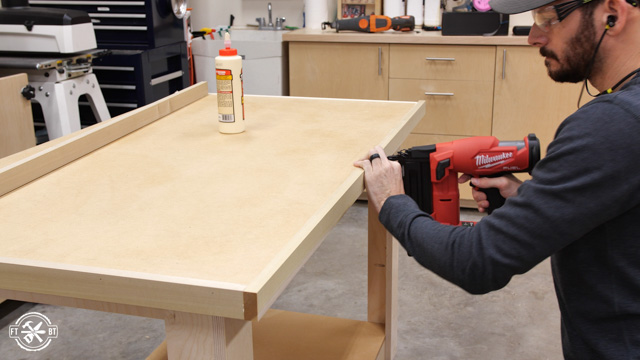
Next I cut the trim to size on the miter saw, then glued and brad nailed it to the edge of the work surface. If it was regular plywood I would have used pocket screws on the underside and attached the trim before installing the top. But MDF doesn’t hold screws very well so I defaulted to a glue only connection.
After securing the short parts flush on one side I installed the long trim on that same side. When you’re attaching the trim err on the slightly proud side so you can sand it down flush at the end.
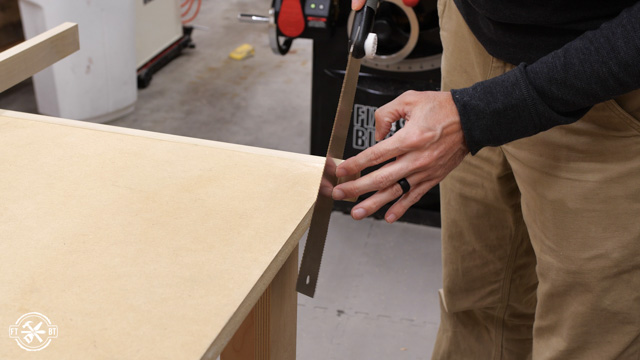
Then I used my pull saw to cut the overhang off of the short trim pieces.
Brad’s Tip:
When I’m cutting trim with a pull saw I like to put a little pressure with my finger on the center of the blade. This helps me to get a better cut that doesn’t want to wander as much.
After cutting off the ends I put on the final piece of long trim and nailed it in place. And I finished off by cutting the long sides to size with my pull saw.
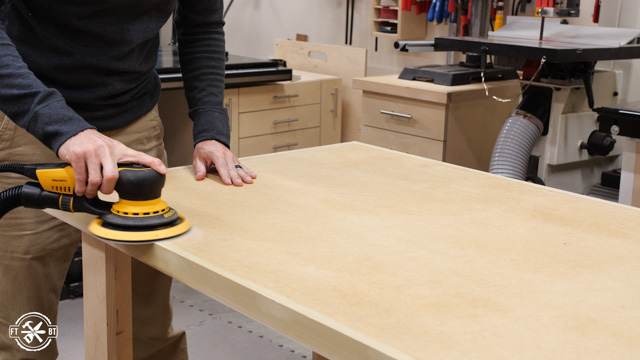
I filled all the nail holes with wood putty, then sanded the trim flush to the top and sanded all the edges smooth as well.
6. Add T-Track to Outfeed Table
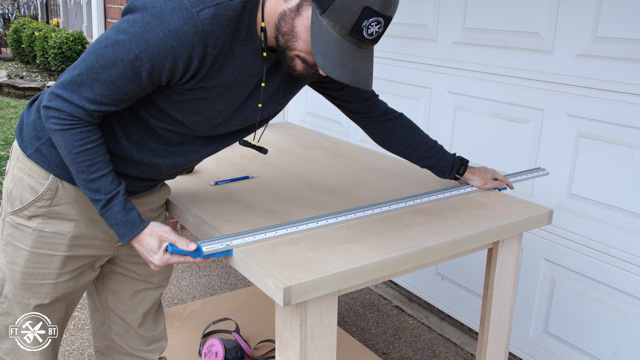
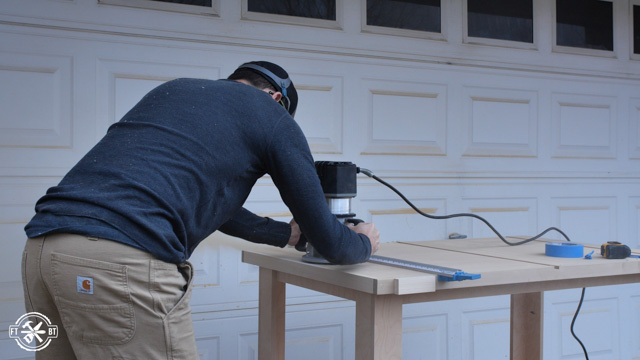
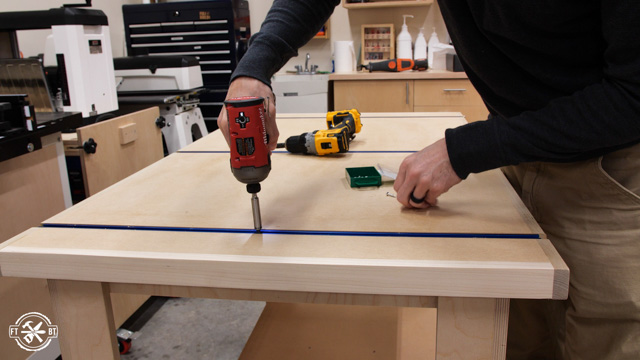
The Kreg t-track is ¾” wide so I chucked up a ¾” bit in my router and set it to just over ⅜” deep to put the track right below the surface. I positioned the dados for the track 4” from each end and one centered on the table. A straight edge clamp paired up with the router makes this cut easy.
I picked up a tip from my buddy Johnny Brooke from Crafted Workshop to avoid tearout on the trim going into and out of the cut. I just glued sacrificial blocks onto the trim using painter’s tape and CA glue. Johnny did a similar outfeed table with dog holes instead of t-track.
After cutting the first two slots I was kicking myself for using MDF because it’s a disaster to route. I’d highly recommend using solid plywood if you have it.
MDF also has poor screw holding ability. I knew ⅜” of MDF wouldn’t effectively hold the t-track down under pressure. So I cut some strips of plywood to go directly under the t-track to give the screws something to bite into.
Next I glued them in place and weighed them down to dry since I couldn’t use fasteners or they’d poke through the track slots.
I also decided to go ahead and fill in the gap between the trim and the apron all around the top. I used small strips of MDF and glued and nailed them in place. This will give me additional clamping options on the overhang.
Finally I flipped the table back over and test fit the t-track in the slots. The track was longer than the table so I marked it to size and cut it a little short from the ends to avoid the screw hole.
Brad’s Tip:
When cutting the T-track make sure to avoid cutting too close to the screw holes on the offcut. This will preserve the remaining T-track for future use.
The track is aluminum and can be easily cut with a carbide tooth blade on a standard miter saw.
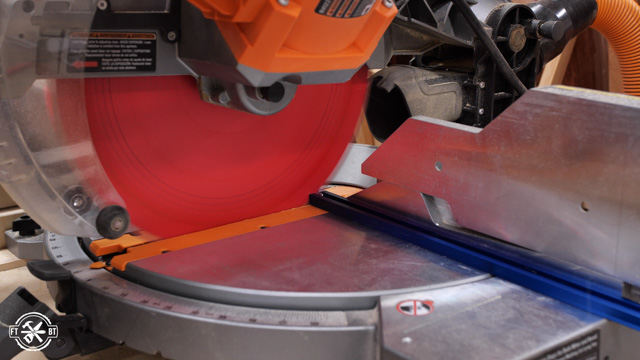
To secure the track I used ¾” #6 screws, only because the 1” screws were out of stock at the home center. I predrilled and secured a screw on one end then predrilled the rest of the holes and drove in the screws.
And that’s how I built my Table Saw Outfeed Table! If you want to build more shop storage check out my Shop Projects. I have everything from workbench projects which are perfect for a garage shop or basement shop, to DIY Base Cabinets and Clamp Racks.


Thanks for the free plan Brad. I’ve been wanting to build an outfeed table for some time now.
Glad to help!
Just built this and it turned out great. Added 2 big drawers beneath also . Thanks Brad.
Hi Brad, Can you post a link to the countersink bit your using? Thx