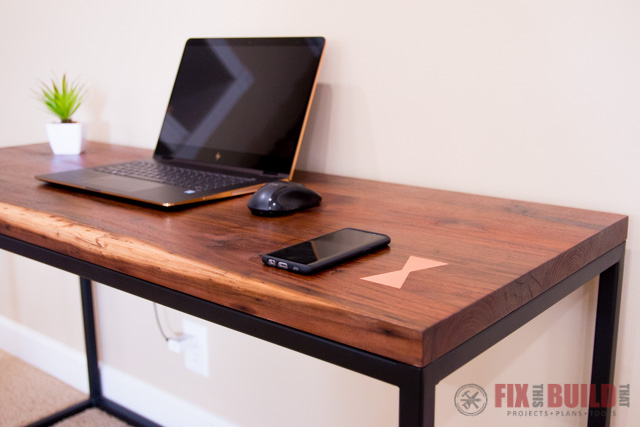
Today I’m going to show you how to make a desk with hidden wireless charging. I used woodworking and metalworking on this project with a walnut top and a tube steel welded base. This DIY computer desk has a nice simple feel but with tons of character including a copper metal bowtie inlay.
I learned a lot welding the base, and I love how it turned out. And of course I love working with walnut and the finish on the DIY desk really pulled the whole thing together.
Materials/Supplies
- Oil Polyurethane
- Wireless Charging Pad
- 2:1 Clear Epoxy
- Copper Bowtie
- Walnut Hardwood
- 1″ 11ga Tube Steel
Affiliate links are used on this page. See my disclosure page for info on affiliate programs.
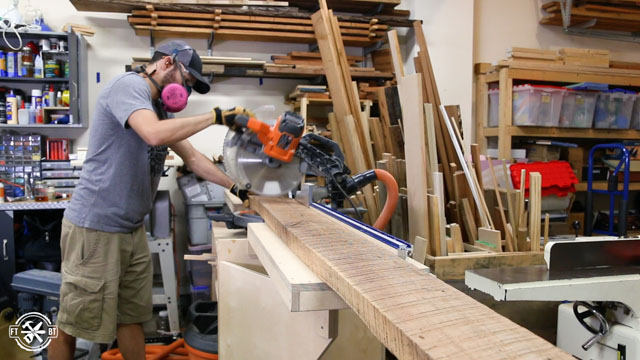
I’ve had this stack of walnut boards in the back of my shop for a couple years now waiting for just the right projects. Since I’m going with a simple metal base for the desk I thought this was the perfect time to dip into the stash for a couple boards to make an amazing top.
I’m going with a narrow 20” desktop to try and minimize clutter that will land on it. I cut the rough boards in half to give me four boards for the top.
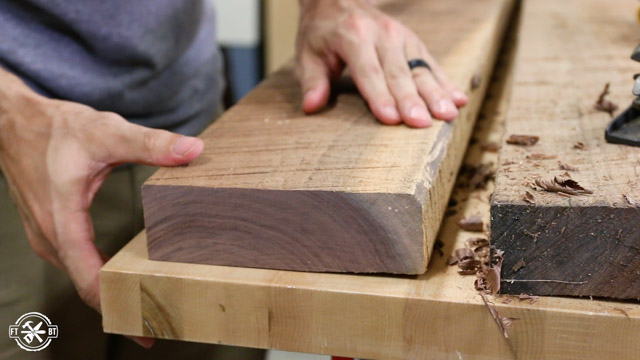
When working with rough lumber you can get some pretty twisted boards.
And one thing that helps before milling is to knock down the high spots on the opposite corners of the board with a block plane. This lets removes some of the rocking and makes milling go a little smoother.

To get the rest of the twist out of the boards I took them to the jointer and face jointed each board. It basically does what I just did with the hand plane except a whole lot faster. After a few passes I got down to fresh wood and the board now sat flat on my bench.
I ran the other three boards through the jointer to get one flat face on each board before moving onto the planer.
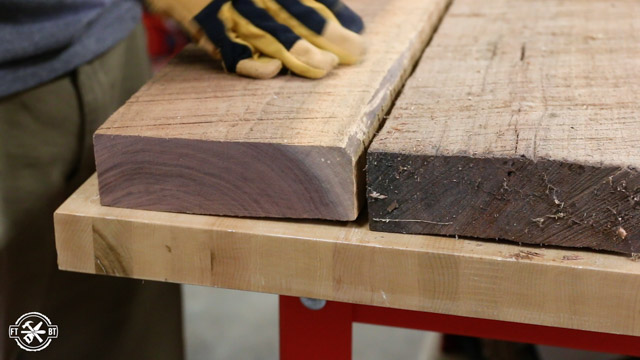
Using the flat face from the jointer I ran each board through the planer until the mill marks were removed and I revealed fresh cut wood….which looked amazing.
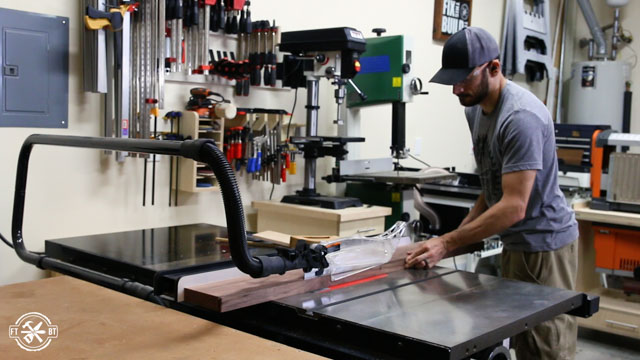
I finished the rough milling back at the jointer, putting a straight edge on each board. Then cut the boards to a little larger than final width at the table saw.
If you don’t have these rough milling machines you can buy nice walnut lumber like this already surfaced from many woodworking stores locally and online.
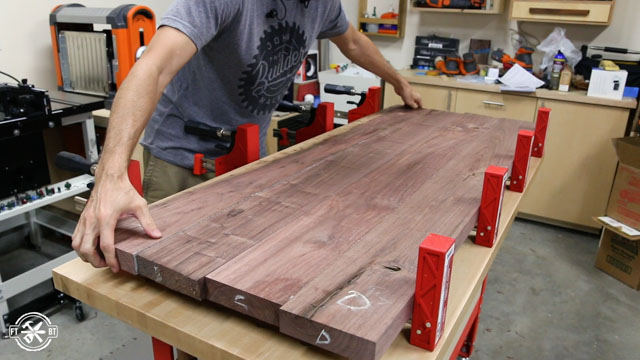
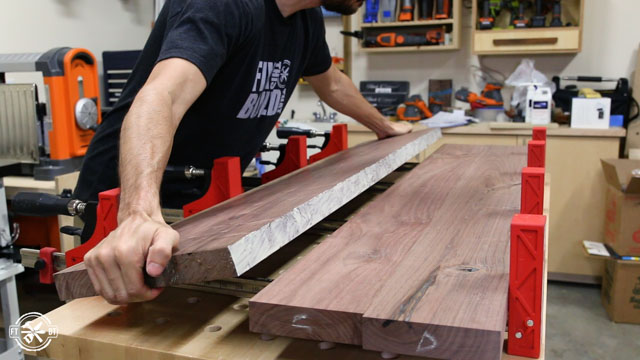
I labeled each board to keep them organized then went into the first glue up. Instead of gluing all four boards together I glued up two smaller halves. This will let me flatten the pieces on my planer and do a final glue up where I’ll just have one seam to worry about instead of three.
After the glue was dry I took the halves out of the clamps and brought them back over to the bench to fill some of the defects with epoxy.
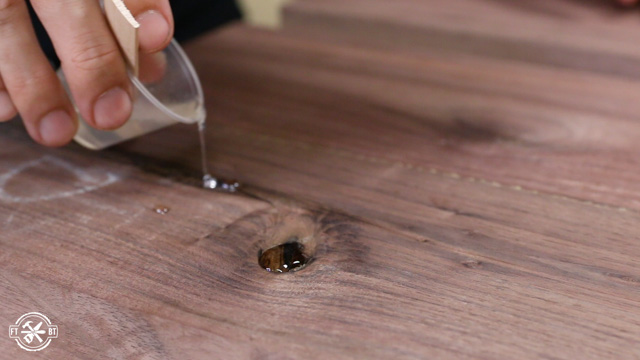
Some of the knots and cracks went all the way through the boards so I taped them off on the backside to keep the epoxy from leaking out. Then I mixed up small portions of a 2:1 clear epoxy with a slow hardener and started to fill the defects. There was a lot to fill including a huge void on the bottom side and some nice bug holes.
After the epoxy dried I knocked down a few high spots with my block plane then ran each half through the planer until I got to fresh wood all over. This is where using the two halves really comes in handy and eliminates a lot of epoxy scraping.
To prep for the final glue up I took the sections to the jointer and ran each one across to get a pair of nice straight edges.
I glued the halves together just using clamps to line everything up. I get asked this all the time, and yes the glue joint alone is more than strong enough to hold the top together without screws, dowels or biscuits.
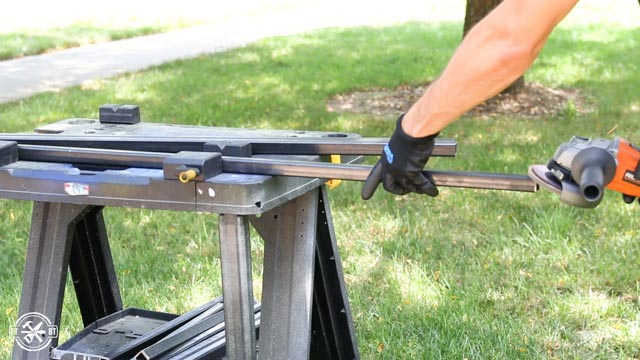
While I was waiting on the top to dry I moved over to make the base. I’m using 1” tube steel for the base. I haven’t gotten fully setup with metal cutting equipment yet, so I had my local metal yard cut it to exact size for me.
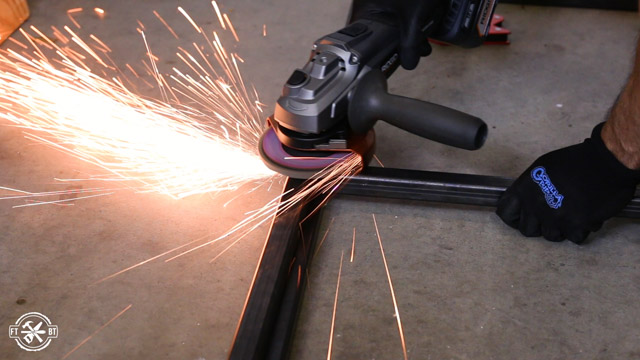
I marked the joint connections then used a flap disk on my grinder to prep the metal for the welding.
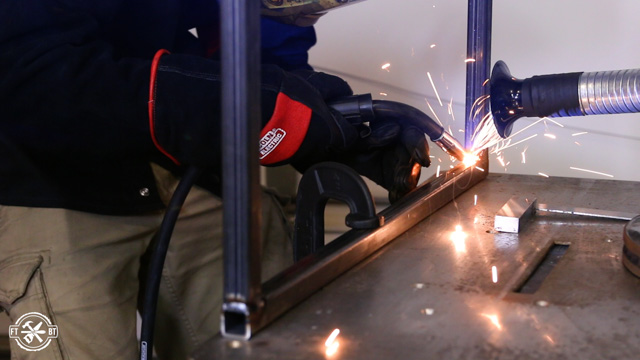
I’m very new to welding and still figuring things out. My welding table setup at this point is rudimentary at best, it’s just a piece of aluminum sheet I had on top of a plastic workbench.
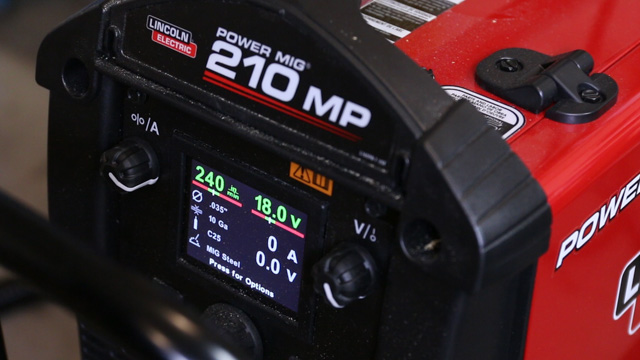
My welder on the other hand is the 210MP from Lincoln Electric a sponsor of today’s project and it’s smart enough to set the wire feed and voltage for me based on a few inputs. It takes the guesswork out of welding and as a beginner I really appreciate that.
I started by welding together the rectangular ends of the desk. First I tacked them in place then ran a bead around each side of the joint.
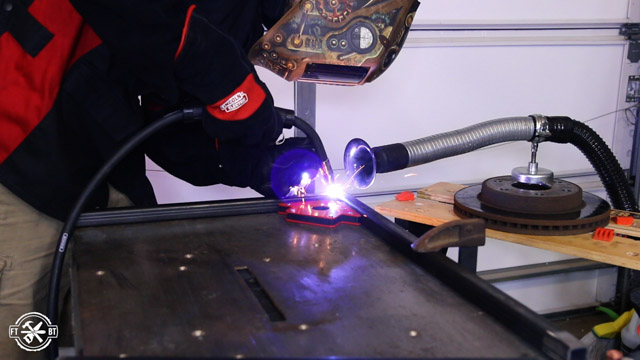
I also quickly realized that clamping the parts down as tight as you could was key to a square joint. Those magnetic squares are more like a suggestion of keeping things square.
I worked my way through the welds and ended up with two ends ready to be joined together.
Before joining the ends together with long stretchers I ground down the weld joints with a flap disc on my grinder.
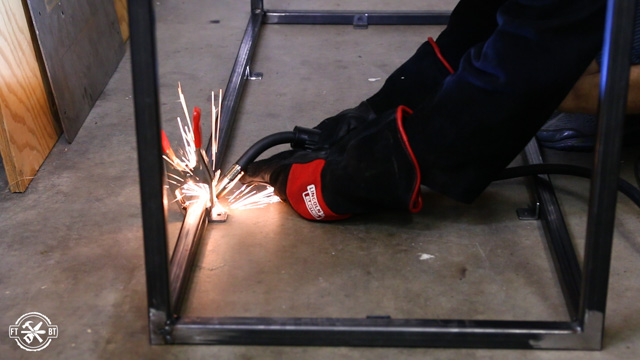
Since the DIY desk is so large I had to move to the ground and use the magnets to hold things in place. I tacked and welded the back of the desk first, checking for square along the way. Then I flipped it over and welded the top front stretcher in place to complete the frame.
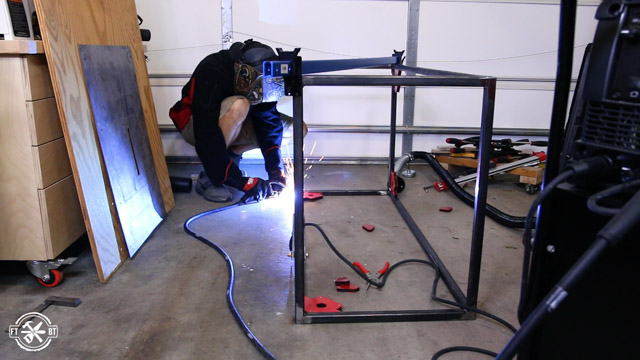
I’ve gotta say, I really enjoyed welding a full project by myself. This was only my second time going at it and the first time doing it solo.
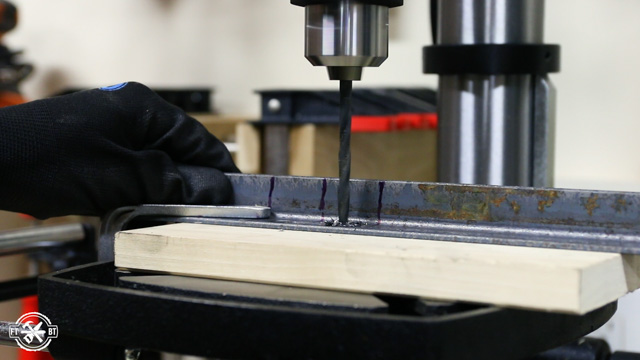
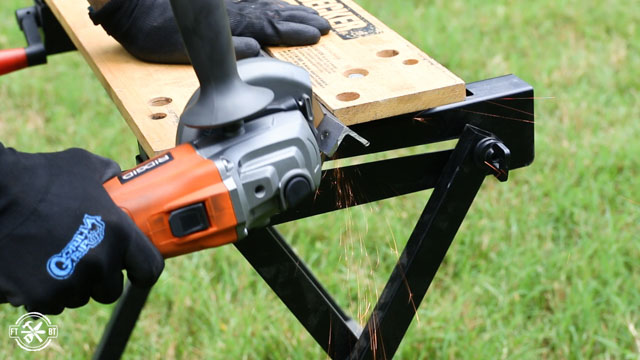
To finish off the base I wanted to add some tabs to screw down the top. I got some 1” angle iron and laid out six tabs. After marking each tab I drilled an oversized hole in each one for the screws.
I took the angle iron outside and cut the tabs apart with an offcut wheel on my grinder.
After cleaning them up a bit with the flap disc I turned the base upside down and tacked each tab in place. Oh, and welding 101…don’t weld your clamps to the work…sheesh.
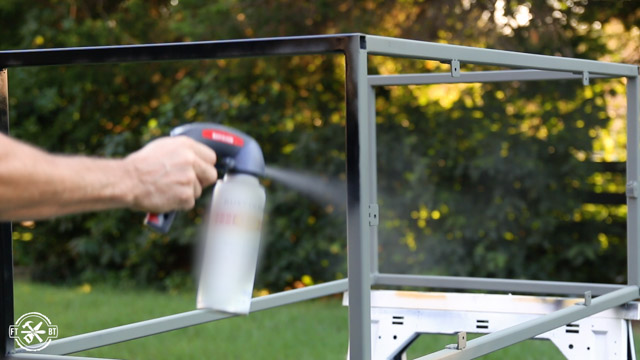
I prepped the base for paint by grinding all the weld joints smooth. Then I sprayed on a couple coats of self etching primer, followed up by several coats of flat black enamel and matte clear coat.
By this time the top was all ready to go so I took it out of the clamps and cut it down to final width by jointing a straight edge on one side then cutting it to width on the table saw.
To cut the top to length I used my circular saw. I put tape on the topside and turned the panel upside down, both of these help prevent tearout from the circular saw cut.
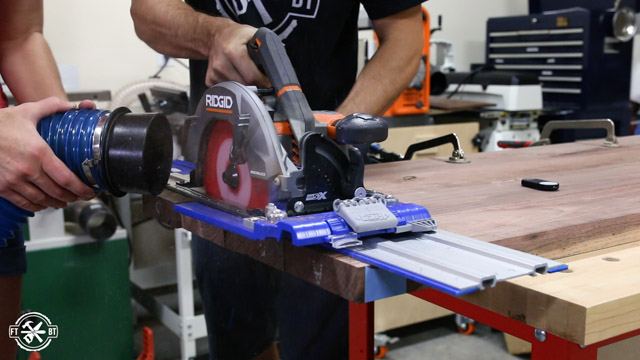
I laid out my cut line with a carpenter’s square then made the cut with my track guide. Then I spun the top around and cut the top to final length with the second cut.
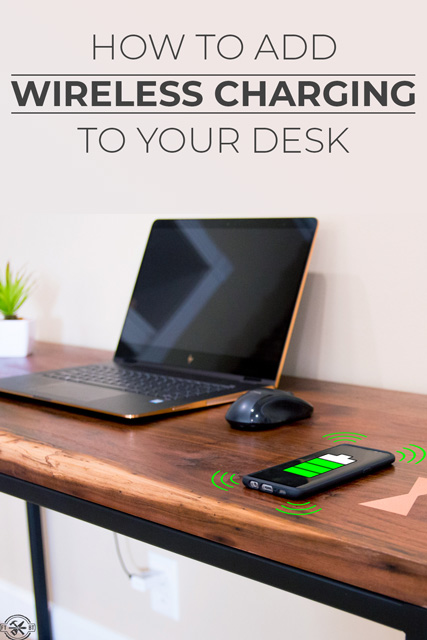
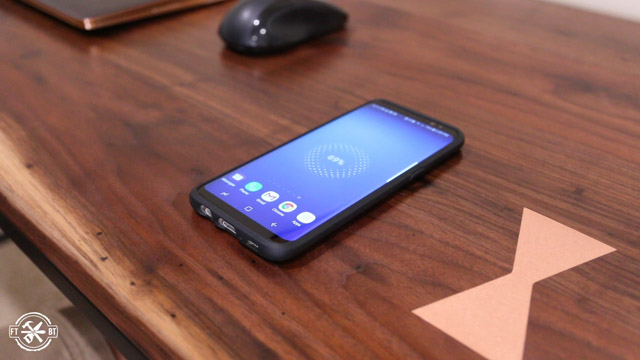
I’m loving the new wireless charging feature on my phone, but don’t like having the extra wires on my desk. So embedding the charger on the bottom was a great alternative.
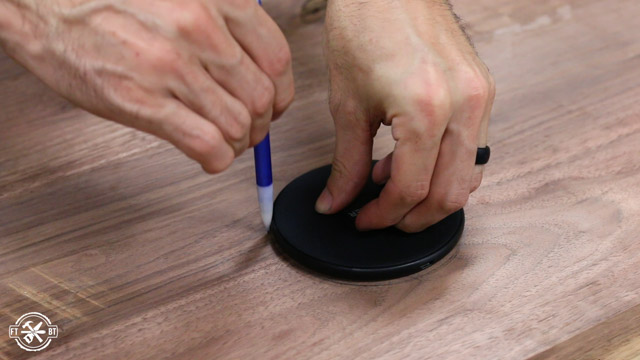
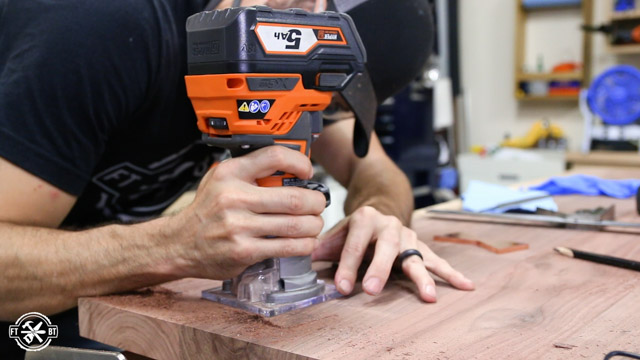
I traced the shape of the wireless charger then used a router to remove the waste freehand. Since I don’t have a plunge router I drilled a starter hole with a forstner bit and and started the router in the middle then slowly circled outward until I hit the layout line.
After confirming the fit I took another pass, taking about ⅜” off at a time. I also routed a little recess pointed towards the back to fit the USB plug for the charger.
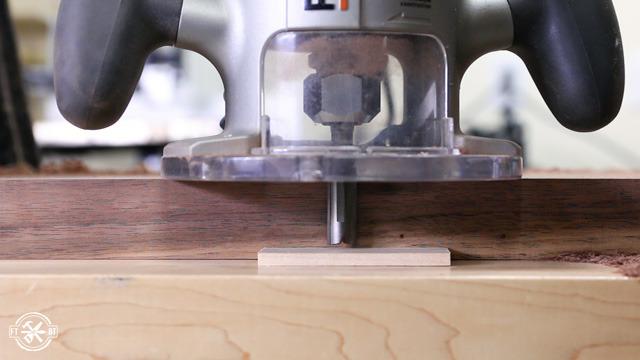
For the final pass I used a ⅛” piece of scrap to position the bit. I tested the charger through this material and it still charged so I figured I’d be good. You can use this same process to mount a charger in anything wooden, just take your time with it.
To give the wireless charger usb cable a sleek way to come out the back of the desk I cut a trench for the cable. I used my smaller palm router and a ¼” bit and just made one shallow pass straight to the back edge of the top.
The test fit looked great and I flipped the top over and sized up where the phone would sit while it’s charging.
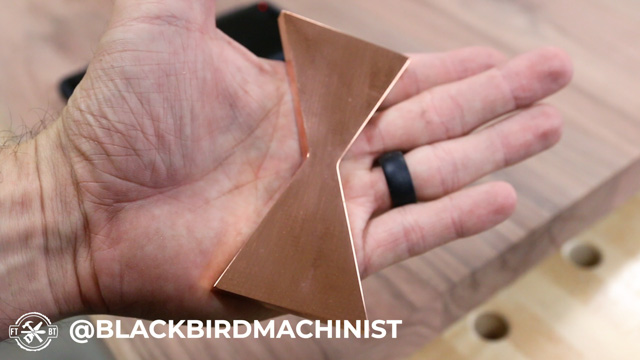
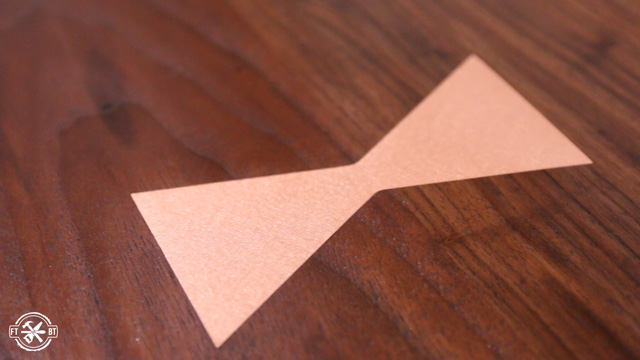
I wanted an easy indicator to know where to put the phone and Nick Kyle from Blackbird Machinist sent me this awesome copper bow tie a while back. So I figured it would make a perfect accent and give a reference for the charger at the same time.
I positioned the bow tie where I wanted it then jumped into the inlay. Now I’ve never done an inlay like this and I was pretty scared to do it honestly. I didn’t want to ruin the top I’d worked so hard on. But I made a couple test runs in scrap wood and just dove in.
The concept is pretty basic, just trace the outline of the shape then remove the material inside the outline and put in the inlay. Though easier said than done.
I used some double stick tape to hold down the bow tie then scored an outline with a razor blade.
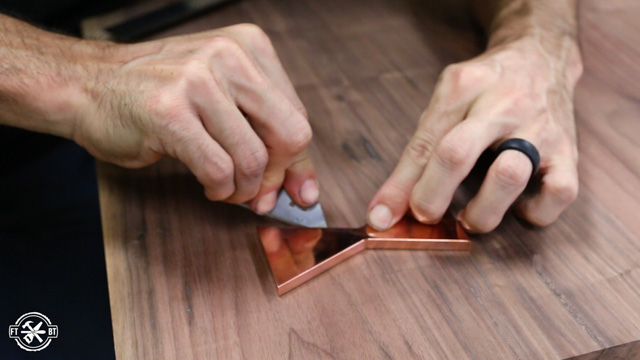
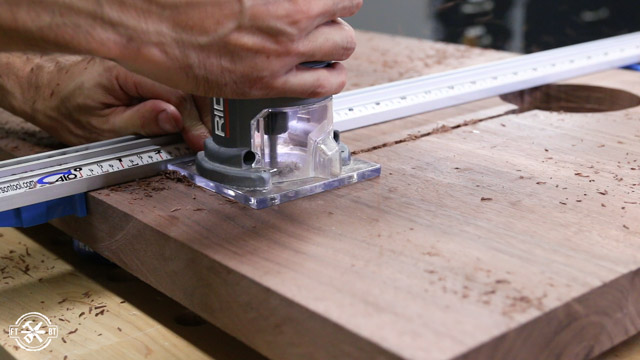
Then I set my palm router to the thickness of the inlay and routed out the majority of the waste staying pretty far away from the lines.
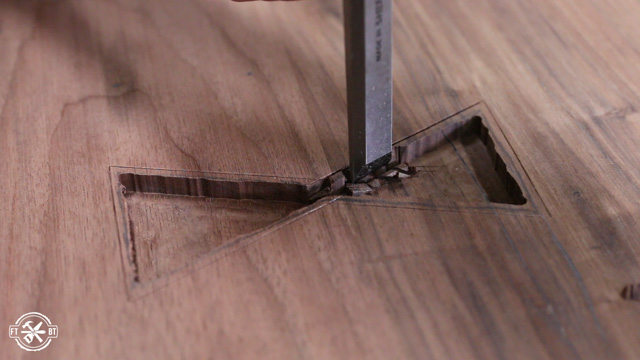
Then comes the time consuming part of cutting to the line. I really took my time here because I knew with metal I couldn’t fill the gaps as easily as if it were a wooden inlay.
The rest of the work is done with chisels. I switched back and forth between my 1” chisel which I used to make long straight cuts and the smaller chisels which removed material a little easier since there was less cutting surface. Just take your time and finesse it until you get the right fit.
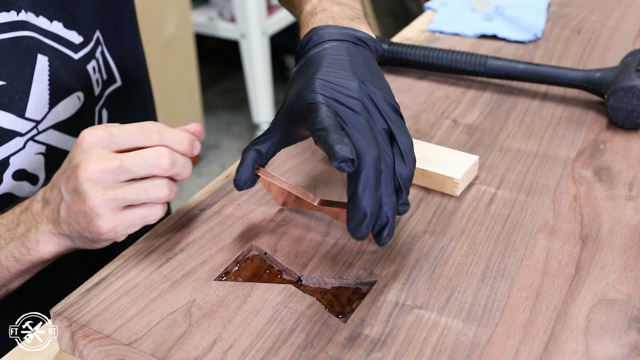
Then I mixed up some epoxy to hold the inlay in place and spread it on the bottom of the recess. I used a scrap block on the inlay and tapped it into place. I actually think I put in a little too much epoxy and it caused the inlay to be just a little proud of the surface.
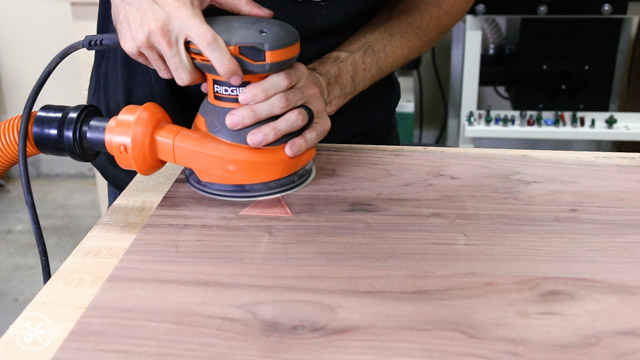
To flush everything up I started with 60 grit sandpaper and sanded the copper until it was flush then worked my way up through the grits. And this took a loooong time, so I’d err on doing too deep with a metal inlay vs. too shallow in the future.
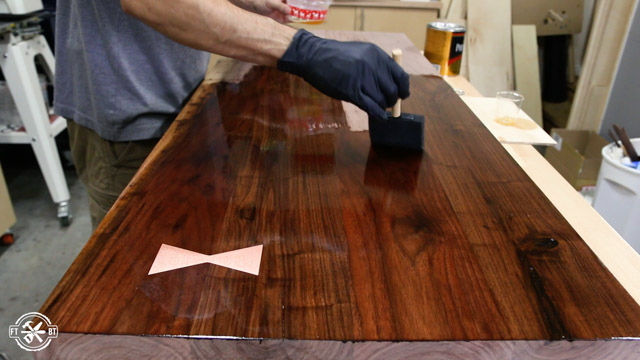
Now is the part I’ve been waiting for since I milled the walnut. For the finish I’m using Fast-Drying Polyurethane. It’s an oil based durable protective finish that really makes this walnut look amazing. Since the desk surface will get a ton of wear this tough polyurethane finish is perfect for the job.
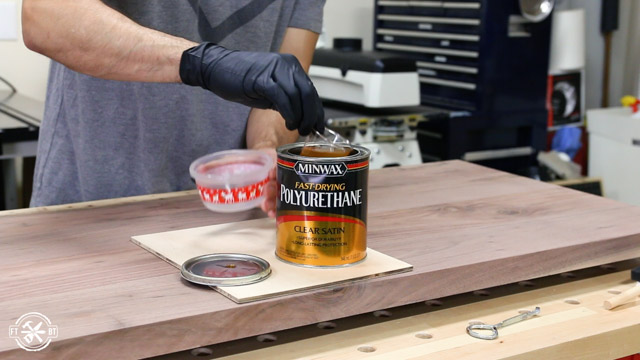
I applied one thick coat with a foam brush then came back later with a thinned down second coat to get that nice smooth finish. You can find out more about the Fast-Drying Polyurethane via the link in the description.
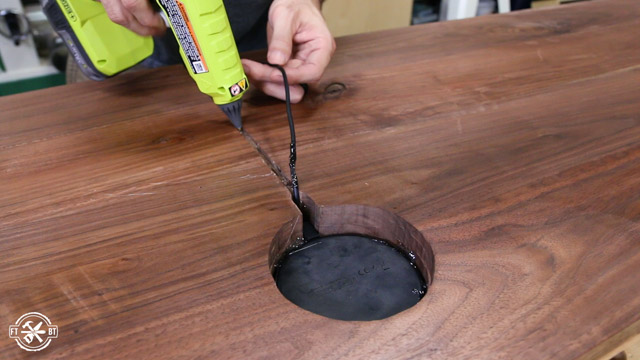
When the finish dried it was time to install the wireless charger. I opted for a quick and easy mounting by just hot gluing it in. And don’t be a goon and hot glue over the wire, it makes a mess. Put the glue in the channel then press the wire into it.
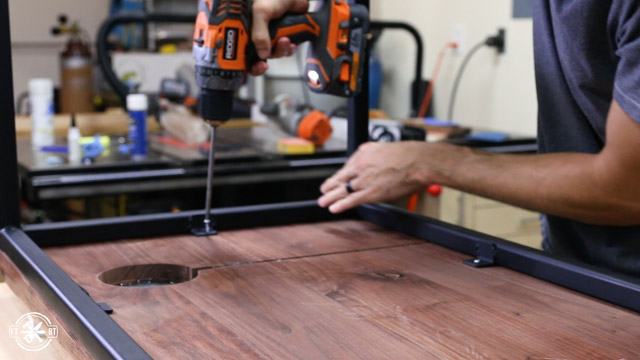
I finished off assembly by flipping the base onto the top and mounting it with ¾” screws. Then I tapped in some plastic feet into the vertical steel tubes and I was done.
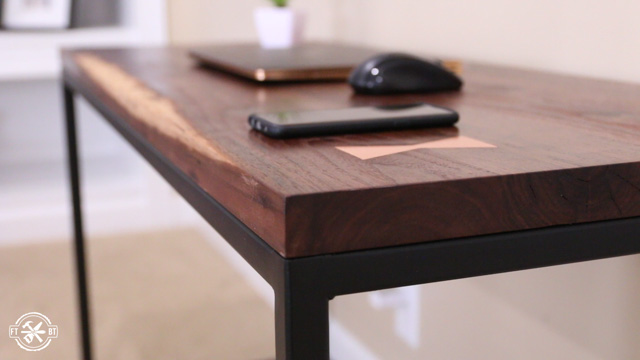
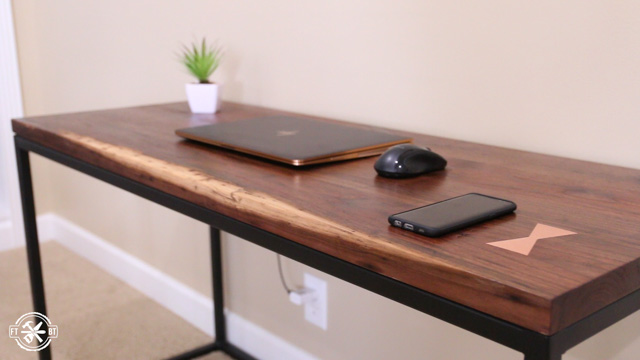
This desk came out way better than I’d even imagined it would. I got to try a lot of new techniques with this one that stretched my skills as a woodworker and metalworker. And on top of it I have a desk with a ton of character and wireless charging out of sight and always at the ready.
Lincoln Electric provided me with product and/or monetary compensation as a sponsor of this build. All opinions are my own and are not filtered by the sponsor.


Do you have a set of plans at least for the steel frame for this build? I don’t have any walnut, but I have some quarter sawn white oak that I want to use.
Do you know what thickness of wood is between the charger pad and the table top? Did you have to router quite deep or did it seem to charge with only a small slot on the underneath of the table? Cheers!