Today I’m going to show you how to tile a bathroom floor. I replaced the dated tile floor my small bathroom with a custom tile floor. This project is part of my small bathroom remodel and I was stoked at how it turned out. Floor tiling is one of the biggest bangs you can get for your DIY buck. It totally changes the look and feel and in a small bath like mine, and installing large format tiles really makes the room feel bigger.
I partnered with RIDGID for this project and their products made completing this project much easier.
Materials/Supplies
- RIDGID LevelMax System
- Ditra Info Page
- Schluter Ditra
- Schluter Kerdi-Band
- 24×12 floor tiles
- Unmodified Mortar
- Modified Mortar
- Haze Remover
- Sanded Grout
- Grout Colored Caulk
Affiliate links are used on this page. See my disclosure page for info on affiliate programs.
How To Install a Custom Tile Floor
- Remove Old Tiles and Prep Subfloor
- Install Underlayment
- Decide Layout for Tiles
- Prepare the Mortar
- Lay the Tiles
- Grout The Tiles
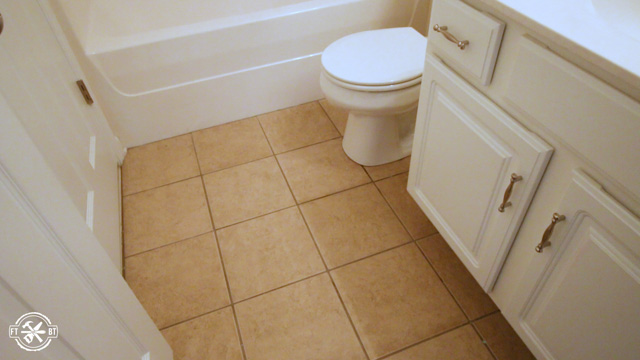
One of the things I dislike the most about this bathroom is the beige tile floor and dark grout. We’re remodeling the entire bathroom so we ripped everything out from the tub to the mirror. Now I’m focusing on installing the custom tile floor using the new line of tile tools from RIDGID. You can see the rest of the bathroom renovation here **hyperlink**
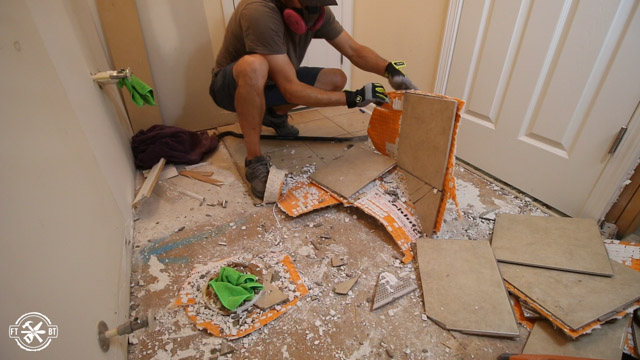
1. Remove Old Tiles And Prep Subfloor For Custom Tile Floor
After taking everything else out of the bathroom I moved on to the floor. I used a large demo bar to pry up the tiles and it worked really well. My subfloor is ¾” OSB with a Ditra underlayment. I’ll talk more about that later, but ripping up the tiles shouldn’t be this easy. They didn’t install it correctly which made my life easier, but don’t expect yours to necessarily go as smoothly. You may need a hammer drill with a scraping blade to get all the mastic off the subfloor.
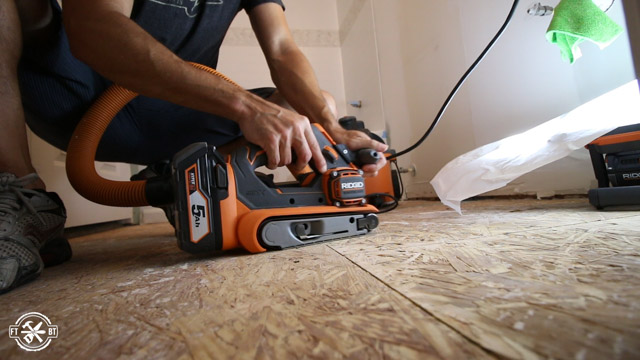
After I installed the tub and shower,**hyperlink**, I started prepping the subfloor for install. Having a flat surface to start is key in any flooring install. My OSB subfloor was mostly flat but the seams were raised up a bit. So I grabbed my belt sander and flattened all the seams even with the rest of the floor.
2. Install Underlayment for Custom Tile Floor
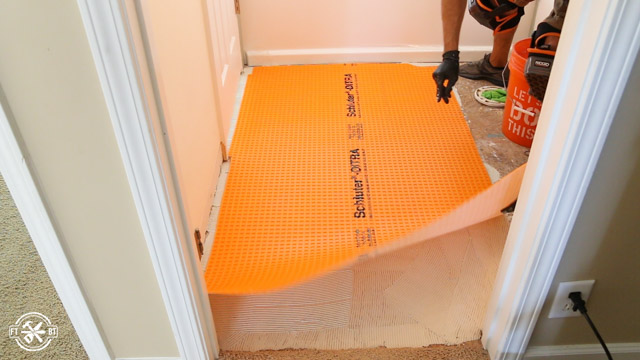
I’m using Schluter Ditra for the underlayment which is an alternative to backerboard that is both an uncoupling membrane and it’s waterproof. I measured the floor to cut the Ditra roll to length. It’s easily cut with scissors or a box cutter and I notched it for the doorways leaving a ¼” gap from the walls.
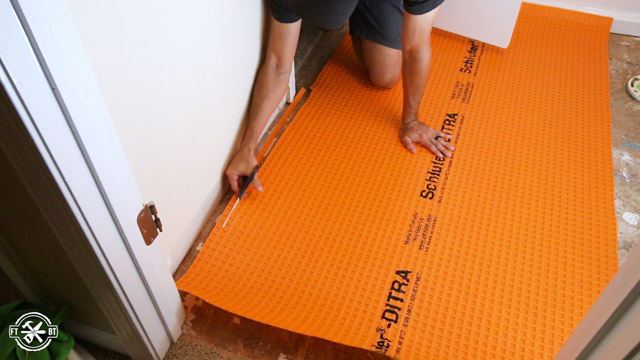
The second piece is less than full width so I cut it down to size then laid it on the floor to reference the toilet flange. I used my box cutter to cut out the hole for the toilet flange so it just slipped over the opening.

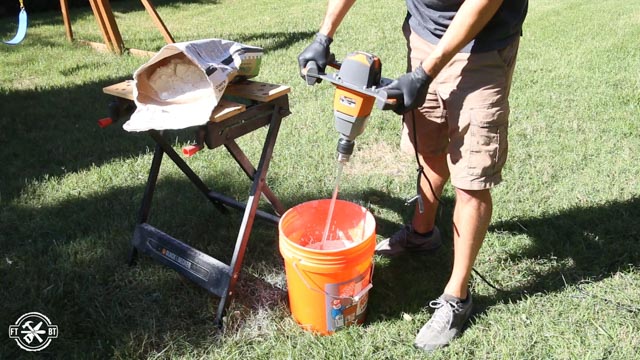
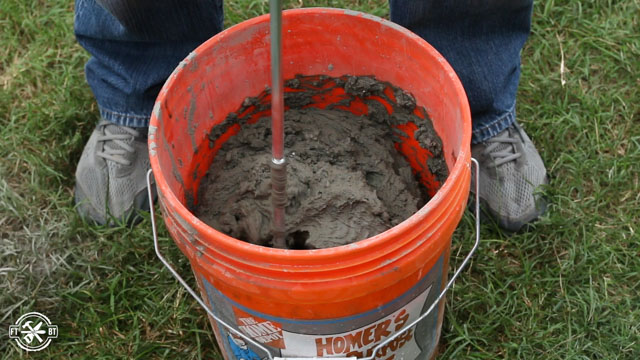
For an OSB subfloor installation it calls for modified mortar between the wood and the underside of the Ditra. To start I mixed up a batch of the mortar using the new RIDGID mixer. Once I got the mix to a thick milkshake consistency I then let it sit to slack and mixed it again after 10 minutes.
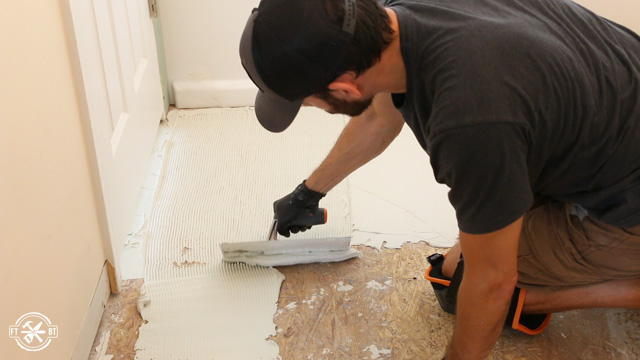
I applied the mortar with a ¼” x 3/16” v-notch trowel, but this could vary depending on your underlayment and Ditra type so make sure you reference the Ditra install handbook.
Next I spread the mortar onto the subfloor then laid out the large piece.
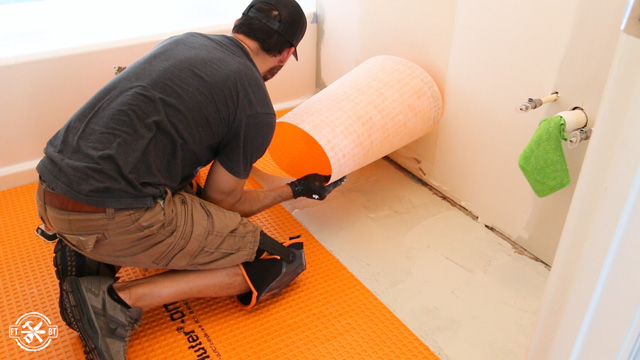
Next I spread the mortar over the rest of the subfloor and pulled in the smaller sheet of Ditra. The fit was perfect up against the other sheet and for full waterproofing a layer of Schluter Kerdi-Band can be added to the joint.
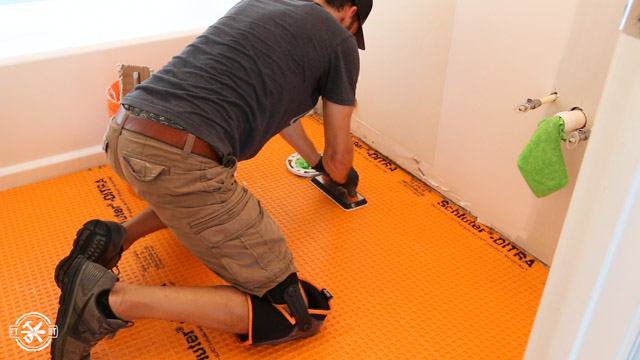
Using a grout float I pressed the underlayment into the mortar bed and smoothed it out around the whole sheet. I also peeled up a corner to check for adhesion and made sure it was bonding to the subfloor.
3. Decide Layout Of Tiles And Prep For Custom Tile Floor
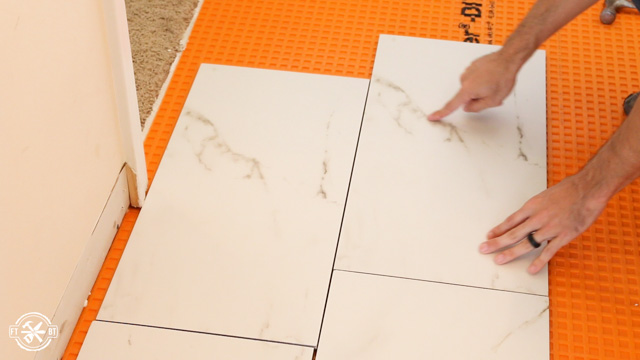
I’m using a 24×12 large format tile and spent some time figuring out the best layout. To do this I used a program called SketchUp to layout the size of my floor and my tiles with the grout spacing I wanted. Then I tried different staggering and placements to see how they looked. My goal was to have as many full tiles as possible and make sure I didn’t have small slivers near the walls or doors.
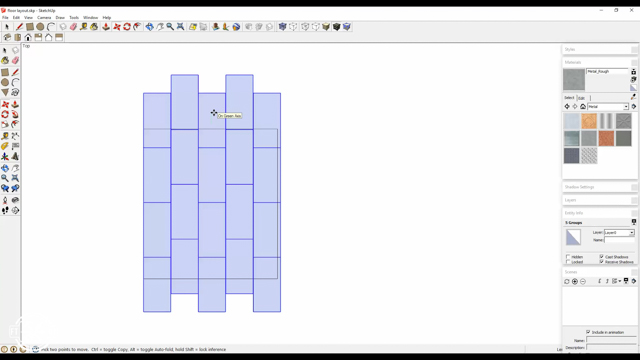
We settled on a brick pattern layout with ⅓ of a tile overlap between the tiles. This helps to reduce lippage when two tiles aren’t level with each other which is more prone in large tiles since they aren’t always flat.
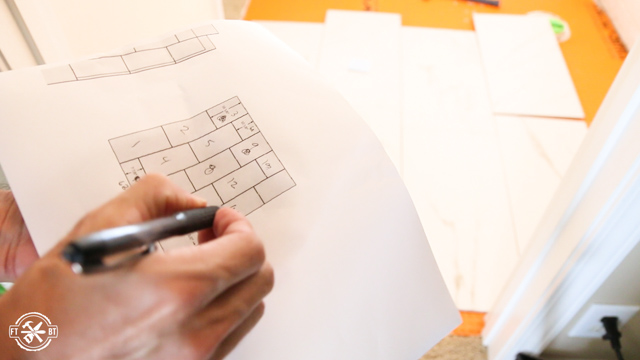
When using a printed pattern tile it helps to layout all the tiles you have to avoid duplicates next to each other. If you do have to use a duplicate make it a cut piece, flip it end for end, or hide it under the vanity or toilet.
After we got the layout we wanted we labeled all the tiles then transferred that to a print out of the computer layout we designed. That way in the midst of laying the tiles we wouldn’t get mixed up and and put those duplicates back together.
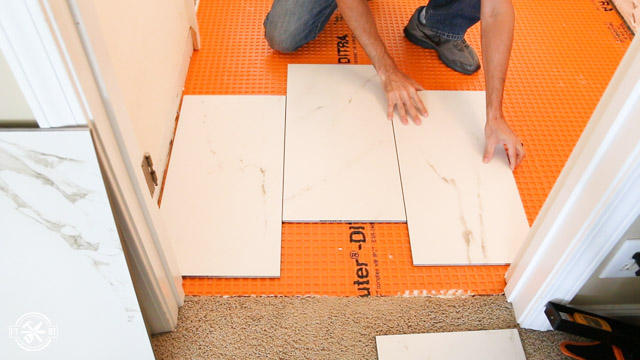
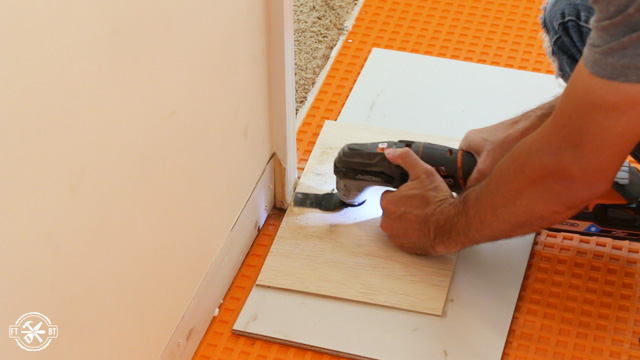
The door jams needed to be cut back a little for my thicker tile and mortar bed. I used a tile and a small spacer to represent the mortar and cut the jams with my JobMax multitool.
Next I slid the tiles under the door jam and set them in place with spacers. Then I used painter’s tape and marked of 8” on the tile as a reference for my ⅓ overlap and figured out the cutoff piece size I’d need for in front of the door.
4. Prepare The Mortar For The Custom Tile Floor
For the bond between the Ditra and the tile I needed to use an unmodified mortar. Unfortunately they only had unmodified in gray at my local store. It’s better to use white mortar when using a light grout if you can get it.
I mixed up the mortar the same as before and while it was slacking I cut the the first half tiles to size that would go against the tub.
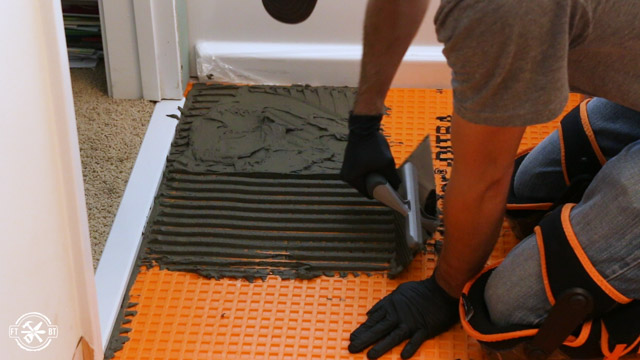
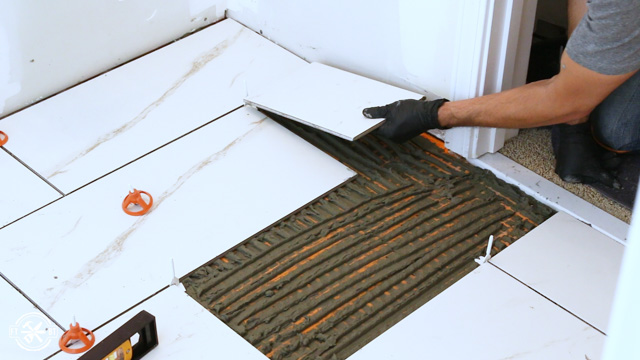
The Ditra is a little tricky to get the hang of. You really have to work the mortar into the waffle print to get it to fill the divots. I used a ½” x ½” square notch trowel and worked my way down the wall.
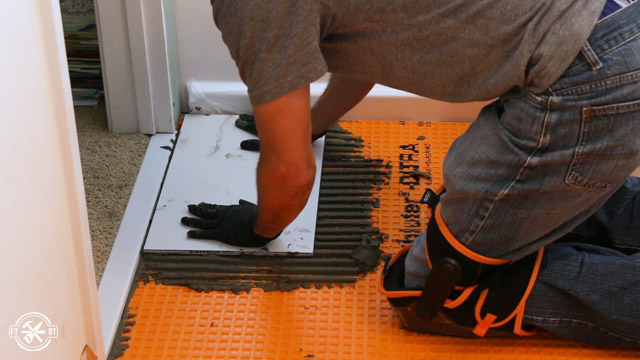
Next I backbuttered the large tiles to make sure I had a good bond then set them in place.

The most important joints visually were the ones at the doors so I started in the corner by the door and the tub. This made install harder since typically you would start on the far wall and work your way out, but I didn’t want to risk a cumulative error throwing off my joint at the last row by the door.
5. Lay The Tiles For The Custom Tile Floor
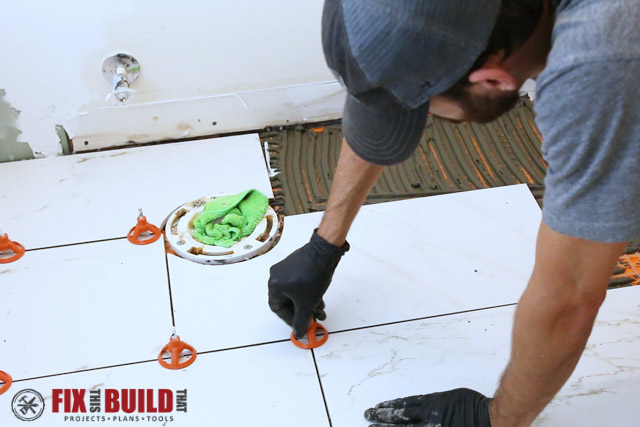
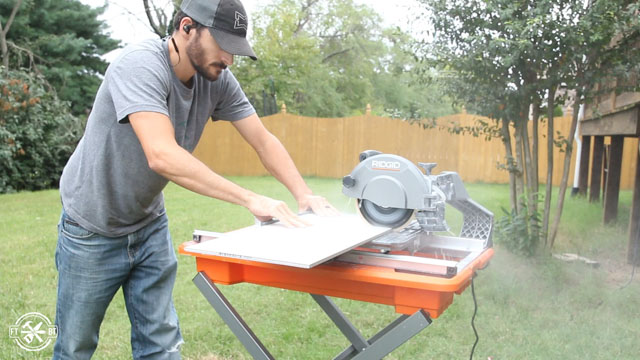
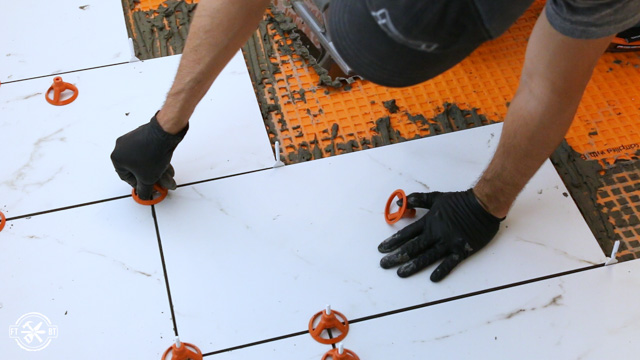
After I established that first row by the door and wall I worked across the front of the tub. I cut the tiles to size as needed using my RIDGID 7” Job Site Tile Saw and set the them in place wiggling them side to side to collapse the mortar bed lines and get full adhesion on the tile.
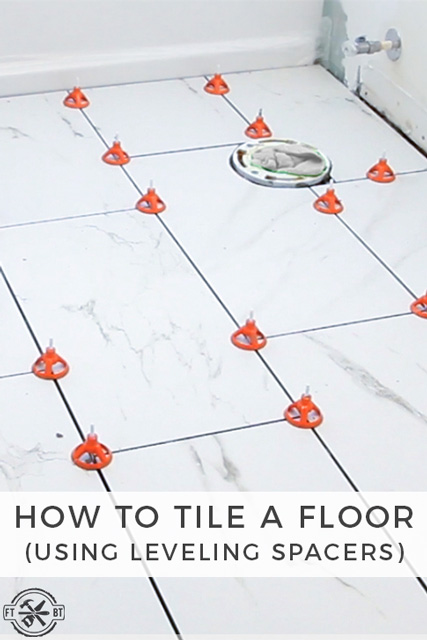
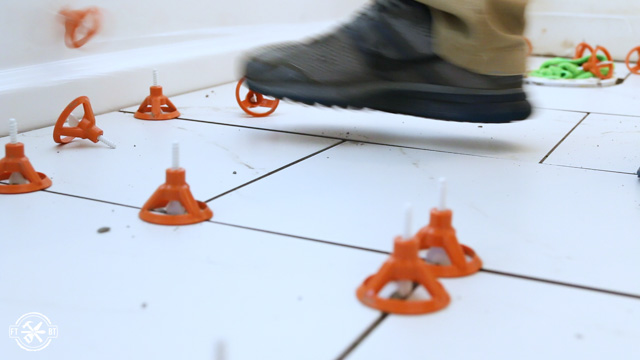
To space the tiles I used the RIDGID LevelMax System. It’s a spacer and lippage reducer all in one. There are spacers for T joints, straight joints, and 4 way joints. The spacers go under the tiles at the joint and the stems are threaded. The top pieces are screwed down and as they are tightened it pulls the tiles flush with each other.
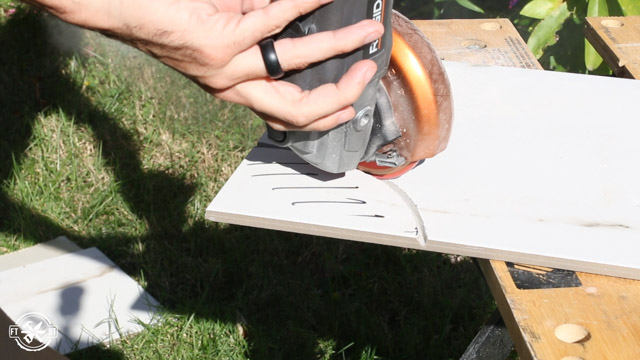
I worked my way to the far wall and needed to make cut outs for the toilet flange. Curved cuts can be notched out with a wet saw, but I used my Angle Grinder with Diamond Embedded Wheel. The key here is to take light sweeping cuts and don’t let the grinder bog down. Dry cutting tile throws a lot of dust and chips so make sure to protect your eyes and lungs too.
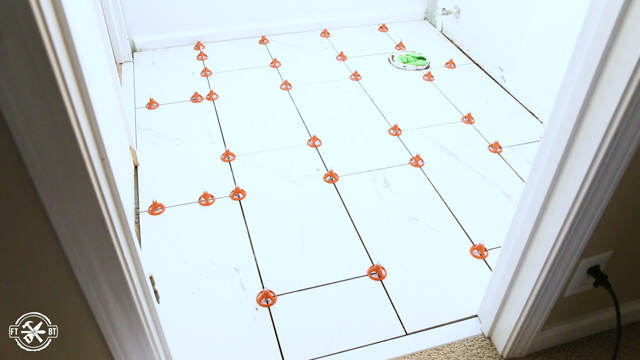
I went around the toilet and worked my way out the other door laying the last full tile right in front of the doorway.
The LevelMax system really did a great job of keeping the tiles aligned.
After the mortar dried for 24 hours I came back to snap off the stems of the spacers. A swift kick snaps the stems off the spacers and the part left is under the tile. Then the tops can be unscrewed and used again.
I cleaned up the joints of any excess or loose mortar then vacuumed everything clean.
5. Grout the Custom Tile Floor
We went with a light grout to try and help the grout joints disappear and have the focus be the tiles. I mixed the grout by hand and with large format tiles you really don’t use a lot of grout at all.
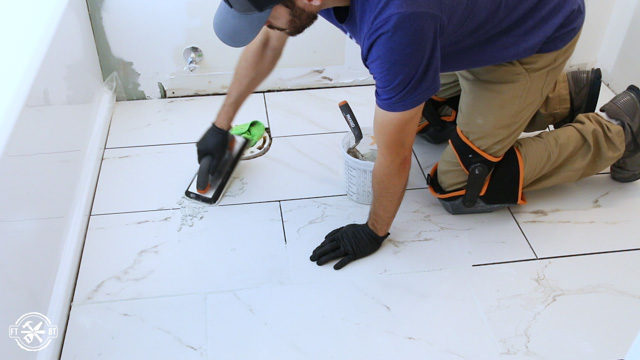
I worked the grout into the joints using a grout float at 45 degree angle to the joints. If you push the grout in parallel or perpendicular with the joint lines then the edge of the float will fall into the joint and pull the grout out.
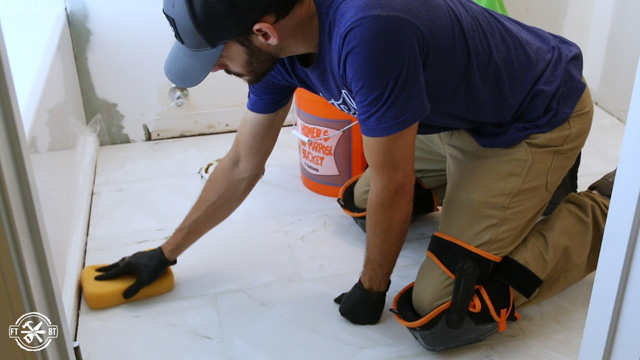
After filling in all the grout I rinsed the excess off with a damp sponge. You really want to ring out the sponge well so the grout doesn’t get more water in it. This can cause discoloration or weaken the joints.
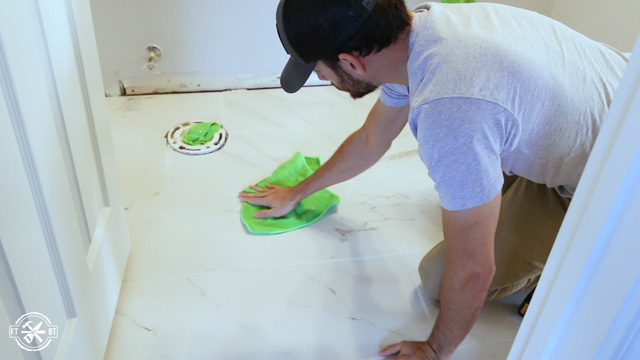
I let the grout dry and came back the next day to buff off any grout haze. There were some tough spots where I used a haze remover to get it off.
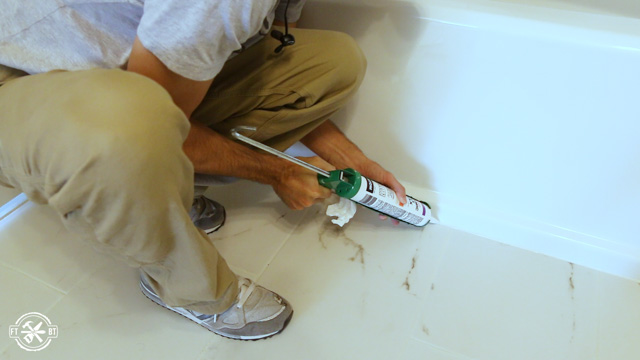
I used a grout colored caulk to go between the tub and the flooring and then reinstalled the baseboards.
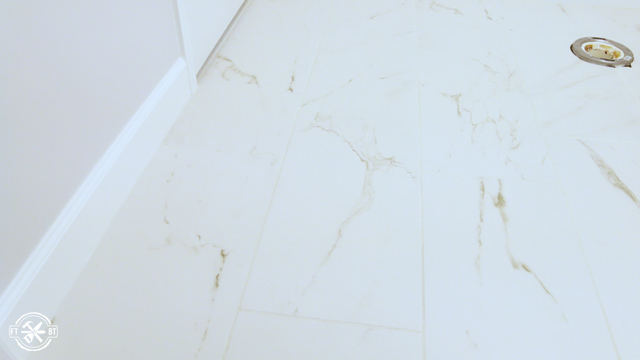
The custom tile floor turned out awesome, I really love the way it changed the look of the room
RIDGID provided me with product and/or monetary compensation as a sponsor of this build. All opinions are my own and are not filtered by the sponsor.


