This post is sponsored by The Home Depot.
Hey guys, today I’m going to show you how I upgraded my the lights in our bedroom with Smart Light Switches. This is the last installment of my Smart Home series with The Home Depot for 2018 (yes I realize we’re 2 weeks into 2019…life comes at you fast bro). And the install on this project goes fast too, so I guess it makes a good pair.
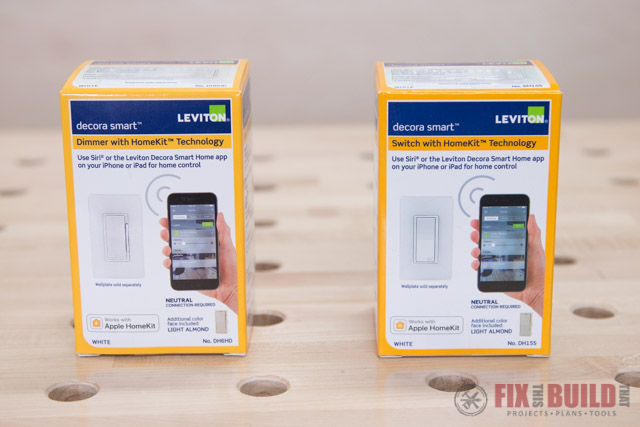
I’ll be installing two different types of switches from Leviton’s Decora Smart wi-fi collection. This series of light switches and plugs let’s you control your lights using different connection methods. The ones I’ll use today pair up with Leviton’s Decora Smart Home app or Apple’s HomeKit and don’t require any extra hardware like a smart home hub. But there are also ones available that work with Google Home and Alexa.
Tools Used
- Screwdriver
- Wire stripper
- iPhone
Materials/Supplies
Affiliate links are used on this page. See my disclosure page for info on affiliate programs.
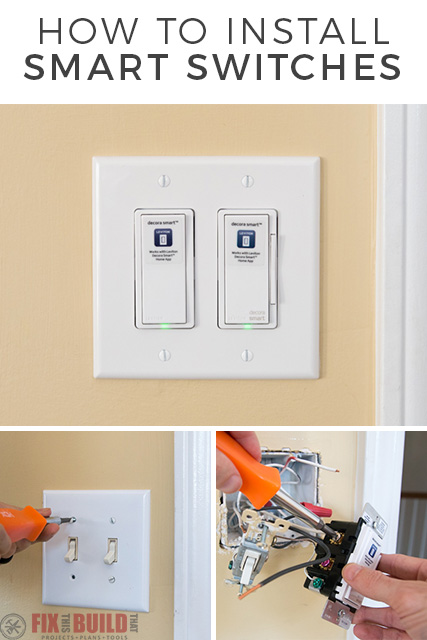
How to Install Smart Light Switches
- Turn Off Power
- Remove Old Light Switches
- Wire The Smart Light Switches
- Connect Smart Light Switches to App
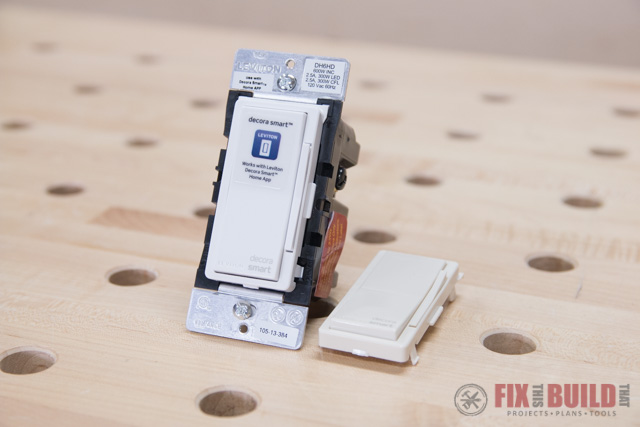
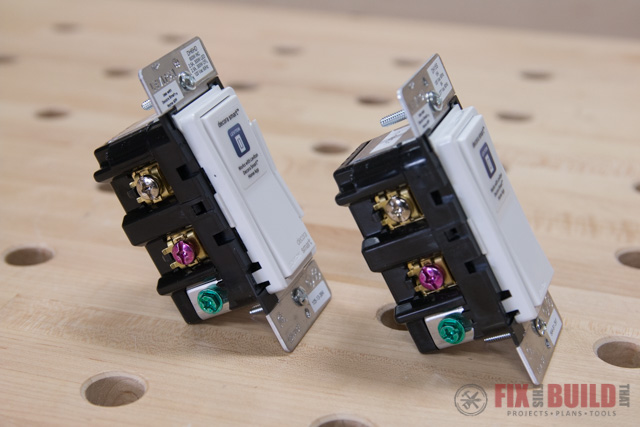
Let’s start by taking a look at the smart light switches. I’ll be using the Leviton Decora Smart Dimmer Switch and the Leviton Decora Smart Switch for this project.
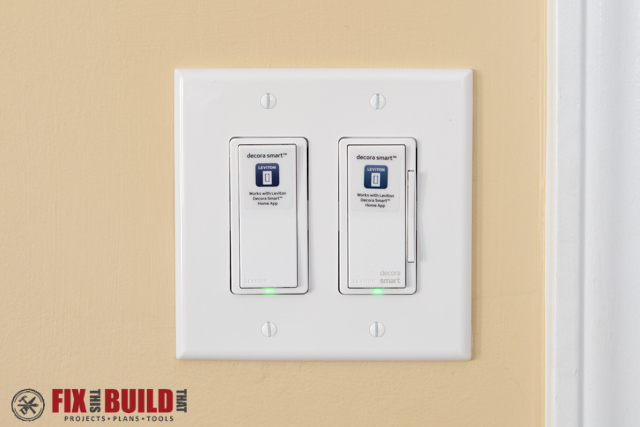
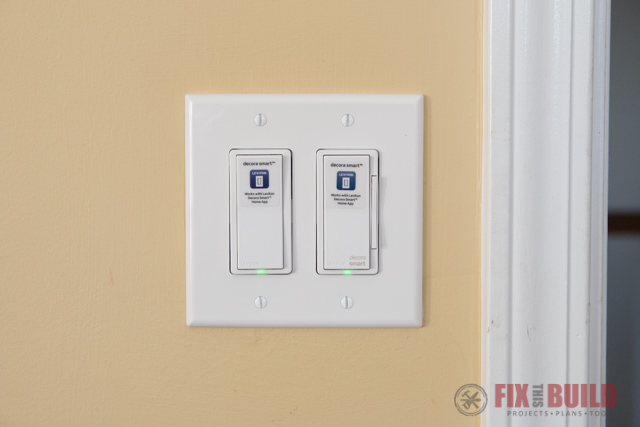
This is the Decora Smart Switch. This switch has a rocker pad which you use to turn the light on and off, and there’s also a location light at the bottom. The location light illuminates at night when the light is off so you can easily find the light in the dark. The Decora Smart Switch also comes with an extra almond cover.
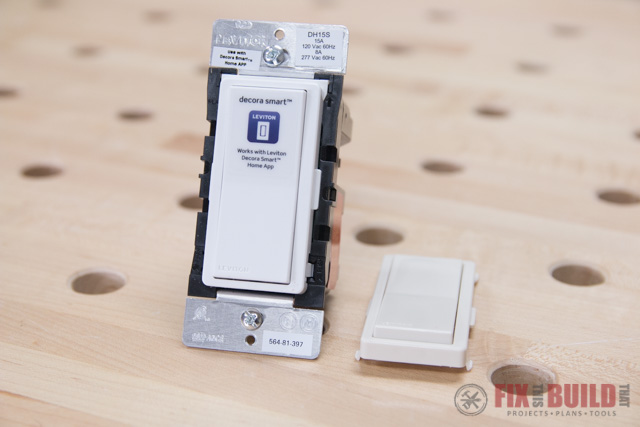
The Decora Smart Dimmer Switch, comes with an extra almond cover as well. This switch also has a rocker pad which you use to turn your light on or off, but there’s also a dimmer bar on the right side. The dimmer bar allows you to customize the level of your lights very easily.
1. Turn Off Power To Decora Smart Light Switches
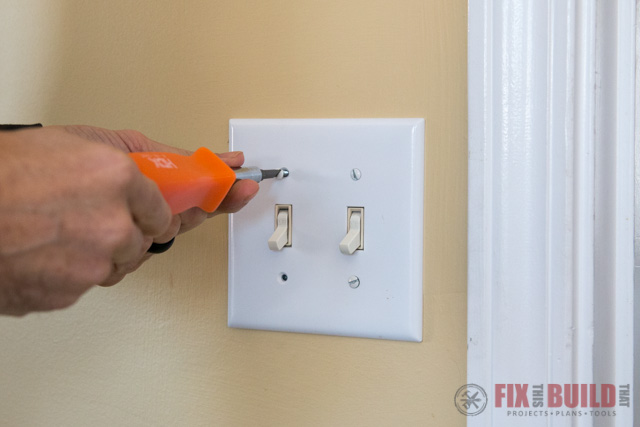
Before we get into the project, make sure you turn off the power where you’ll be working and test to make sure that the power is off. If you have any reservations about taking on this project yourself, call an electrician.
2. Remove Old Light Switches
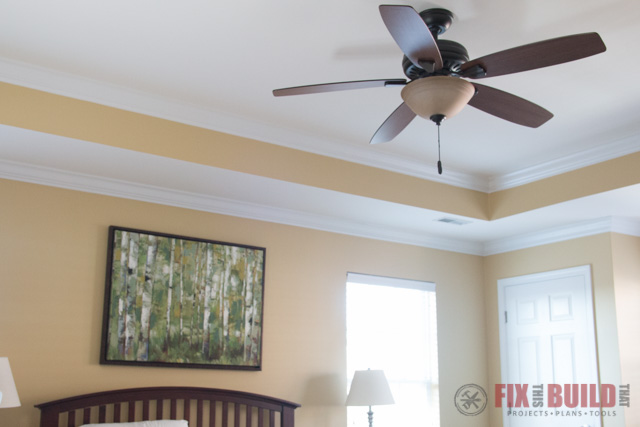
After much deliberation, we decided to install the Decora Smart Switches in our bedroom so we can easily control our overhead light and ceiling fan without getting up. If that makes us lazy, I’m okay with it.
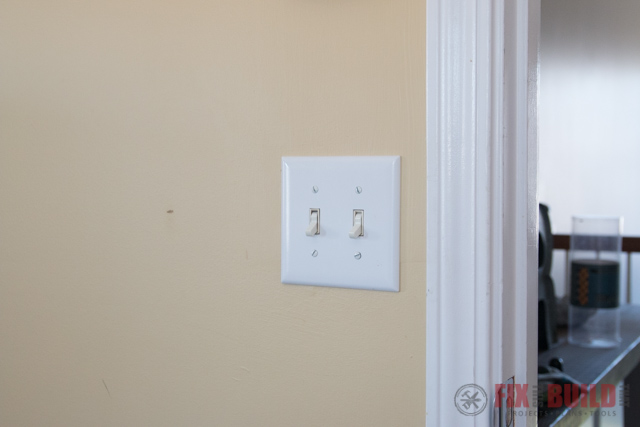
This is what we were working with before, pretty much your basic light switches.
As I said before, make sure your power is off before you begin this project. Don’t hesitate to call an electrician if you’re not comfortable.
Once the power was turned off, I removed the cover plate.
Here’s a look at the old switches, pretty standard.
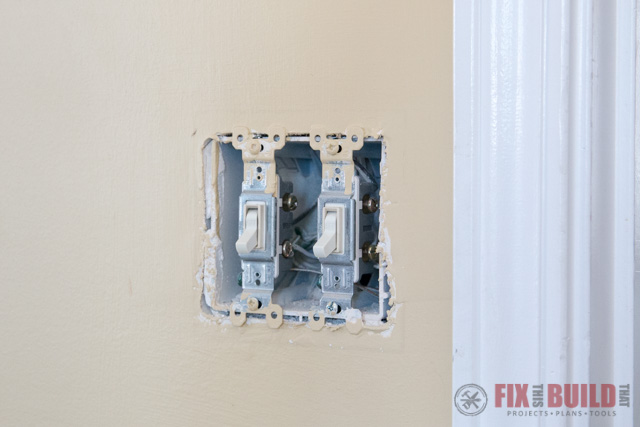
My old switches were wired from the back, so I had to snip the wire to disconnect them.

3. Wire The Decora Smart Light Switches
The Leviton Decora Smart Switches can be installed as a single pole switch or a three-way switch. The switches can also be installed with a side wire connection, or with a back wire connection. Just follow the instructions in that come with the switches, they’ll walk you right through the process.
Connecting the wires at the side connection was straight forward. Follow the instructions that come with the smart light switches.
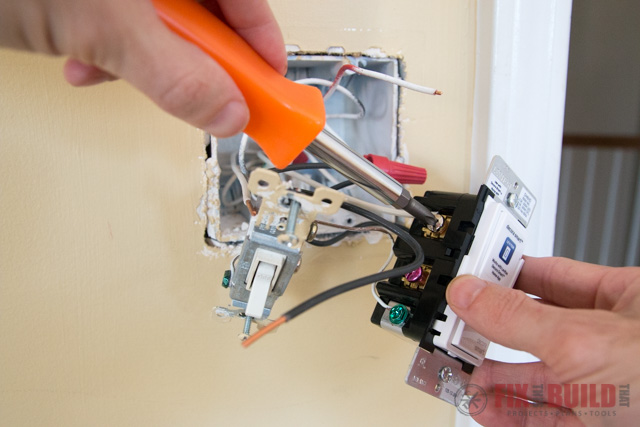
Since the switch on the left does not have a dimmer we’ll use it to control our ceiling fan. We really just need to either have the fan on or off. The switch on the right has a dimmer and will control the ceiling light.
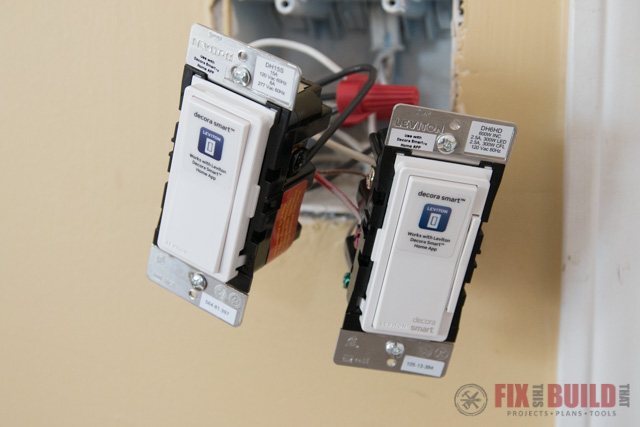
After testing the lights, I mounted them back in the cavity and then turned the power back on.

4. Connect Decora Smart Light Switches to App
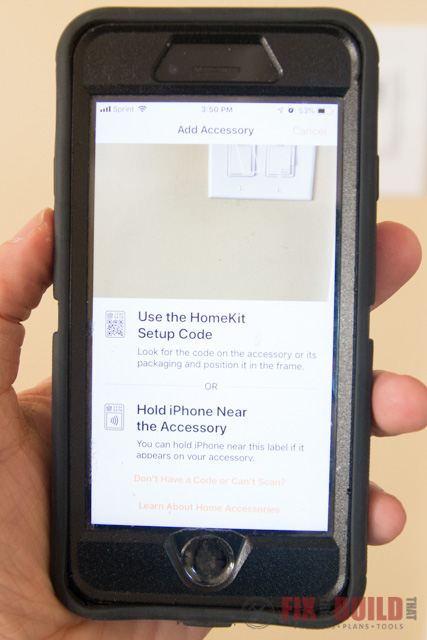
When the power is turned on for the first time, the green locator lights will start flashing to indicate they are ready to be paired with your device. You need to have an iPhone, iPad or Apple TV to control these switches. They can also be controlled with the Leviton Decora Smart Home App.
With the green lights flashing I opened up Apple Home to add them as an accessory. You can hold your phone close to the switches to pick them up on the phone, or you can scan a code that comes with the switches.
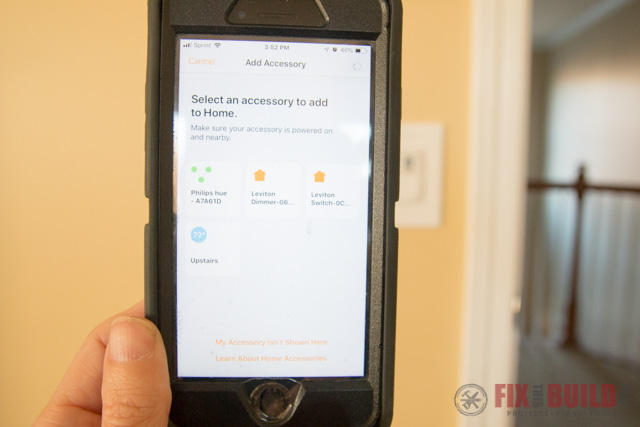
Once your phone identifies the switches and they’re showing on your screen you just select them to add them to your Apple Home.
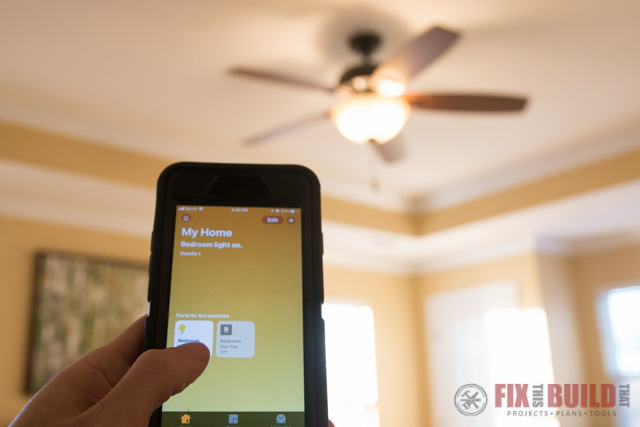
With everything ready to go it was time to give the Decora Smart Switches a test run. Using the phone to turn the lights and fan on and off was a breeze. This should come in handy when neither one of us wants to get up to turn out the lights. Our old method of settling this dispute was a high-stakes game of rock paper scissors.
Although we plan to control the lights through Apple Home, another option is to download Leviton’s Home App. I wanted to check it out so I downloaded it and played around a bit. It was straight forward and easy to use.

One of the coolest features is that you can voice control the smart switches through Siri. So at this point I’m pretty much living the dream of the lazy man and I don’t even have to touch switches anymore 🙂
If you want to go check out more home projects head over to our Home DIY projects page.
I acknowledge that The Home Depot is partnering with me to participate in this Smart Home Program (the “Program”). As a part of the Program, I am receiving compensation in the form of products and services, for the purpose of promoting The Home Depot. All expressed opinions and experiences are my own words. My post complies with the Word Of Mouth Marketing Association (WOMMA) Ethics Code and applicable Federal Trade Commission guidelines.


This is a good write up for installing smart switches. Smart switches are a better choice than smart lights in many cases. You have to be careful since you are working with electricity, but it is a project most people can handle.