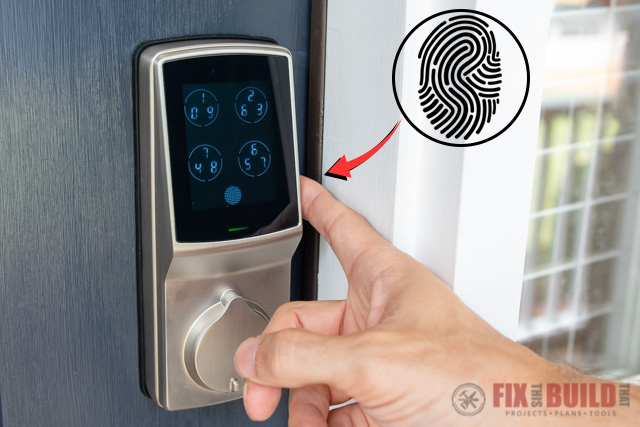
Today I’m channeling my inner Ethan Hunt by installing a Lockly Smart Lock…with a fingerprint lock. *Cue Mission Impossible music* Seriously though, I’m excited to get this smart door lock installed so I can see how it works on my front door.
This post is sponsored by The Home Depot and I’m installing the Lockly Secure Pro Deadbolt. We’ve installed smart locks in the past, but I couldn’t pass up the opportunity to try one out with a fingerprint reader, because…it’s got a freaking fingerprint reader on it! I’ll show you how the installation process went for me and all the features the Lockly Secure Pro has in store for you.
Tools Used
Materials/Supplies
Affiliate links are used on this page. See my disclosure page for info on affiliate programs.
Installing a Fingerprint Lock
- Remove Old Lock
- Install New Deadbolt
- Attach Exterior Keypad
- Install Interior Lock Assembly
- Install Door Sensor
- Set Up Secure Link Wi-Fi Hub
- Program Lock
- Sharing Access Codes
1. Remove Old Lock
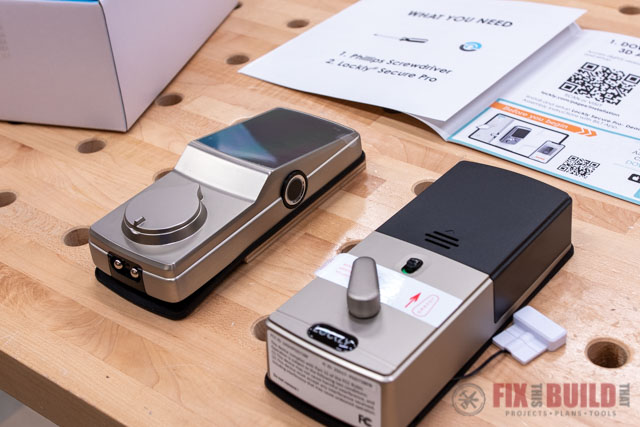
Before I removed my old lock, I wanted to take a peek at the new one, and make sure I had everything I needed for this project. Turns out all you need for install is a screwdriver. So literally anyone can install it!
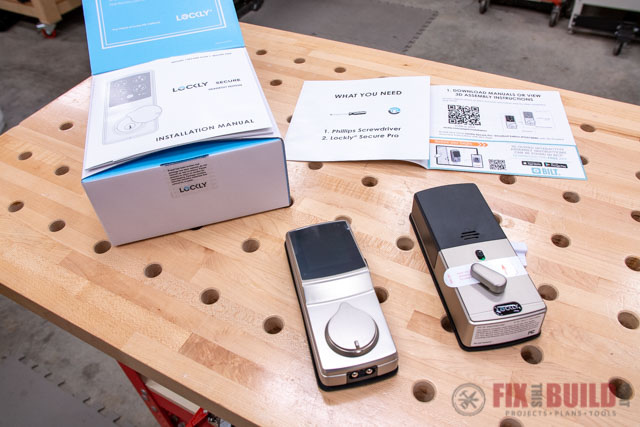
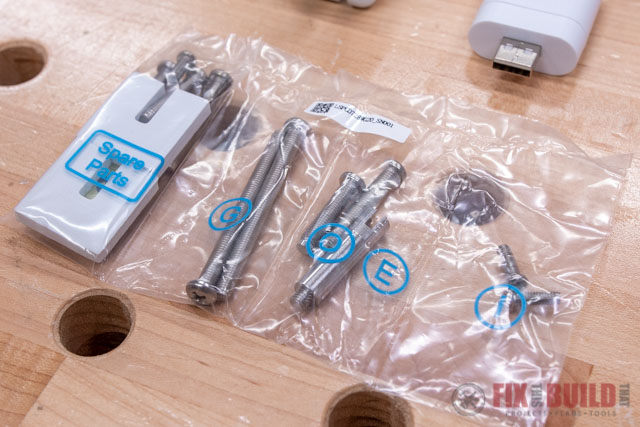
The hardware for the Lockly Secure Pro comes stored separately and clearly labeled which I love.
We’ve had a smart lock before and it had a hard time connecting to our Wi-Fi on occasion. That’s one of the reasons I was excited about this one. The Lockly Secure Pro comes with a Secure Link W-Fi hub which can be plugged in near the lock.
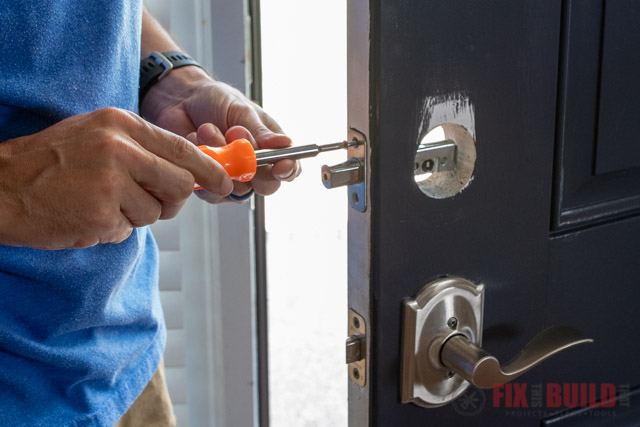
After I had a good feel for the hardware and read through the instruction manual (yes I still do that), I jumped in and removed my old lock. Removing two screws on the lock body and two on the latch was all it took to uninstall it.
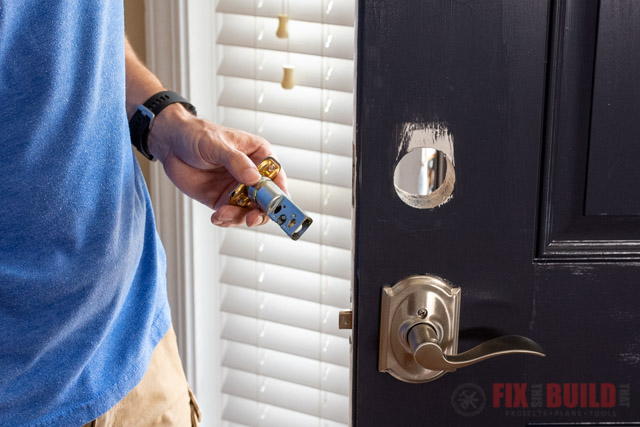
2. Install New Deadbolt
Now I could install the new deadbolt from Lockly. As you would expect install is just as easy as removal. I used the two included screws and secured the deadbolt in the door.
Just make sure you’ve set the deadbolt to the right length for either a 2-3/4″ or 2-3/8″ install. You don’t need to measure anything, just match the old lock’s deadbolt length.
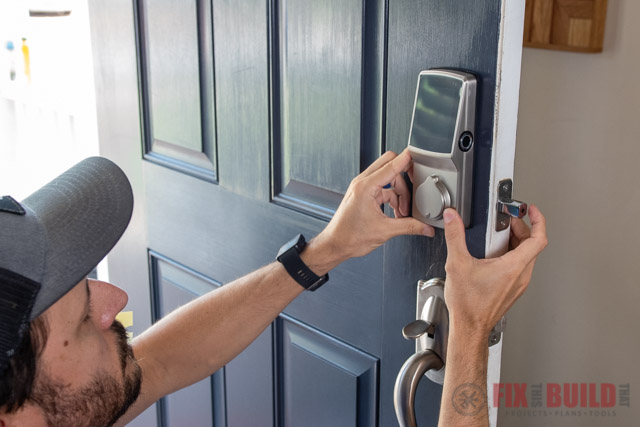
3. Attach Exterior Keypad
Next up I attached the exterior keypad assembly. I fit the torque blade (the long metal piece coming off the exterior assembly) into the deadbolt and fit the assembly into the hole in the door.
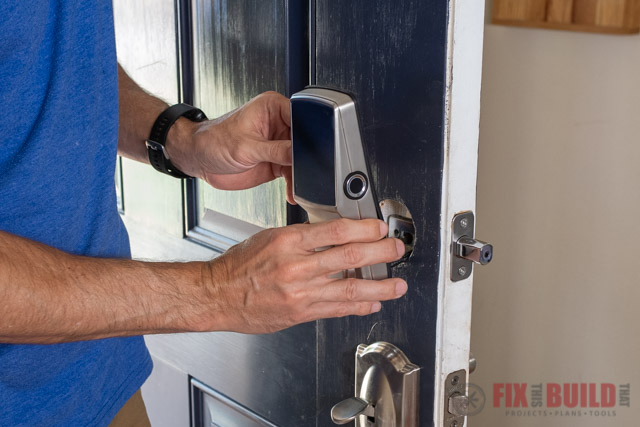
The assembly has an adhesive strip to hold it in place on the outside of the door so you can go to the other side and attach the mounting plate without it falling.
Before attaching the mounting plate make sure to pull the data cable through the plate. Then you can secure it in the slot cut out on the mounting plate.
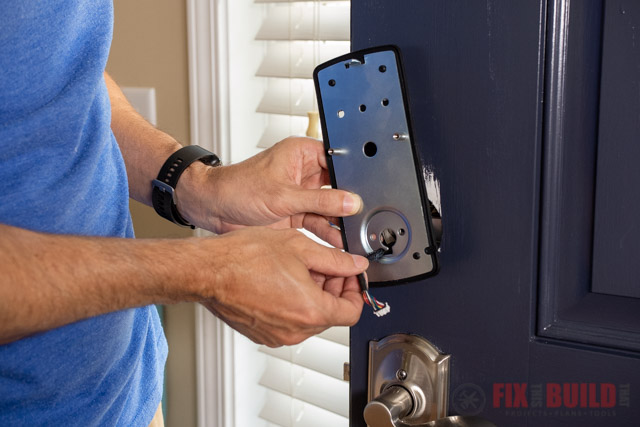
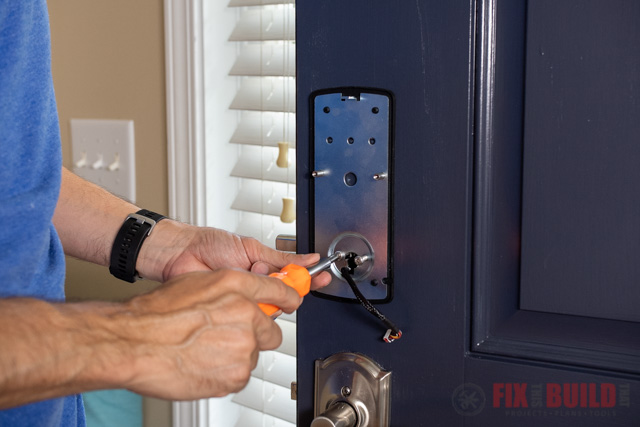
After that I lined up the two holes in the mounting plate with the deadbolt and secured them together with the included screws.
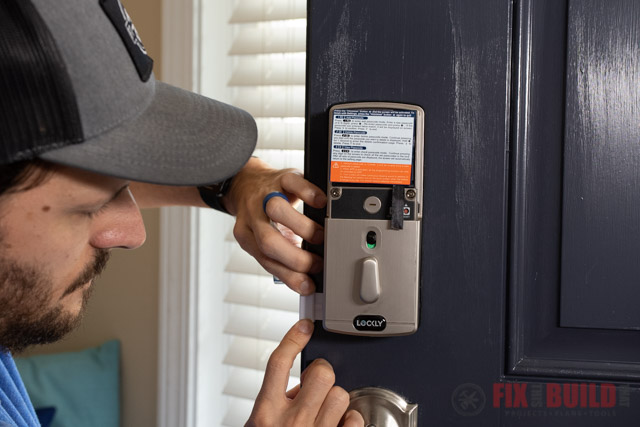
4. Install Interior Lock Assembly
Once the mounting plate is on the door, attaching the lock assembly is very easy. I found where the data cable clips into the interior assembly and secured it in place first.
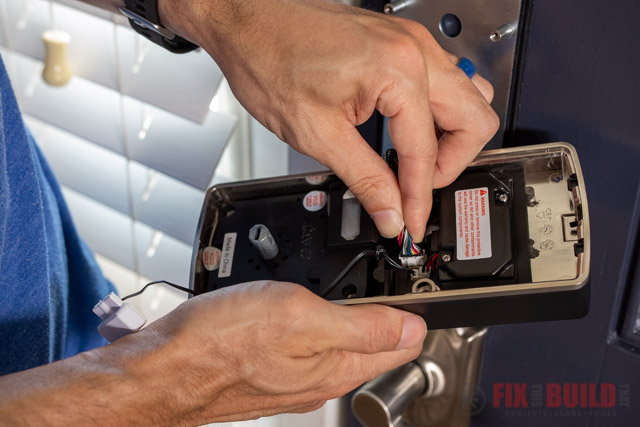
Then I attached the assembly to the mounting plate with two screws.
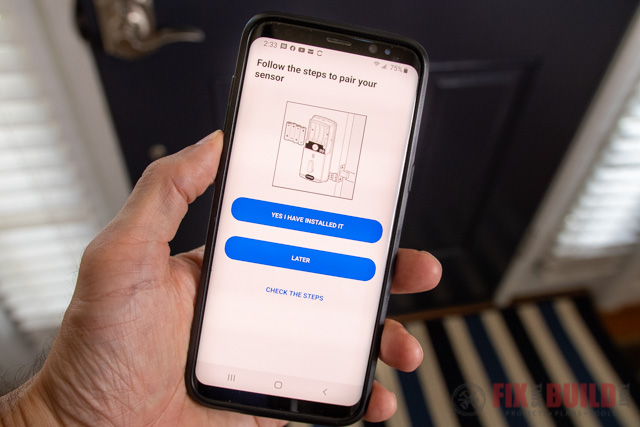
5. Install Door Sensor
The Lockly Secure Pro comes with a magnetic door sensor to know when the door is open or closed. It’s the same technology used by security systems on windows and doors.
One sensor is connected to the interior lock assembly and gets mounted to the door. I had to use one of the included foam spacers to get it flush with the door frame so it would work properly.
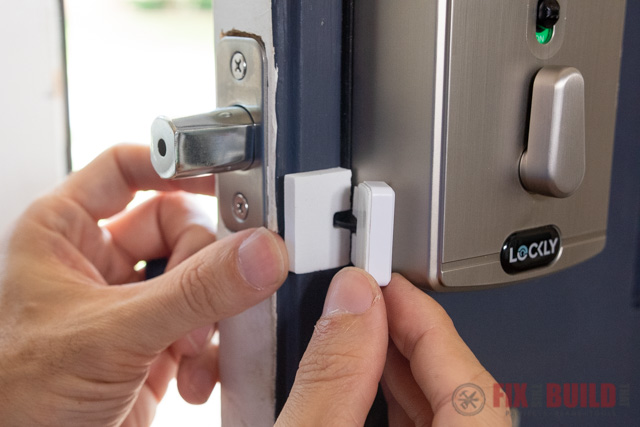
The other sensor part goes on the frame directly across from the one on the door. And now the lock knows when it’s open and when it’s closed based on the location of the sensors. This is cool because you can use it to get alerts when the door is opened or closed. Or if you don’t want alerts you can always review the activity log at any time.

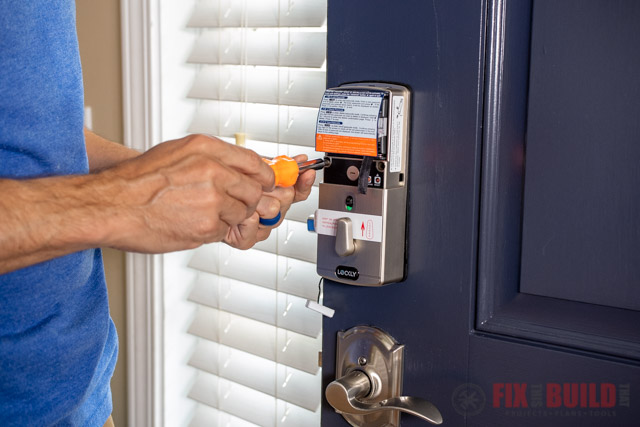
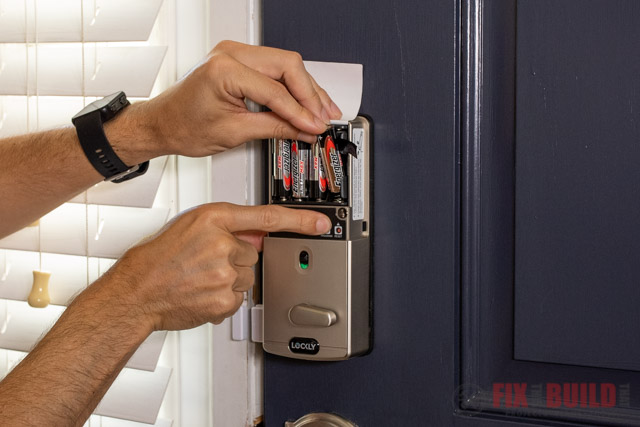
After the sensors were in place, I installed the batteries while holding down the programming key. This initializes the lock and it ran a quick diagnostic check then was ready.
6. Setup Secure Link Wi-Fi Hub
Like I mentioned before, our old smart lock had some issues connecting with our Wi-Fi at times and we’d have to reset it. The Lockly Secure Link Wi-Fi hub is a dedicated hub that connects with your Wi-Fi network and lets you lock, unlock and monitor your Secure Pro from anywhere in the world.
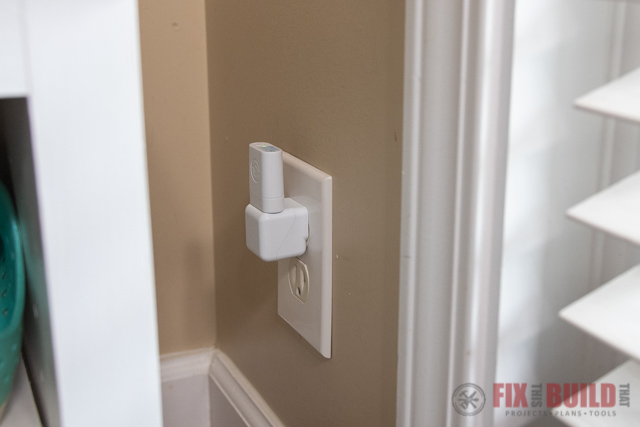
We have an outlet right by the door and I plugged the hub in there and went through the setup process. I downloaded the Lockly app and it made the setup quick and painless.
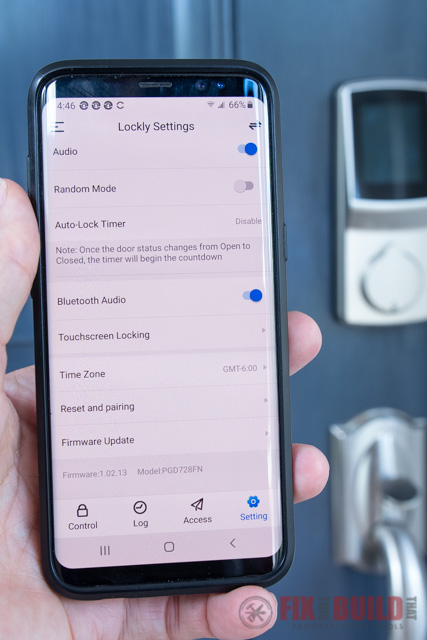
7. Program Lock
Now that I had the Lockly Secure Pro connected to my Wi-Fi I could set it up and access the settings through my phone. You can also do this through Bluetooth connection if you don’t have Wi-Fi.
But the first thing I did obviously was to get my fingerprint stored on the lock. You can store up to 99 fingerprints so feel free to do multiple fingers, and maybe even a toe.
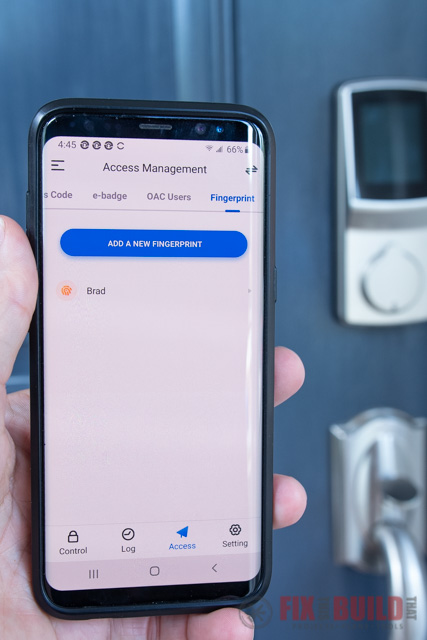
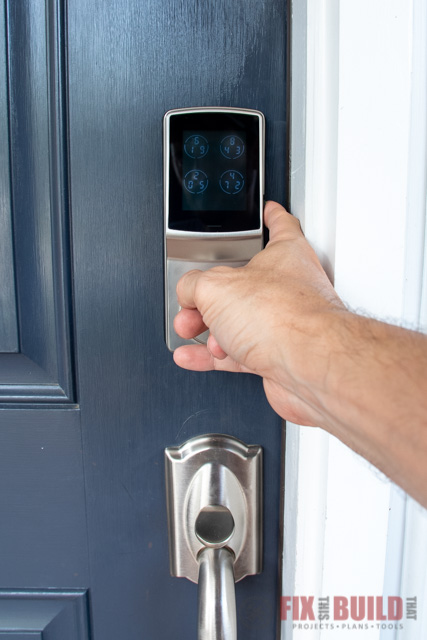
The fingerprint scanner worked like a charm and it was pretty nice to have such fast easy access.
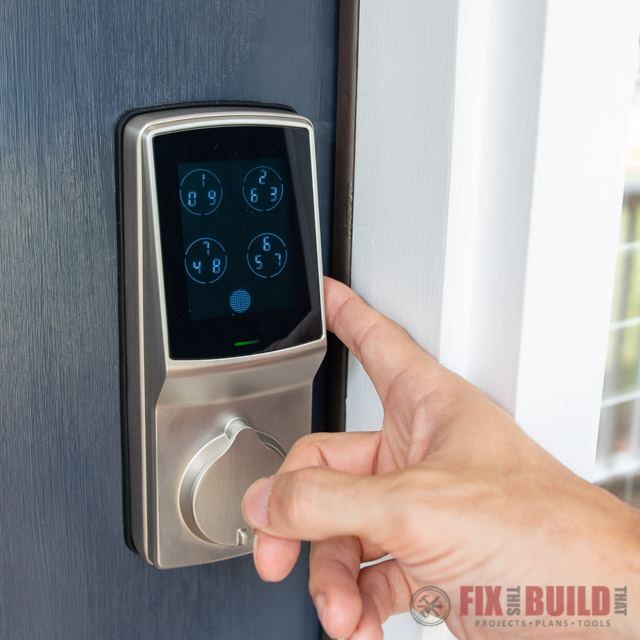
But the keypad on the Secure Pro is almost just as cool. It uses a peak proof entry keypad. Basically this means that while the access code remains the same, the numbers on the keypad move every time you use it. So if someone sees the fingerprints on the lock or which buttons you pushed, it doesn’t matter. Because the numbers will change locations and pushing that same pattern next time won’t work.
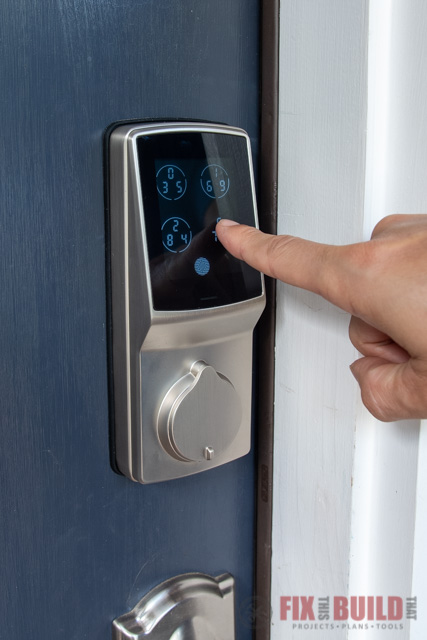
This gives you some great security, but also gives property rental owners or AirBnB’s easy access to change codes and know they can’t easily be guessed.
8. Sharing Access Codes
Setting up and sharing access codes on the Lockly can all be done through the app. This is not just for rental property owners either, it’s perfect for letting in the dog sitter, plumber or even Aunt Betty. Codes can be setup as one of three types.
Trusted Users get access codes that won’t expire. Guests get access for a specific time period that you set. And lastly you can setup one-time access codes.
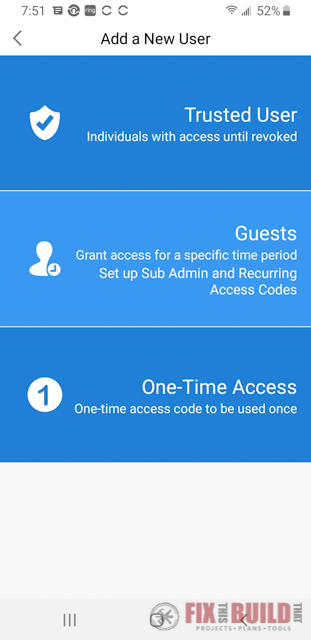
The app even lets you send a text to new users that will give them the code and instructions on how to use it.
We’ve only just installed the Lockly Secure Pro fingerprint smart lock, so we’ll have to see how it performs over the long haul. But I’ve gotta say I’m impressed with the feature set and ease of install. Lockly has a whole line of latches and deadbolts and you can see them all on the Home Depot website.
And I scored some serious coolness points with my kids by giving them their own fingerprint codes. Ethan Hunt, eat your heart out!
The Home Depot provided me with product and/or monetary compensation as a sponsor of this build. All opinions are my own and are not filtered by the sponsor.


