This post is sponsored by The Home Depot
Hey, guys! Today I’m taking you into the world of Smart Home security with a Ring Spotlight Camera install. It’s another installment of my Smart Home series with The Home Depot and this one is going to bring a little more piece of mind to our family. My wife and kids have been known to get spooked at things that go bump in the night and our backyard is pretty dark so imaginations can run wild.
Now with the press of a couple buttons I can show them there’s nothing going on outside or maybe we’ll catch the random deer or ground hog in the back yard. And of course we’re now more prepared in case it turns out someone who shouldn’t be there is snooping around the back porch too!
Tools Used
Materials/Supplies
Affiliate links are used on this page. See my disclosure page for info on affiliate programs.
How to Install a Ring Spotlight Camera
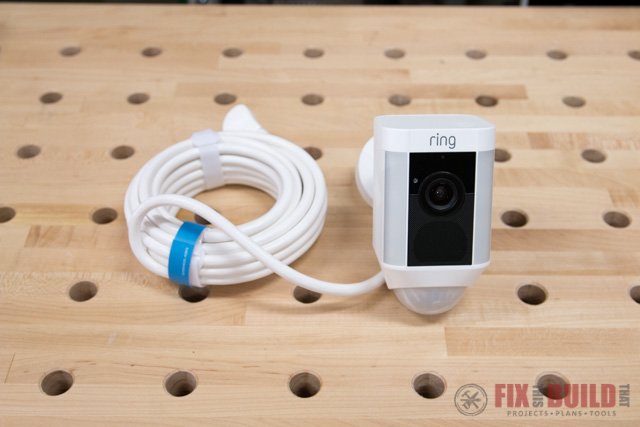
The Ring Spotlight Camera install was a breeze! I’ll show you the steps I went through to set it up, but before we get into it let me show you what’s in the box. The camera has a long power cord and a swivel mount on the back.
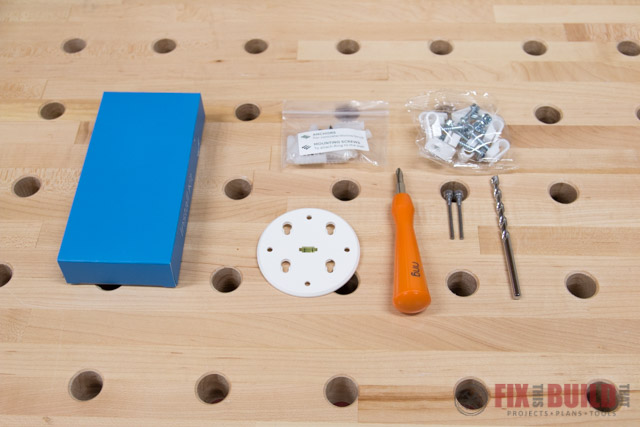
The installation kit includes a mounting plate, wall anchors, a drill bit, wire clips, security screws, and a screwdriver.
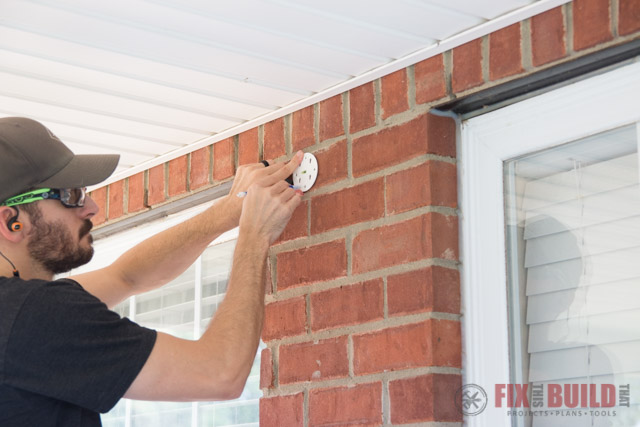
Installing the Camera Mount
The first thing to do is to
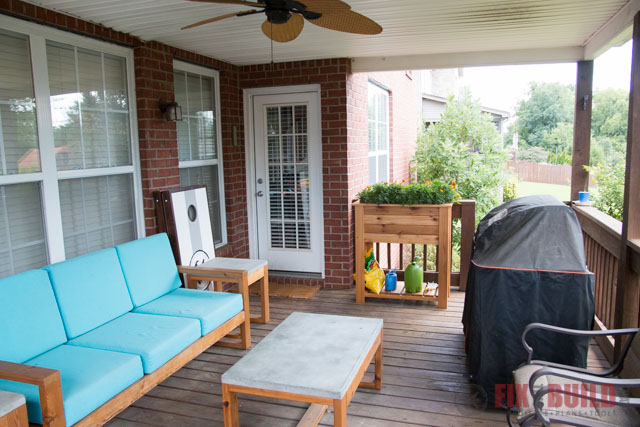
I wanted to get a full view of the deck so I decided to mount it to the left of the double windows behind the sofa. I used the mounting plate to mark the holes for the anchors.
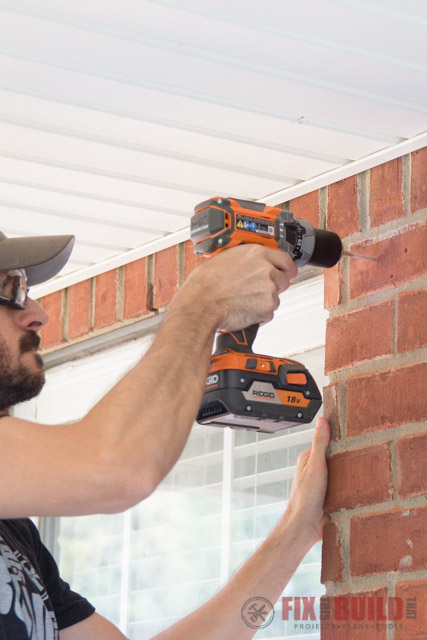
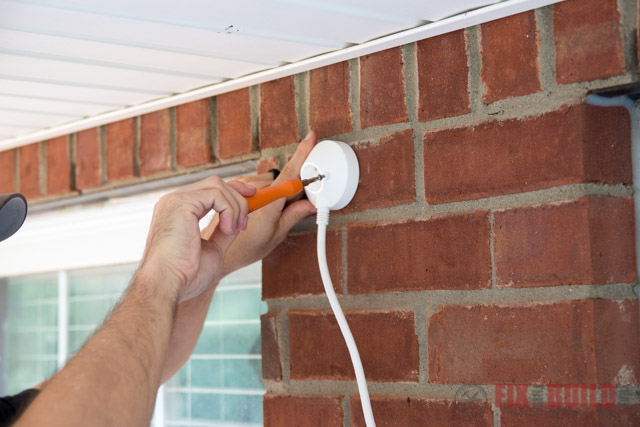
Then I drilled them out using my cordless hammer drill and the included bit.
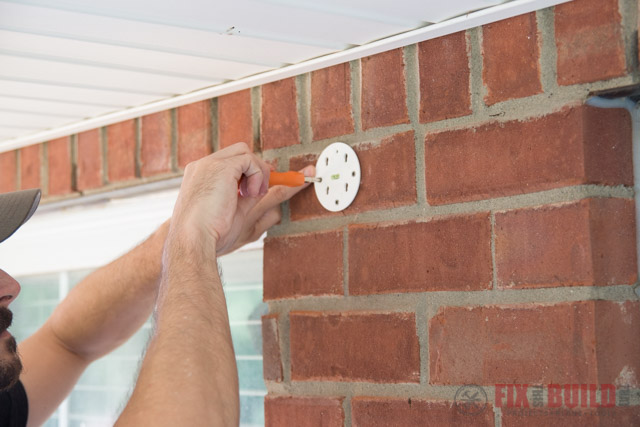
 And after that I attached the Ring spotlight camera mount with the included screws.
Mounting the Ring Spotlight Camera
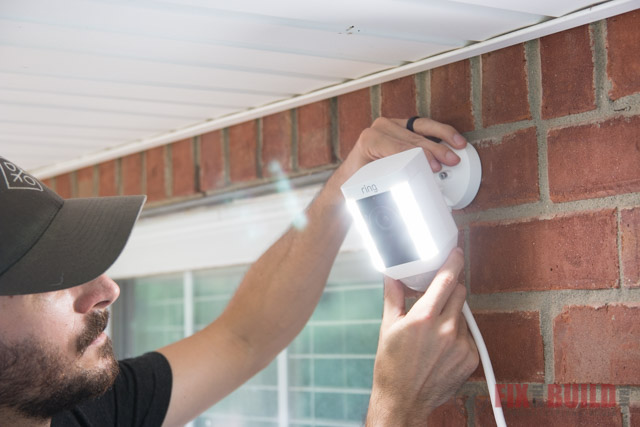
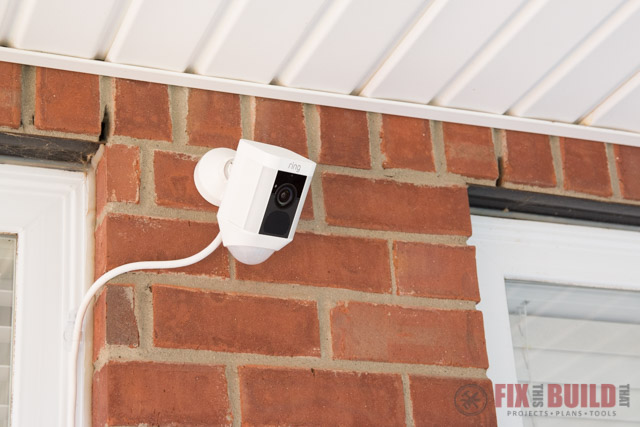
With the mount installed on the wall the camera the camera removes from the base with a twist. Then the base can can be put on the mount and secured with the included security screw.
From there the the camera just clicks and twists into the base to complete the install of the Ring Spotlight Camera.
Running the Wires for the Ring Spotlight Camera
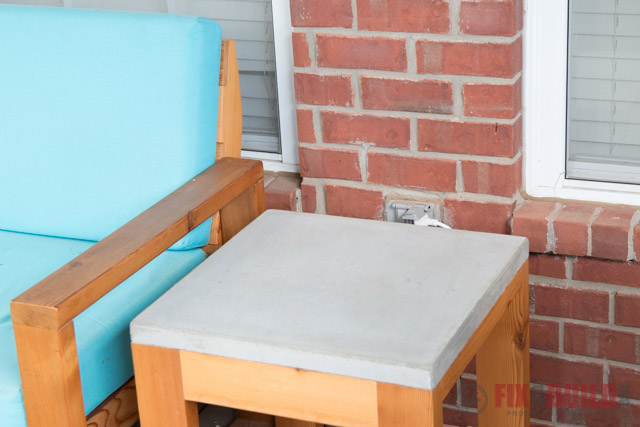
I needed to run the power cable over to the power outlet on the deck. Instead of drilling into the brick down the window I used some 3M Command Strip Clips on the window frame.
Then I ran the wire behind the sofa and side tables and plugged it into the outlet. I’ll convert the outlet to a locking cover soon to make sure it can’t just be unplugged. And after I ran the wire you can barely even see any trace of it.

Setting Up the Ring Spotlight Camera
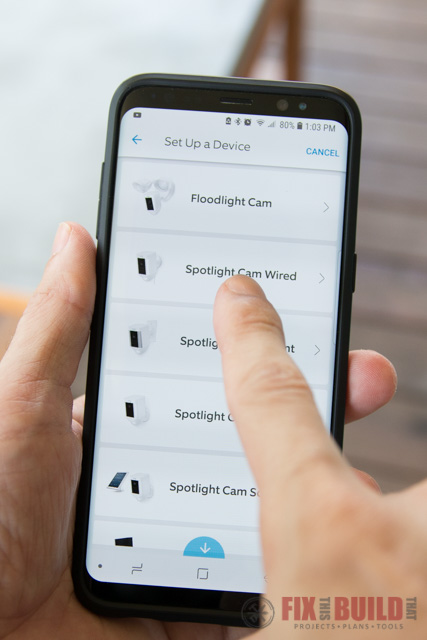
After I plugged in the Ring Spotlight Camera I went through the setup for the device. It was very straight forward going through the menus.
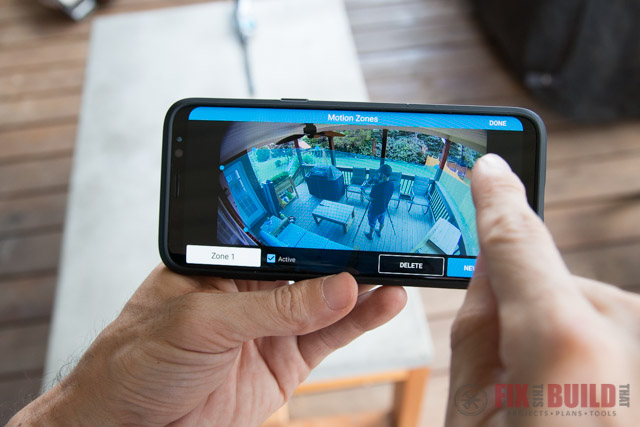
My favorite part was setting up the motion zones. I moved the little dots around and made a zone that included my whole backyard but didn’t include the fan as to avoid any errant motion.
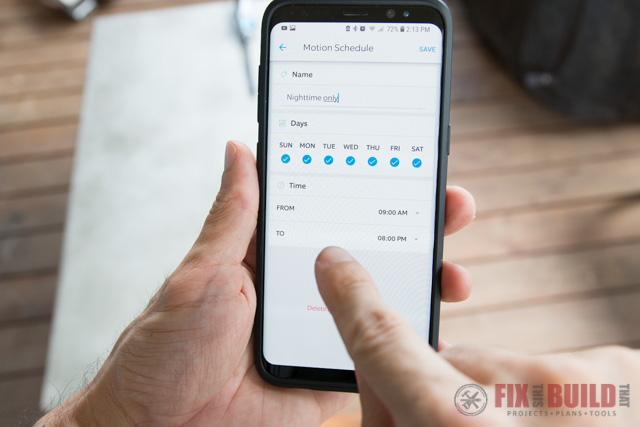
You can also tell the spotlight camera when to ignore motion. I went in and set it up to ignore motion during the day and only report and alert when motion happens between 8pm and 9am.
Ring Spotlight Camera Picture Quality
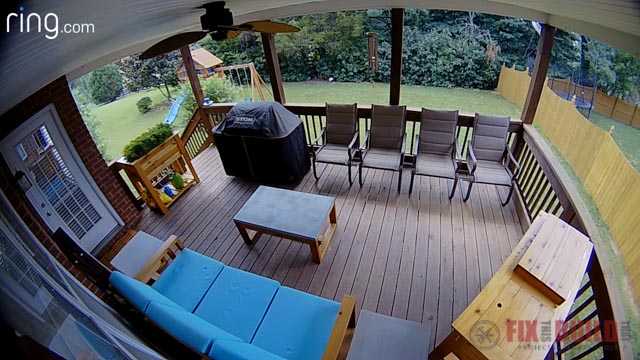
After the install I grabbed some screen shots off the camera and here is what it looks like at in day and night. Here is the shot during daylight on a cloudy day. Since it’s a covered porch it’s a little dark in the corners, but that’s the way it looks to the naked eye as well.
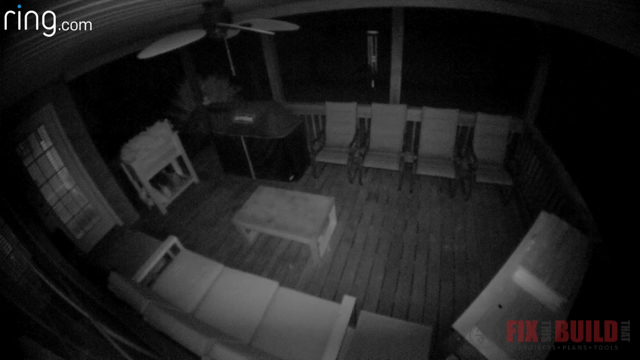
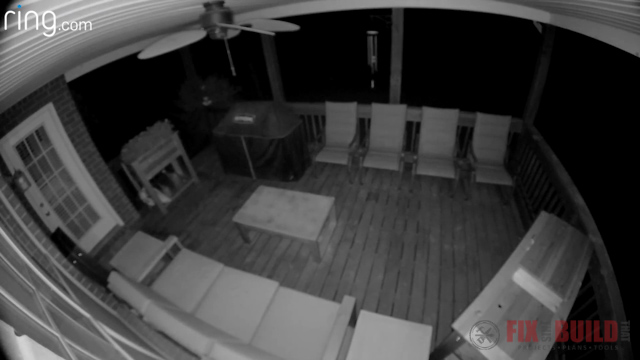
But another cool thing about the Ring spotlight camera is it also has infrared technology and night vision. Here is a shot at 10:00pm using Live View.
And if you turn the light on the camera on, it changes to this. Which is what you would see if the motion sensor were activated and the camera came on.
I’m really happy with how easy the Ring Spotlight Camera install went and the motion and picture quality are right on point with my expectations.
Stay tuned for more of of my Smart Home Integration with Home Depot in the coming months! Until then you can look at some of my other projects on my Projects Page.
I acknowledge that The Home Depot is partnering with me to participate in this Smart Home Program (the “Program”). As a part of the Program, I am receiving compensation in the form of products and services, for the purpose of promoting The Home Depot. All expressed opinions and experiences are my own words. My post complies with the Word Of Mouth Marketing Association (WOMMA) Ethics Code and applicable Federal Trade Commission guidelines.


