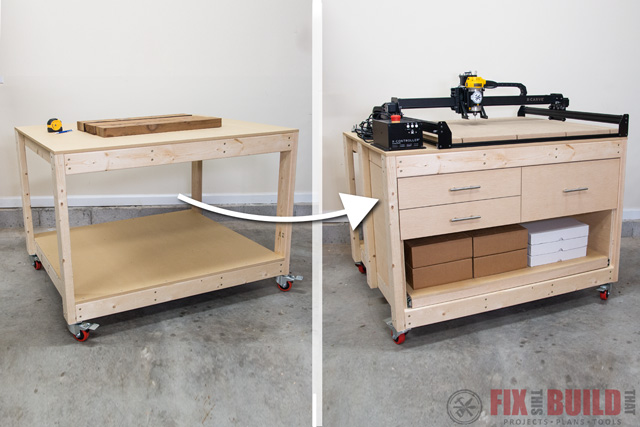
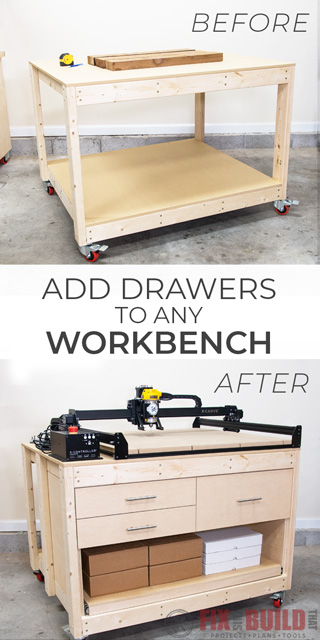
Today we’re looking at a simple way to add drawers to any workbench or work table. This is an easy way to add storage and organization to your shop.
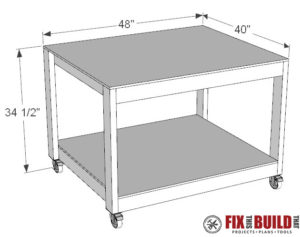
I just built a basic 2×4 DIY Work Table and put my new cnc on it… and man I needed some drawers in a bad way. I wanted to organize things and take advantage of that open space below. Adding drawers was the perfect solution to solve my storage problems!
You can use this method to add storage drawers to any DIY Workbench or work surface. And since you’re making it yourself, you can add as many heavy duty drawers as you like.
Materials/Supplies
Affiliate links are used on this page. See my disclosure page for info on affiliate programs.

How to Add Drawers to a Workbench
- Cut and Attach Top Rails and Sides of Drawer Frame
- Cut and Attach Lower Rails and Center Divider
- Insert Drawer Frame into Workbench and Attach
- Build Pull Out Tray
- Build and Attach Drawers
- Cut and Attach False Drawer Fronts
No matter what type of workbench or work surface you have, the first thing you’ll want to do is take stock of what you’re working with. I started by removing the lower shelf of the table and taking some measurements. I did this because I knew I wanted to turn that shelf into a pull out drawer. I’ll only be putting drawers on the front portion of my deep work table so I’ll split that shelf in half later.
I had 22” drawer slides on hand so I’m designing the drawers to be 22” deep. But you can change that to meet your needs as well.
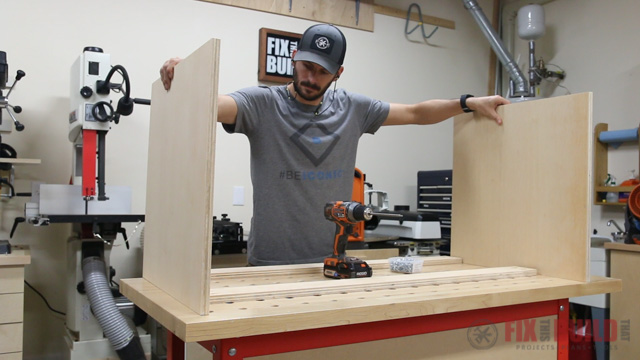
The drawer cabinet design is going to be a plywood shell with a divider in the middle. I’ll have two shallow drawers on the left and one deep one on the right.
1. Cut and Attach Top Rails and Sides of Drawer Frame
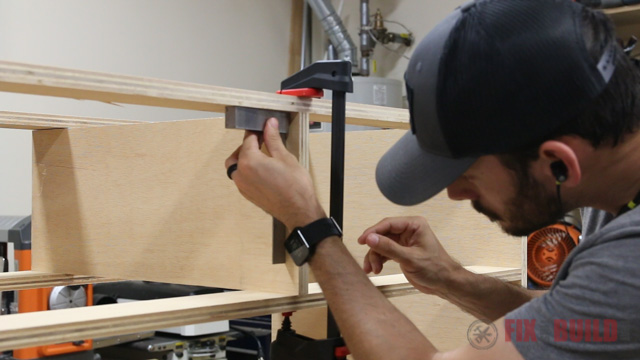
I started by cutting down some plywood on the table saw to make the sides, divider and rails for the shell. Then I test fitted the sides before moving on. There are four rails connecting the sides, two at the top of the drawers and two below. They’ll fit in between the sides, so to get a perfect fit I used an old relative reference trick.
I measured the exact distance between the legs of the workbench which I knew was an even 45”.
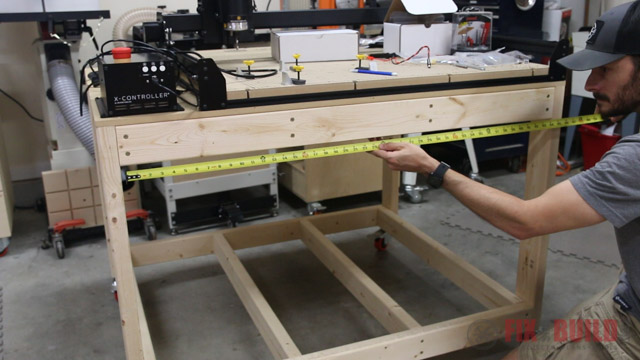
Instead of trying to subtract out the thickness of two pieces of undersized plywood and get that number, I set my miter saw stop block to 45”. Then I just used two scraps of the plywood as spacers, and made my cuts. This left me with a perfectly sized rail.
After testing the fit, I measured cut the other pieces. Keep in mind that cutting the ends square before making the final cut is always a good habit if you rough cut the plywood.
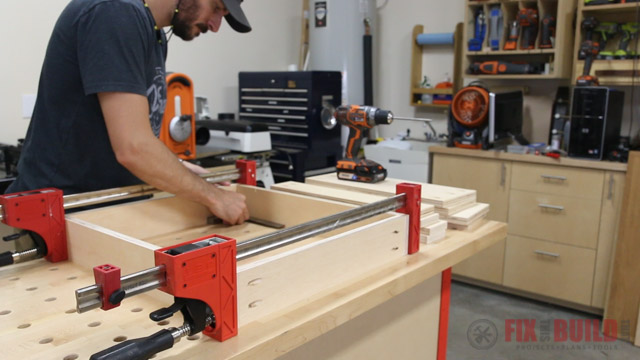
I setup my Kreg K4 and drilled pocket holes on the ends of all the rails to make the connections to the sides.
Then I grabbed the sides and started assembling the drawer cabinet.
Here’s a tip for when you use pocket holes on the edges of plywood. Whenever possible you want to angle the pocket screws so they’re going away from the edge, not into it. If you secure them going into the edge you’re much more likely to blow out the plywood and have connection issues.
I clamped the sides together and secured one screw on each end then removed the clamp and secured the other two screws. Then I flipped the sides around and did the same thing for the other top rail.
2. Cut and Attach Lower Rails and Center Divider
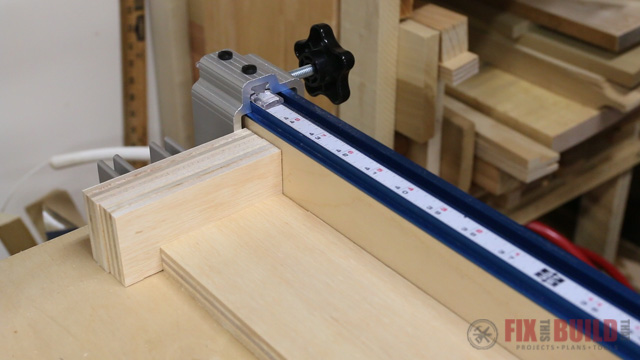
To attach the lower rails I turned the drawer cabinet upside down and used the divider as a spacer. I cut another piece the same width as the divider so I could use it in this step. I’ll cut it down into the deep drawer side later.
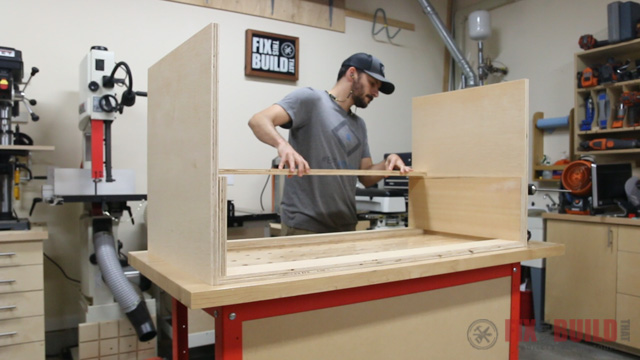
Using spacers and relative reference to keep your drawer openings parallel and square is always better than measuring and marking. That said, next I measured and marked for the center divider. Hey, we can’t always be perfect right?
I’m putting my divider right in the center, but again you could split this however best fits the things you want to store in the drawers.
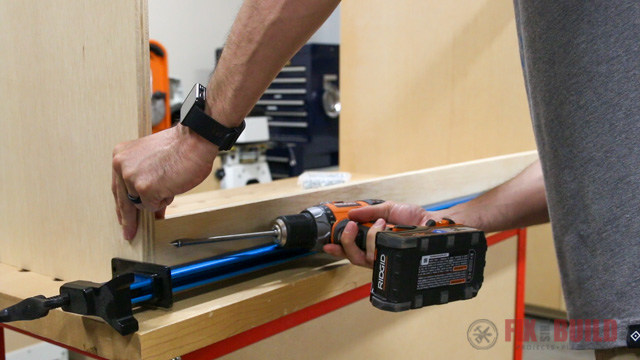
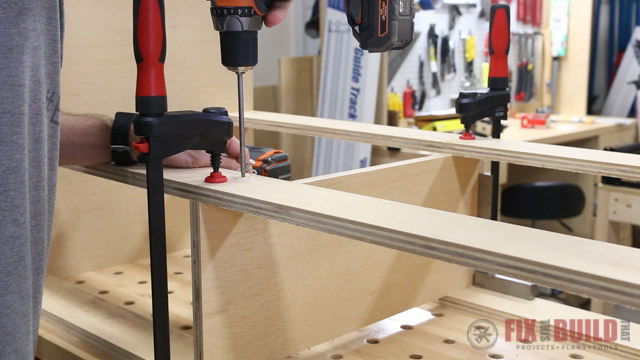
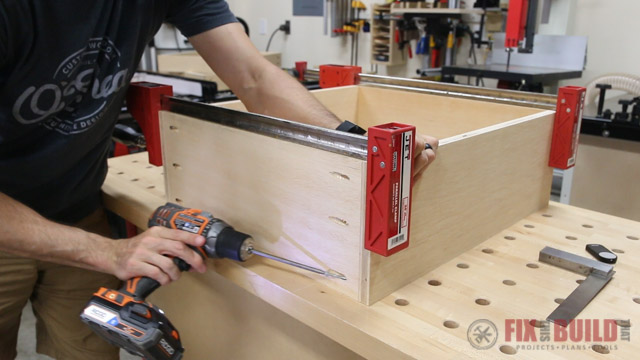
I used a square to position the divider then clamped it in place on the front and back. Then I predrilled two countersunk holes on each bottom rail and secured it with 1-¼” screws.
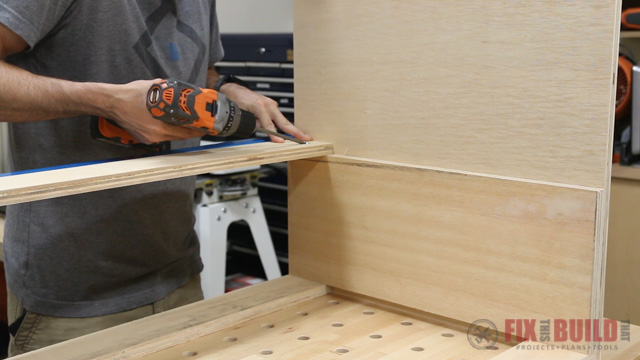
I flipped the drawer cabinet over checked the center on the divider again.
Then I drilled and screwed it into place to the top rails as well.
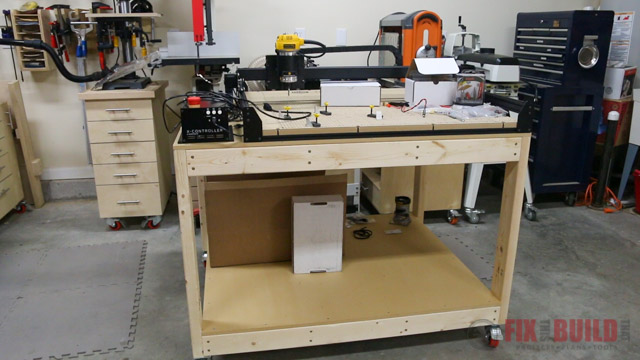
3. Insert Drawer Frame into Workbench and Attach
Next I moved the work table back into place, and was ready to put the drawer cabinet in. And as a side note, if you just wanted a solid open bottom you would leave the bottom shelf installed. But you’ll see what I did with mine in a minute.
The assembly was a perfect fit…maybe too perfect actually. I realized later there was a small hump from a knot on the lower right 2×4 that was hanging things up. So you probably want to check your base before you start to install the drawers.
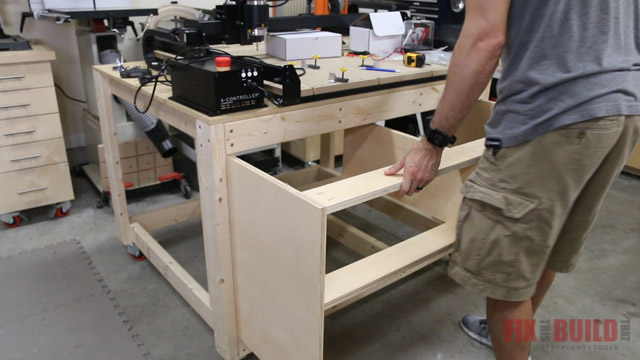
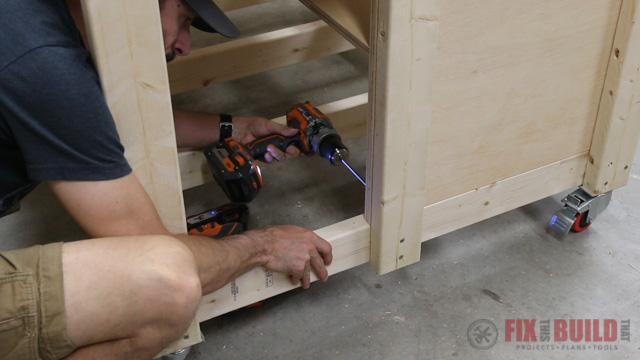
The drawers will be inset in the workbench frame, but overlaid on the drawer cabinet that I just put them in. So I pushed the box back the thickness of the plywood drawer fronts then secured it to the side and the top bracing with countersunk screws.
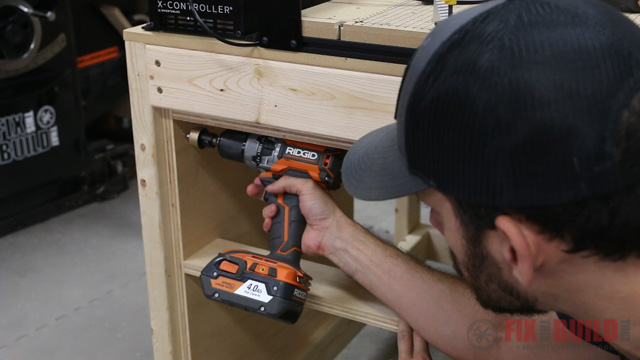
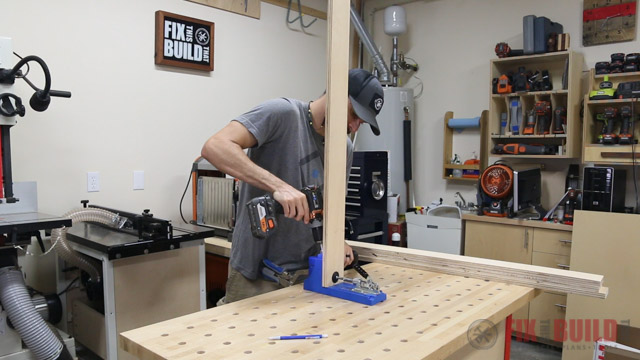
The backs of the plywood sides weren’t totally secure since I didn’t use a bottom connector. So I cut a 2×4 to size and added a third upright support to each side of the workbench.
This gave me a place to secure the back of the cabinet box on the top and bottom. I wanted the sides to be nice and steady because I’m mounting drawer slides and a large pull out tray on the bottom.
1. Build Pull Out Tray
4a) Build the Frame
Next, I cut 1-½” strips of plywood to make the frame for the pull out tray. I used the same spacer trick on my miter saw to cut the tray front and back to size as well as the sides and inner bracing. Then I clamped the parts down on my bench.
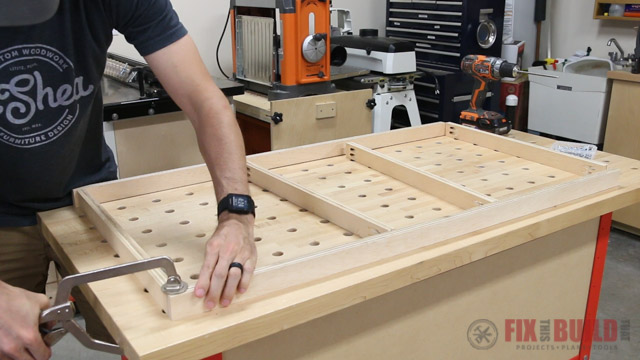
For a clean look I’m using pocket holes on the inside faces of the sides for the tray frame.
Next I assembled the frame with 1-¼” pocket screws. And here is why I said “when possible” before. To get the best connection I’d want the pocket holes on the outside of the frame sides so the screws would be going away from the ends of the front piece. But sometimes design and aesthetics override optimal screw placement.
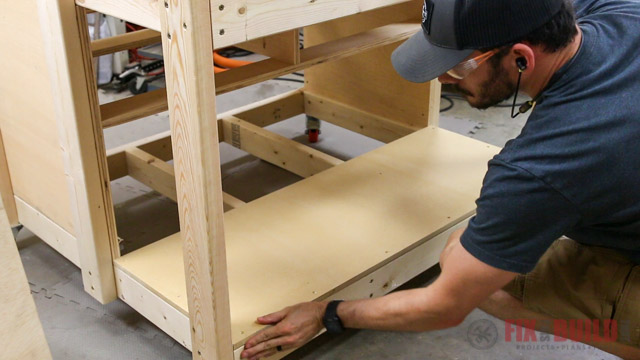
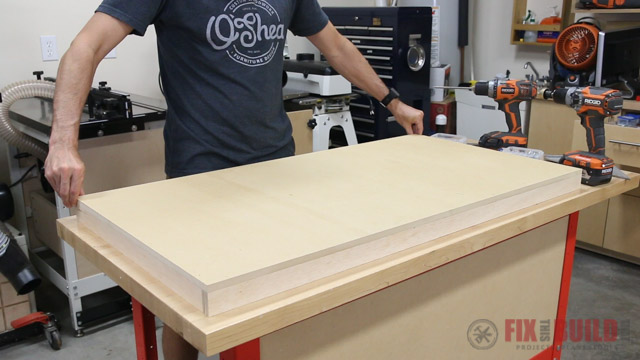
I’ll be using the bottom shelf I took out earlier as the surface for the tray. But first I needed to cut the full size piece off it for the stationary back area.
I measured the distance left behind the drawer cabinet I’d installed and ripped the ½” MDF bottom shelf to size to fit it.
Since it already had countersunk holes in it I just reattached it in place in the same spots. I’ll use this back area to store a dust vacuum and computer for my CNC and also some accessories for my other robot, which is actually a CNC laser.
4b) Attach the Pull Out Drawer
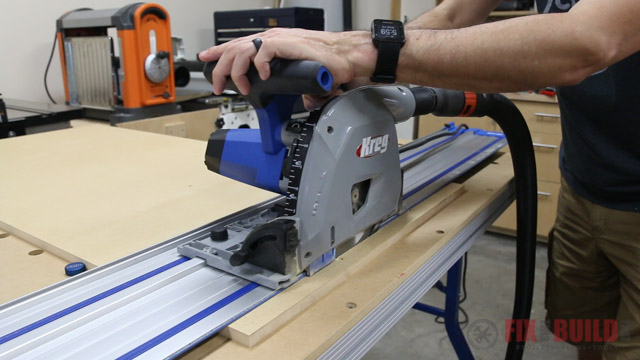
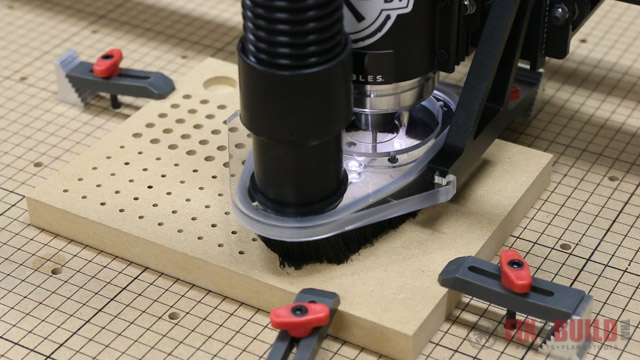
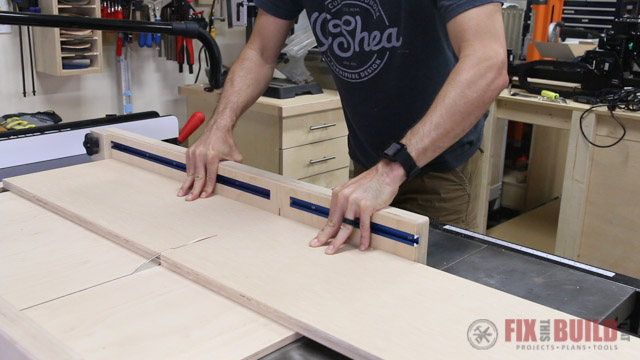
Next I needed to cut the leftover shelf piece to fit the pull out tray. I ripped it to it’s new depth on the table saw, but the panel was too wide for my table saw sled to cut.
This is the perfect spot to use the Kreg Adaptive Cutting System. It’s a new system that combines a track saw and a collapsible workbench with registration dog holes. Basically you can use the track to cut straight lines or set stops 90 degrees to the track to make square cuts on wide panels like this.
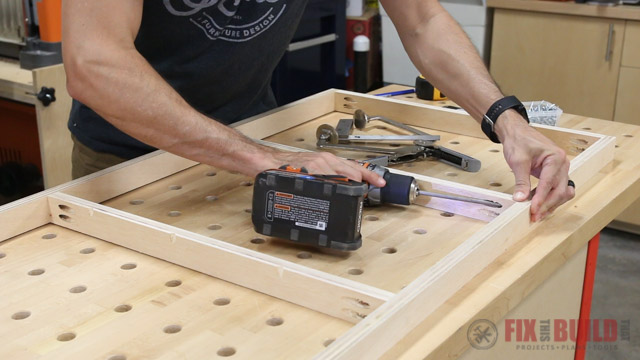
I attached the freshly cut tray top to the frame with 1-¼” screws.
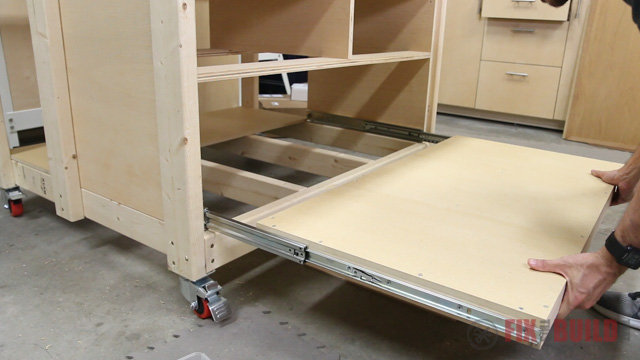
I’m using an Accuride 3607 drawer slide for the bottom tray. It’s got a cool feature that allows the tray to lock in the out position which will be perfect for loading the laser. It installs like any other drawer slide though and I attached it to the sides.
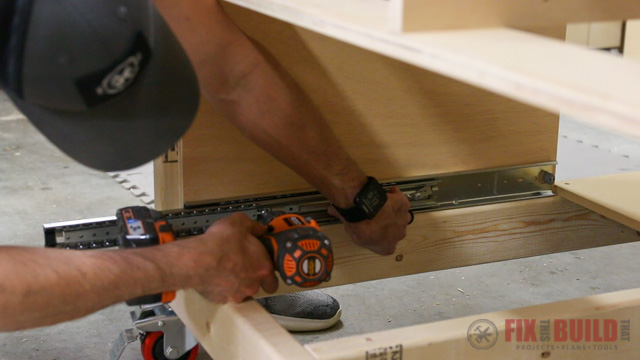
Then I used a ¼” piece of ply as a spacer and put the tray in place and secured it to slides.
5. Build and Install the Drawers
5a) Build the Drawers
Next I started cutting the parts for the drawers. I just have the two shallow drawers on the left and one deep drawer on the right. So I cut parts for six sides and their fronts and backs.
I cut the sides first which I know will be 22” to match my drawer slides. Then I measured the drawer opening to size my fronts and backs. If you use full extension drawer slides they’re typically ½” thick each. So you can take the total drawer opening minus 1” then use the plywood spacer trick on the miter saw to get the exact size for the fronts and backs.
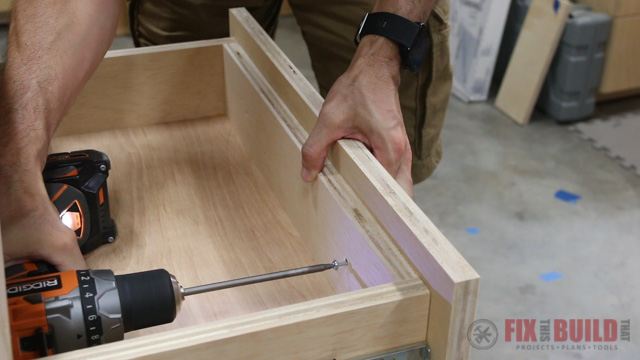
Drawer assembly is pretty straight forward using pocket holes on the fronts and backs. I’ve actually gone to an even easier method than the one I shared in my Easy DIY Drawers post last year.
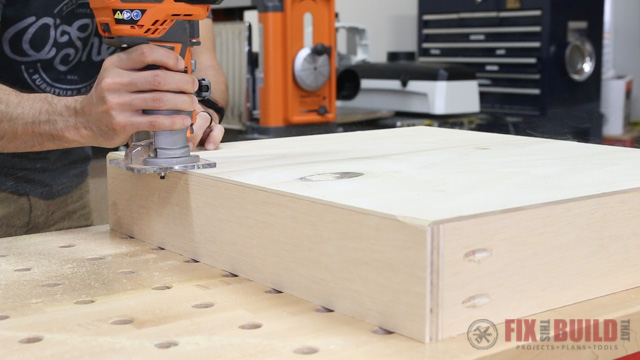
I no longer cut the grooves to hold the bottom panels, but go with a full sized bottom panel that is glued and stapled to the bottom. This approach let’s you square the drawer with the bottom and holds it in place permanently.
Then I use a chamfer bit in my router to hit the sides of the drawers which hides the plywood bottom from sight.
5b) Customize and Install the Drawers
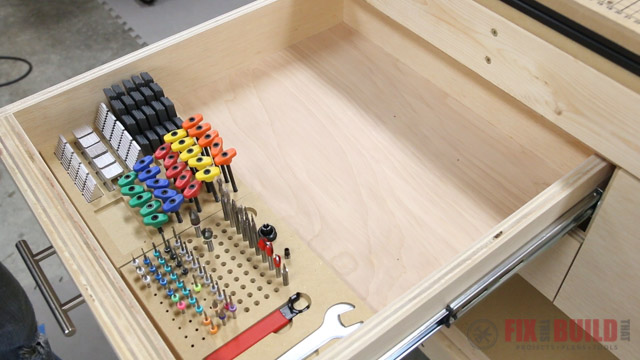
With the drawer boxes made I could get some custom storage going. This table is going to house my new CNC, the X-Carve from Inventables and all the bits and accessories that go with it. So I wanted to break it in by making custom bit and tool holders to contain all those parts.
I jumped into Easel, the Inventables software. There’s a projects section where users can upload designs and I used these to give me a jump start designing my own.
I made a custom tray to fit all the clamps and hold downs on one for all the bits, collets and wrenches. If you don’t have a cnc, you could build drawer storage or get crazy and have felt lined drawers.
Next I installed the drawer slides using wooden spacers to hold them off the bottom rail and then another larger spacer to position the top slides on the left.
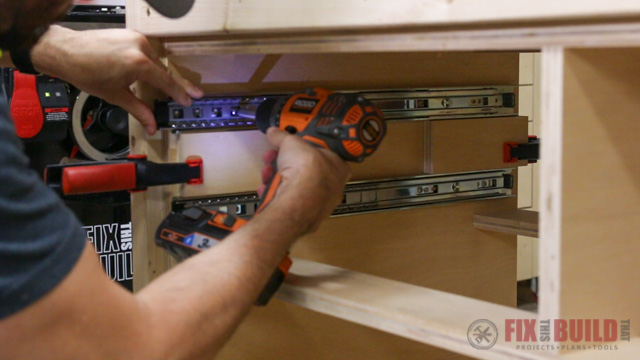
I used the ¼” plywood again for to space the bottom drawer then used 3⁄4” plywood spacers to lift up the second drawer while attaching them.
I installed the deep drawer on the right as a nice complement to the shallow ones. A mix of deep and shallow drawers seems to be the best in my experience vs. all the same size.

One thing to watch out for is slide placement on the center divider. If you don’t offset the slides make sure you use different mounting holes for the screws. This should reduce your shop expletives on this project by at least 10%.
6. Cut and Attach False Drawer Fronts
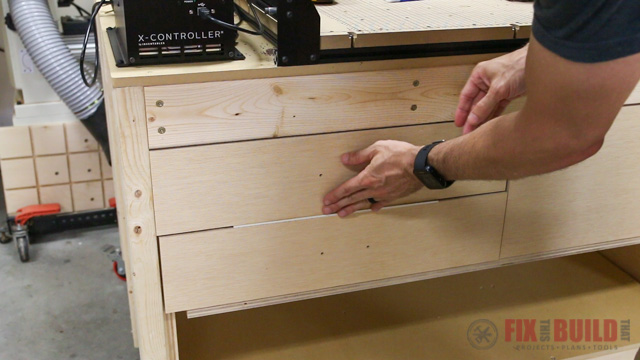
For the false drawer fronts, I’m using a continuous grain piece of plywood. I cut a piece tall enough to fit the vertical opening for the large drawer. Then I used my table saw sled to help me cut the fronts to width.
After that I could rip the shallow side directly in half and the blade kerf gives me the ⅛” reveal between the drawers.
Since there isn’t a spot to rest the fronts on for mounting, I made my own. I just used a 1-½” strip of plywood and screwed it to the underside of the bottom rail. This worked really nicely and saves awkward clamping or using double stick tape.

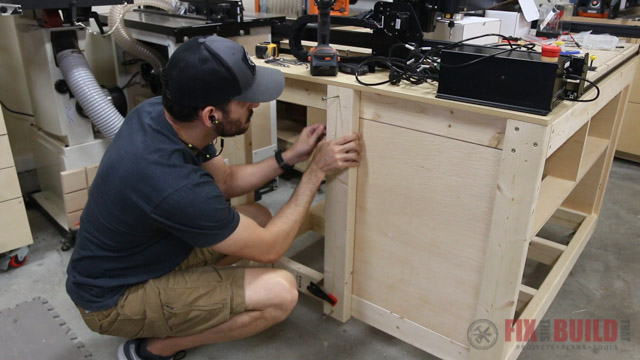
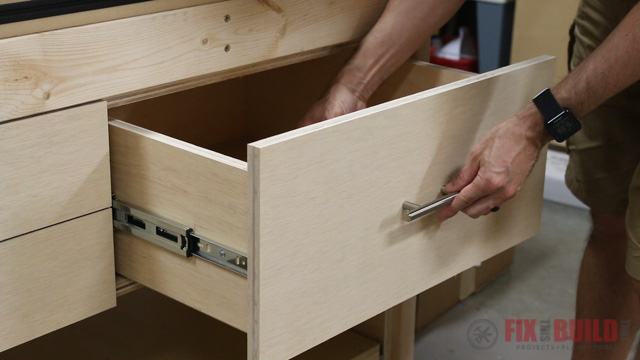
I used a clamp to hold the bottom show front in place since it was easily accessible and secured it through holes I’d drilled in the actual drawer front.
For the top drawer and deep drawer I couldn’t clamp the show front easily, so I drilled the handle holes first and used those to temporarily secure the drawer front to the box.
Now I could pull it out and permanently secure it from the inside and remove the outer screws. So those are two good options for mounting your drawer fronts.
After that it’s simply attaching the drawer hardware to finish them off and you’ve got a bay of drawers in your workbench!
I filled up my custom tool and bit holders and ohhhhh yeah, I think I’m going to like working with a CNC. Having a place for everything and everything in it’s place makes me feel warm and fuzzy inside.
And that’s how I upgraded my workbench with drawers! If you liked this build, be sure to check out my other Shop Projects. I have tons of other projects and plans to help you get your shop organized.
Woodcraft provided me with product and/or monetary compensation as a sponsor of this build. All opinions are my own and are not filtered by the sponsor.


Brad
I don’t see where you measured out the tray or left X” for the drawer slides.
Thank you
Jason
Great next project. Thank you so much. Do you think the bottom tray would accommodate a CNC machine? Dimensions I know..
It could definitely accommodate a smaller CNC. Or get bigger slides and make it a full depth bottom tray