Do you have an ugly small bathroom in your house? A small bathroom remodel is a great way to update one of the most used rooms in your house. Today I’m going to show you how we went from builder basic, to modern and fresh and how you can too.
Tools Used
Materials/Supplies
Affiliate links are used on this page. See my disclosure page for info on affiliate programs.
- Take out bathroom appliances
- Repair and prep walls
- Seal and paint walls
- Install bathroom appliances
1. Take Out Bathroom Appliances
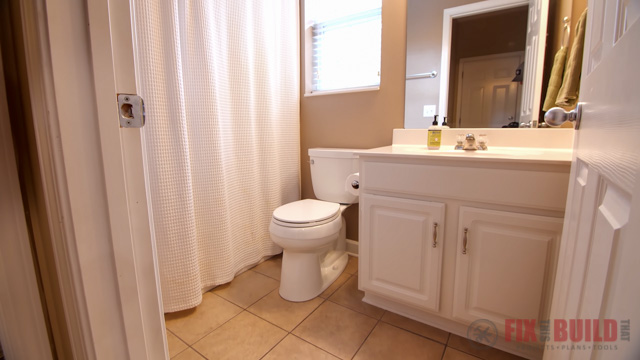
Our small bathroom is on our first floor with basically zero upgrades. It had brown walls, beige tile, a plate mirror, and a mdf vanity with peeling thermofoil. Our plan is to rip everything out of the bathroom, except for the tub, and update the whole look.
Remove Mirror
I started the small bathroom remodel by removing the mirror, which didn’t come out easily. We went slowly and tried to pry it off the wall gently so it wouldn’t crack, but that didn’t work out.
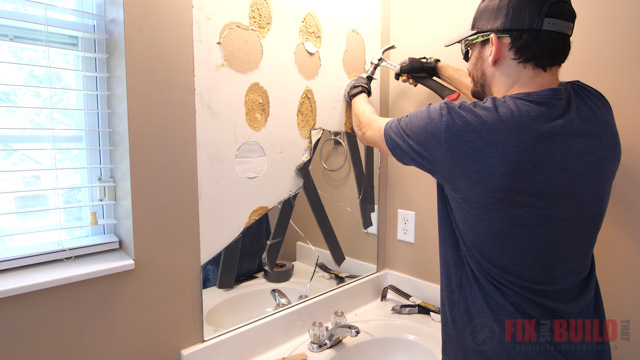
This thing had so much adhesive holding it to the wall, it was impossible to get it out in one piece. That’s no problem though, just make sure you’re wearing safety glasses to protect your eyes from flying shards of glass.
Remove Toilet and Vanity
We’re planning to replace our vanity because it’s in bad shape…
If you’re keeping yours you can leave it in your bathroom. We’re also planning to replace our ugly beige tiles, so the toilet has to come out as well. I shut off the water valves and pulled everything out.
The supply lines for the vanity were on the floor since it’s on an exterior wall. Having them in the wall would have made this job a lot easier, but it’s something you can easily work around.
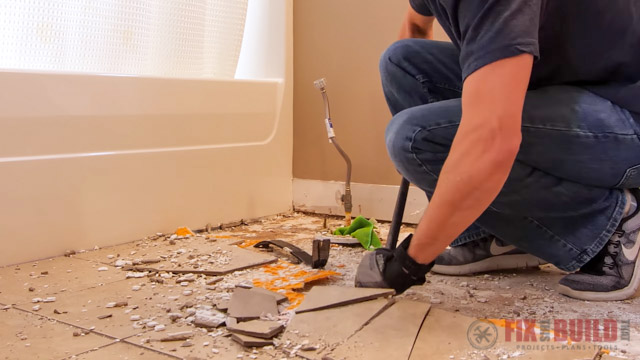
Floor Demo
With everything out of the room I removed the ceramic tile floor with a demo bar. The orange stuff is a type of underlayment membrane called Ditra. It made removing the tiles a lot easier.
Prep Subfloor for Vinyl Plank Flooring
We’re replacing our old tile floor with vinyl plank flooring that looks like large format tile. To get the subfloor ready I did some floor prep and put down underlayment for the vinyl plank flooring.
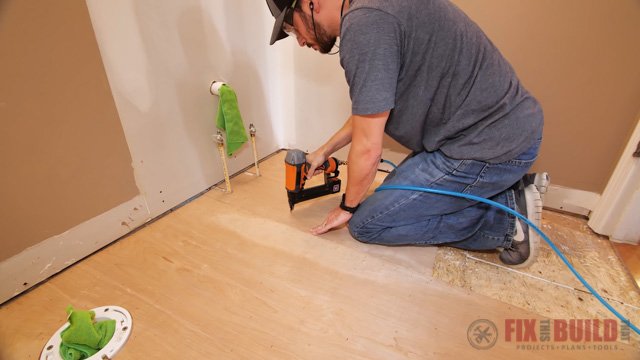
I used the Husky 4.5 Gal. Silent Air Compressor to run the nailer and I’ll talk more about it later when I install the trim. But it’s big on power on light on noise, which is awesome.
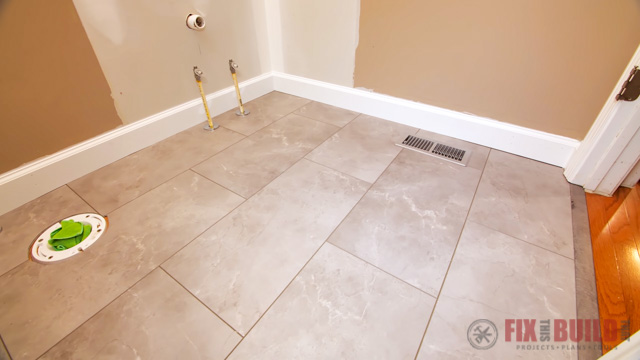
If you want to see how I installed vinyl plank flooring in my bathroom check out the blogpost. I go into detail including working around the toilet flange, up against the tub and making all the cuts needed to work around obstacles.
But the long and short of it is that installing a vinyl plank floor is a very doable job even for beginners and it goes quickly. You don’t need a lot of tools, although a flooring install kit makes things easier. You also don’t have to deal with mixing and applying thinset and grout and that whole mess.

And with proper prep and install you can have a great looking vinyl plank floor that will hold up well in a bathroom.
2. Repair and Prep Walls
I needed to repair the drywall that was damage when I removed my plate mirror. You may run into similar issues if you’re moving plumbing or repairing large holes from a prior fixture, and you can use this same approach.
Mark Drywall to Remove
As you can see the drywall that was holding my plate mirror is really damaged.
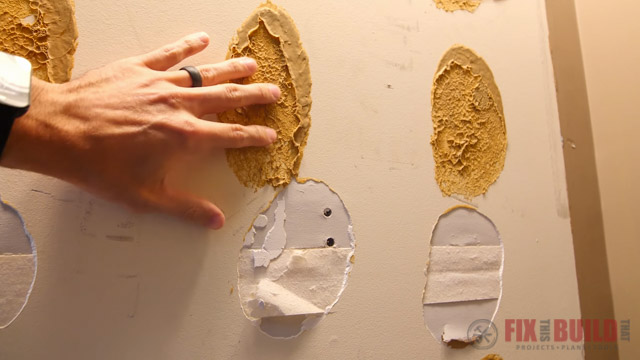
Instead of trying to patch this area I’m going to cut it out, and replace it with a piece of drywall. It will be easier in the long run and should give me a smooth, even surface. This is really important because the new mirror is smaller than the old one and I want the wall behind it to look seamless.
Remove Drywall
After marking out the cut I used an oscillating-tool with a drywall blade followed the lines.
If you remove the screws from the drywall you can take it out in one piece. You can use a magnet to find those hidden screws under the paint and jab your bit into them and back it out.

Cut Replacement Drywall
Now I could take that piece to my shop and quickly cut out the matching patch.
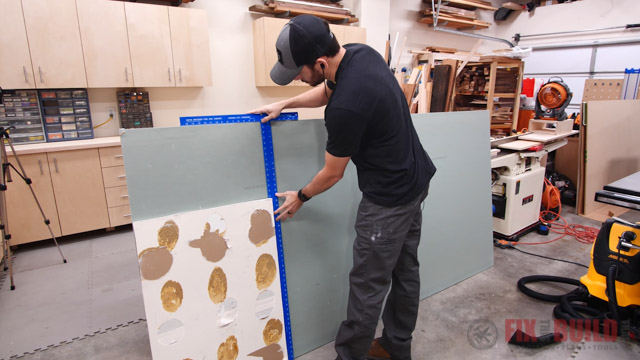
I cut off the beveled edges to avoid a weird transition to the flat drywall and then took it inside.
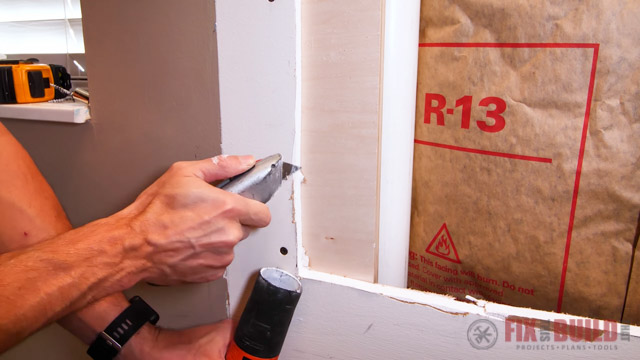
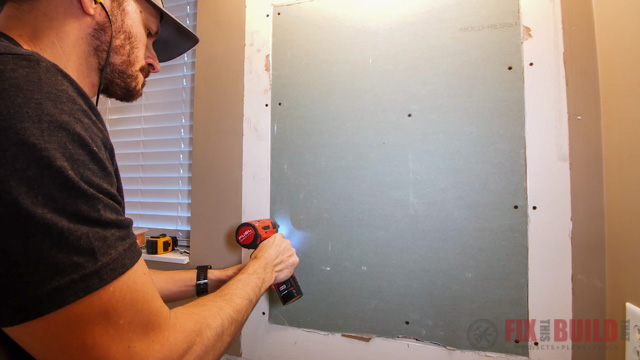
Add Boards to Drywall Opening
When I marked the drywall I planned to remove I intentionally stayed about 1-½” away from the stud. This allows me to clamp a piece of scrap wood behind the drywall and screw the board into the drywall.
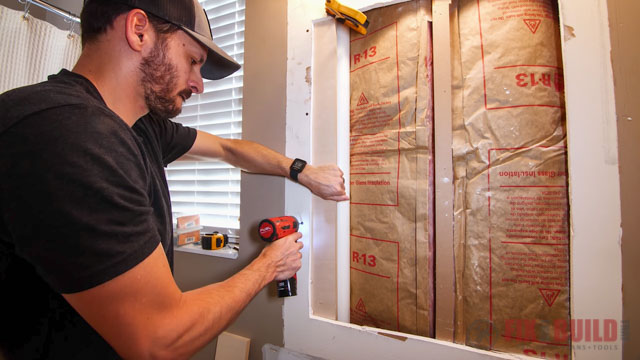
Once I do this on both sides of the opening, I’ll have wood I can screw into to hold the replacement drywall in place. I put a screw about every 6 to 8 inches.
Adjust Replacement Drywall
And before I test fit the piece I put a slight bevel on the outside corner of the drywall with a box cutter to remove any frayed paper.
Of course I never seem to get the fit right on the first try, so I marked the places that were hitting and trimmed them in the shop with the multitool.
A quick adjustment made it fit and I secured the patch with screws into the center stud and the plywood edge supports.
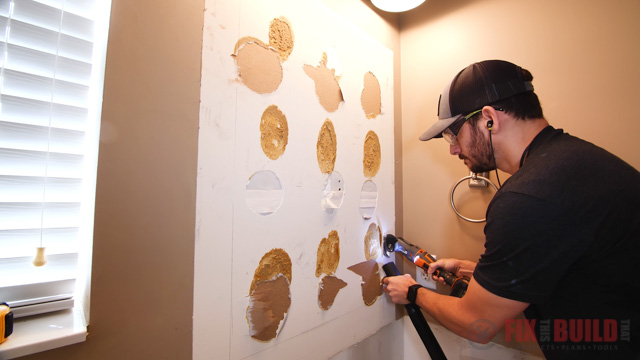
Add Drywall Mud
I put on the first coat of drywall mud and applied tape on the seams. I struggled through 2 more coats with lots of sanding in between and a bunch of touch up at the end. But we eventually got to something passable.
Repair and Prep Walls for Painting
Before getting into painting I wanted to repair and prep the rest of the room. This included filling holes from the shower rod we’re moving up. And sanding down any high spots or imperfections in the wall.
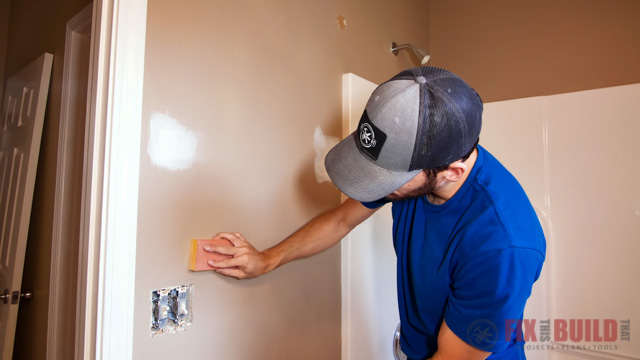
And after sanding down problem areas make sure you wipe down and clean all the walls to get rid of any dust or oils.
3. Seal and Paint Walls
To seal up the drywall mud and fresh drywall we used a latex primer sealer. We also put two coats of the primer everywhere in the room to really cover that brown. This will also help the lighter top coat show its true color.
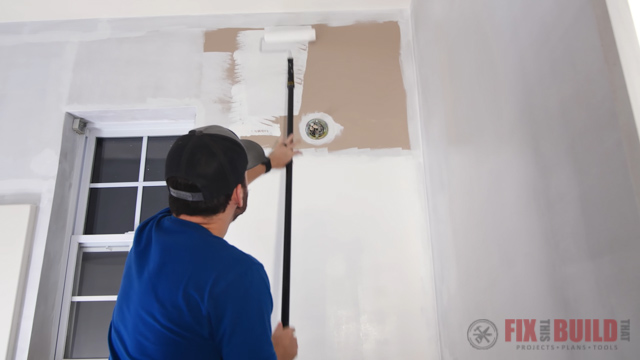
Paint the Room
Finally we were ready to put some color on the walls! We painted two coats of a light grey paint that we thought would complement the rest of the new elements in the room.
4. Install Bathroom Appliances
Add Light Fixture
Next I turned off the breaker and put in the new light fixture. It’s much easier to do it now before you have the cabinet to work around. We picked out a brushed brass fixture with some cool white globes on it for our lighting. We’re really leaning into this whole brass look on this one even if it’s giving me flashbacks to the 80’s when I was growing up.
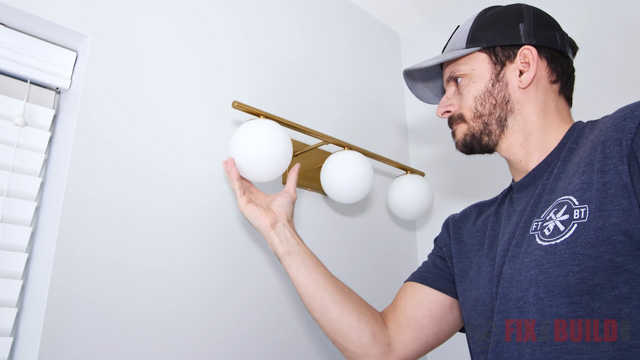
One thing I didn’t realize when I ordered this was the bulbs are G9 sockets. So be wary of the socket setups if you’re ordering online.
Install Vanity
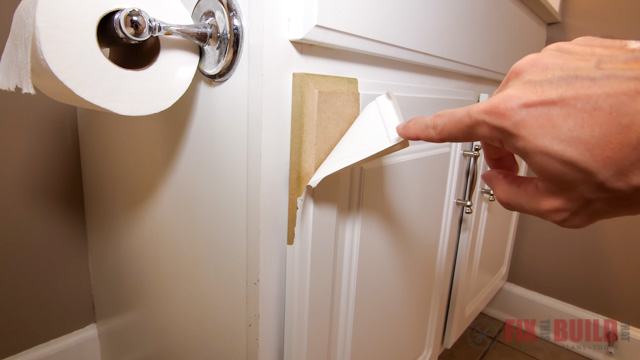
Before I brought the vanity in the bathroom I pulled off the tape on the water supply lines. I put the tape on before mudding and painting to keep any schmutz from falling in there.
I decided to make my own vanity after looking around and not finding anything I liked. Or I’d find a vanity I loved, but it was too expensive. Instead I made my own for less than $300 in materials and it’s exactly what we wanted.
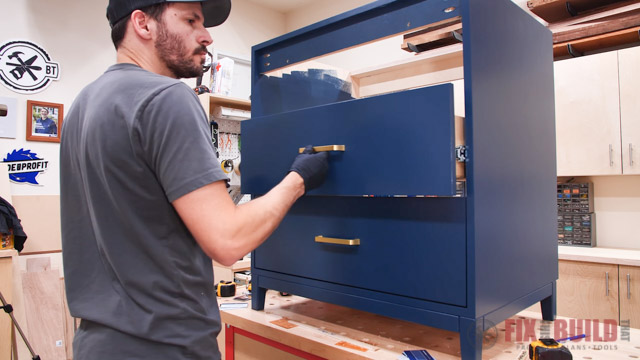
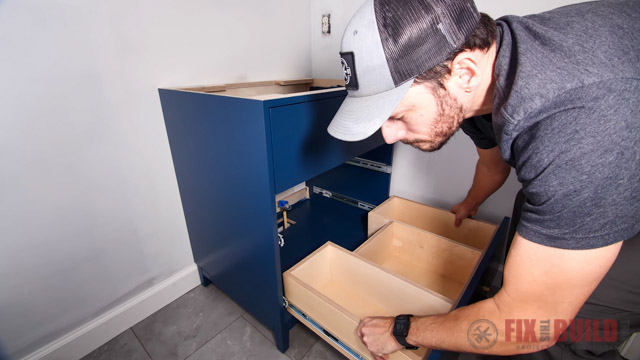
We wanted the cabinet to have drawers instead of doors. That was easy enough, except I had to leave room for our wall-mount pipes. So I decided to build U-shaped drawers.
And as we dropped the vanity in over the pipes I was a little nervous about the fit. But the drawer was perfect and the notches cleared the shutoff valves entirely.
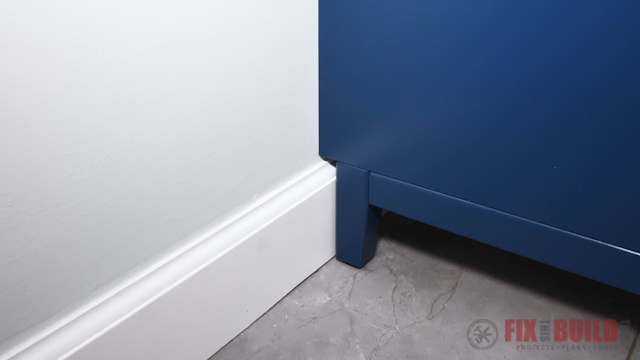
I also made sure to leave an offset on the back feet to clear the baseboards. By doing this you don’t have to do any scribing or baseboard removal during install.
When we installed the vanity we realized the wall fades back into that corner. This meant that when the vanity was pushed against the wall, the cabinet wasn’t parallel with the flooring. To fix this I used some shims in the back to square it up.
Install Sink and Plumbing
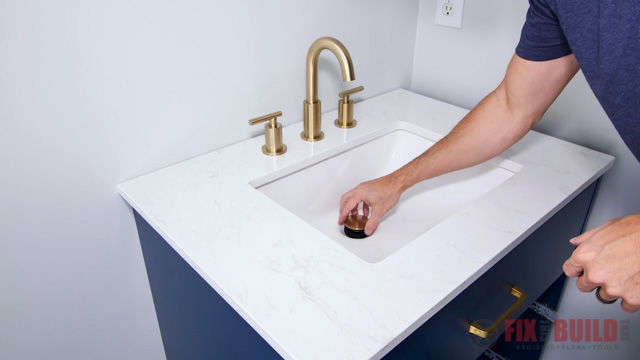
With the vanity secured I installed the sink and plumbing. I love our new modern sink fixture which we got in the brushed brass finish too.
Next I hooked up the supply and drain lines. I was happy to see that the u-shaped drawer slid right in and closed just fine without any interference from the pipes.
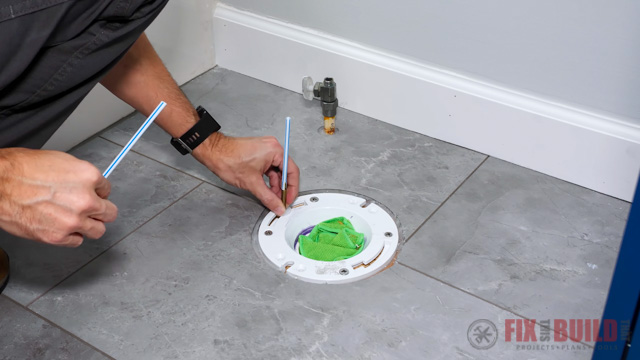
Install Toilet
Now I could install our toilet, which has been sorely missed in our household since I took it out a month ago…whoops.
When installing a toilet it can be tricky to line up the holes in the base with the bolts on the floor. But one way to make it easier is by attaching a plastic straw to the end of each bolt. Then you can use the straws to make sure you’re lined up before you lower the toilet on the base.
I trimmed the closet bolts and hooked up the water to finish it off.
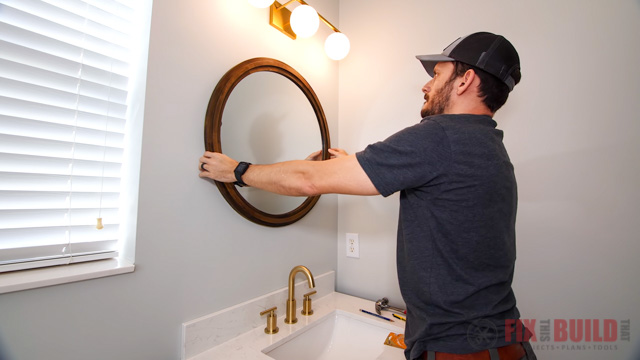
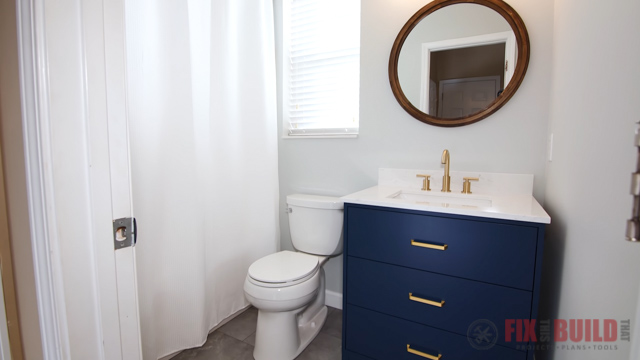
Add Mirror
Next we added a round wooden mirror to the wall which looks great with the vanity. Finally we raised the shower curtain rod and added an extra long shower curtain to give it a more refined feel in there.
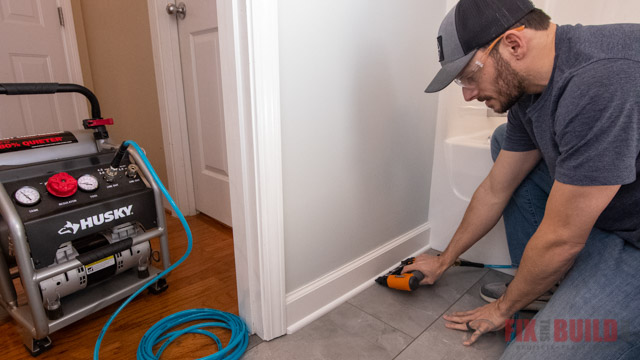
Add Trim
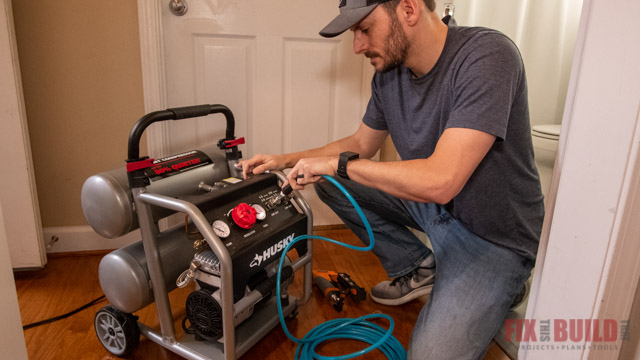
The final touch in our small bathroom remodel was adding new shoe molding. I used my Husky 4.5 Gal. Silent Air Compressor to get the job done. It has silent in the name for a reason; this air compressor stays under 65 dBA. In my case that meant I could quickly add the trim in my bathroom without totally scaring my kids with the noise.
The Husky silent air compressor made this job fast and easy. I cut the trim to length ahead of time and was able to attach everything in short order. And if you have a bigger job to complete, you can get your job done twice as fast. The Husky air compressor has two quick couplers which means you can have two pairs of hand working at once. And with 3.0 SCFM at 90 PSI you’ll have plenty of power to get it done.
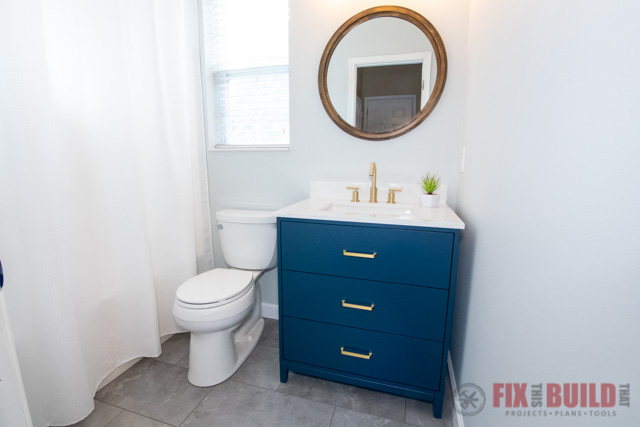
And with that, our small bathroom remodel was done! I’m really happy with this transformation. Our small bathroom has come a long way from the contractor basic small bathroom we started with.
Like this project? Check out my Home DIY Projects for more great ideas.
The Home Depot provided me with product and/or monetary compensation as a sponsor of this build. All opinions are my own and are not filtered by the sponsor.


