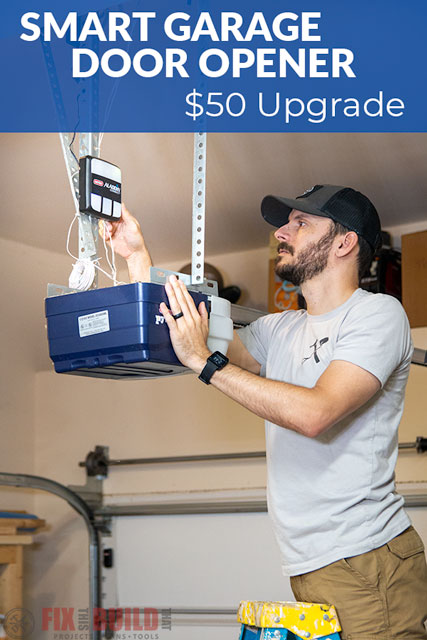
A smart garage door opener is another in the long line of Smart Home options to make your life a little easier. But buying a whole new garage door opener and installing it is an expensive and involved process. So I was very intrigued when Genie asked me to partner with them and check out a device that is only $50 and can be retrofitted onto older openers. Their Aladdin Connect Smart Garage Door Controller can take an old dog and give it new tricks. Aka it can turn your old opener into a smart garage door opener you can control via your phone or even an Alexa (or Google Assistant) integration.
I’ll show you how I installed the Genie Aladdin Connect system as well as some of the features it gives you. So if you’ve been considering upgrading your garage with some Smart Home features keep on reading and see what this is all about!
Tools Used
- Drill
- 3/32″ drill bit
- Wire strippers
Materials/Supplies
Affiliate links are used on this page. See my disclosure page for info on affiliate programs.
Let’s start off with what comes in the package with the Aladdin Connect Garage Door Controller. The box contains:
- Door Control Module (top left)
- Door Position Sensor (top right)
- Power, wiring, and mounting accessories
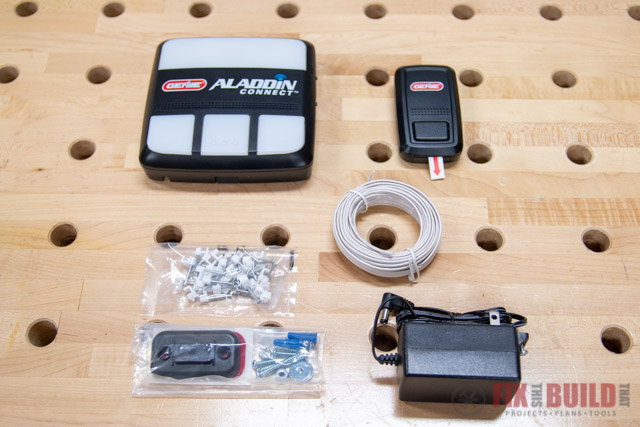
It also includes a nice quick set-up guide that will lead you through the install.
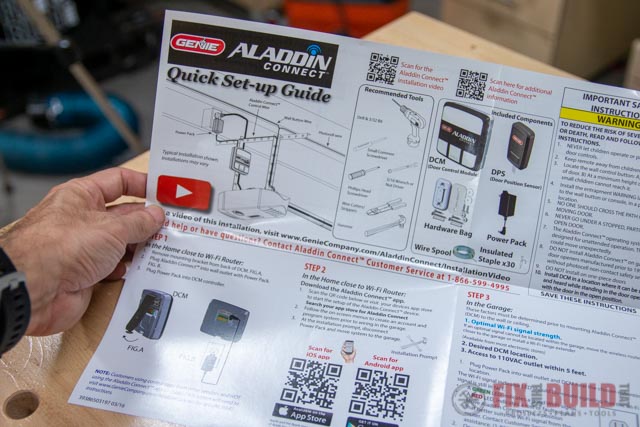
And the nice thing is this will work with a wide variety of garage door openers, not just Genie branded. They have a pdf compatibility guide you can check out here to see if your opener will work. My unit is from a different brand and about 10 years old and it was on the list so full speed ahead!
How to Install Aladdin Connect Smart Garage Door Opener Upgrade
- Setup Door Control Module using Wi-Fi
- Mount Door Control Module Bracket
- Wire and Mount the Aladdin Connect
- Mount and Connect Door Position Sensor
- Test Unit and Set Features
- Setup Alexa Integration
1. Setup Door Control Module Using Wi-Fi
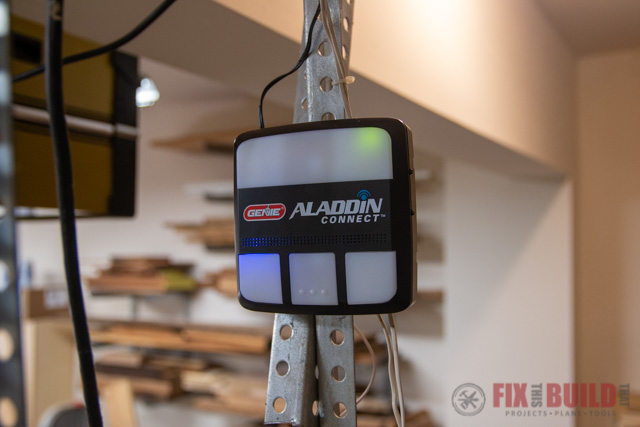
The first step to installing your smart garage door opener upgrade is to connect the Door Control Module (DCM) to your home Wi-Fi. Find a spot near your wireless router for this step. Download the Aladdin Connect app on your phone and create on account. Then plug in the DCM.
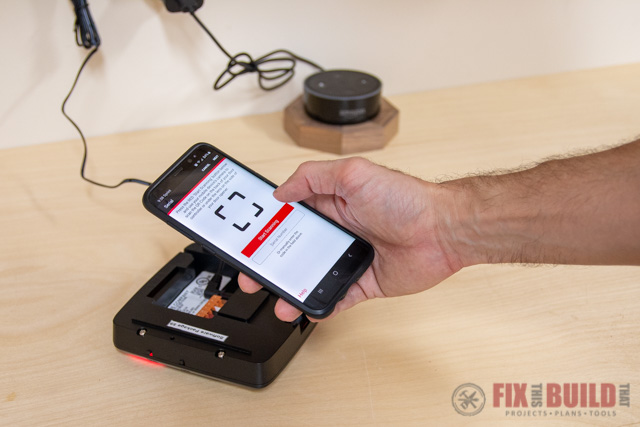
The app makes it super easy to get going. You just scan the QR code on the back on the DCM and it will kick off the setup. I followed the menus on the screens and got the Wi-Fi connected which turned the light on the top right of the unit green. This is an easy indicator to know if you’ve connected properly.
2. Mount Door Control Module Bracket
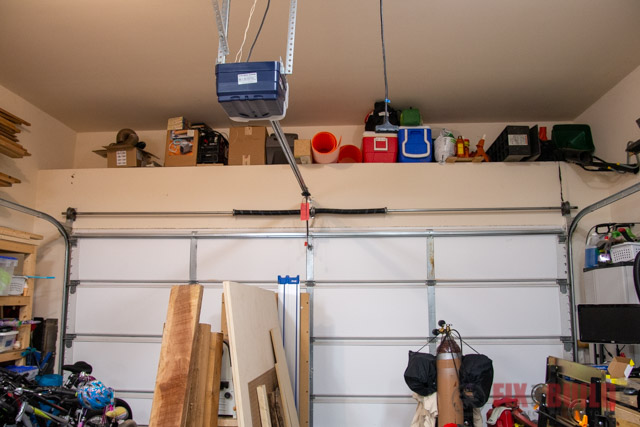
Now that the DCM is connected to your network you can find a spot to mount it. It needs to have power within 5 feet of it so keep that in mind. A popular spot to put it, and where I put mine, is on the metal supports holding my garage door opener. The power is already there and it’s a great spot.
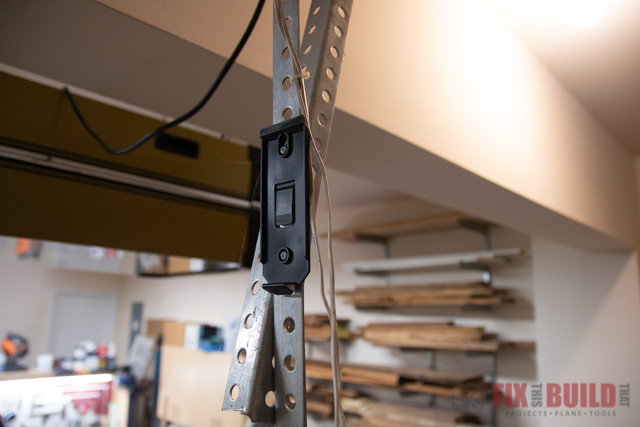
I used the included mounting hardware and bolted the bracket onto a metal support arm.
3. Wire and Mount the Aladdin Connect DCM
There are two different wiring options for the DCM. You can wire it through the actual garage door opener or through the back wall control pad. Since I’m mounting it right above the opener it was an obvious choice to wire it direct.
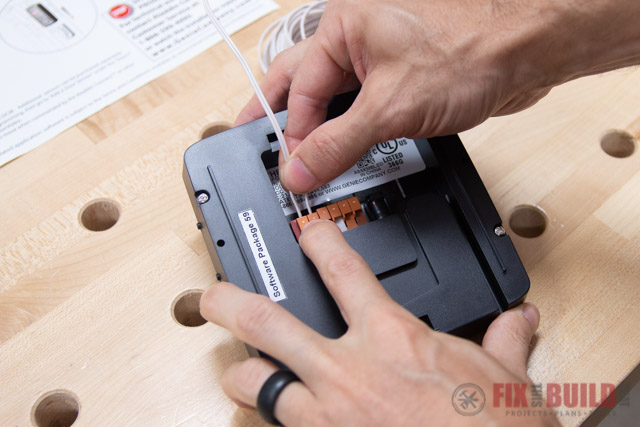
I started by unplugging the opener to kill the power. Then I stripped the ends of the wire spool and connected one end to the back of the DCM. You’ll notice 3 pairs of wire terminals. You can wire up to 3 separate garage doors with this one unit.
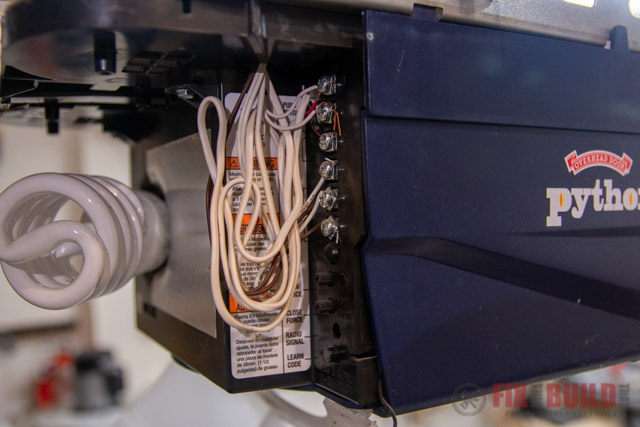
The other end of the wire goes right into the opener in the same spot the wired open/close button goes in. You may need to download the user manual for your specific unit to see exactly where the wires go. Mine went on the top two screws where you can see the thin white wire.
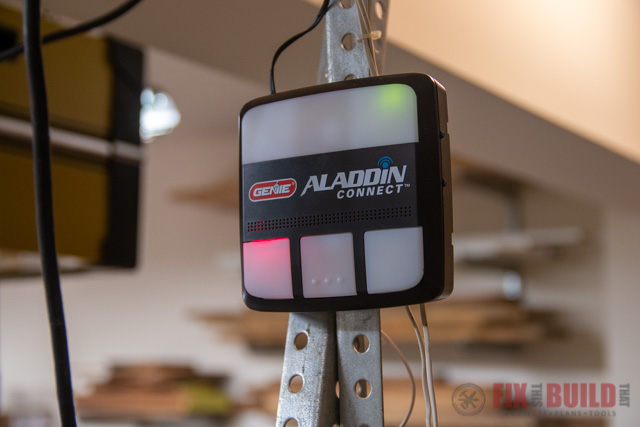
With the wires connected you can plug in the power adapter, connect it to the DCM and set it on the mount. Turn the power back on and you should see the lights come back on.
4. Mount and Connect Door Position Sensor
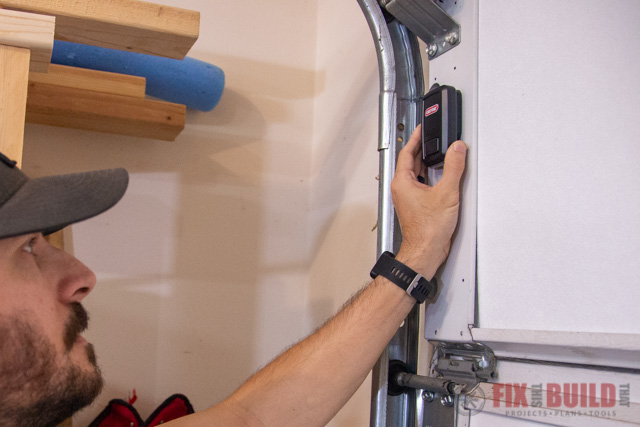
You’ll notice the light on the door 1 button is red. Now we need to mount the door position sensor to fix this. The door position sensor (DPS) is the last key to your smart garage door opener system. It gets mounted on the top section of one side of the garage door.

Using the included double sided tape and self tapping screws makes the install easy. You just need a 3/32″ drill bit to predrill the holes. Then you can put the sensor on the bracket.
The DPS is connected to the DCM simply by holding down the door 1 button on the DCM to enter pairing mode. Then the same is done on the DPS until it connects. When the DPS connects the light on door 1 will turn blue.
5. Test Unit and Set Smart Garage Door Opener Features
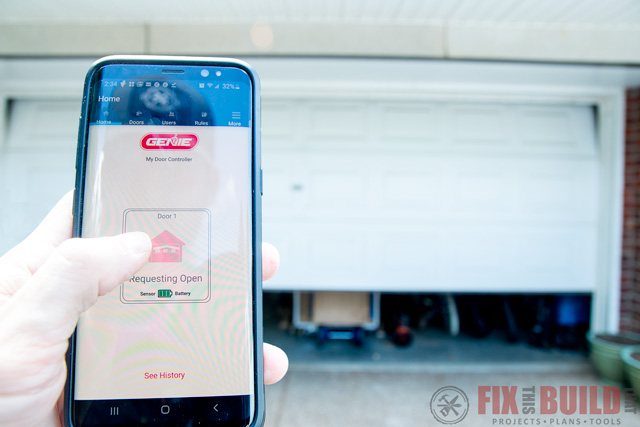
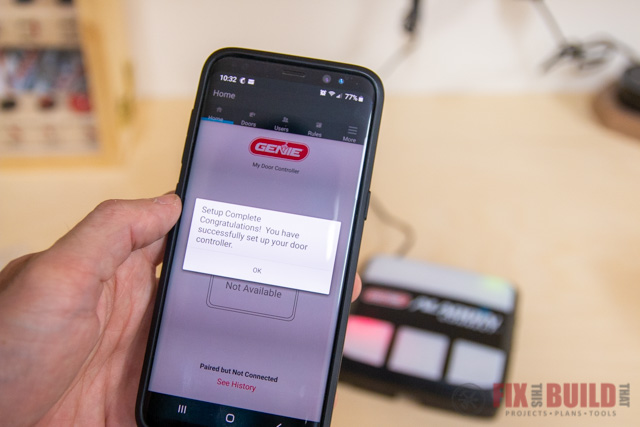
The install is done, and now you can confirm the setup in the app and do other feature programming. Of course the first thing I did was go outside and see if it really worked. Spoiler, it did!
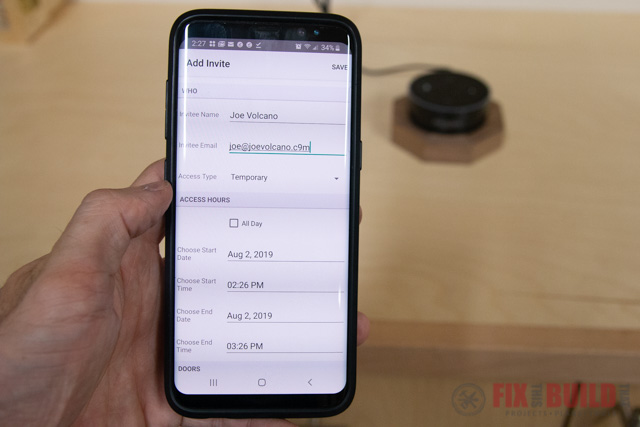
Let me show you some of the other features that I think are pretty cool. The first is the Users section. You can setup and invite different users to have access to your garage door opener. But the cool part is you can totally customize it. If Joe Volcano is coming over to fix the water heater in the garage you can set a custom time where they can gain access via the app. When he downloads the app and accepts the invite he’ll have access between 2:26p and 3:36p only on August 2nd. You can also give full access or recurring access for specific times.
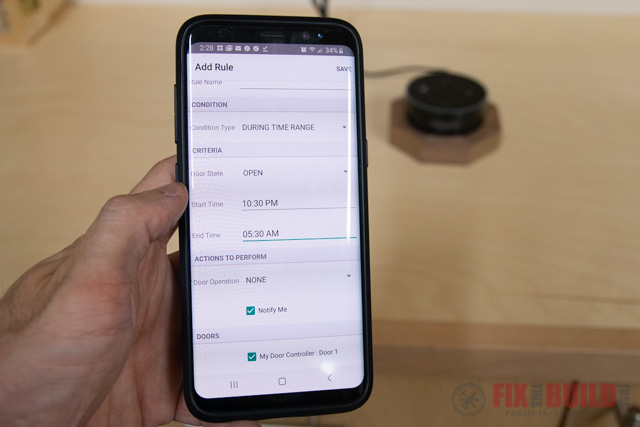
The other feature I think is pretty neat is the Rules section. You can set rules to open or close the door after certain conditions are met. I really like the idea of setting one up to close the garage door at 10pm every night. That way if one of the kids leaves it up accidentally I’ll know it won’t be open all night. This will be a huge peace of mind benefit for a lot of parents. If you leave the kids with a sitter for the weekend you’ll know the garage will get shut whether they remember to close it or not.
There is also a screen that will let you review the status and history of each door. So you can see when it was opened and closed and who opened it (if it was opened via app). Those are some of the convenient features that make it attractive.
6. Setup Alexa Integration
Now what would any smart garage door opener be without having some voice control features? Well you’re covered on that front too. The Aladdin Connect can be hooked up through Google Assistant or Alexa. I set up mine through Alexa using the Aladdin Connect Skill.
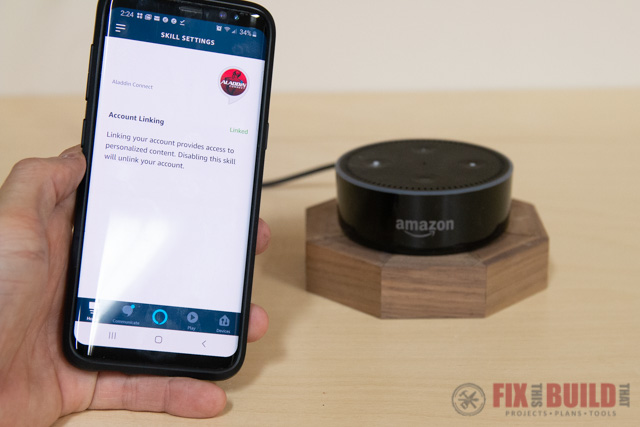
Using Alexa for voice control you can open and close the doors. A pin is required to do either initially, but can easily be disabled/shut-off after that if you want ease of use vs more security. You can also check the status of the doors. For example, to ask Alexa the status of the garage door. I can say “Alexa, ask Aladdin Connect if door 1 is open or closed”.
Honestly I probably won’t use these much as I typically have my phone on me. But if it’s charging and I’m feeling extra lazy I will probably give it a whirl 🙂
Wrap Up
I hope you enjoyed this overview of the Genie Aladdin Connect system. It’s really cool to know you can upgrade that old unit to a smart garage door opener so quickly. And at $50 it beats buying a whole new opener!
If you want to see more ways to incorporate Smart Home products in your life go check out my other Smart Home posts.
GENIE provided me with product and/or monetary compensation as a sponsor of this build. All opinions are my own and are not filtered by the sponsor.


