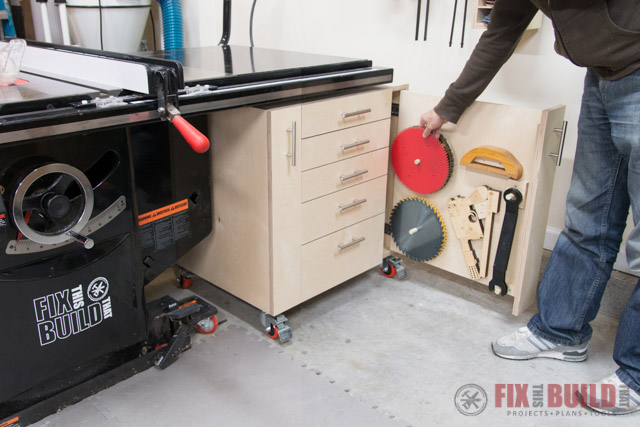
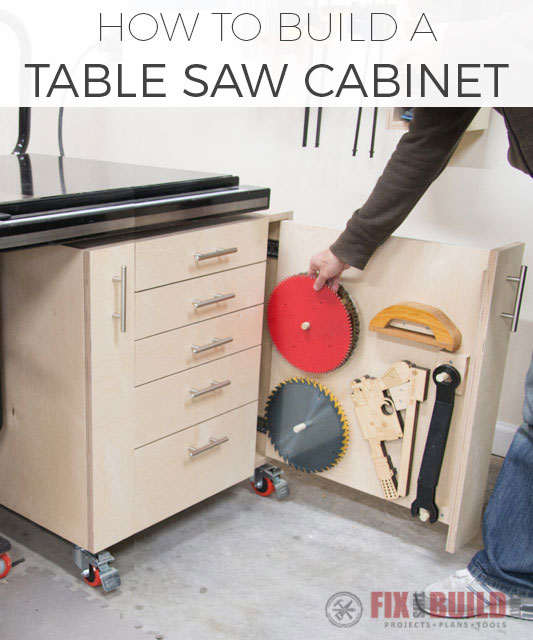
This Table Saw Storage Cabinet is the perfect addition to organize all your accessories for your tablesaw. I built mine to organize my shop and get all the stuff off the floor that had been piling up for years with no have. The table saw cabinet has five drawers and two sliding panels which give tons of storage options. The cabinet is 28” wide, 23-3/4” deep and stands 30-1/2” tall with casters installed. I have plans available for the build and full video tutorial below.
The table saw cabinet is built with 3/4″ plywood and pocket hole joinery. I used a lot of different jigs from Kreg Tool who sponsored today’s build and I love their products. They make assembly quick and easy letting you get done and move on to the next project!
Materials/Supplies
- (2) 4′ x 8′ 3/4″ Plywood
- (1) 4′ x 8’ 1/4″ Plywood
- (7) 22″ Drawer Slides
- 1-1/4” Pocket Hole Screws
- 1-1/4″ Wood screws
- (7) Drawer Pulls
- (4) 3″ casters
Affiliate links are used on this page. See my disclosure page for info on affiliate programs.


How to Build a Table Saw Cabinet
- Build the cabinet carcass
- Install the sliding panels
- Build the cabinet drawers
- Mount the cabinet drawers
- Cut and install the drawer fronts
- Install cabinet hardware and casters
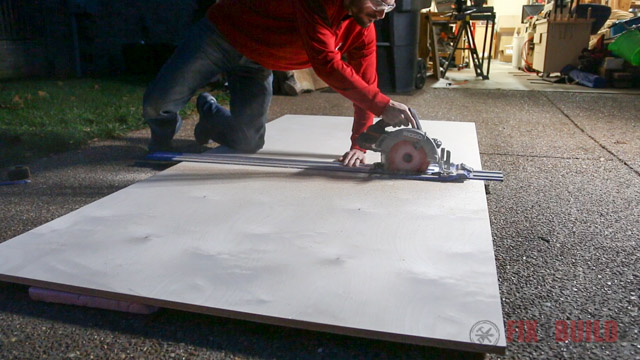
1. Build the Table Saw Cabinet Carcass
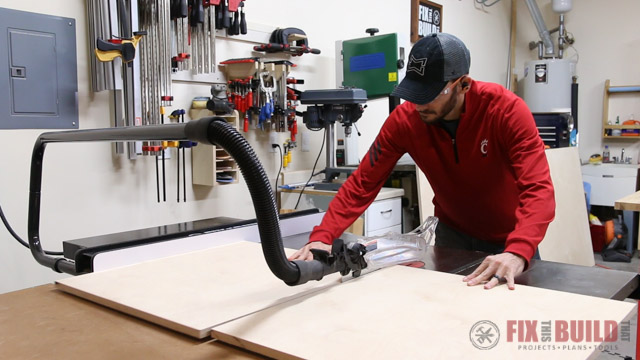
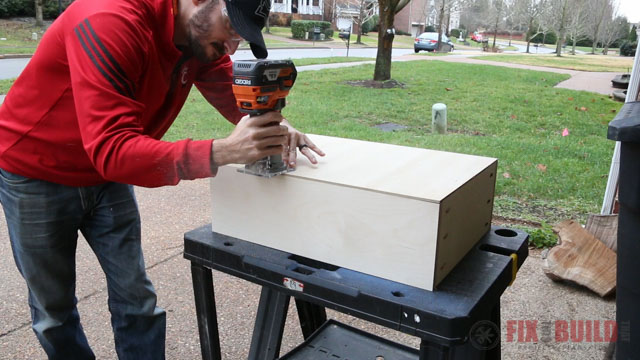
I started by breaking down the full sheets of plywood to a manageable size in my driveway using the Kreg Accu-Cut track and my cordless circular saw. It works especially well on cold nights under spot lights so your neighbors can wonder what the heck you are up to this time.
Like most of my shop projects, I’m using pocket hole joinery for most of the table saw cabinet assembly. I cut down the top, bottom and sides to size per my table saw cabinet plans and drilled pocket holes in the underside of the top and bottom panels using my K4 jig.
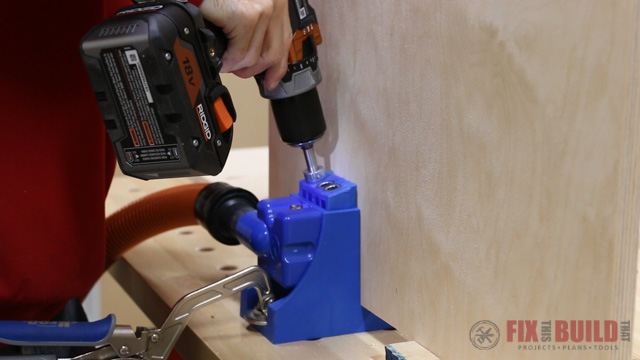
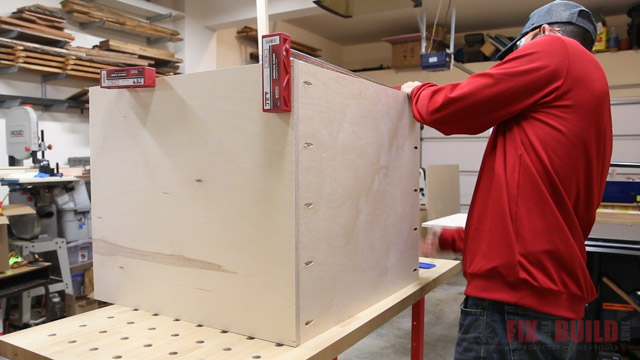
Next I joined the top to the sides using 1-¼” pocket screws for these joints and the rest of the project. I used some long clamps to hold everything in place. You could also use another clamp in the middle if you have extra one.
2. Install the Table Saw Cabinet Sliding Panels
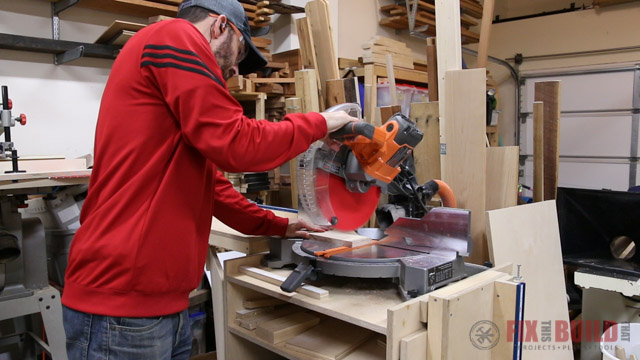
This DIY table saw cabinet has vertical sliding panels on the outside with five drawers in the middle. I started by cutting the sliding panels to size on the table saw, then cut four vertical dividers to width. Then I trimmed the dividers to size on my miter saw to match the actual opening of the cabinet.
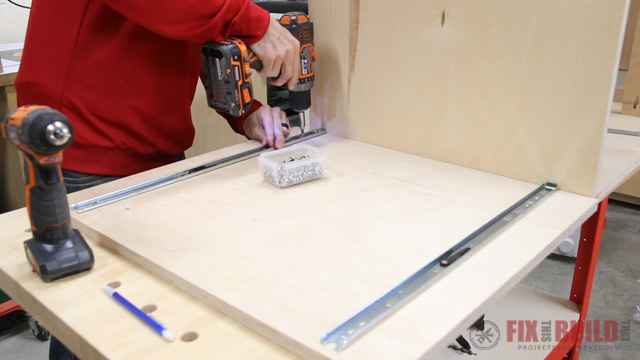
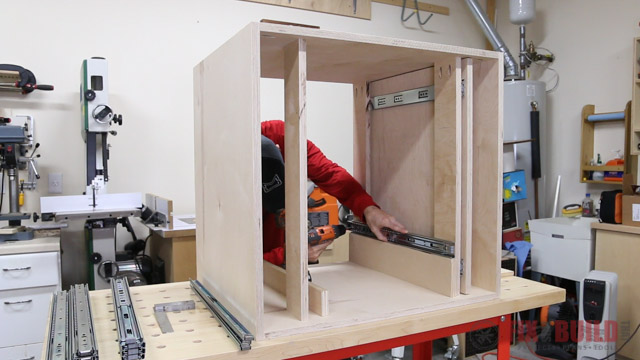
I drilled pocket holes in the ends of the dividers to attach them to the top and bottom of the table saw cabinet. The left sliding panel is attached to the dividers. Since the sliding panel opening is so narrow, I had to mount the slides to the dividers before attaching them to the cabinet.
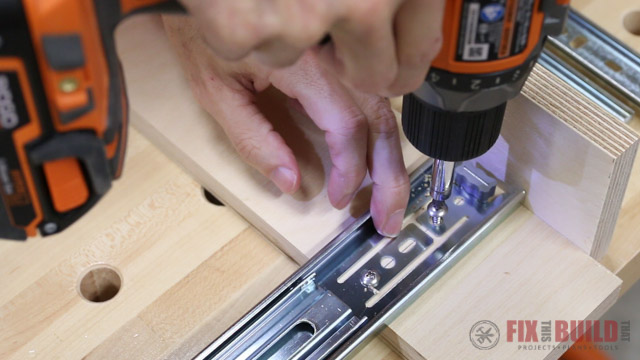
I measured up from the bottom and marked a line for the top and bottom slide on each divider. Then I took apart the drawer slides and mounted the stationary part to the dividers. I predrilled and used ⅝” panhead screws to attach them in two spots to each divider.
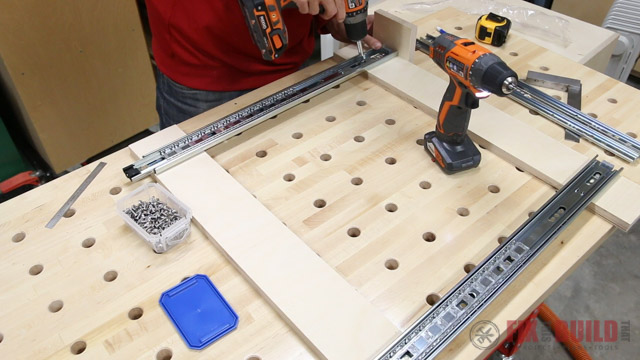
To get them lined up properly I centered the line I drew in the mounting holes on the drawer slide. I used a 1/16” set back on the front of the slides and mounted the back of the slides flush with the back of the divider using a scrap of wood for reference.
Next I mounted the dividers from the front of the table saw cabinet. I lined up the front divider with the front face of the cabinet and used a small spacer block to get consistent spacing from the side of the cabinet. The back divider stands off a bit from the back of the cabinet when installed.

I laid out lines for the sliding pieces of the drawer slides on the sliding panel. Then I just subtracted 1/8” from what I used on the dividers for clearance on the bottom. I predrilled and attached the slides as before, centering the line in the mounting slots. Here I also used the side of the table saw cabinet to reference the slide against the front of the panel.
I lined up the panel and pushed it into the drawer slides and I was slightly surprised to see it fit perfectly on the first go!

The sliding panel on the right side is mounted directly to the side of the DIY table saw cabinet which makes install a lot easier. I flipped the cabinet on its side and laid out the lines for the slide just as before and then predrilled and screwed them in place.
Next I flipped the table saw cabinet back right side up and installed the dividers for this side. I used the same spacer block technique and attached the front divider to the top and bottom flush with the front face. For the back divider I marked a line on the cabinet the same distance as the other back divider and screwed it in place. If you’re a little off front to back on this one it’s not a big deal.
3. Build the DIY Table Saw Cabinet Drawers
Next it was time to show how to make cabinet drawers. I cut the sides for the drawers to length, and left the fronts and backs a little long. Then I ripped all the parts to the final drawer heights. When making cabinet drawers I always use referential measurements for the fronts and backs. I measured the drawer opening then subtracted 1” for the drawer slides.
My Mobile Miter Saw Station is perfect for cutting the drawers to consistent sizes. I set my miter saw stop to this drawer opening minus 1″ which will be the total width of the drawer. Then I use two scraps of the plywood I’m using to represent the sides of the drawers. Cutting the fronts and backs using this method gives me the perfect sizing without having to measure and calculate the fractions for the undersized plywood.
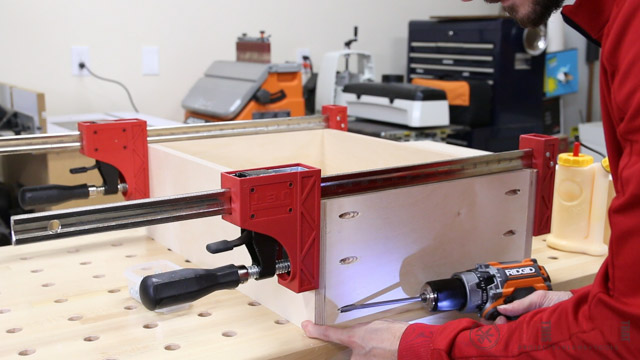
I’m using the quickest and easiest drawer construction method I’ve found for these drawers. First I drill pocket holes in all the fronts and backs. These holes are on the outside of the parts and won’t be seen once assembled. Then I put glue on the sides of the drawers then square them up and clamp them to the front and back. I screwed the sides in place on each drawer then put them to the side and batch out the rest of them.
I cut the drawer bottoms to the exact size of the drawers using ¼” plywood. These drawers will hold fairly light items so ¼” is fine. If I was going over 25 or 30 pounds I’d switch to a ½” plywood bottom. I flip the drawers upside down then apply a bead of glue all around the perimeter. Then I line up the bottom panel with the front of the drawer making sure it’s flush on the sides as well. I secure the front of the panel with brad nails.
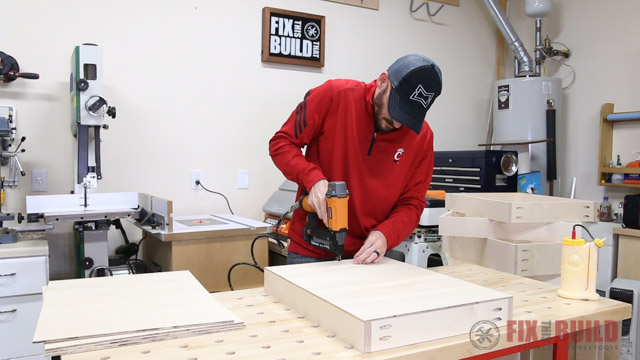
Then I use a machinist square on the back outside corner of the drawer and pull the drawer into square. I nail the back in place and now the drawer is locked square. I finish off the sides with brad nails as well, making sure to keep the nails away from the edge for the next step.
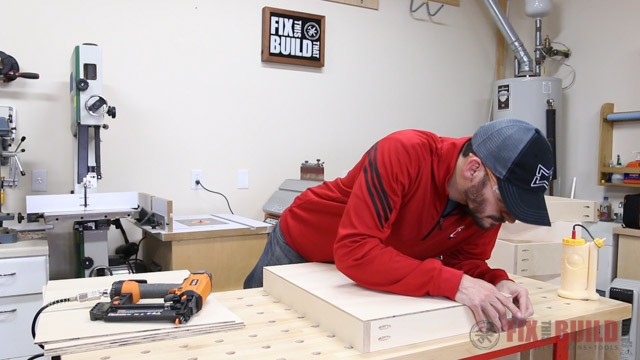
The final step is to bevel the bottom of the plywood with a chamfer bit in my router. I set the bit to just remove the ¼” plywood. This is purely for looks. The bevel makes the plywood bottom disappear from view and you have a solid easy to make drawer that looks great.
4. Mount the Table Saw Cabinet Drawers
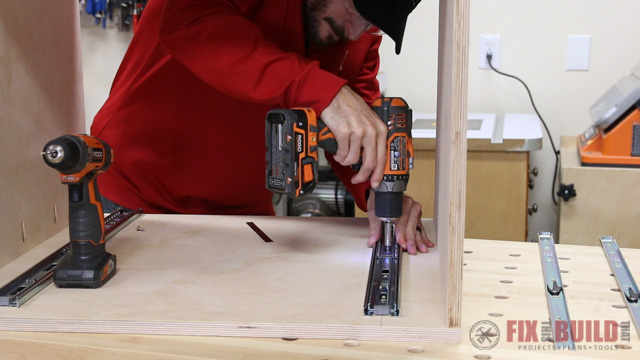
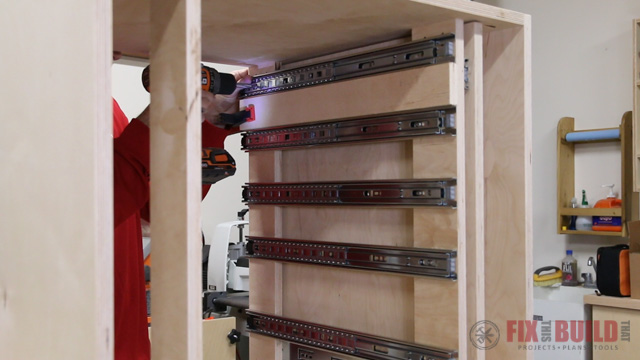
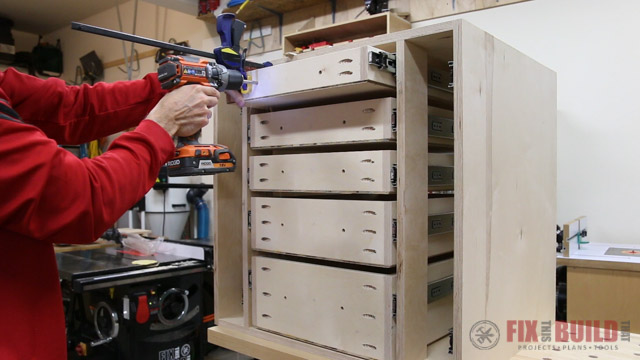
With the drawers done I started installing the drawer slides in the table saw cabinet. I start by using a large spacer to position the bottom drawer slide. Then I predrilled and attached it with screws just like before. Using the referential measurement idea, I stack the spacer on top of the drawer slide and install the next slide. Clamping the spacer in place with a quick clamp keeps it nice and steady so it won’t fall while you’re trying to screw the slide in place. I learned that one from experience.
After the bottom two drawer slides I switched over to a smaller spacer for the top three slides. When the drawer slides are spaced this tightly together using the spacers really work well. I repeat the process for the other side as well.
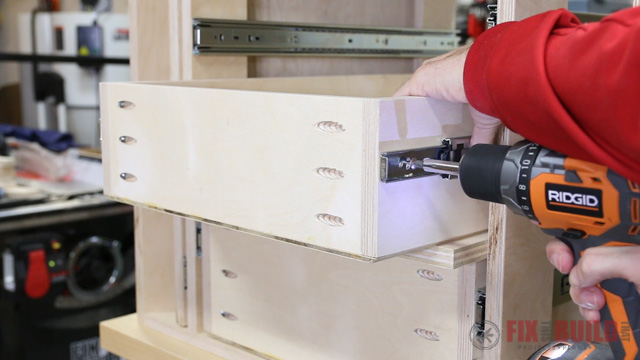
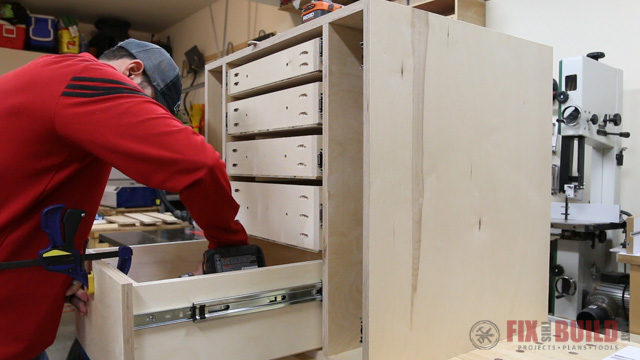
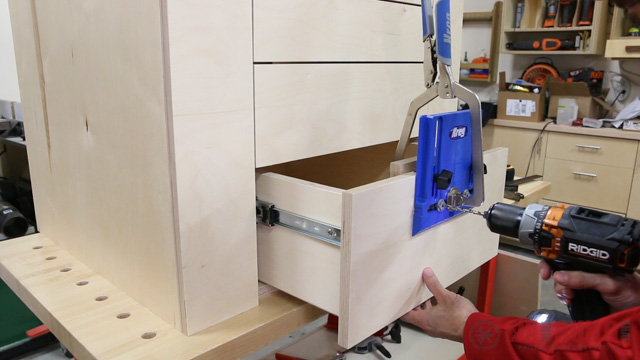
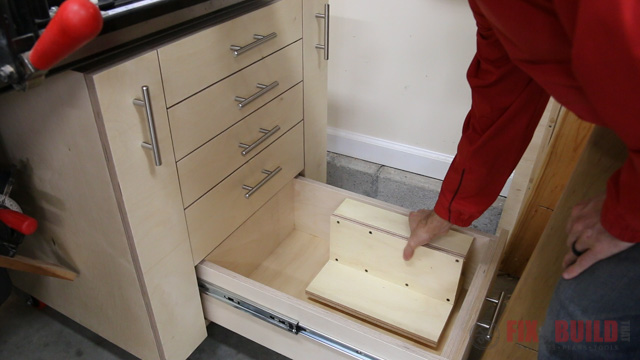
To mount the drawers I started off with a ¼” plywood spacer on the bottom to hold the bottom drawer off the cabinet. I pulled the slides out flush with the front of the drawer using a scrap block of wood then secured the slides to the drawer in two spots on each side. This locks the slides in place and I removed the drawer and put a third screw in the back mounting holes to secure the slide.
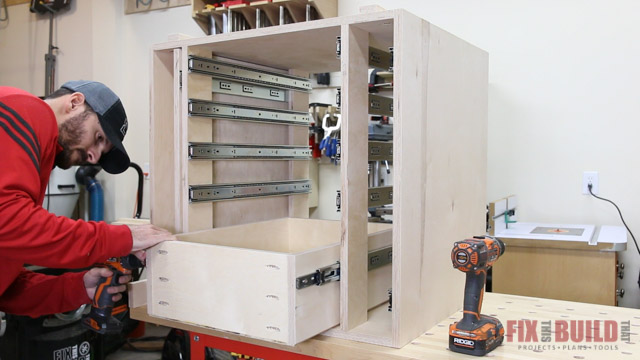
Each drawer is spaced ¾” from the next one and I just use the same spacers from before laid flat on top of the lower drawer to position each following drawer. Some planning on the front end makes drawer install on the table saw cabinet a lot faster and less hectic than it can be.
5. Cut and Install the Table Saw Cabinet Drawer Fronts
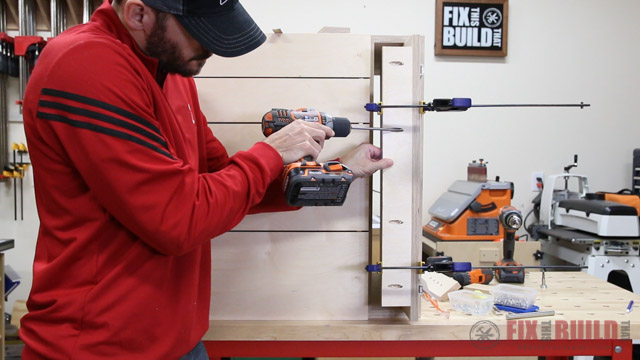
False drawer fronts will finish off the front of the table saw cabinet cabinet nicely. I’m using a single panel of plywood to get a continuous grain look. I cut the panel to size then cut off the left and right vertical fronts. Then I cut each drawer front to size. This approach also gives you a built in ⅛” reveal between all the pieces from the blade kerf. I started with the drawers and drilled two oversized holes in the front of each drawer.
Starting at the bottom I attached the drawer front with two screws from inside the drawer. The oversized holes allow for a little bit of adjustment to get the reveals right when all the drawers are installed. To get a standard reveal between each drawer front I used a ⅛” spacer laid on top of the drawer front beneath it. I repeated this process all the way up the DIY table saw cabinet.
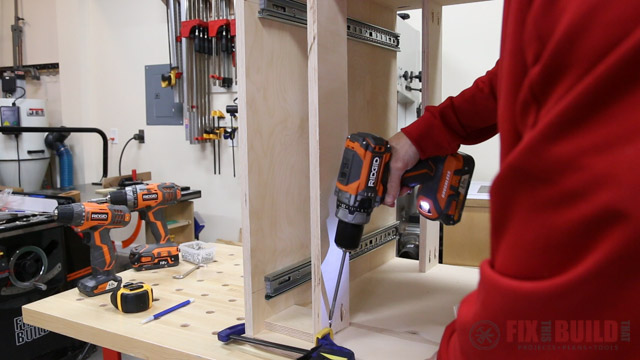
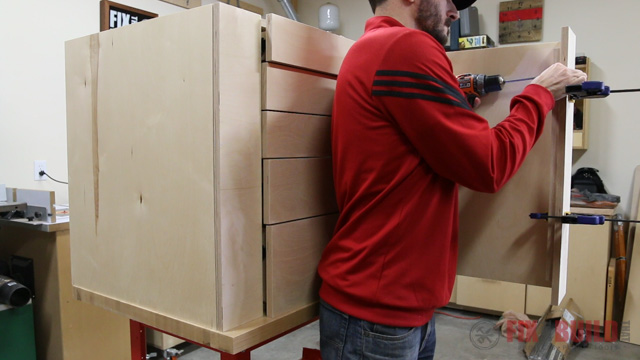
Instead of just pocket screwing the vertical fronts to the sliding panels I cut a small front piece and pocket screwed that at a right angle to the sliding panel. This gave me a large reference surface to mount the false front.
I drilled oversized holes in the front piece and attach the front with screws from the inside. I repeated the same process on the right side and attached a front piece and then the false front. It was a little tricky clamping it in place and getting the proper reveal, but using the outside edge for reference made it easier.
6. Install Table Saw Cabinet Back and Hardware
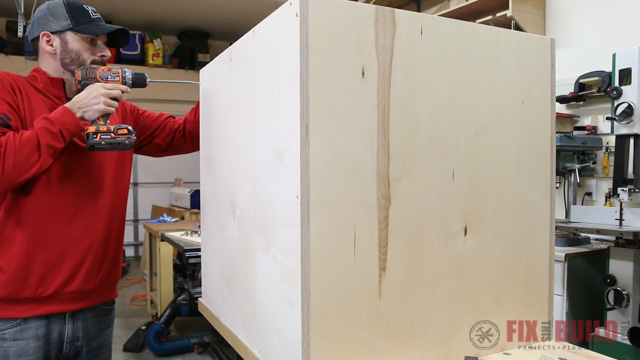
At this point I flipped the table saw cabinet around and installed a full ¾” back. The thick back let’s you square up the cabinet and lock it square. But what I should have done was install the back after mounting the drawers and before putting on the drawer fronts. The cabinet was racked a little so I had to adjust all the fronts a little after putting on the back.
I used the Kreg cabinet hardware jig to layout and mount the drawer pulls. It makes installing the pulls at a consistent location quick and easy. It also works for vertical mounted pulls like I needed on the sliding panels. I just adjusted the jig and used a backer board to prevent blowout on the panel and mounted the pulls with extra long screws.
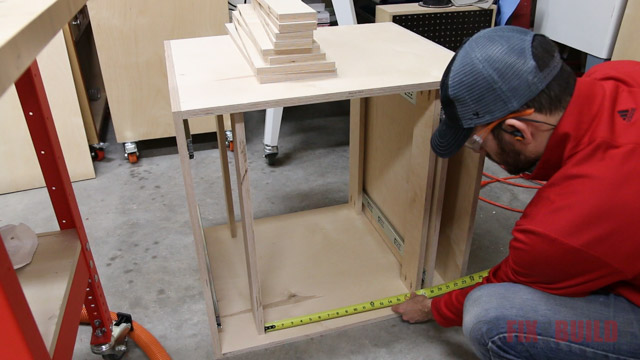
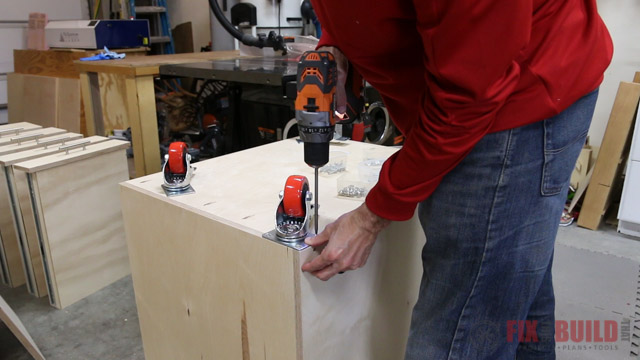
I took all the drawers out and flipped over the table saw cabinet to attach 3” casters to make it mobile in the shop.
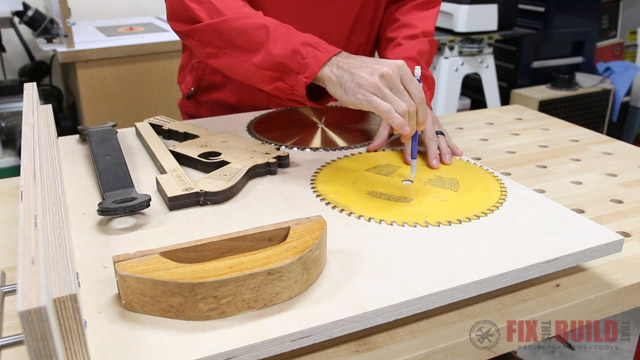
The last thing to do was to layout the sliding panels and make tool holders. I wanted the left-side panel to hold my most used items like blades, changing wrenches and my push sticks. Then I laid out the accessories and marked where each one was.
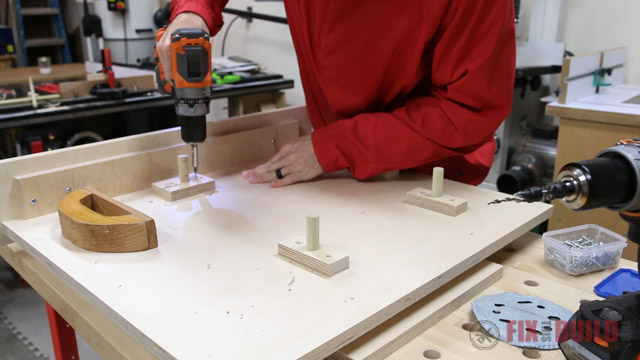
I made little mounting cleats gluing ⅝” dowels into some plywood scraps. I also made custom fitting cleats for the push sticks just tracing and using my bandsaw and sander. I attached the cleats to the sliding panel then installed it back in the table saw cabinet.
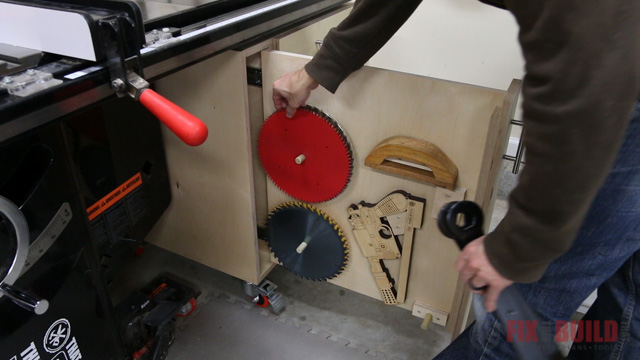
I cleared out the area in front of my table saw and rolled the DIY table saw cabinet in place. Then I loaded it up with all the stuff that was chilling on the floor before.
This table saw cabinet takes advantage of that huge unused space under my table saw. It makes me smile just seeing that beautiful cabinet there instead of the pile of junk.
There are DIY Table Saw Cabinet Plans available if you want to build your own. If you want to see some other cool shop organization projects go check out my Shop Projects page.
Kreg Tool provided me with product and/or monetary compensation as a sponsor of this build. All opinions are my own and are not filtered by the sponsor.


Same question as Hagemen. Extension table has legs, yours does not? Modification suggestions?
Never having purchase them unsure what size did you use for the sliding mechanism for the cabinet drawers and sliding saw blade cabinet & where to purchase,
no mention of how long i the plans.
22″ full extension drawer slides. There is a link to them up above in the supplies section where you can buy them. And they are on page 10 of the plan as 22″ drawer slides. hope that helps
Thanks yet again for sharing your builds, they have been most helpful.
Speaking for myself, it would sure be nice if you would show alternative ways to accomplish certain tasks should one not have the jigs you use. I get why you use them, they’re helpful and the manufacturer sponsors the build article, but for us lesser-skilled DIYers who don’t have all the gadgets and jigs and who can’t justify the expense for just one project, alternatives sure would be most appreciated.
The cut sheet indicates 3.5″ X 25″ for item “C” it should be 3.5″ X 25 1/8′ (undersized Plywood taken into consideration)
I just finished this project. I knew it wasn’t going to fit under my Sawstop contractor, but made it free standing. The issue I’ve got with the concept is you still need drawer clearance in front of the table, so you’re kind of trading one dead space for another. I like shelves under the table extension better.I have this cabinet against the wall and opening into the room. The vertical drawers are an awesome idea for blades, brakes, inserts, sticks, etc. Cool design.FYI, there was a typo calling for 1/4″ MDF when it should be 1/4 ply for the drawer bottoms.
Yes, you definitely need some clearance in front, but I had this clearance there anyway since I want to be able to full stand in front of my saw along the length of it. I’ve always preferred drawers just to keep things clean looking and keep dust out. Thanks for the info on the typo! Hope you enjoy the cabinet.
Ok, where do I get that blaster push stick? The cabinet looks slick too, nice job.
This under table saw cabinet looks perfect, but I do have a question. On my SawStop, I have two legs under the far end of the table extension that came with the saw. Assuming that you had a similar setup, did you have to remove those legs, and if so, did you then use the cabinet as the support medium?